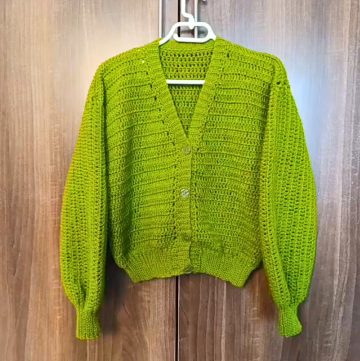
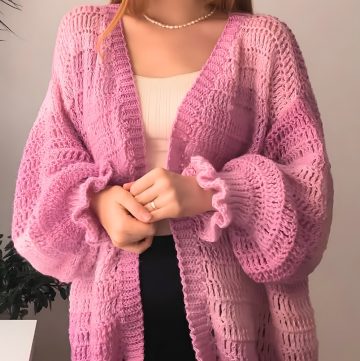
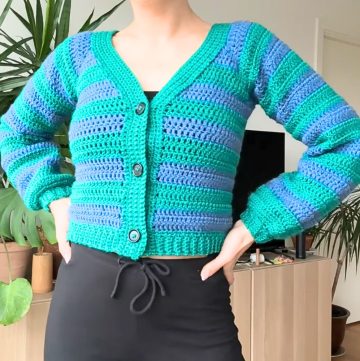
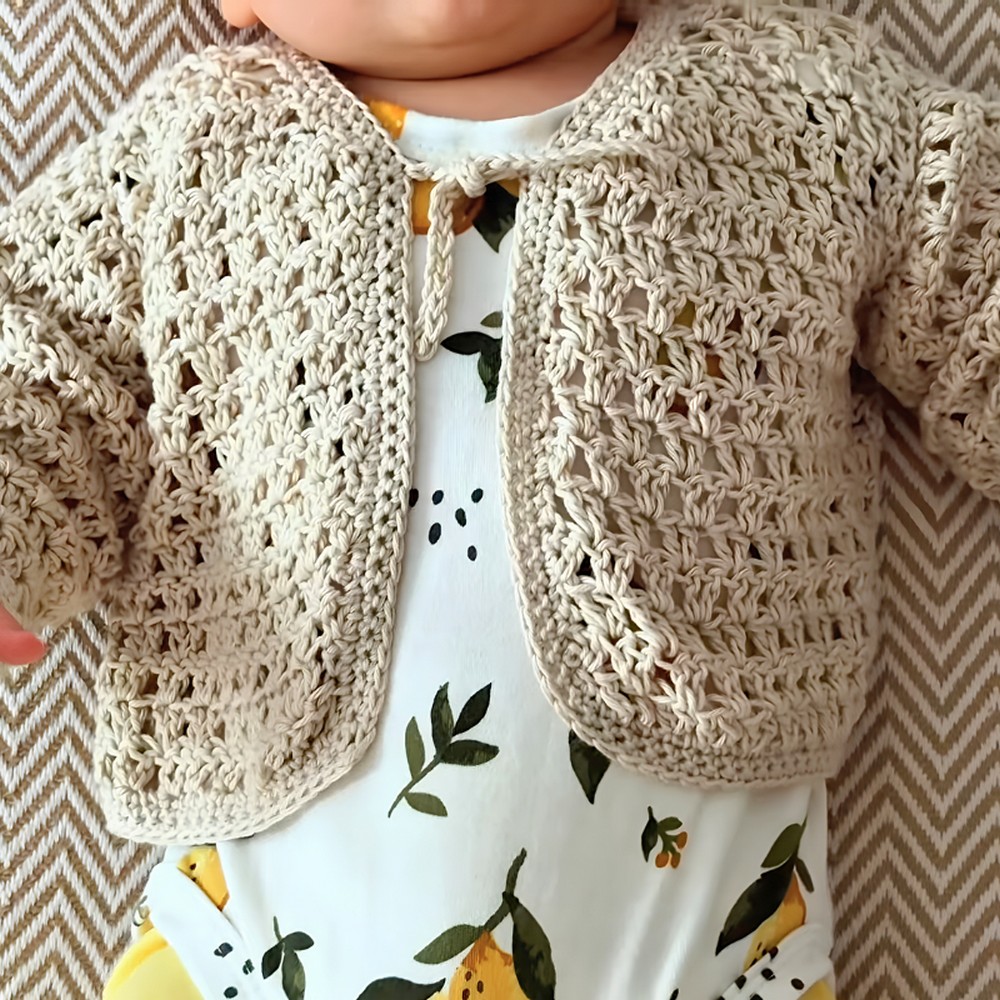
A baby cardigan for summer is a light and soft layer specially designed for little ones to stay comfortable in warm weather. The breathable, net-like texture keeps the cardigan airy and fresh, so it never feels heavy on the baby's skin. This crochet cardigan is perfect for everyday wear, whether at home, on short walks, or during family outings. Its simple yet elegant look allows it to match easily with different outfits, still giving a soft, charming handmade touch. But what makes this simple-looking cardigan truly special is something you will notice only when you go deeper into its crochet design.
Free Crochet Cardigan Pattern
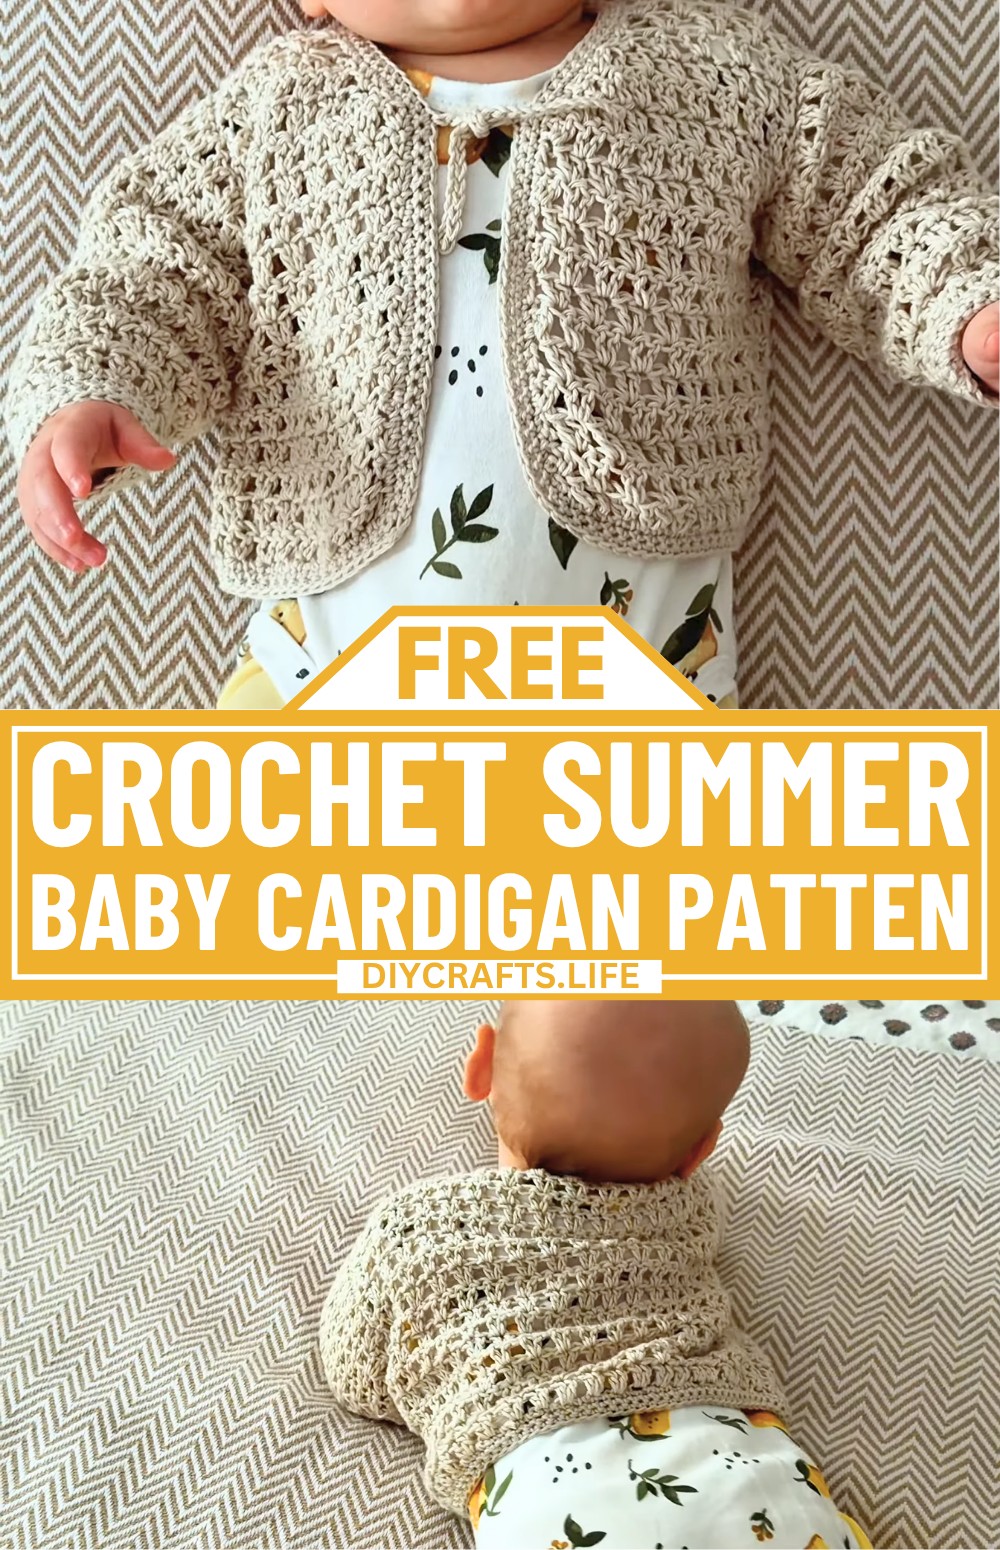
This baby crochet cardigan is made using light, soft yarn that is gentle on delicate baby skin and helps prevent overheating. The design follows an open and relaxed structure, which makes it easy to wear and remove, even when the baby is active or moving around. The crochet cardigan is usually worked in simple section shaping, the body and sleeves step by step, to keep the process easy and stress-free. You can also customize it by changing colors, adding small buttons, or keeping it plain for a classic finish.
Credit WONDER NETTING
Materials & Tools Needed
- Yarn: 70 g of fine cotton yarn (e.g., Cotton Kings from Hobbii; perfect for spring/summer garments).
- Crochet Hook: 4 mm.
- Other Tools: Scissors, stitch markers (optional).
Finished Size & Customization Ideas
- Targeted size: Approximately 5–6 months old baby.
- Customization:
- Change the size by adjusting starting chain length and the number of rows worked (e.g., refer to an existing baby garment for comparison).
- Add decorative elements like flowers or buttons.
- Make matching sets by scaling the pattern up for adults (Kate suggests making an adult version upon request).
Pattern Abbreviations & Terminology
- ch: Chain
- sc: Single crochet
- dc: Double crochet
- sl st: Slip stitch
- st(s): Stitch(es)
- yo: Yarn over
Notes:
- This pattern uses U.S. crochet terminology.
- Ensure you work rows evenly and maintain tension throughout.
Step-by-Step Detailed Crochet Instructions
FRONT PANELS (Make 2 Identical Panels)
- Foundation Chain:
- Ch 20 (for a 5–6-month-old baby).
- Start in the 2nd chain from the hook.
- Row 1:
- Sc in the 2nd ch from the hook, then sc again in the same ch (counts as the first st of the row).
- Place a stitch marker if needed.
- Dc into the same stitch.
- Skip 1 ch, then work 2 dc into the next ch.
- Repeat * to the end of the row.
- Finish with a single dc in the last ch.
- Turn your work.
- Row 2 (and subsequent rows):
- Begin with a sc (on top of the sc from the previous row), then 1 dc in the same st.
- Skip the next st. In the next st, work 2 dc.
- Repeat the pattern * across the row.
- At the very end, work 1 dc into the last marked st.
- Turn your work.
- Repeat Step 3 until the panel reaches the height needed before shaping for the neckline.
- Kate works 13 rows before starting neckline decreases.
- Shape the Neckline (Beginning Decreases):
- Start a row with one dec as follows:
- Insert hook into the first st, then into the second st, yo, pull through all three loops (counts as a sc).
- Skip 1 st, then next, work 2 dc.
- At the end, decrease again over the last 4 sts:
- Pull through two sts, yo, and continue decreasing until 1 st remains.
- Next, continue in the normal pattern, adjusting for decreases along the neckline side.
- Start a row with one dec as follows:
- Work decreases row by row until the neckline is shaped as desired.
- Then, make 1 row without decreases for the final shaping.
- Fasten Off: Once complete, finish this panel with 1 ch, cut the yarn, and weave in the ends.
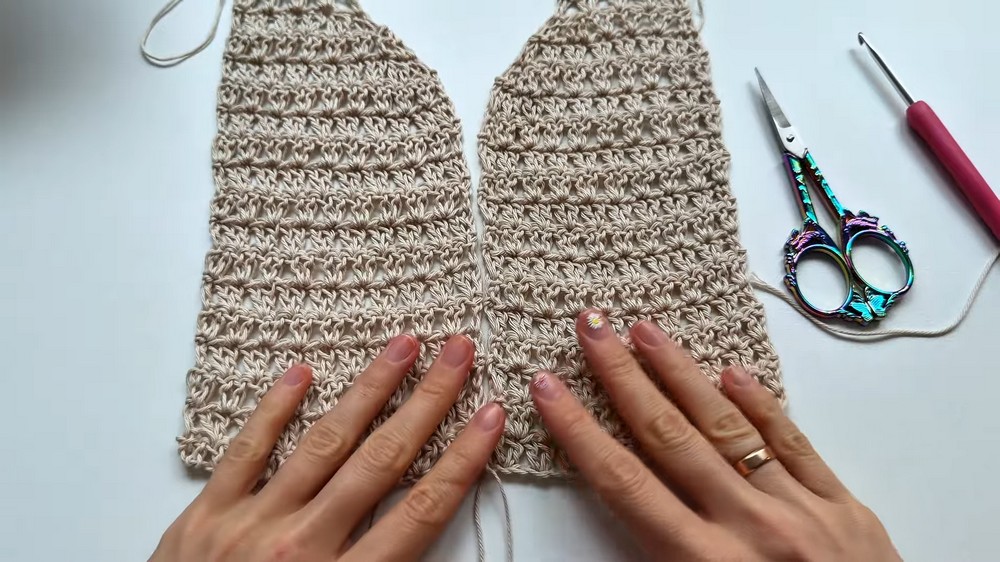
BACK PANEL
- Foundation Chain:
- Ch 40 for the base.
- Work the same pattern as the front panels, but without any decreases for shaping.
- Rows: Work up to 18 rows (same height as the front panels).
- Finish: Ch 1, cut the yarn, and weave in the ends.
SLEEVES (Make 2 Identical Sleeves)
- Foundation Chain:
- Ch 22 and join with a sl st into a circle.
- Round 1:
- In the same st, work sc, 1 dc (this is your starting st).
- Skip 1 st, then work 2 dc into the next st.
- Repeat * around.
- Join the round with a sl st at the top of the first st.
- Round 2:
- Turn your work.
- Begin with sc + dc (same st), then continue in the pattern.
- Round 3 (Increase round):
- Start with sc + dc (same st).
- For increases: Work 3 dc into one st in every alternate sequence. For example:
- Skip 1 st, work 2 dc. Skip 1 st, work 3 dc into the next st (increase).
- Repeat to the end of the round.
- Subsequent Rounds:
- Continue using the same pattern, increasing as needed until you reach your desired sleeve length (typically ~14 rows for a 5–6-month-old, or 18 cm).
- Cuff:
- Work 3–4 rounds of sc (or your preferred ribbing method).
- Use sl st, ch 1, and continue turning after each round.
- Fasten off.
- Repeat: Create the second sleeve in the same way.
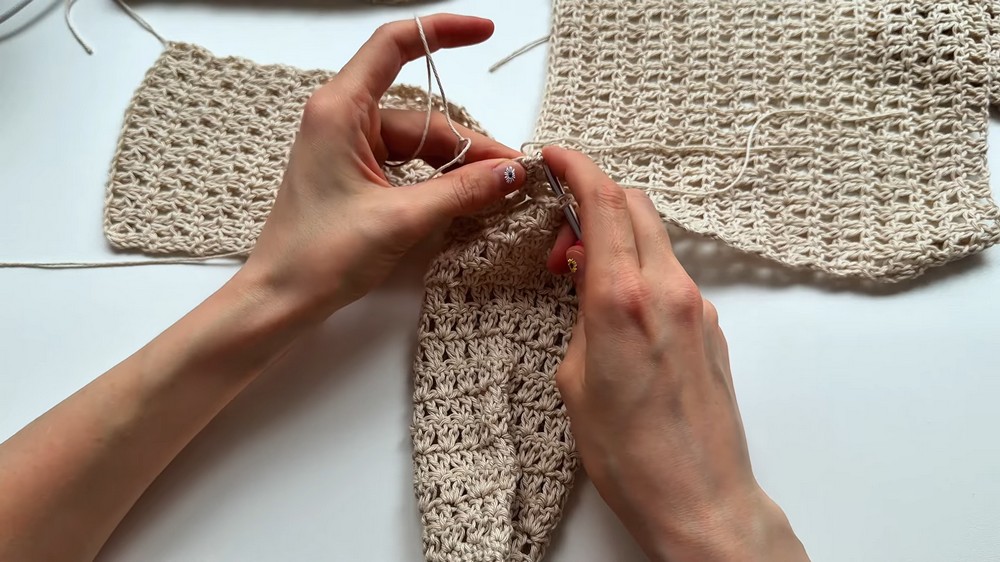
ASSEMBLY
- Shoulder Seams:
- Use sl st to join the front panels to the back panel at the shoulder seams.
- Keep stitches loose for flexibility.
- Attach Sleeves:
- Find the midpoint of each sleeve and align it with the shoulder seam.
- Use sl st to join the sleeve to each side of the body.
- Ensure the sleeve width aligns with how many rows are present on the front and back panels.
- Side Seams:
- Join the sides of the body and the sleeves together with sl st, working 2 sts per row along the edges of the panels.
FINISHING EDGES
- Work 1–2 rows of sc along the cardigan’s edge (front panels and neckline).
- For buttonholes:
- Decide button placement and skip 2–3 scs, replacing them with the same number of chs.
- Continue working sc in the next row over the ch spaces to form buttonholes.
- Ties/Closures: If not using buttons, create simple ties with ch stitches or slip-stitch cord.
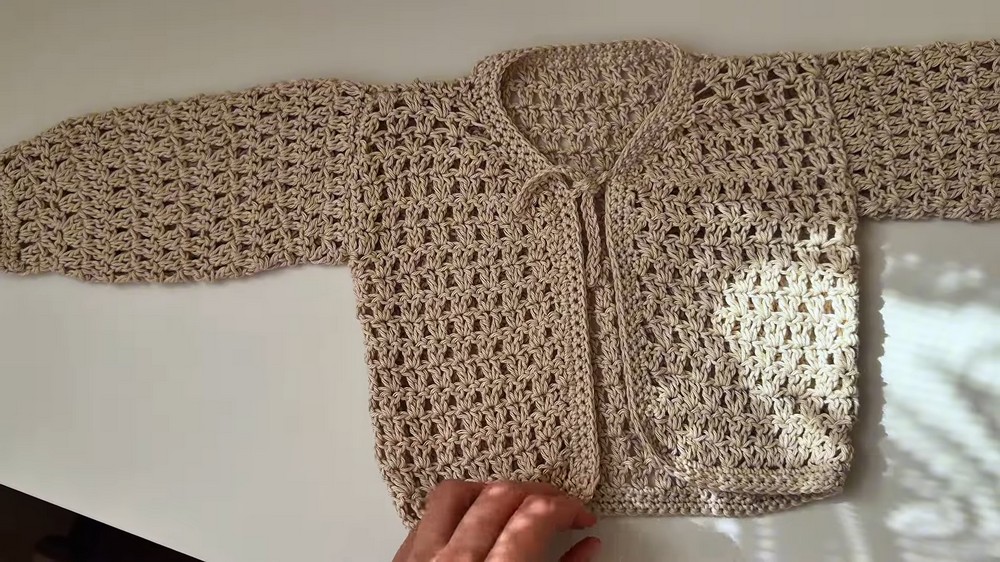
FINAL TOUCHES
- Weave in all loose ends.
- Optionally, add embellishments like flowers, bows, or embroidery for decoration.