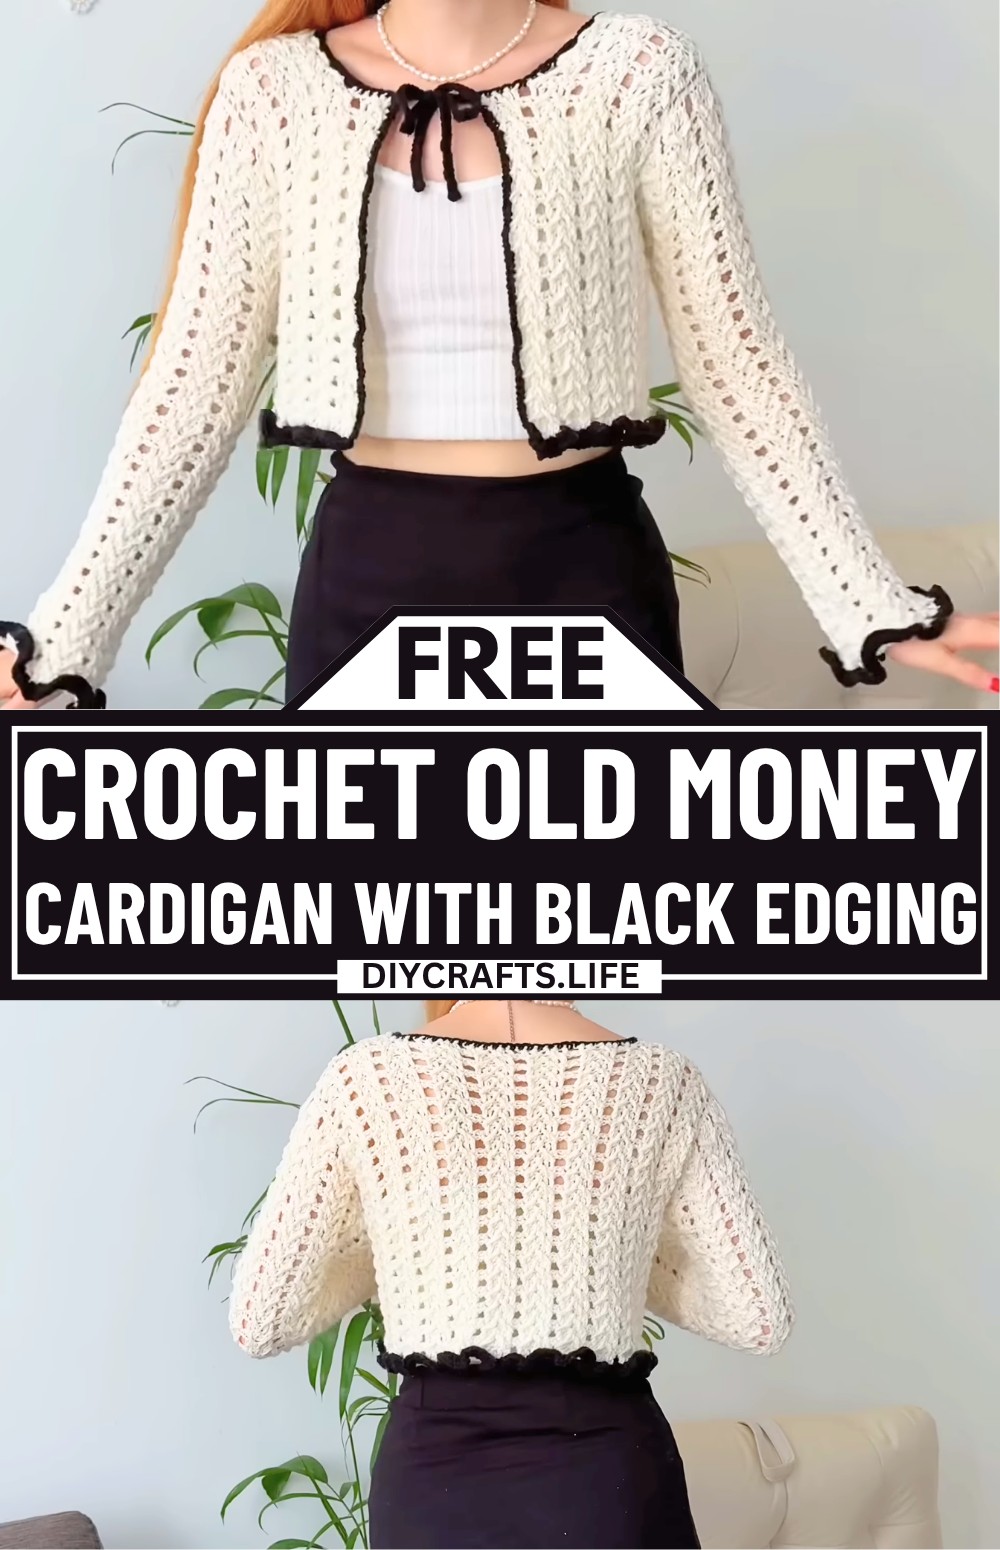
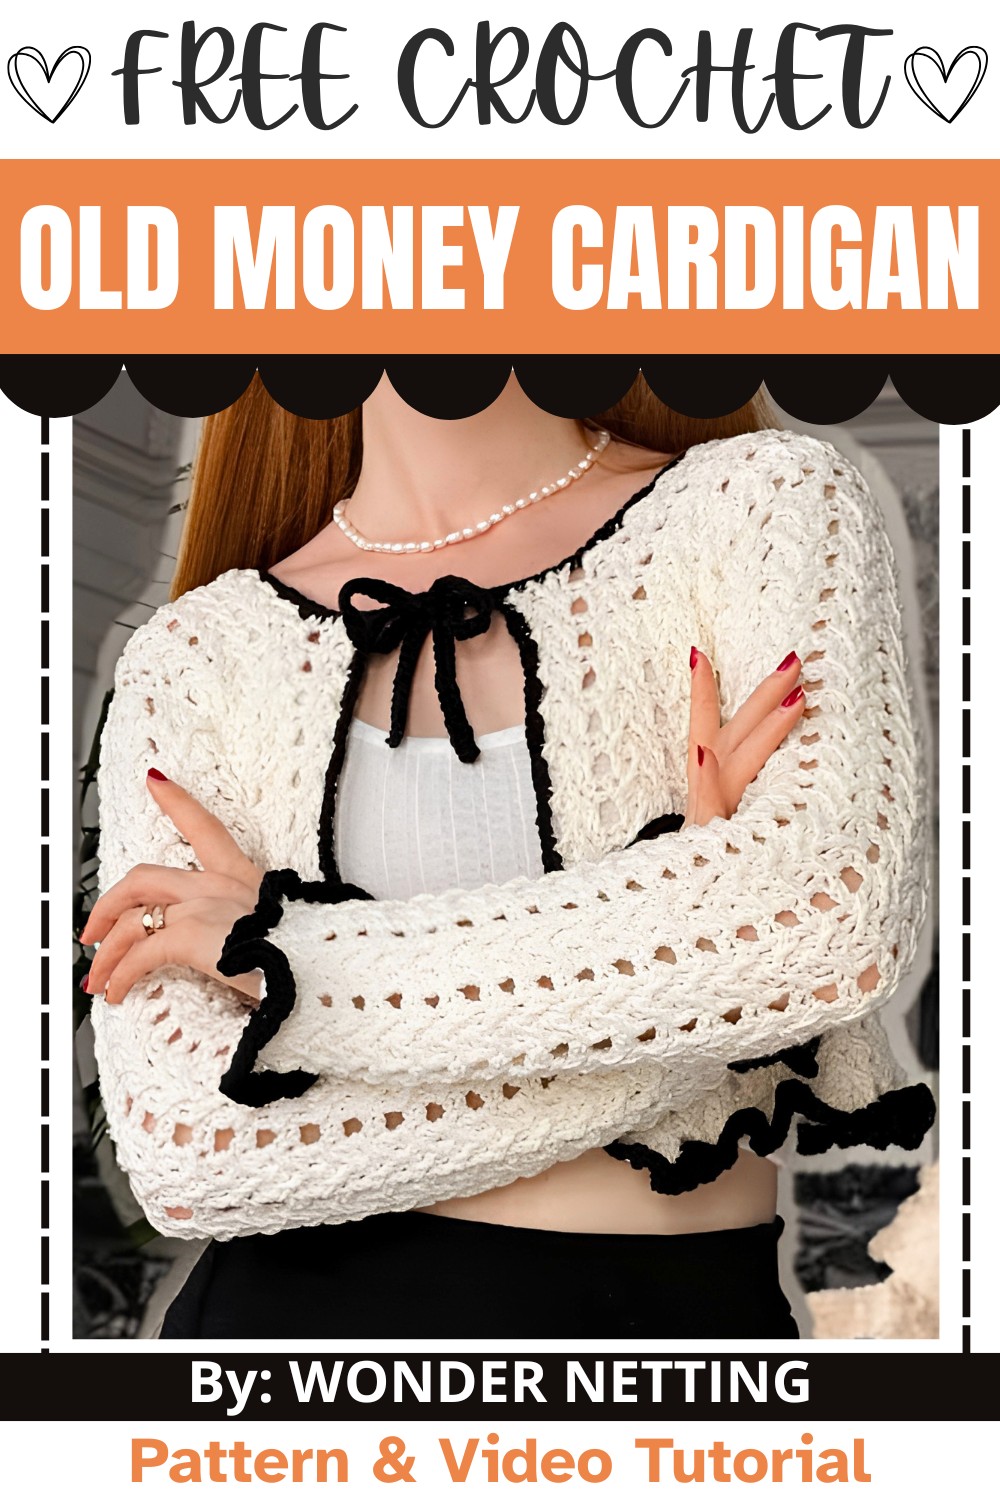
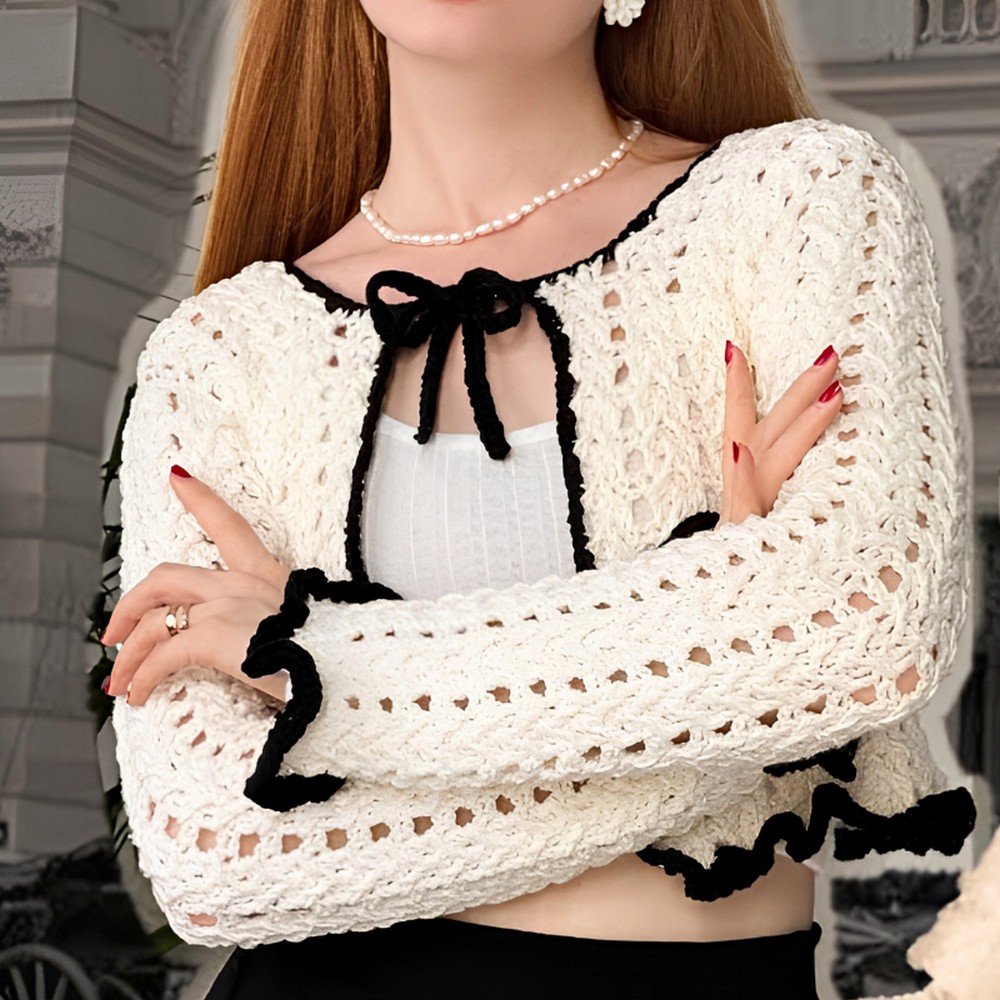
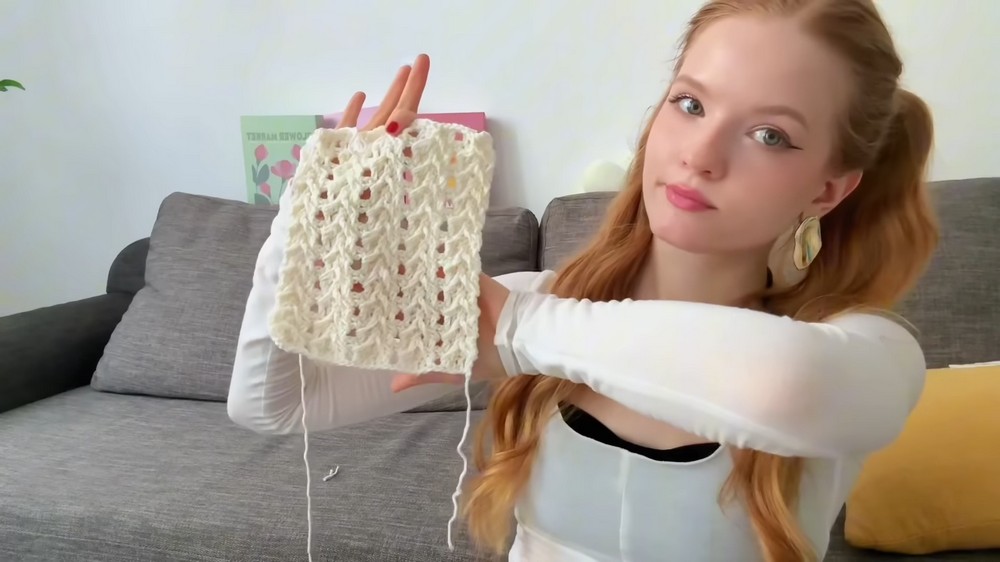
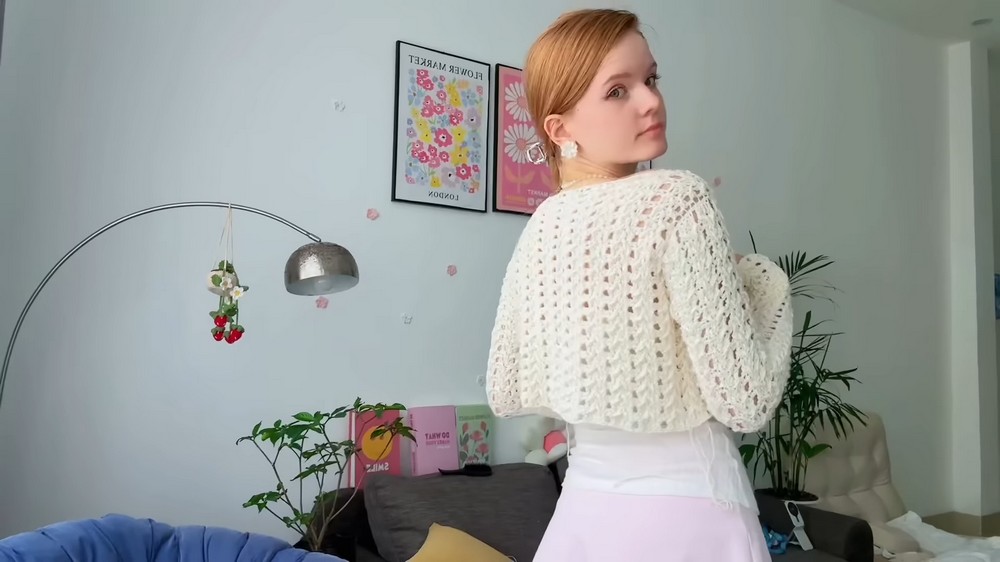
This old-money crocheted cardigan is so stylishly layered that it feels both elegant and cozy at the same time. It has a beautifully textured body, bold contrast edging, and sweet ties at the front instead of buttons. The look is similar to a designer or Chanel-style cardigan, but you can make it yourself with yarn and a hook. It’s perfect for school, college, the office, or just looking put-together at home. But what truly makes this crochet cardigan stand out becomes even clearer once you see how it all comes together.
Free Crochet Old Money Cardigan Pattern
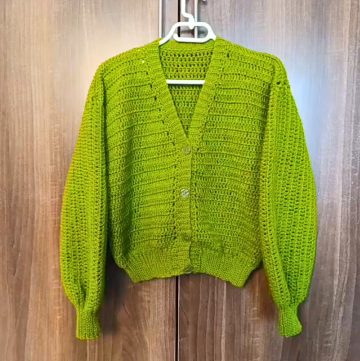
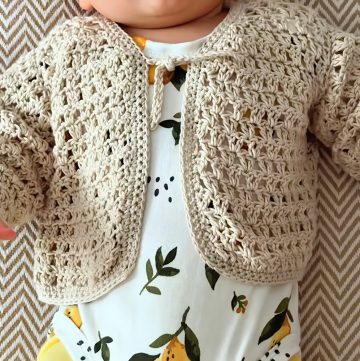
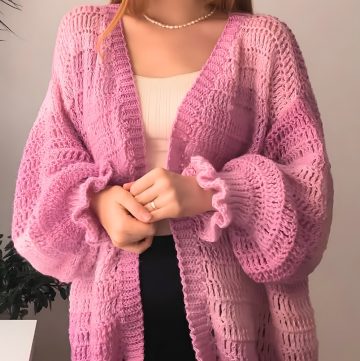
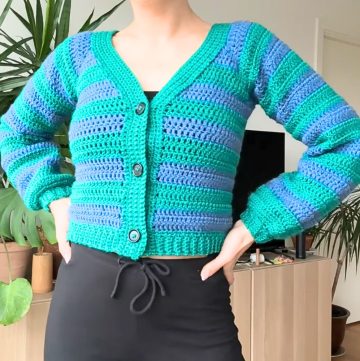
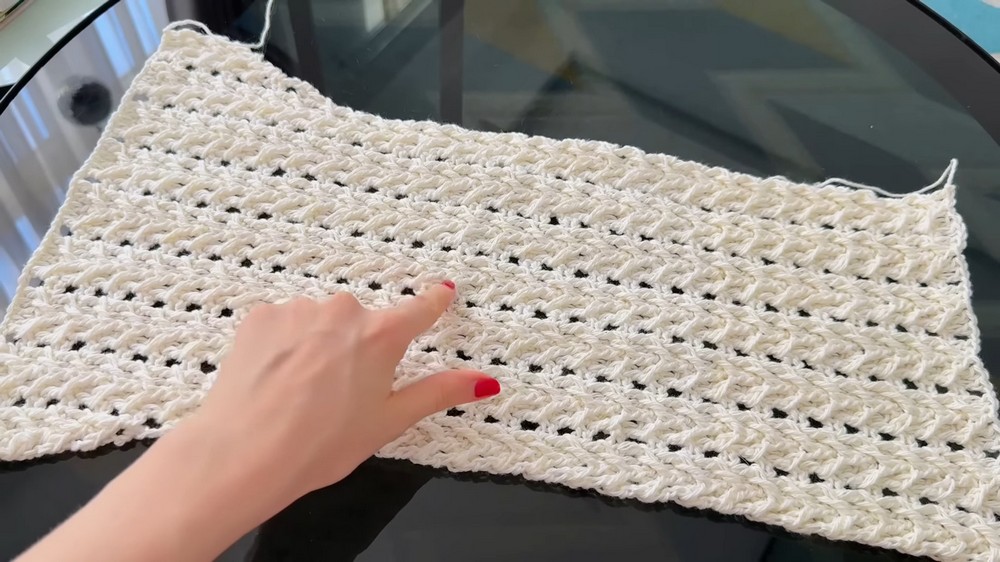
The pattern is made up of clear, manageable pieces including two front panels, a back panel, and sleeves that are later joined together. The main stitch pattern repeats the same rows, so once you learn it, you can crochet comfortably and confidently. Gentle shaping for the sleeves, shoulders, and neckline adds structure to the handmade design, while the step-by-step instructions make the process easy to follow along for even a confident beginner. You can also experiment with color combinations like white and black, red and black, blue and white, or green and black to match your personal style. This crocheted cardigan is also a nice choice if you want a slightly more advanced make than a simple rectangle, but still want something very wearable at the end.
Credit WONDER NETTING
Materials & Tools Needed
For size XS/S:
- Yarn:
- 7 skeins (50g, 135m per skein) of white yarn.
- 1 skein of black yarn for the edging and ties.
- Suggested yarn: AIRU Premium (cotton and acrylic mix).
- Alternative yarn: Cotton-acrylic mix, cashmere-acrylic mix, or yarn suited to the season (wool mix for colder weather, lighter cotton for warmer).
- Hook: 4mm crochet hook.
- Accessories:
- Scissors.
- Stitch markers.
- Needle for sewing and finishing.
Finished Size & Customization Ideas
- Finished Size (XS/S):
- Back Width: 40.5 cm.
- Front Width (each piece): 15.5 cm.
- Sleeve Length: 35.5 cm (after decreases).
- Total Height: 35.5 cm.
- Customization Ideas:
- Adjust the size by adding/subtracting multiples of 6 stitches to the starting chain. For example:
- Size up → Add 6 more stitches to the starting chain, e.g., 29 + 6 for XS becomes 35 + 3 for larger sizes.
- Size down → Reduce stitches in multiples of 6.
- Experiment with color combinations:
- White & Black (as in the tutorial).
- Red & Black, Blue & White, Green & Black, or pastel tones with black edging for a softer aesthetic.
- Add extra ties and bows for embellishment, or omit ruffles for a cleaner finish.
- Adjust the size by adding/subtracting multiples of 6 stitches to the starting chain. For example:
Pattern Abbreviations & Terminology (US Terms)
| Abbreviation | Description |
|---|---|
| Ch | Chain |
| St(s) | Stitch(es) |
| Dc | Double Crochet |
| Sc | Single Crochet |
| Sl St | Slip Stitch |
| YO | Yarn Over |
| Rep | Repeat |
| Beg | Beginning |
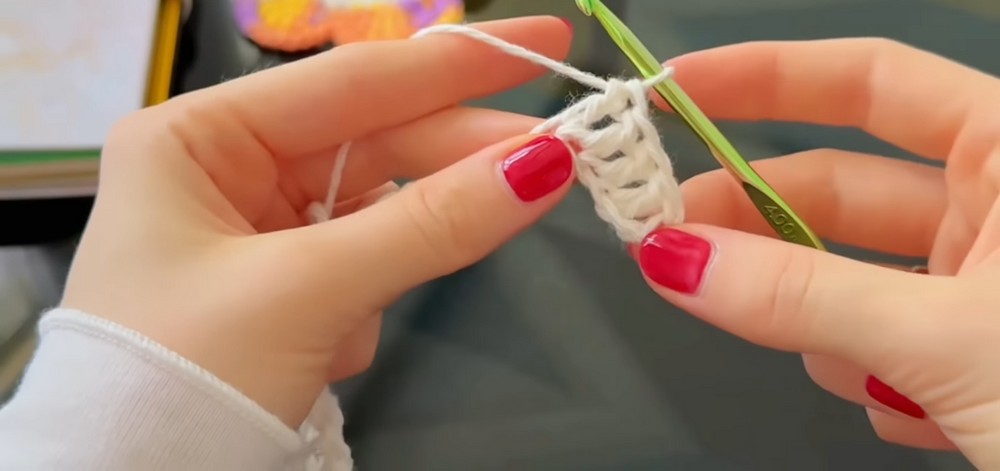
Step-by-Step Detailed Instructions
Foundation Steps
- Begin with the front parts: Chain 29 + 3 for size XS/S (starting foundation chain).
- Adjust by adding 6 stitches to scale up sizes.
- For example:
- S → 29 + 6 = 35 + 3 chains.
- M → Add another 6, making 41 + 3, etc.
- For example:
- Work the stitch pattern:
- Row 1: Start in the 5th chain from the hook and work as follows:
- (5 Dc, Ch 1, skip 1 St) across the row, ending with 5 Dc.
- Row 2: Chain 1, turn. Work:
- (5 Sc across the Dc group, Ch 1).
- Row 3: Begin with a Ch 3 (counts as 1 Dc). Introduce the relief stitches:
- Work 2 relief double crochets, 2 Dc (in between relief stitches), Ch 1 above the chain gap.
- Row 1: Start in the 5th chain from the hook and work as follows:
- Repeat Rows 3 and 4 for the pattern:
- The pattern alternates between regular double crochets and integrated relief stitches.
Tip: Keep track of relief row repetitions. Each "wis" (relief stitch set) indicates one row repeat.
Front Pieces
- Crochet the left and right front pieces following the instructions above until you reach 10 wis repeats (~22 rows for XS/S).
- Adjust stopping point for your desired length.
- Start armhole shaping on Row 23:
- Decrease at the beginning of each row for the LEFT front piece.
- Decrease at the end of each row for the RIGHT front piece.
- Create relief decreases by skipping one relief stitch every decrease row.
- The pattern reduces symmetrically.
- Add neckline shaping (optional):
- Work as many wis repetitions until the depth suits your preference.
Back Panel
- Chain 53 + 3 to start.
- Follow the same stitch pattern as for the front until you reach 22 rows (10 wis repeats).
- Work armhole decreases:
- Decrease one stitch (1 line) evenly on both sides, following the same method as shown for the front.
- The back panel should measure identically to the combined two front panels in width, minus some space for the ties.
Sleeves
- Start with a foundation chain of 53 + 3 for the wide sleeve cuff.
- Crochet in pattern while maintaining 9 lines of the stitch motif.
- At Row 5, begin shaping by reducing the width from 9 lines to 7 lines.
- Follow decreases on both ends of the row:
- One relief stitch is reduced at each edge every few rows, tapering gently toward the top.
- Crochet 58 total rows (28 wis repetitions), ending on a Dc row.
Assembling the Cardigan
1. Joining the shoulders:
- Use Sl St to join the front panels to the back at the shoulder seams.
- Work into both loops of the corresponding stitches for a secure seam.
2. Attaching the sleeves:
- Line up the sleeve’s center to the shoulder seam.
- Attach with Sl St, working evenly around the sleeve cap.
3. Joining side seams and sleeves:
- Use Sc to join along the sides. Work 3 Sc into each Ch space or row-end, ensuring even tension from the armpit to the wrist.
Edging
- Bottom edge ruffle:
- Work 3 half Dc into every stitch along the hemline for a delicate, feminine ruffle look.
- Neckline and front edging:
- Use black yarn for contrast. Work evenly in Sc across the front panels and neckline.
- For the corners: Add 2 extra Sc into each corner stitch to round the edges softly.
- Sleeve ruffle:
- Turn sleeves into bell sleeves with the same ruffle technique as the bottom edge.
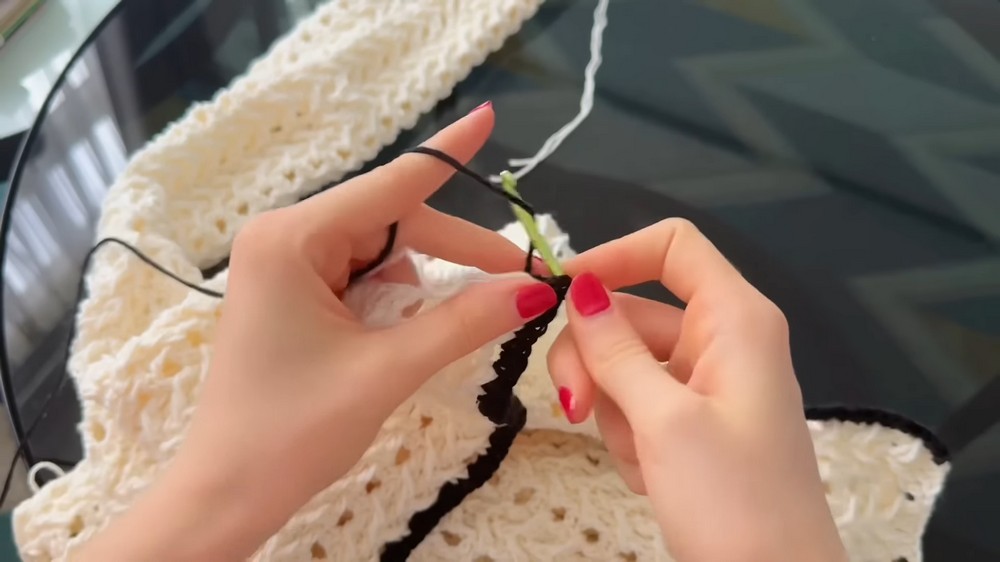
Ties
- Chain 50 (or longer for larger sizes).
- Work two rows of slip stitches back across the chain for a sturdy tie.
- Attach ties securely at the corners of the neckline.
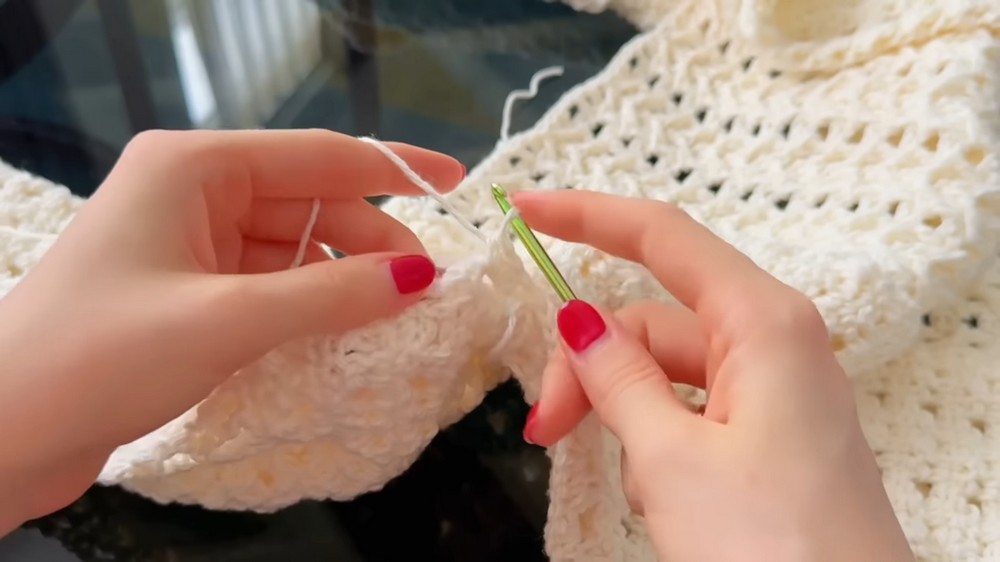
Finishing
- Weave in all loose yarn ends using a needle.
- Block the cardigan to even out the stitches and ensure proper shaping.
- Style and wear it proudly!
Final Thoughts
This cardigan has a beautiful "old-money" aesthetic inspired by timeless Chanel-style designs.
Pair it with classic trousers, skirts, or dresses for a polished look. Don’t forget to customize the colors and details to suit your personal style.