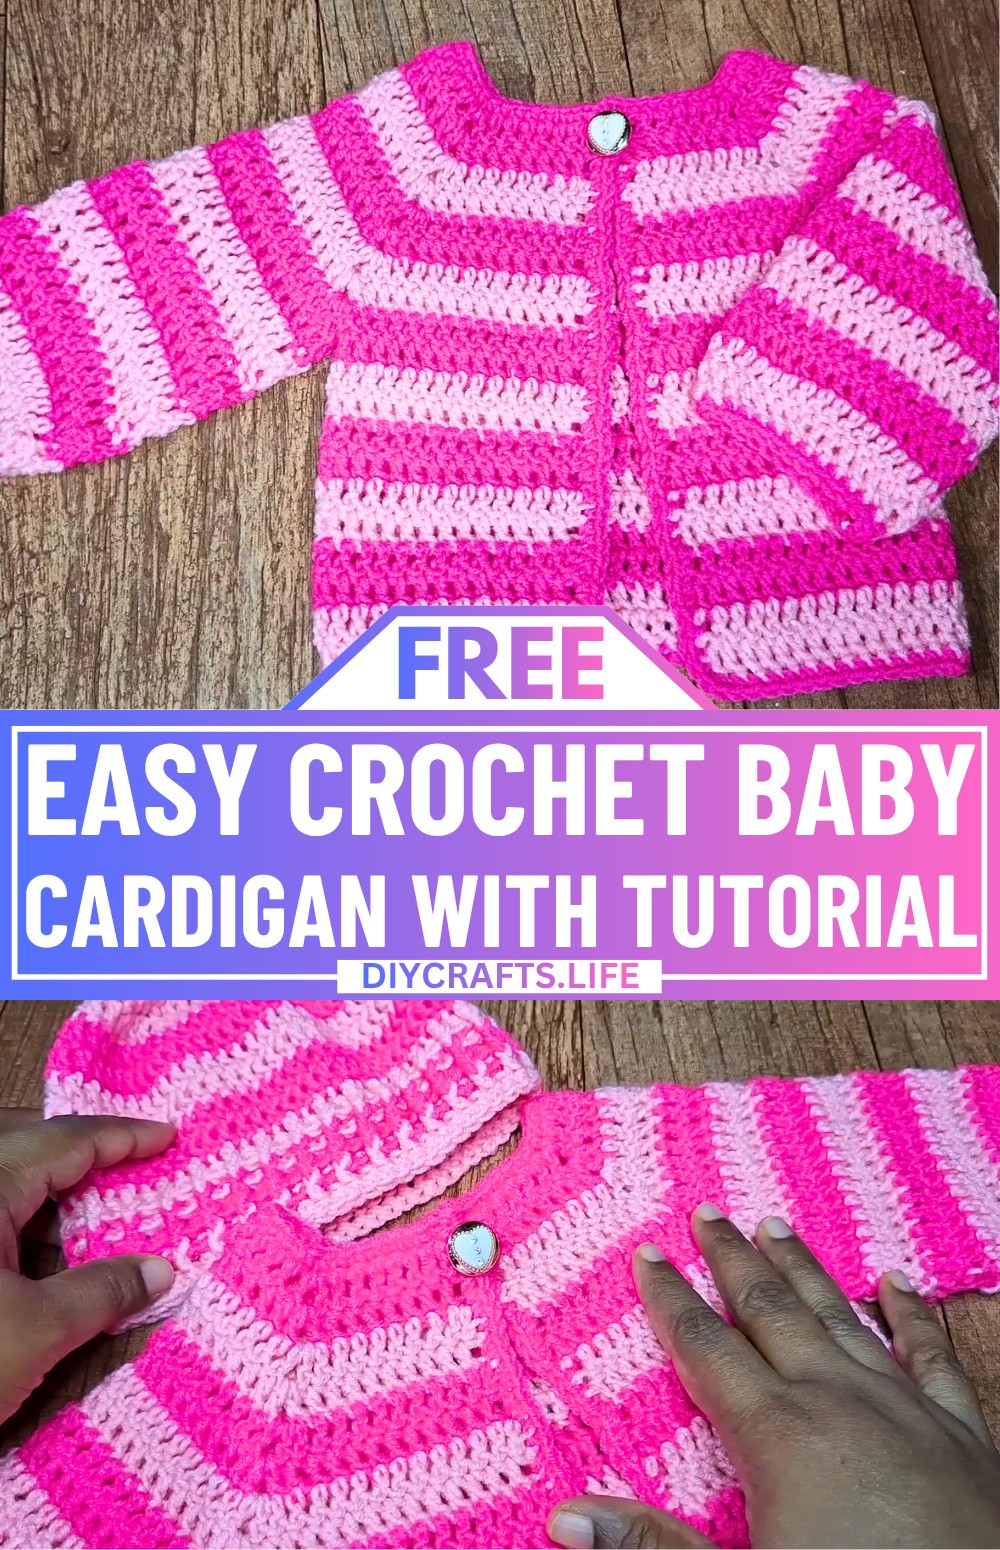
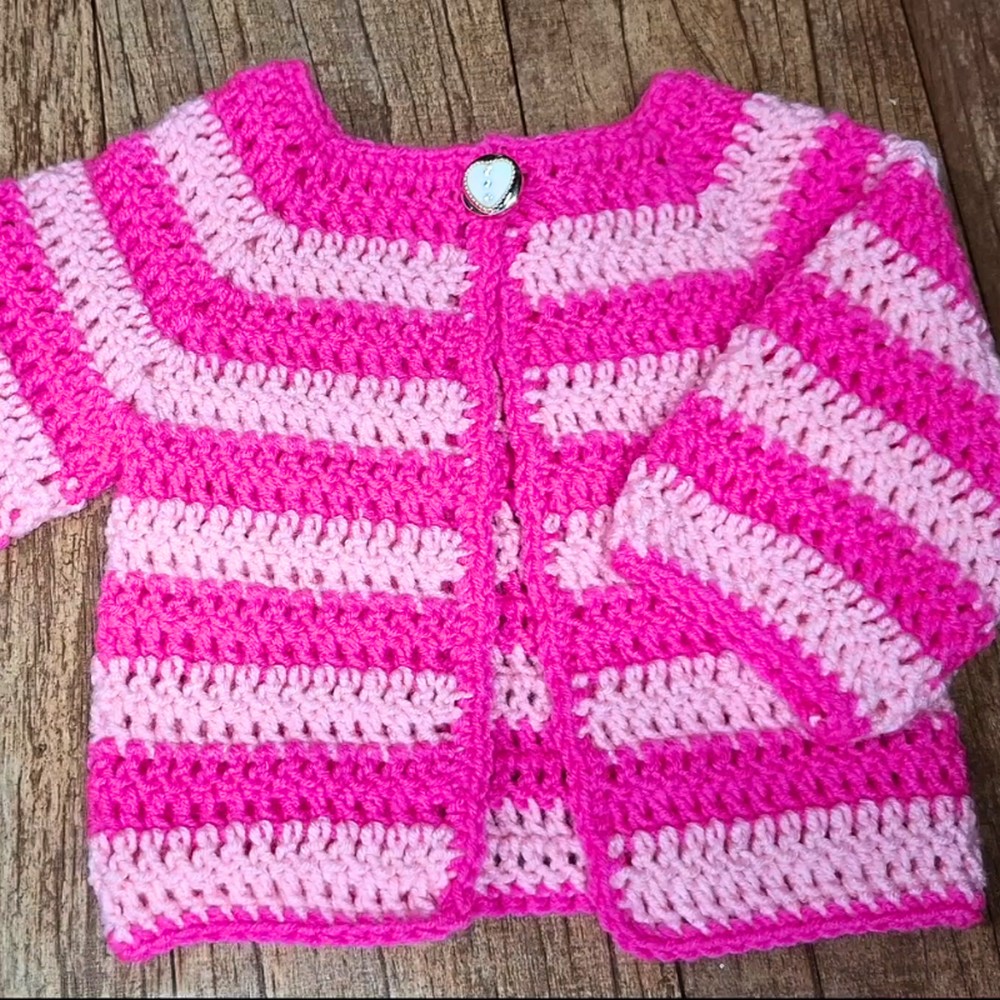
This soft handmade baby cardigan is perfect for keeping little ones warm and cozy, especially designed for babies aged 0-3 months. It makes a lovely addition to any baby wardrobe, combining comfort and style in one adorable crochet design. Its lightweight feel ensures that your tiny tot stays snug without feeling restricted, making it ideal for everyday wear. This adorable crochet Cardigan holds a charming surprise; its beautiful look is much easier to create than you might expect.
Simple Crochet Baby Cardigan Tutorial

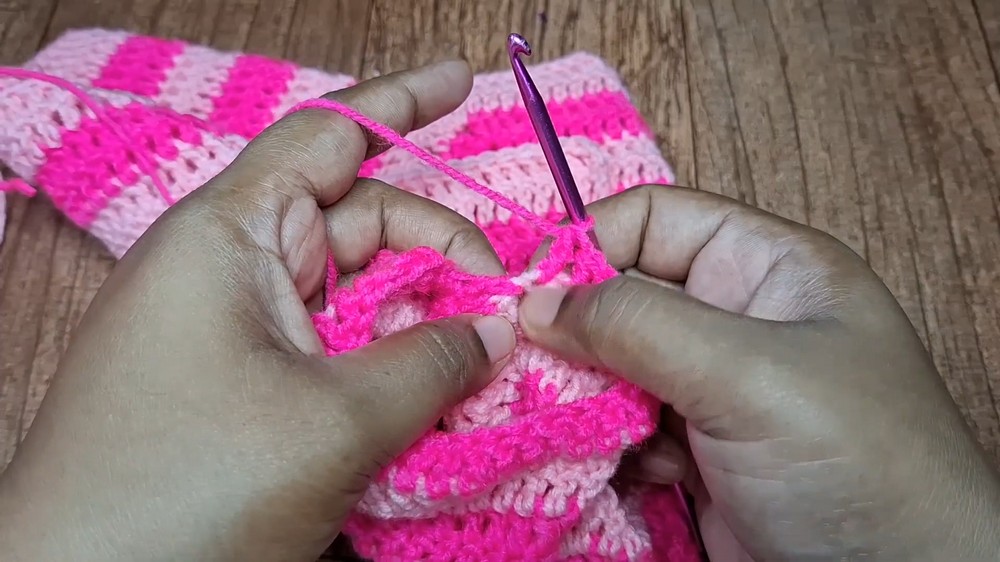
The cardigan is beginner-friendly and worked from the top down, with simple, repeating steps that are easy to follow. You can make it in a single color for a classic look or combine two shades for extra charm. Add a matching button for a sweet finishing touch, and pair it with the coordinating hat, blanket, or socks to create a complete handmade crochet baby set. Just follow the measurements carefully to make a perfectly sized outfit. But there's one thoughtful detail in this pattern that makes it especially practical for growing babies something many crocheters appreciate only after making it.
Credit Vima's Crochet
Materials & Tools Needed:
- DK yarn (two colors):
- Main Color: Powder Pink
- Accent Color: Fiesta (or any contrasting color)
- Crochet Hook: 4.5mm
- Yarn Needle
- Scissors
- Measuring Tape:
- For ensuring the correct size.
Finished Size & Customization Ideas:
- Finished Measurements:
- Yoke Height: 3.5 inches (or 9 cm).
- Total Cardigan Length: 9 inches from top to bottom.
- Sleeves: Match the length of the body’s rows.
- This cardigan is easy to size up or down:
- Adjust foundation chain length and work according to measurements.
- Change colors or patterns for customization.
Pattern Abbreviations & Terminology:
- Ch: Chain
- SC: Single Crochet
- DC: Double Crochet
- St(s): Stitch(es)
- YO: Yarn Over
Terminology: Pattern uses US crochet terms.
Step-by-step Detailed Crochet Instructions
1. Foundation Chain and Yoke:
- Make a Slip Knot and Chain:
- Start with Ch 50 (measure 11 inches or 28 cm).
- Ch 1 for turning.
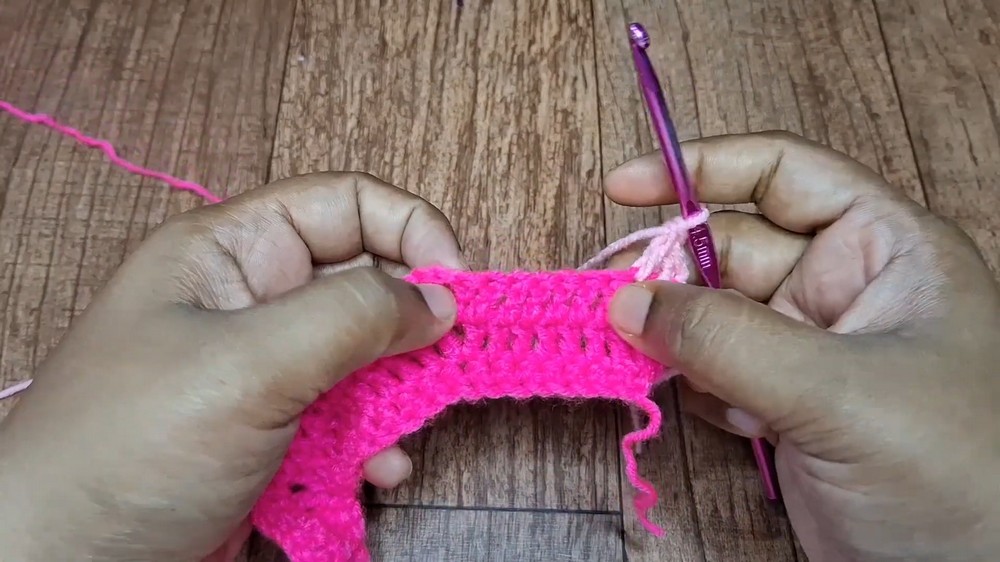
- Row 1:
- Work SC in the 2nd Ch from the hook.
- Work 1 SC into each chain across (total: 50 SC).
- Ch 1, turn.
- Row 2:
- Work 1 DC into the first SC.
- Work 7 DC in total.
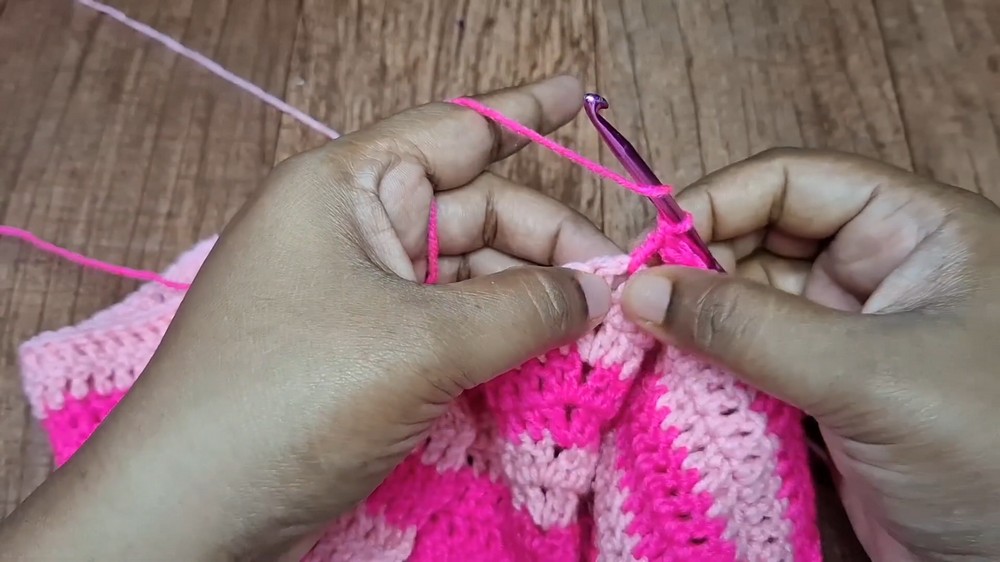
- Into the 8th St, make a V-stitch: (1 DC, Ch 1, 1 DC).
- Next 9 stitches: Work 1 DC into each st (total: 9 DC).
- In the next st, make another V-stitch (1 DC, Ch 1, 1 DC).
- Next 14 stitches: Work 1 DC in each st (total: 14 DC).
- In the next st, make a V-stitch (1 DC, Ch 1, 1 DC).
- Next 9 stitches: Work 1 DC in each st (total: 9 DC).
- In the next st, make a V-stitch (1 DC, Ch 1, 1 DC).
- Work 7 DC to complete the row.
- Ch 1, turn.
- Ensure all corners are placed correctly—these will form the "raglan" increases.
- Row 3-8 (Yoke Shaping):
- Repeat Row 2:
- Work 1 DC in each DC.
- In each Ch 1 space (of the V-stitches/corners), add (1 DC, Ch 1, 1 DC).
- Alternate colors after every 2 rows.
- Yoke Measurement: Work these rows until the yoke height measures 3.5 inches (9 cm).
- Repeat Row 2:
2. Separating for Body and Sleeves:
- Fold the Yoke:
- Fold to identify the front (2 sections), sleeves (2 sections), and back.
- Join Front and Back, Skip Armholes:
- Work 1 DC in each st until you reach the first corner’s Ch 1 space.
- In the corner:
- Place 1 DC and skip over all stitches for the sleeve section.
- Join directly into the next Ch 1 space.
- Continue working DC across the back.
- Repeat the same process with the second sleeve.
- End with the front section.
- The row is now converted into one large piece for the cardigan body.
3. Body of the Cardigan:
- Continue Working Rows:
- Work 1 DC in each st across, back and forth.
- Alternate colors every 2 rows.
- Work rows until the total length from top to bottom measures 9 inches.
- Additional rows can be added for a longer cardigan.
4. Sleeves:
- Attach Yarn:
- Attach yarn in the middle of the underarm join (between 2 joined corners).
- Work in Rounds:
- Work 1 DC in each st around the armhole, joining with a slip stitch to the starting Ch 3.
- Chain 3, turn.
- Alternate Colors:
- Continue alternating colors every 2 rows.
- Match the number of rows for the body—12 rows total, or adjust to desired sleeve length.
- Decrease Round (Last Round):
- After every 5 DC, work a DC decrease (YO, pull loop through next 2 stitches, YO, pull through all loops on hook).
- Final Round (Optional Single Crochet):
- Add a single crochet row to stabilize the edge.
- Finish Second Sleeve:
- Repeat the same steps for the second sleeve.

5. Button Band and Collar:
- Left Band:
- Join yarn at the bottom left edge of the cardigan.
- Work 2 SC in the side of each DC row.
- Continue this pattern up to the neckline and fasten off.
- Right Band with Buttonhole:
- Starting at the top right corner, repeat the steps above while creating buttonholes:
- Chain 2 where you want the buttonhole, skip 1 st, and resume with SC.
- Starting at the top right corner, repeat the steps above while creating buttonholes:
- Collar (Optional):
- Work 1 or 2 rows of SC along the neckline to create a smooth edge.
- Weave in Ends:
- Use a yarn needle to weave in any loose ends.

6. Finishing Touches:
- Add Buttons:
- Sew buttons corresponding to placement of buttonholes.
- Block the Cardigan:
- Lightly block to shape and smooth the finished piece.
Notes:
- Always check measurements throughout to ensure accuracy.
- Alternate colors every 2 rows for the striped effect seen in the tutorial.
- The cardigan is designed to be versatile—adjust length and sleeve size based on baby’s measurements.