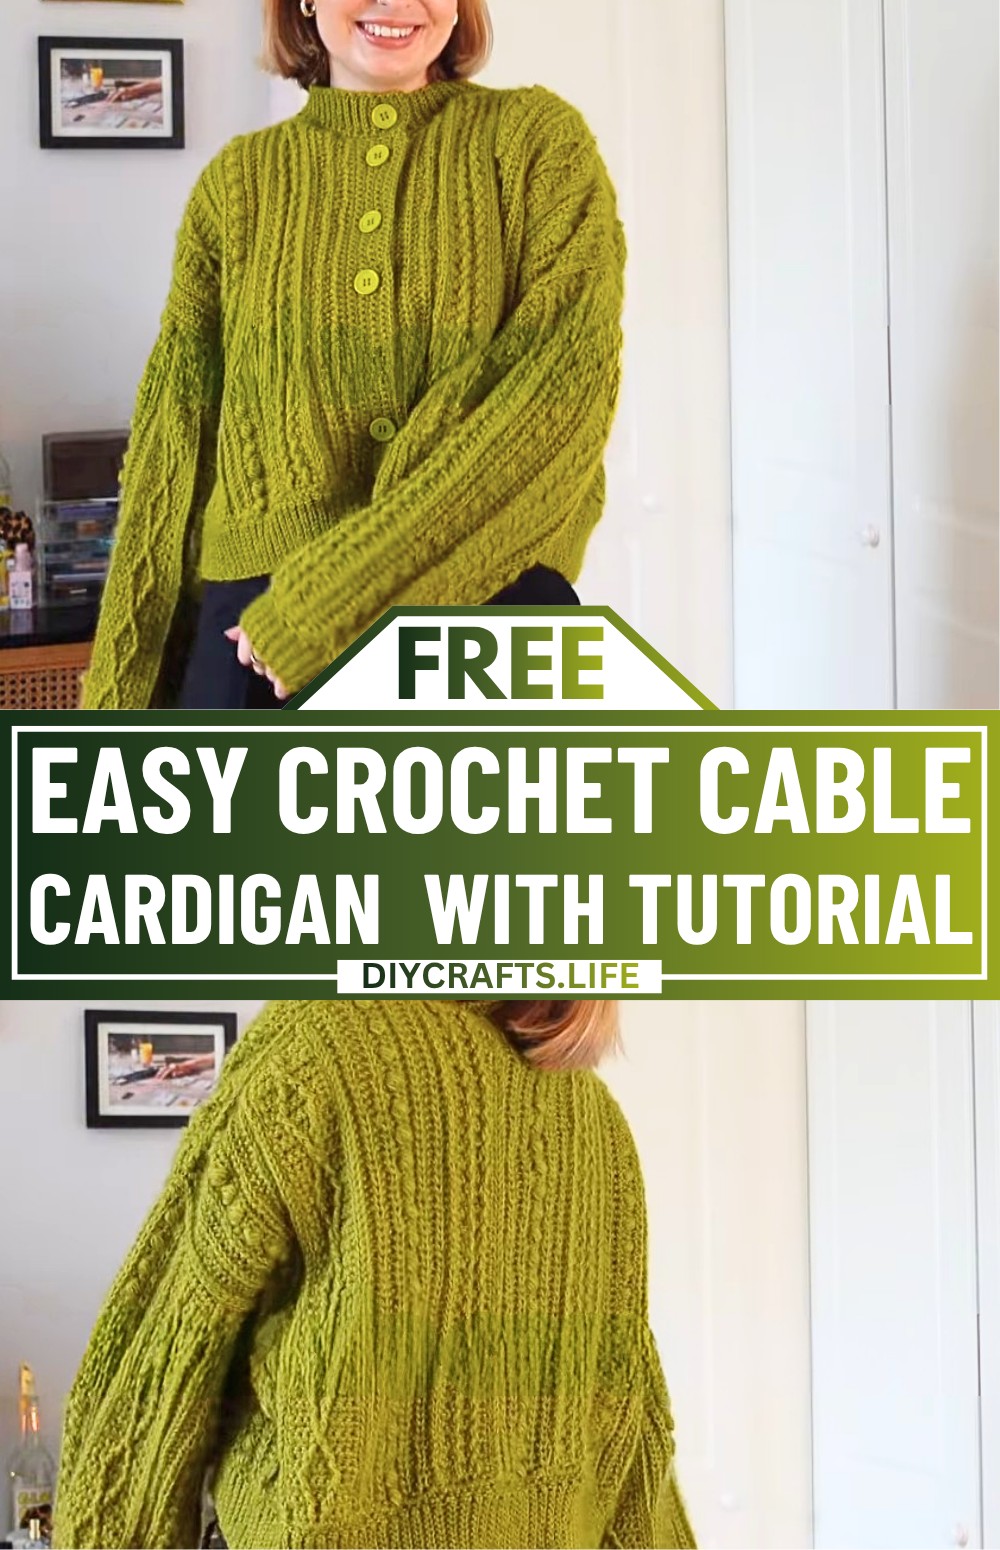
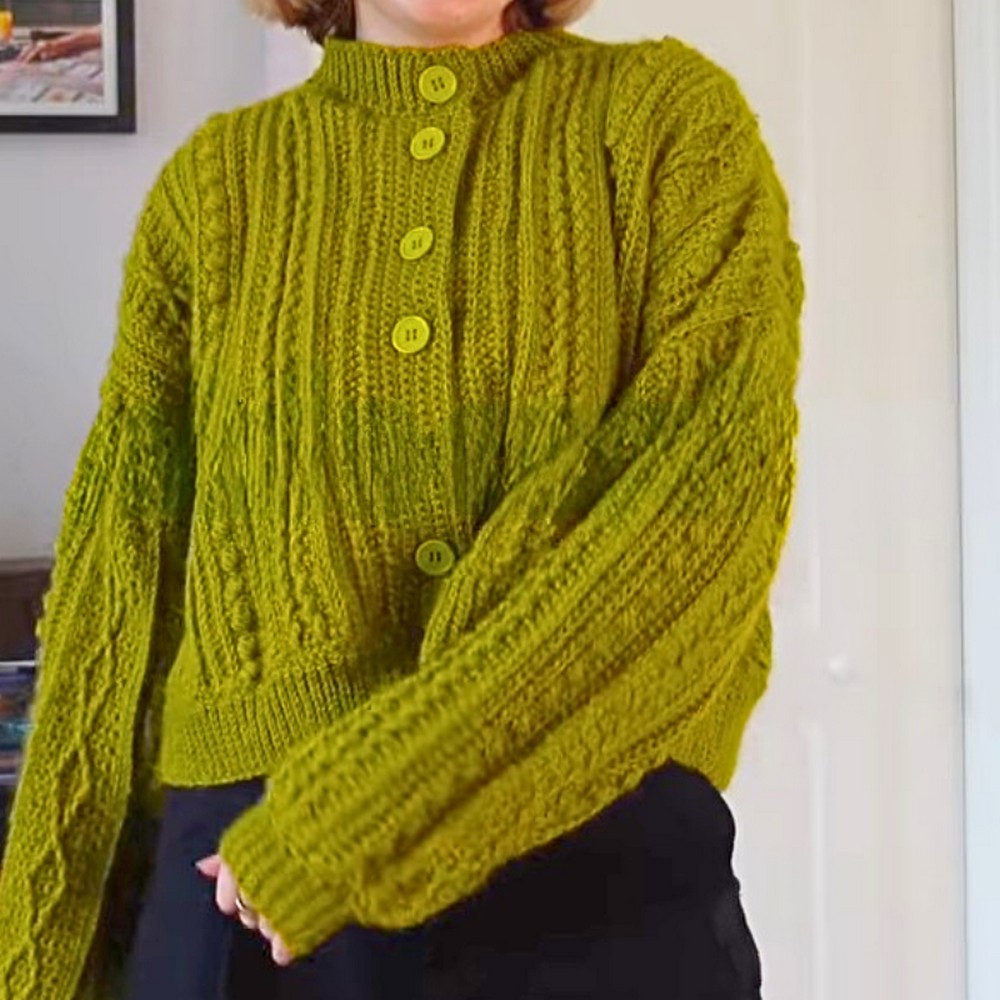
The crocheted cable cardigan is a beautiful, layered garment that stands out with its intricate designs. Made of multiple panels featuring cable twists, fun puff stitches, and classic ribbing, this cardigan is wonderfully textured. Its modern, boxy fit makes it a versatile piece for any outfit. But there's much more to this handmade cardigan than its textured design, and the details below reveal what makes it such a favourite among crocheters.
Crochet Cable Cardigan Pattern Free
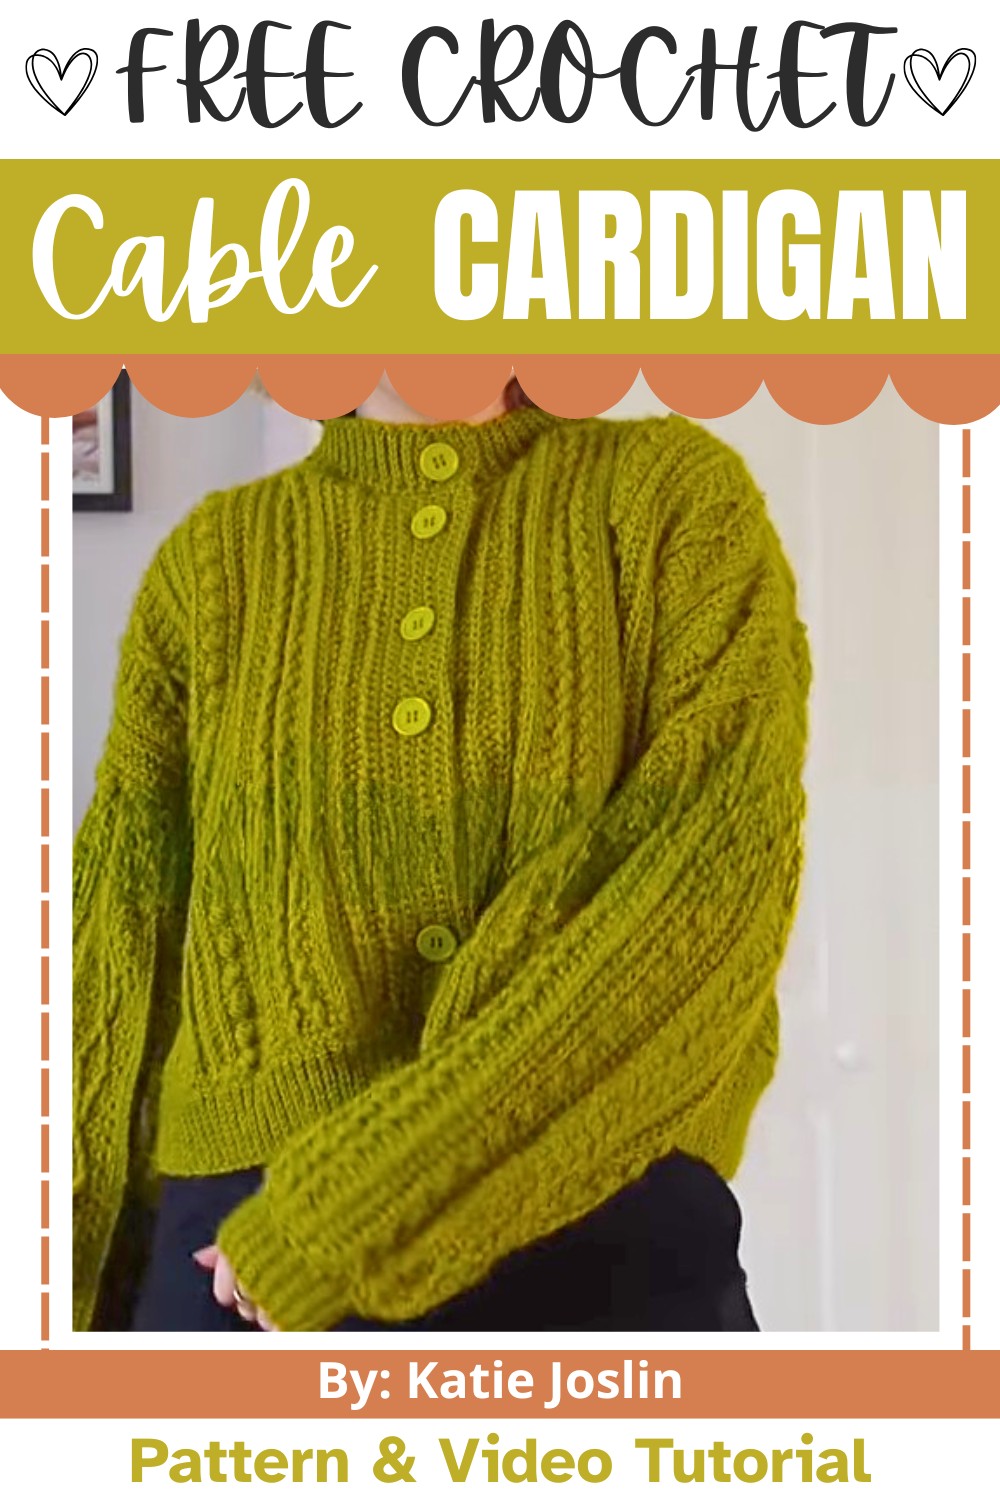
What makes this crochet cardigan especially appealing is its flexibility and customisation options. You can easily adjust the size, length, sleeve style, and handmade design details to suit your preferences. Add buttons, experiment with different panel arrangements, or personalise the overall look to make it uniquely yours. The result is a warm, practical, and stylish cardigan that you enjoy wearing for years to come.
Credit Katie Joslin
Materials & Tools Needed
- Yarn:
- 12 balls of 4-ply cotton yarn.
- 17 balls of mohair yarn (optional: use a single strand for a lighter cardigan or double-strand for a heavier one).
- Crochet Hook: 5.5mm (or size up for a looser drape).
- Additional Tools:
- Stitch markers.
- Scissors.
- Yarn needle for weaving in ends.
- Optional:
- Buttons for the front closure (exact size depends on your preference).
- Measuring tape (for customization).
Finished Size & Customization Ideas
- Intended Size:
- Designed with a boxy look.
- Length is customizable: you can adjust the length of the arm panels and body panels for a tailored fit.
- Suggested arm panel measurement: halfway down bicep to wrist.
- Customization Ideas:
- Skip puff stitches for a cleaner ribbed panel.
- Vary the length of the body and arm panels for a different style.
- Alternate panel arrangement for a unique look.
- Vary ribbing length on cuffs, bottom edge, or neckline as desired.
Pattern Abbreviations & Terminology
This pattern uses US crochet terminology:
| Abbreviation | Stitch |
|---|---|
| ch | Chain |
| sc | Single Crochet |
| hdslst | Half Double Slip Stitch (yarn over, insert, pull through all loops) |
| fpsc | Front Post Single Crochet |
| fpdc | Front Post Double Crochet |
| fptr | Front Post Treble Crochet |
| slst | Slip Stitch |
| dec | Decrease (single crochet two stitches together) |
| inc | Increase (two single crochets in one stitch) |
| st(s) | Stitch(es) |
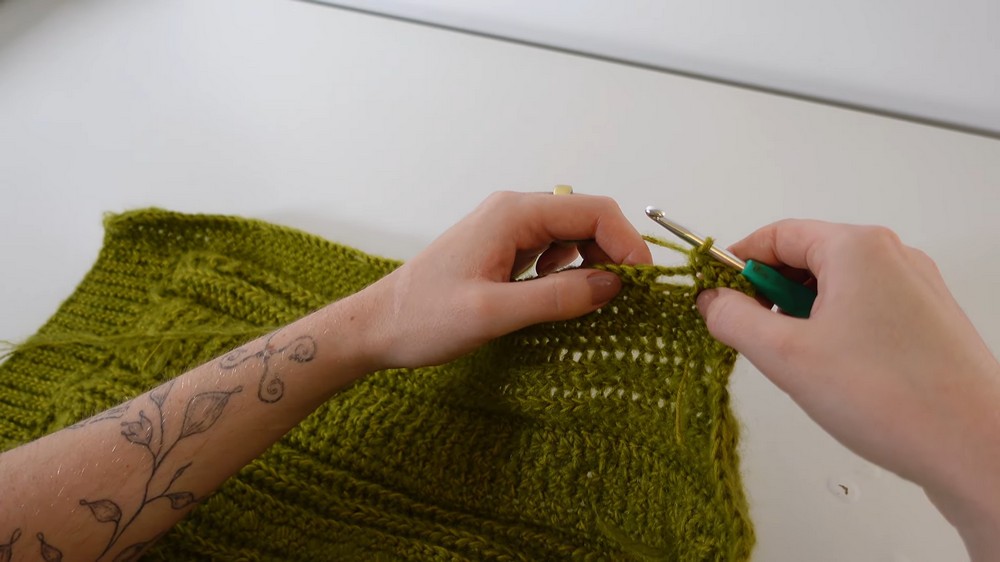
Step-by-Step Detailed Crochet Instructions
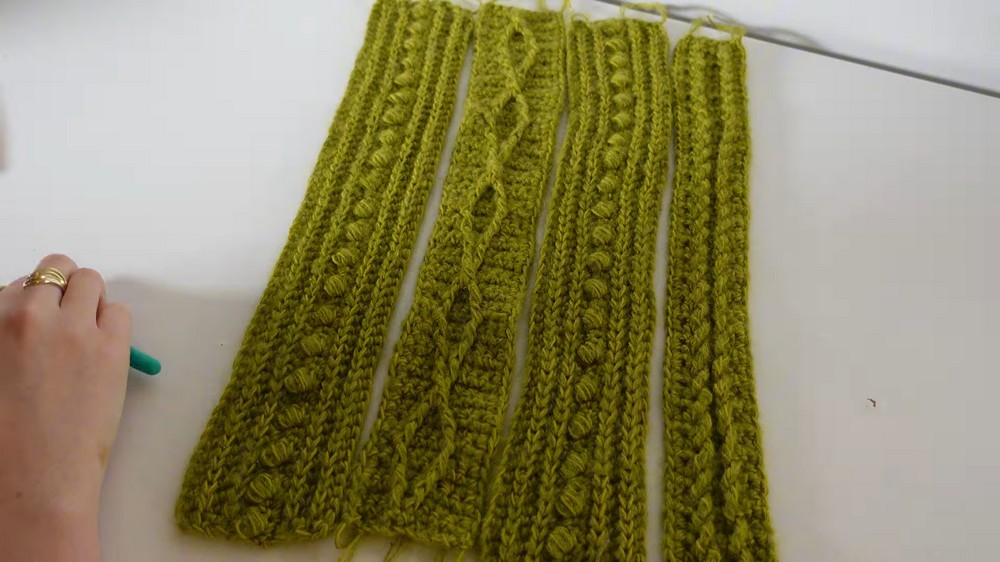
Body Panels
The cardigan consists of three main types of panels: cable panel, twisted panel, and ribbed panel with puff stitches.
Follow these step-by-step instructions.
1. Cable Panel:
- Start:
- Chain 8 + 1 (for turning chain).
- Row 1: Single crochet back down the chain (8 sts).
- Chain 1, turn, and repeat another row of single crochet.
- Begin Cable:
- Row 2 (Front Side):
- Work 3 sc, then:
- Work front post double crochet (fpdc) into the 4th stitch below.
- Repeat fpdc for the 5th stitch below.
- Finish row with 3 sc.
- Chain 1, turn to the back side.
- Work 3 sc, then:
- Row 3 (Back Side):
- Work a row of 8 sc, ensuring the single crochets go into the top of the post stitches on the back.
- Row 2 (Front Side):
- Cable Strands:
- Row 4: (Front Side):
- 2 sc, then fpdc into the first post stitch of the previous row.
- 2 sc to create a gap between the cable strands.
- Fpdc into the second post stitch of the previous row.
- Finish with 2 sc.
- Chain 1, turn to the back side.
- Row 5 (Back Side): Repeat 8 sc, chain 1, and turn.
- Row 4: (Front Side):
- Continue Bringing Out the Cable:
- Repeat the steps above while altering the number of sc between your cables to create the twisting effect.
- Follow each cable strand with a row of single crochet on the back side.
- After several rows, create the twist:
- On the front side, work 3 sc.
- Fpdc into the opposite cable strands (crossing over).
- Finish with 3 sc, chain, and turn to the back.
- Length Adjustment:
- Repeat these rows until you create 5 full cable twists (or your desired length).
- Always finish on the wrong side.
- Edge Finishing:
- Work a row of sc down both long sides of the panel. Use 1 sc per edge stitch.
- End each row with ch 1, cut yarn, and pull through to secure.
2. Twisted Panel:
- Start:
- Begin with ch 7 (6 working stitches + 1 turning chain).
- Row 1: Sc back down the chain.
- Chain 1, turn, and repeat another row of sc.
- Introduce Twists:
- Row 2:
- 1 sc, Front Post Treble Crochet (fptr) into the 2nd sc from Row 1.
- 2 sc, fptr into the 5th sc from Row 1.
- Finish with 1 sc, chain, and turn to the back side.
- Row 3 (Back Side): Work a row of 6 sc, chain 1, turn.
- Row 2:
- Continue Twist Effect:
- Repeat the twisting process while maintaining symmetry backwards into prior post stitches for the twisted appearance.
- Adjust row count to match the height of your other panels.
- Edge Finishing:
- Add sc rows down either side (suggested: 62 sts).
3. Ribbed Panel with Puff Stitches:
- Start:
- Chain the height of your panel (e.g., ch 63 for 62 working sts + 1 turning chain).
- Half double slip stitch (hdslst) back down into the second chain from the hook.
- At the ends, work hdslst into both loops; elsewhere, use back loop only.
- Introduce Puff Stitches:
- After 4 rows of hdslst ribbing:
- Begin a row of sc (work into back loop only, except ends — into both loops).
- On the next row, work alternating sc, puff stitch, sc:
- Puff Stitch = Yarn over, insert hook, pull through, repeat 3 more times, yarn over and pull through all loops.
- After 4 rows of hdslst ribbing:
- Finish:
- Complete 4 more rows of hdslst ribbing for symmetry.
- Edge finishing with sc rows on both long sides.
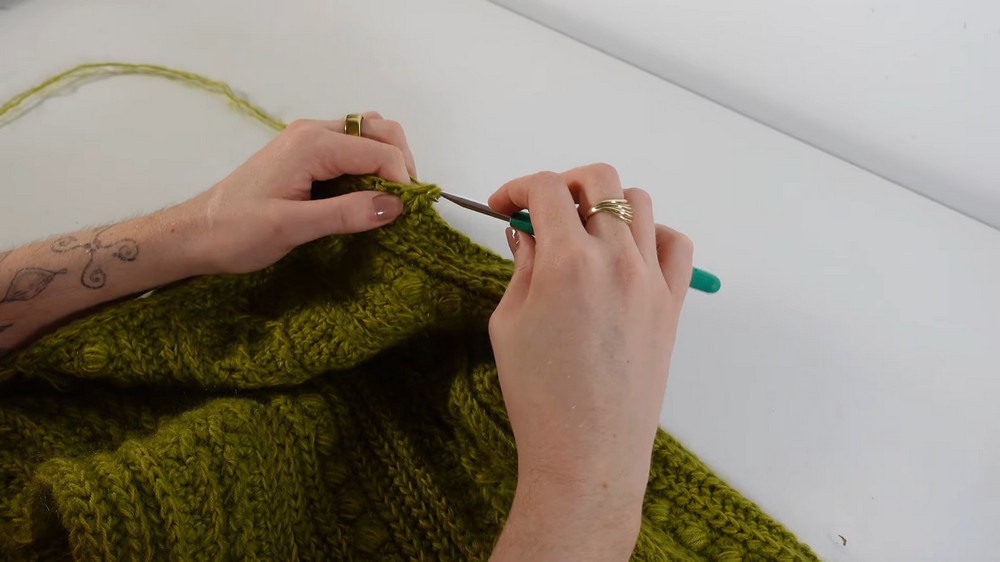
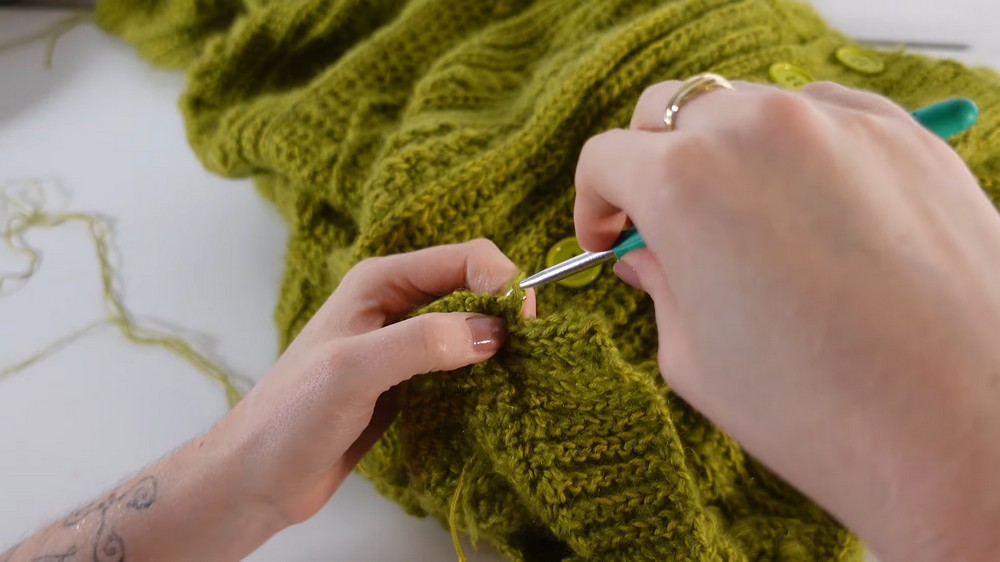
Assembly Instructions
- Slip Stitch Panels:
- Join panels following desired arrangement:
- Front Left: Ribbed → Cable → Ribbed → Twist.
- Front Right: Mirror the left panel.
- Slip stitch panels together along edges (on right side or wrong side to hide seam).
- Join panels following desired arrangement:
- Construct Arms:
- Join arm tube edges with slip stitches.
- Match armholes on the body with tube tops.
- Adjust stitch counts using increases/decreases.
- Attach Arms:
- Single crochet around armholes and connect to tubes with slst.
Adding Ribbing & Details
- Cuffs:
- Single crochet around arm edges; decrease as needed to tighten.
- Add ribbing with slip stitch rows.
- Bottom Edge Ribbing:
- Single crochet along the bottom edge; add ribbed slip stitch rows for desired length.
- Button Bands:
- For buttonholes: Work 9 rows of sc, adding buttonholes on row 5.
- Other side: Work plain sc rows; sew buttons to align with holes.
- Neckline Ribbing:
- Single crochet around neckline; ensure tightness.
- Add slst ribbing with optional buttonhole placement.
Final Step
- Weaving Ends: Take time to weave ends as you finish each panel and section of assembly. This saves significant time later.
- Blocking: Wet block the cardigan to relax fibers and even out panel tensions.