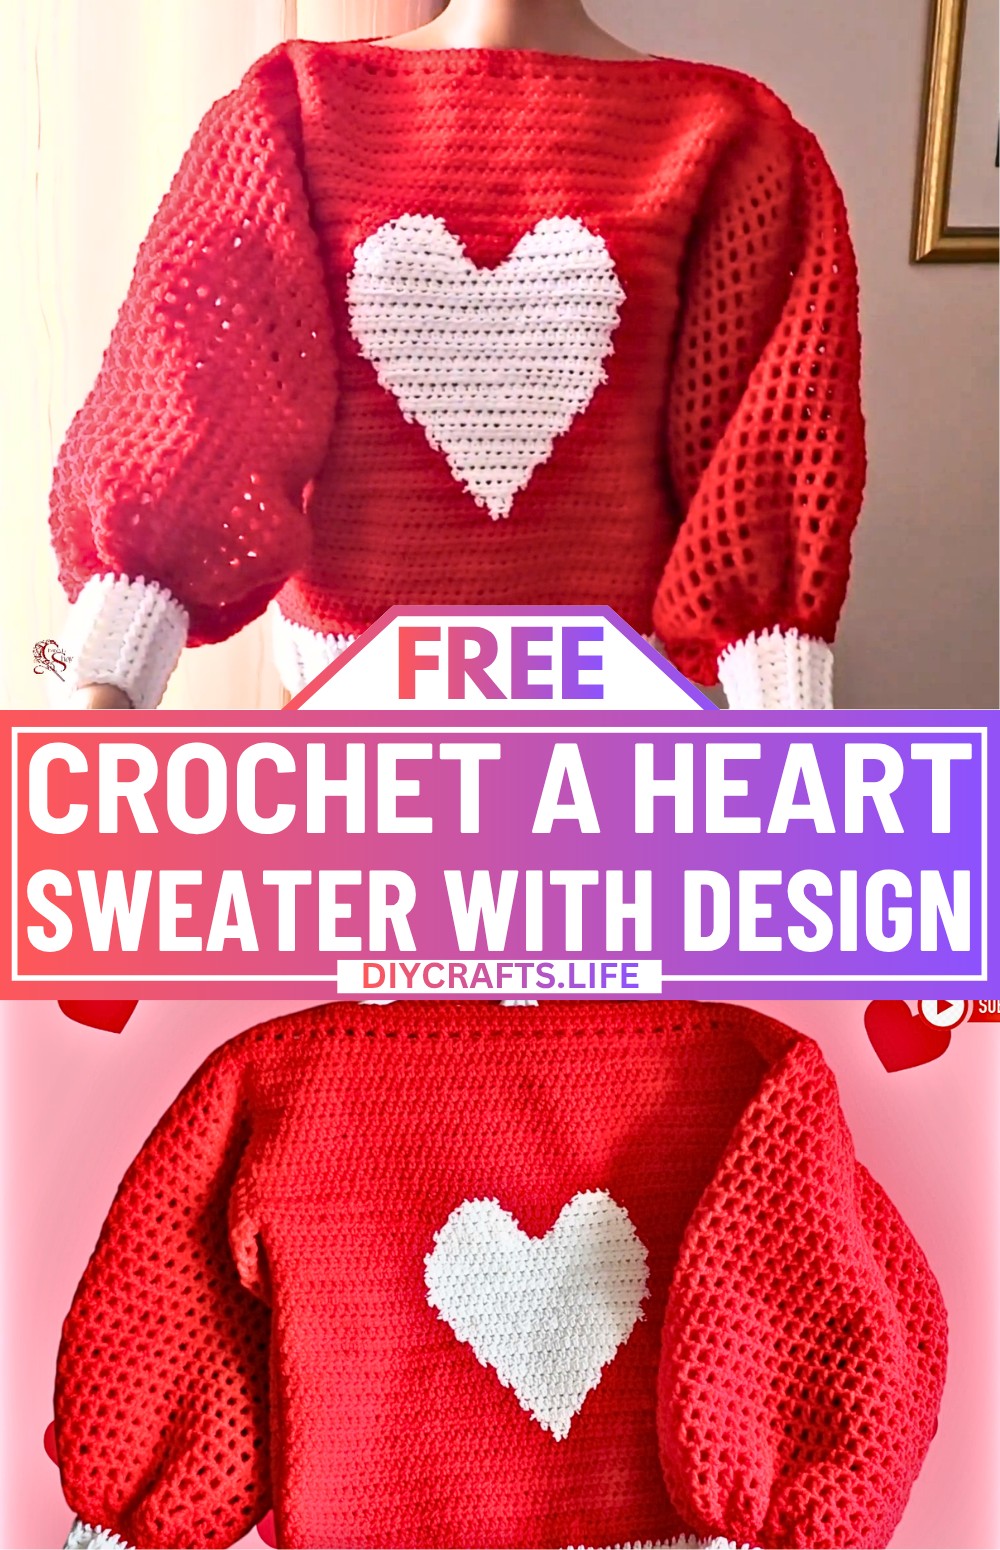
This crocheted heart sweater combines comfort and Charm in a design that feels both timeless and personal. Featuring a beautifully crafted heart motif at its Centre, it brings a warm handmade touch to any outfit. Perfect for cooler days or as a meaningful gift, this sweater balances style with coziness, making every wear feel extra special. At first glance, the heart may seem like a simple detail, but watching it gradually take shape is what makes this handmade crochet piece truly memorable.
How to Crochet a Heart Sweater
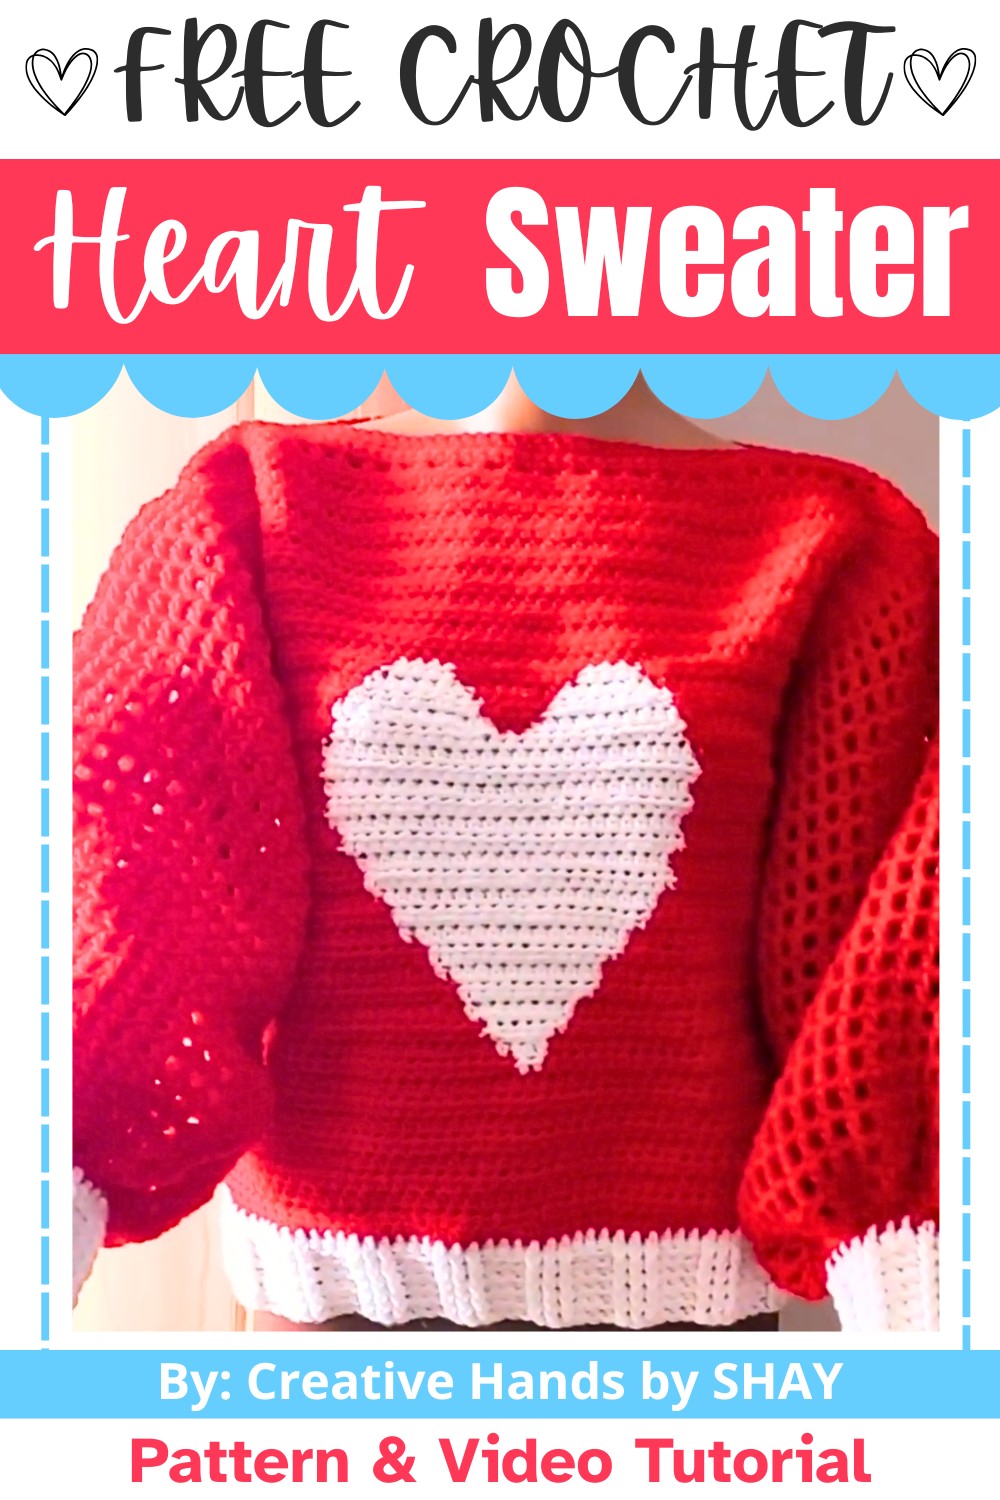
The construction is approachable and rewarding, making it an enjoyable crochet piece for a wide range of skill levels. Working with soft recycled yarn, you will create two main panels that incorporate the heart motif and assemble the crochet piece into a finished garment. Ribbing along the sleeves and Ham has structure and a polished finish. Watching the heart appear crochet stitch by stitch brings an extra sense of satisfaction. The result is a sweater that carries both handmade character and everyday comfort.
Credit Creative Hands by SHAY
Materials & Tools Needed
- Yarn:
- Red Yarn: Loops & Threads Acrylic Yarn (Medium weight, 354 yards).
- Recommended hook size: 5.5 mm.
- White Yarn: Mainstays Acrylic Yarn (for the heart design).
- You can substitute with other acrylic yarns in similar weights and colors according to preference.
- Crochet Hooks:
- 5.5 mm hook for most of the project.
- 6.0 mm hook for finishing sleeves.
- Darning Needle: For weaving in ends and joining panels.
- Measuring Tape: To measure sections like sleeve openings (around 7-8 inches).
- Stitch Markers: To mark sections like sleeve openings and shoulder seams.
Finished Size & Customization Ideas
- The sweater features a heart design at the center and stretchy ribbing at the bottom.
- Customize size by:
- Adjusting the width and number of rows for the body panels.
- Modifying the graph for the heart design.
- Adding more rows to sleeves for length or adjusting width for a wider/smaller fit.
Pattern Abbreviations & Terminology
- Ch: Chain
- HDC: Half Double Crochet
- DC: Double Crochet
- SC: Single Crochet
- Sl St: Slip Stitch
- Front Post DC: Front Post Double Crochet
- Back Post DC: Back Post Double Crochet
- St: Stitch

Step-by-Step Detailed Crochet Instructions
Part 1: Front Panel
Base Row
- Start with a slip knot on your hook.
- Chain 61 stitches (adjust if customizing width).
- Work HDC into the back bumps of the chain.
- Skip the first chain and HDC into each back bump across.
- Total stitches at the end of Row 1: 60 HDC.
- Chain 1, turn, and continue making HDC across for 9 rows total.
Heart Design
The heart is worked starting from row 10 using a colorwork method (white yarn for the heart).
Below is a simplified breakdown:
- Row 10:
- HDC across 29 stitches in red. On the 29th stitch, join the white yarn.
- Work 2 stitches in white, and switch back to red on the second stitch.
- Complete the row with 29 red HDC.
- Continue working the heart following the graph Shay provided.
- Row 2 of the heart: 4 white stitches.
- Row 3: 6 white stitches.
- Increase the white stitches in subsequent rows.
- (Refer to the information or the graph provided in the tutorial for accuracy).
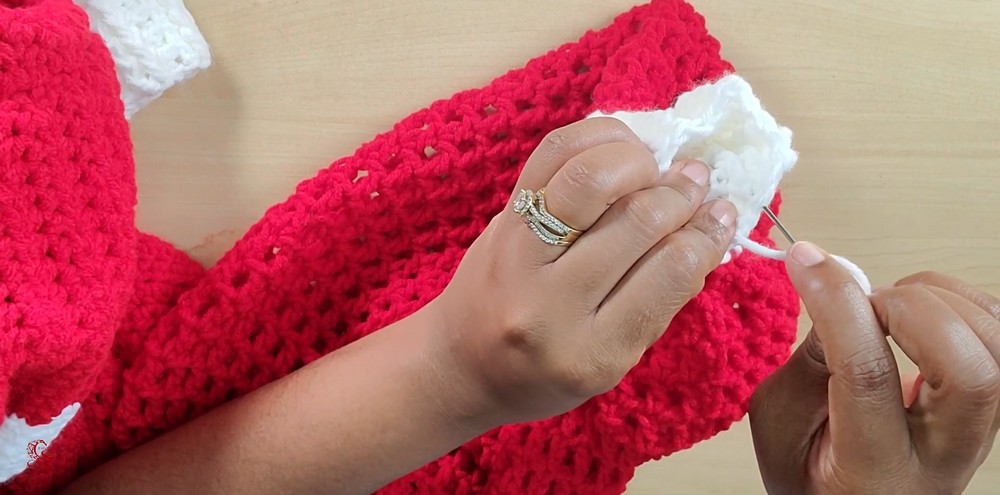
- Heart Completion:
- Finish the heart by decreasing white stitches at the top according to Shay’s instructions.
- When done, weave in the ends of your yarn using a darning needle.
Body Completion of Front Panel
- After completing the heart, add 14 rows of HDC in red to finish the front panel’s height.
- Top Edging:
- Work one row of HDC across, skipping 1 stitch between each (creates spaces).
- Finish the edges with 3 rows of SC.
Part 2: Back Panel
- Repeat steps for the base rows, chaining 61 and working 9 rows of HDC for the same width as the front panel.
- No heart pattern is required for the back panel.
- Work 14 rows of HDC after the base rows for height matching the front panel.
- Finish the top with one row of skip-stitch spaces and 3 rows of SC.

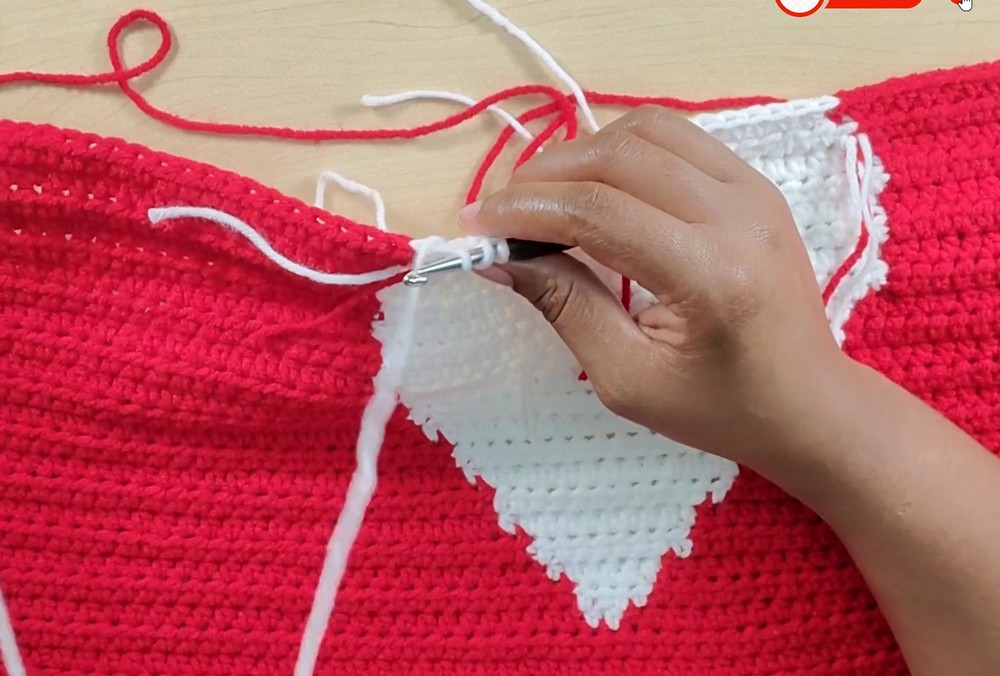
Part 3: Assembly
Shoulder Seams
- Place the front and back panels together with wrong sides facing.
- Measure and mark 12 stitches using stitch markers on the shoulders.
- Sew up with either a hooking slip stitch or darning needle technique.
Side Seams
- Place the panels together and mark 7-8 inches for sleeve openings.
- Sew the sides from the bottom hem to the marked point using slip stitches or sewing techniques.
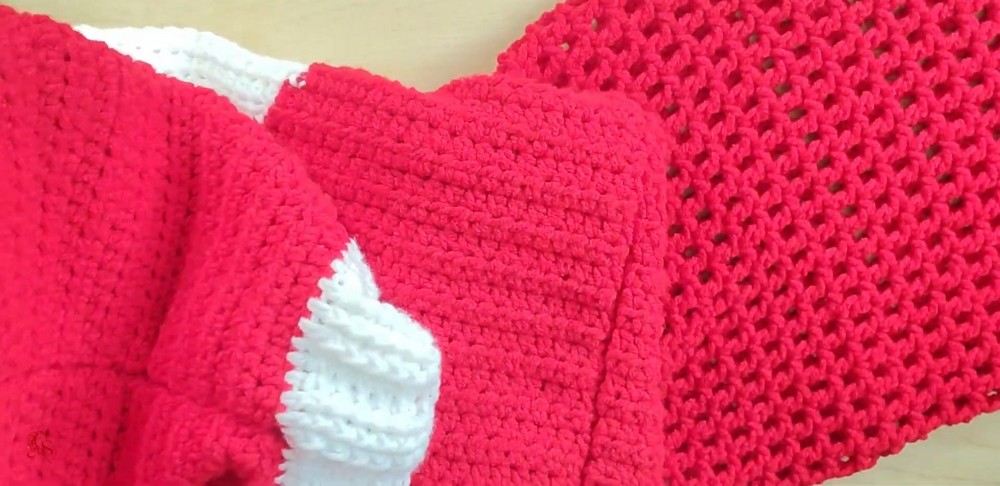
Part 4: Ribbing
Bottom Ribbing
- Attach yarn at the bottom of the sweater using a Sl St.
- Work 1 row of DC evenly around.
- Start ribbing with 3 front-post DC followed by 3 back-post DC.
- Alternate this (FPDC and BPDC) to create a ribbed texture.
- Continue for 5 rows total.
- Fasten off and weave the ends to finish.
Part 5: Sleeves
Base Round
- Attach yarn at the sleeve opening and work one row of SC evenly around.
- Switch to a 6.0 mm hook for the remainder.
Body of Sleeves
- Chain 4 to start and then DC into each stitch, adding 1 chain space between stitches. Continue this for the desired length (e.g., 24 rows as mentioned).
- Gradually decrease stitches (via skipping spaces) as the cuff area approaches.
- End with ribbing: Work 2 FPDC and 2 BPDC alternately for 7 rows, similar to the bottom ribbing.
Weaving Ends & Final Touches
- Using a darning needle, weave in all the loose ends neatly.
- Lightly block or stretch areas like the heart for a clean finish.
Customization Ideas
- Use different colors for personalization:
- Alternate the sweater body and ribbing colors.
- Add stripes or patterns instead of the heart.
- Adjust sleeve length or sweater width.
- Try adding embellishments like beadwork around the heart.