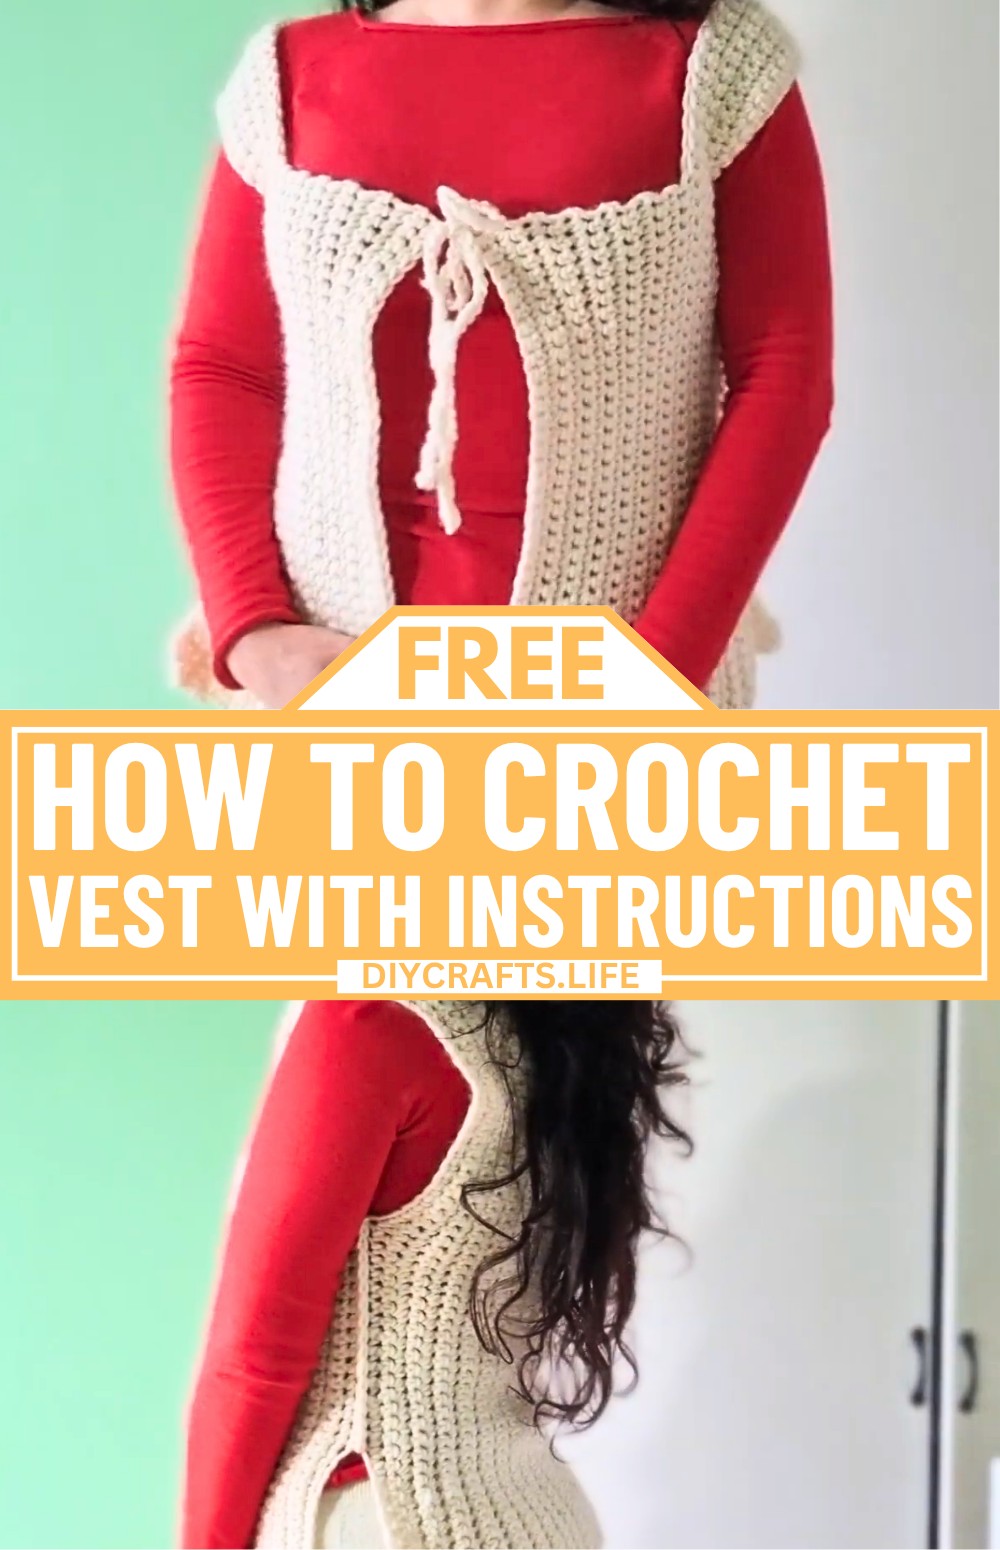
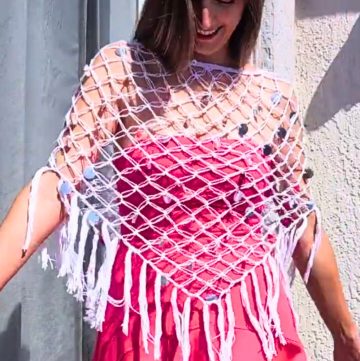
Some crochet items look impressively stylish, yet are surprisingly simple to make, and this vest is a perfect example. Lightweight and easy to wear, this crocheted vest adds a charming touch to almost any outfit. Whether used as a light layering handmade crochet piece in cooler weather or as a simple accessory to complete your look. This crocheted vest looks a bit detailed at first, but once you break it down, you'll see how simple its construction really is.
Easy Crochet Vest Pattern
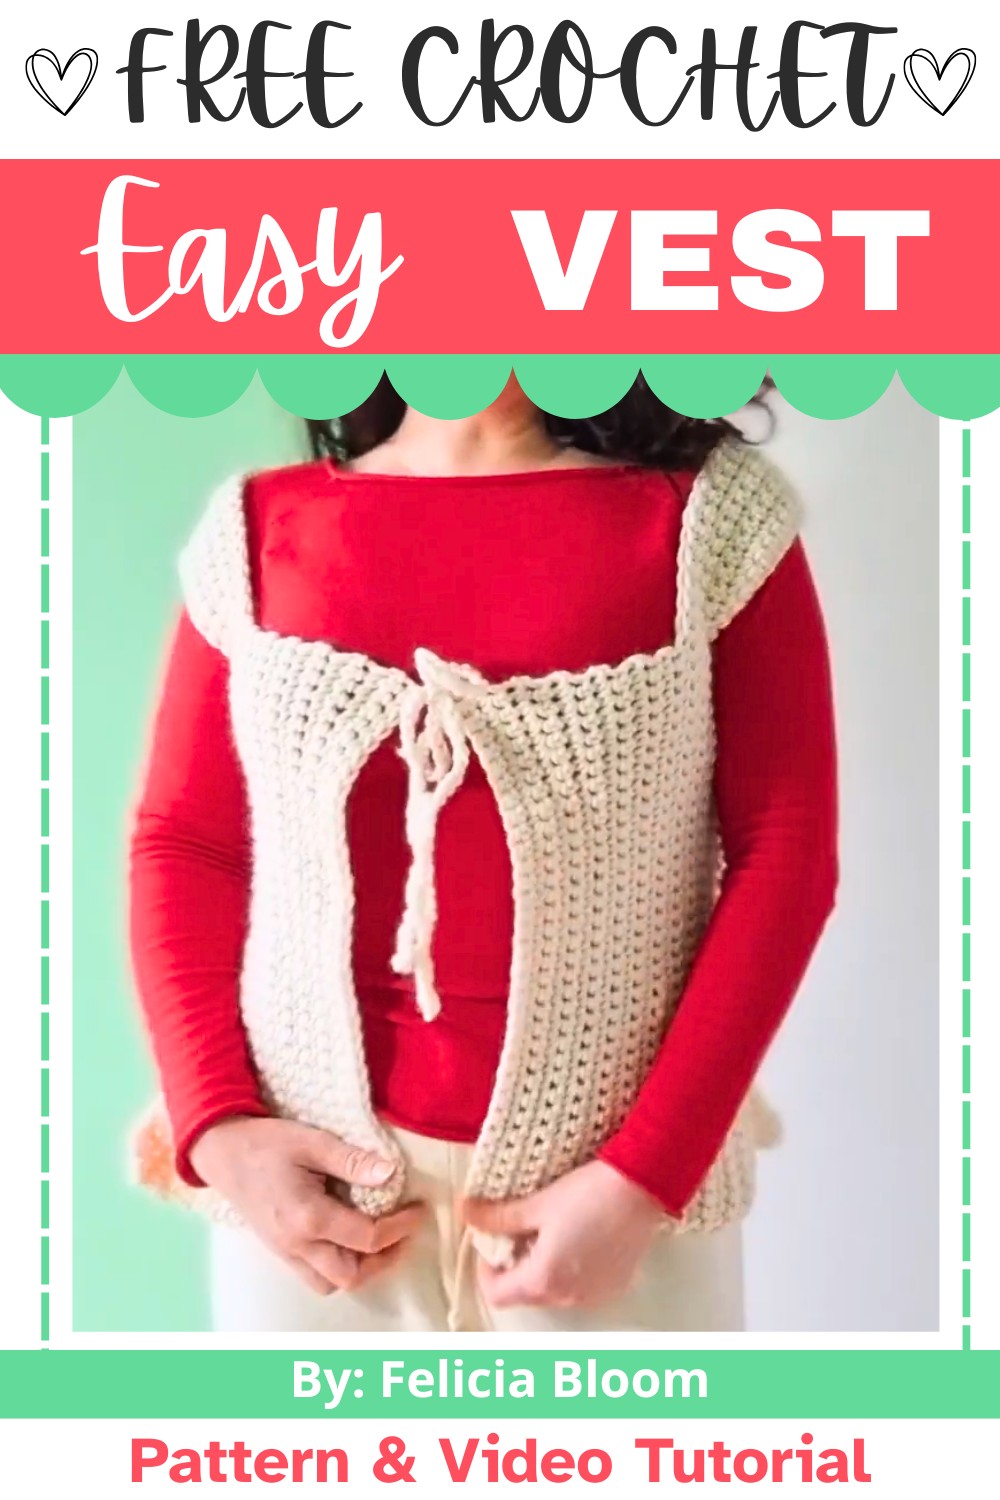
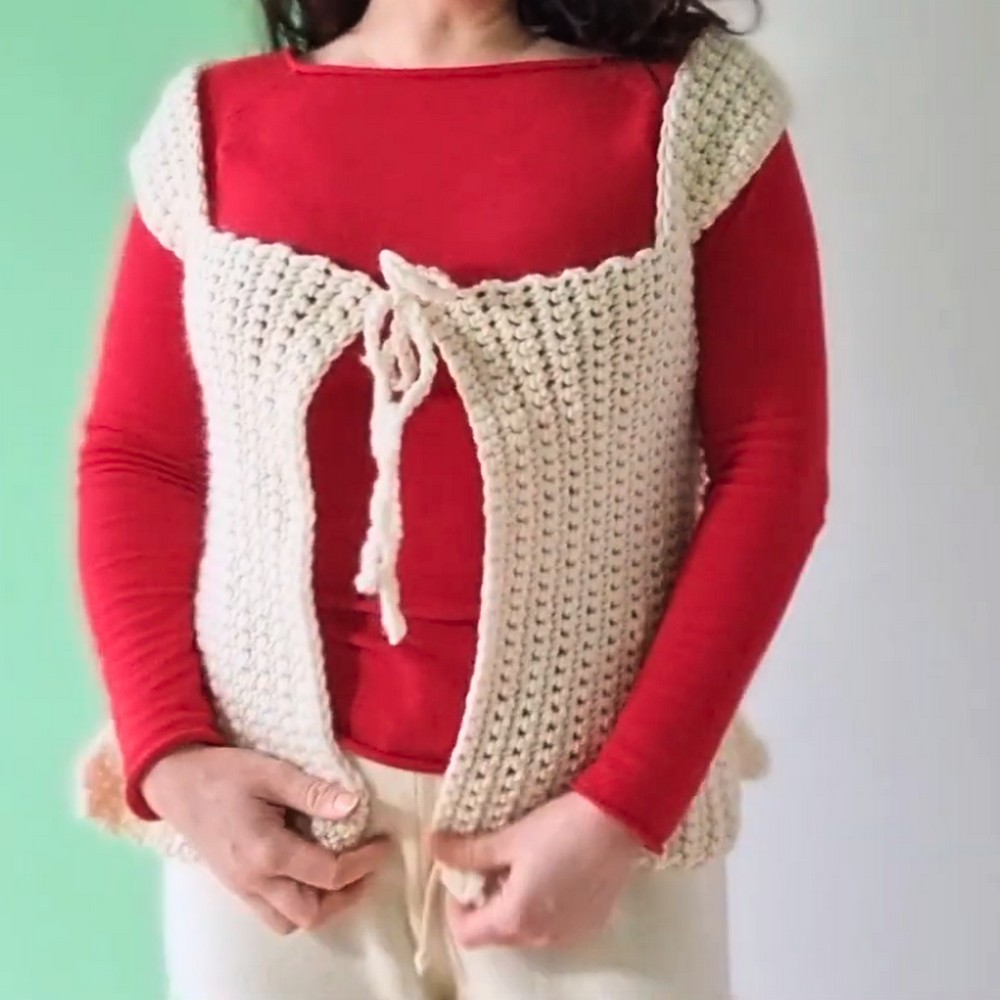
This crochet vest piece is made in three main parts: one large back panel and two smaller front panels. The handmade stitch pattern is simple and repetitive, allowing for a relaxed and stress-free crocheting experience. Once all the panels are completed, they are joined together to form the crochet vest, and adjustable front ties are added for a flexible fit. One of the best features of this crochet design is its adaptability.
Credit Felicia Bloom
Materials & Tools Needed
- Yarn: Medium-weight yarn (specific yarn not mentioned in the video; choose based on your preference).
- Hook: 9 mm crochet hook.
- Additional Tools: Stitch markers (optional), scissors, yarn needle for weaving in ends.
Finished Size & Customization Ideas
- The finished size can vary based on the number of rows and chains created.
- You can adjust the length by changing the initial chain count and adjusting the number of rows for the body panels.
- Customization ideas:
- Longer vest: Add more rows to the back panel.
- Oversized look: Increase the chain count for width.
- Shorter tie straps: Reduce the chain length at the end for tying the vest.
Pattern Abbreviations & Terminology
Below are abbreviations used in this tutorial:
- SC: Single crochet.
- Chain: A foundation stitch, used to lengthen or create ties.
- Turn work: Flip your work to start a new row.
Stitch counts and measuring are very important for accuracy.
Step-by-Step Detailed Crochet Instructions
This tutorial consists of three main parts: back panel, front panels, and assembly/ties.
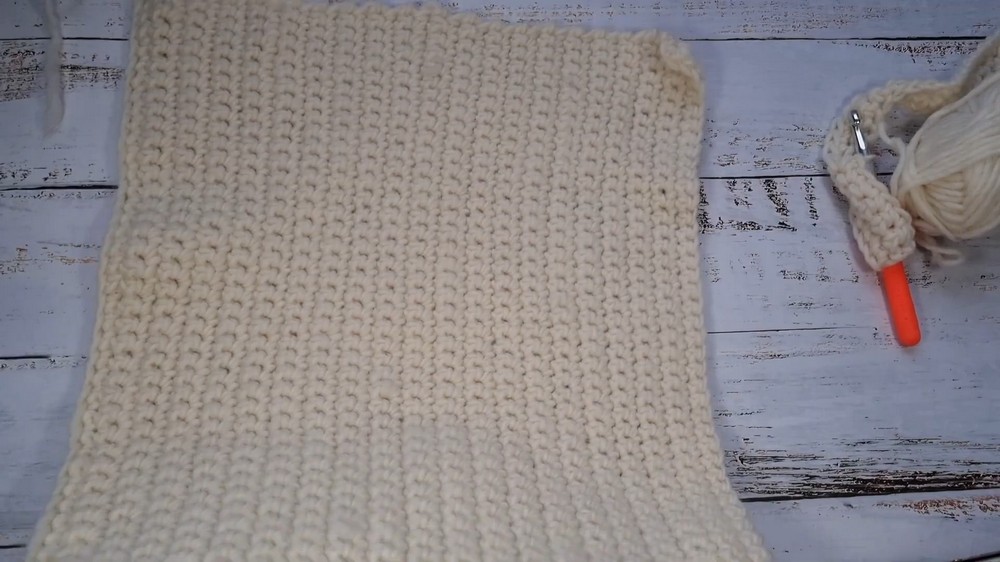
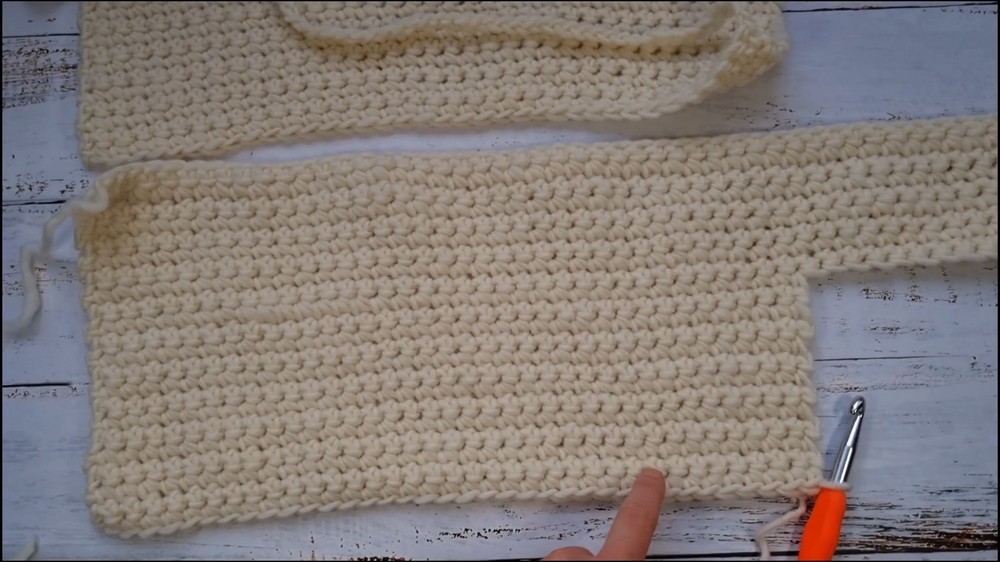
Part 1: Back Panel
- Foundation Chain:
- Start with a slip knot.
- Make a chain of 53 stitches (or adjust based on your desired vest length).
Tip: Measure the chain from your shoulder down to your desired vest length.
- Row 1 (Single Crochet):
- Skip the first chain.
- Insert your hook into the second chain and do a single crochet (SC).
- Continue placing SC across the row.
- You should have 52 SC stitches at the end.
- Repeat Rows:
- For Row 2 and onwards, create one turning chain, turn your work, and continue with SC across each stitch.
- Repeat this process until you reach 40 rows.
- Adjust Size If Needed:
- You can increase or decrease the number of rows to match your desired back panel length.
Part 2: Front Panels
Each front panel is made symmetrically and attached later.
Panel Setup:
Begin each front panel with the same initial chain count as the back panel (53 chains) and follow these steps:
- Foundation Rows:
- Crochet 9 rows of SC, following the same method as the back panel.
- Start Neckline Shaping (Row 10 and beyond):
- Complete 36 SC (instead of finishing the row).
- Chain 1, turn your work, and continue crocheting normal rows on just the first 36 SC stitches.
- Continue Rows for Neckline:
- Work a total of 12 short rows in this section to form the open front side of the vest.
- Repeat for Second Panel:
- Crochet another identical front panel by following the same steps above.
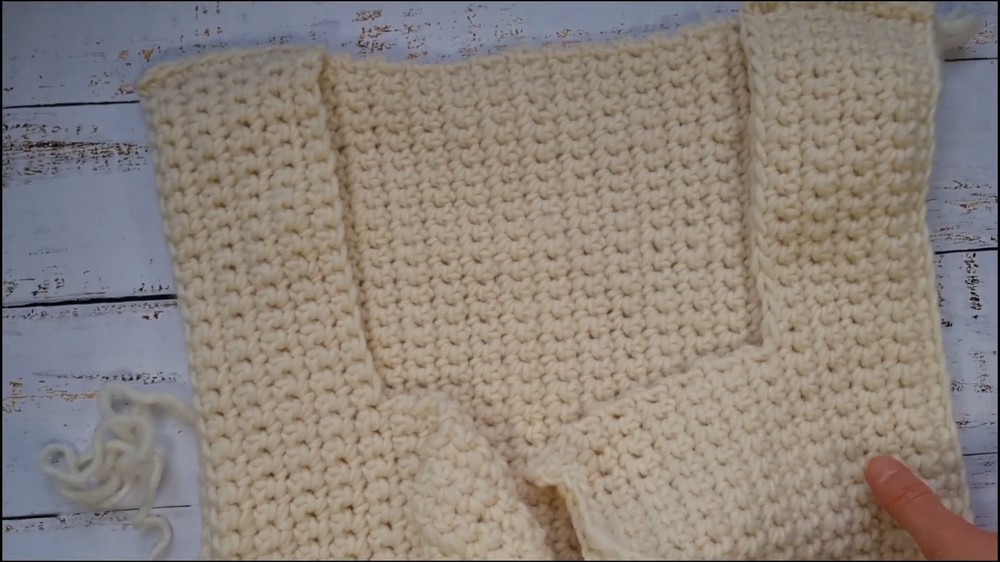
Part 3: Assembly & Finishing
Joining Panels:
- Attach Shoulders:
- Place the back panel flat and align one front panel at the shoulder edge.
- Secure the two pieces together by either sewing them or using single crochet to join them row by row. Repeat for the second shoulder.
- Join Sides:
- Determine your armhole size by counting stitches (e.g., 22 stitches from the top for the armhole).
- Mark the spot with a stitch marker.
- Begin joining the sides with single crochet, starting below the marker (leave the armhole section unworked).
Creating the Tie Straps:
Once both panels are attached:
- At the bottom edge of each front panel, create a long chain (any length you prefer).
- Attach the chain securely and weave in the ends using a hook or yarn needle.
- Make the second tie strap in the same way.
Final Touches
- Weaving in Ends:
- Use a yarn needle or hook to hide loose ends neatly.
- Stretch and Shape:
- Gently stretch or block the vest to even out stitches and ensure a polished appearance.