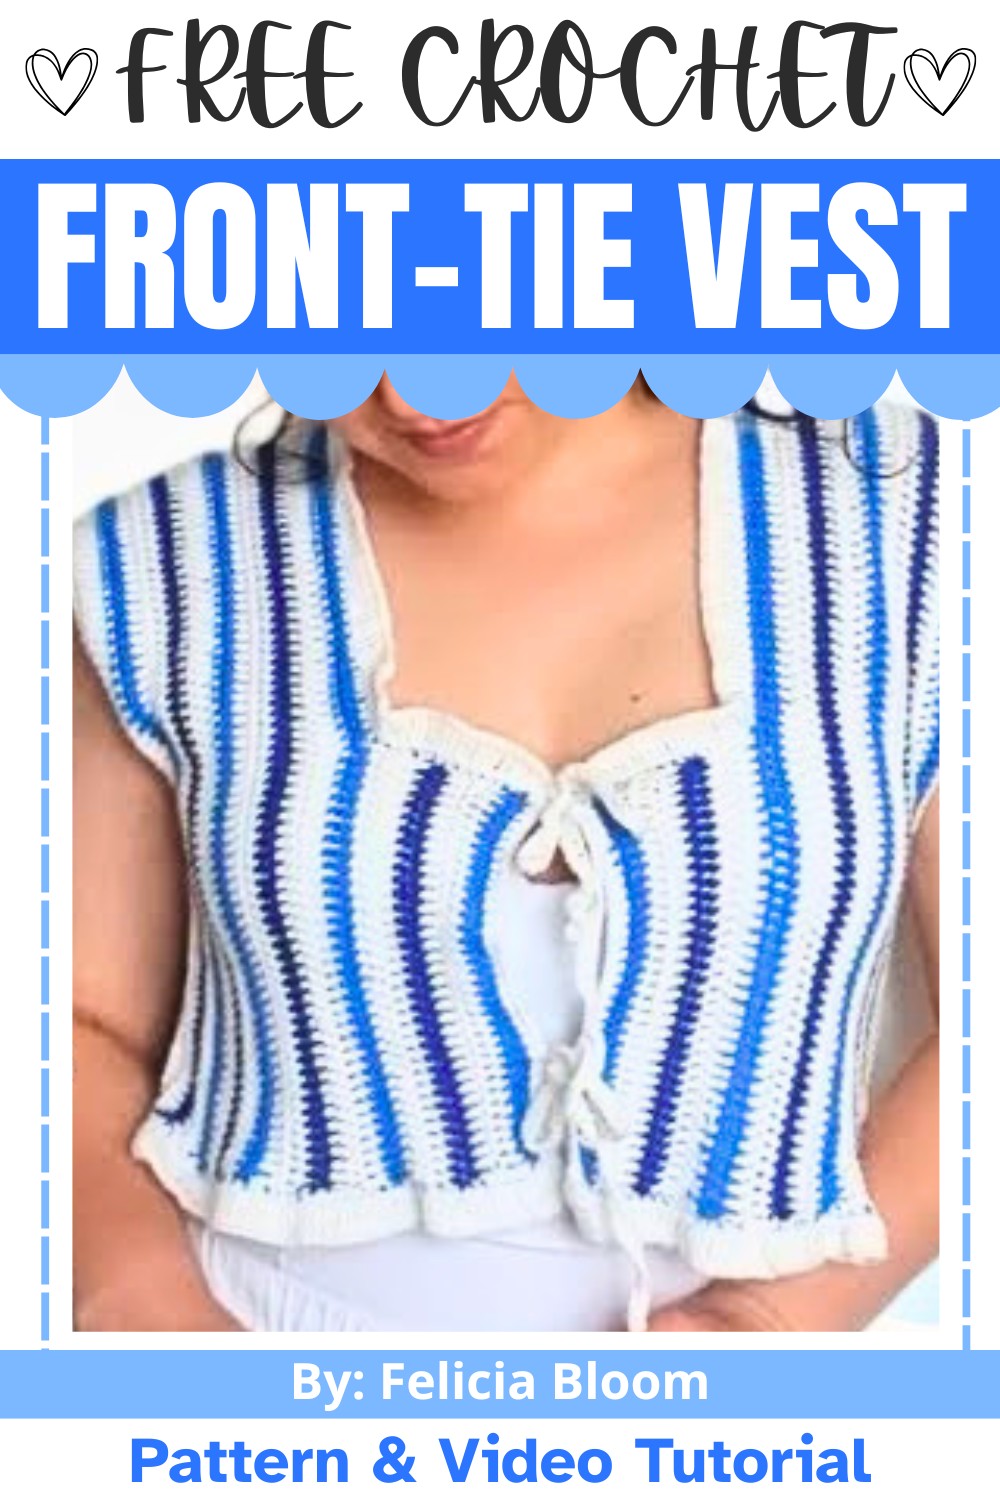
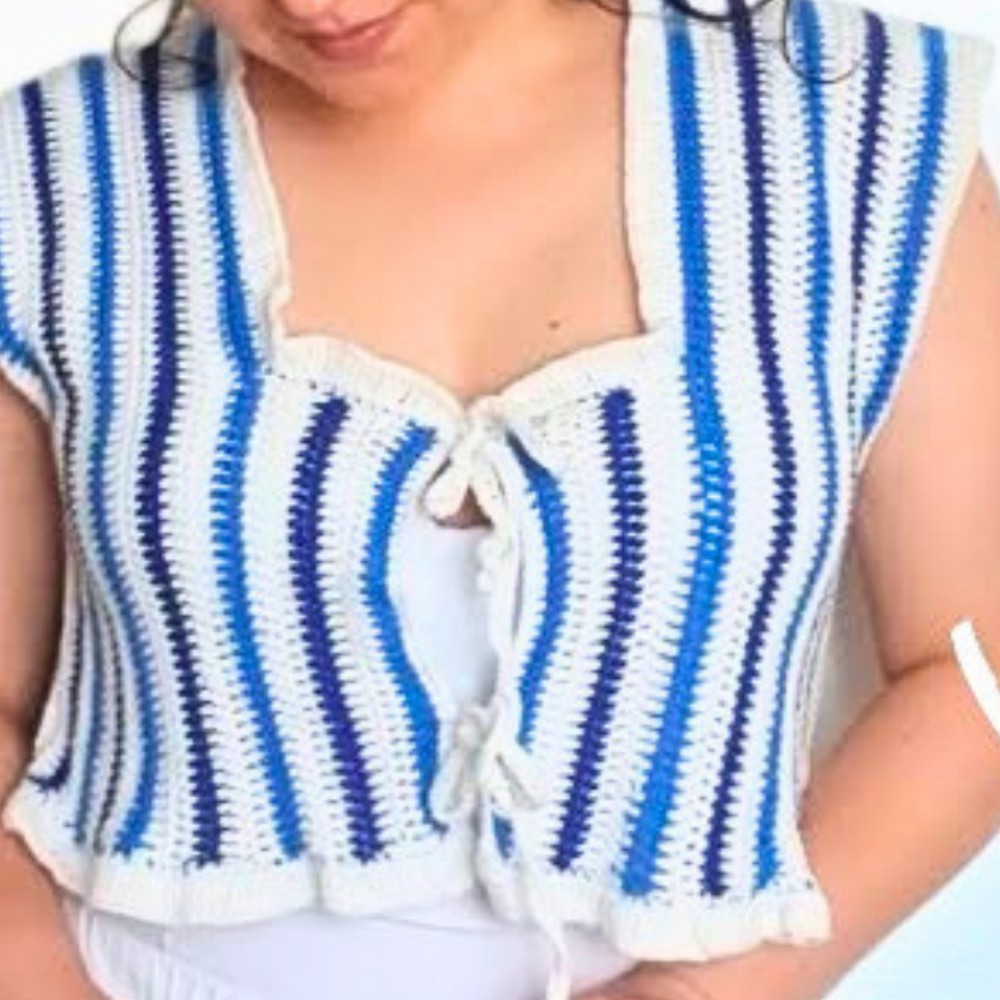
This crochet front-tie vest is a stylish and useful summer piece. Made with 100% cotton yarn, it’s light, breathable, and perfect for warm weather. Its simple crochet design with ties in the front makes it easy to wear casually or dress it up for outings. The mix of color stripes adds a playful yet elegant touch, making it a standout addition to any wardrobe. This simple yet stylish piece is not just about fashion; it's about the joy of creating something handmade, and as you move forward. You will discover how each step turns this crochet top design into a truly rewarding experience.
Crochet a Stylish Front-Tie Vest
Each step of this crochet piece carries a sense of calm creativity, making the process just as rewarding as the final piece itself. You’ll make handmade panels for the back and front, assemble them with simple stitches, and finish with neat edges for a polished look. If you’re new to crochet, this top vest is perfect; it gives you practice with basic stitches without overwhelming you. Once done, you’ll have a wearable piece that’s handmade and tailored to your measurements.
Credit Felicia Bloom
Materials & Tools Needed
- Yarn: Three colors (darker blue, white, lighter blue), 100% cotton, weight 8/4 (used: Hobby Rainbow cotton yarn).
- Hook Size: 4mm crochet hook.
- Additional Tools:
- Stitch markers.
- Measuring tape.
- Scissors.
- Yarn needle (for weaving in ends).
Finished Size & Customization
- The vest is made to your specific measurements.
- Measure around the body just above the bust for the length of the starting chain.
- Adjust the number of chains accordingly. You can create a sample chain and measure against your body before beginning.
- The length, panels, and neckline depth can also be customized by adjusting rows and placements based on your preferences.
Pattern Abbreviations & Terminology
- ch: Chain
- st: Stitch
- dc: Double crochet
- tr: Treble crochet
- sc: Single crochet
Special Stitch:
- Standing double crochet (sdc): A clean starting stitch for new rows that blends with double crochets.
This pattern uses US terminology.
Step-by-Step Crochet Instructions
1. Back Panel
- Chain Foundation: Create a chain based on your measurement.
- For a standard size, the tutorial used a chain of 76.
- Adjust the chain length for your custom size.
- Start working double crochets (dc):
- Skip the first 3 chains from the hook.
- Begin making double crochets in the 4th chain from the hook.
- Work 1 dc into each chain across the row.
- Row 2 and Onward:
- Turn your work, and chain 1 (optional: replace with a standing double crochet).
- Work 1 dc into each stitch across the row.
- Color Changes:
- Alternate rows of the three color stripes as follows:
- 2 rows white, 1 row darker blue, 2 rows white, 1 row lighter blue.
- Always change color at the end of a double crochet by pulling through the new color before completing the stitch.
- Secure the ends with a knot and trim.
- Alternate rows of the three color stripes as follows:
- Continue: Repeat rows with the same stripe pattern until the height of the back panel matches your desired length.

2. Front Panels
Each front panel makes up half of the front of the vest.
- Foundation Chain: Use the same number of starting chains (e.g., 76 chains) as the back panel width.
- Alternatively, measure from the neckline side along your shoulder to the bust and adjust the chain count.
- Work in double crochet rows as done with the back panel, following the color sequence:
- 2 rows white, 1 row darker blue, 2 rows white, 1 row lighter blue, repeat.
- Neckline Shaping:
- Place stitch markers at the neckline based on your desired neckline depth.
- Work double crochets until you reach the stitch marker, then chain 3 (for the gap of the neckline).
- Skip stitches as marked for the neckline and continue crocheting along the rest of the row.
- Repeat for both front panels until they match the back panel in size.
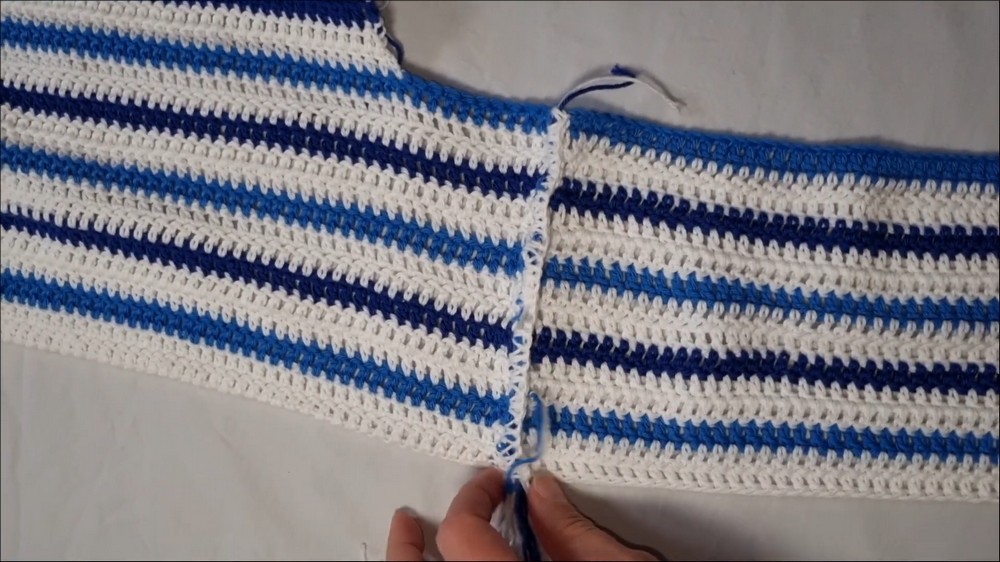
3. Seaming the Panels Together
- Lay all panels wrong-side-up.
- Seam the shoulder line first, using single crochet seams:
- Align shoulder edges of one front panel with the back panel’s edge.
- Work single crochet through both layers along the shoulder line.
- Repeat for the other side.
- Side Seams:
- Line up the sides of the front and back panels.
- Use single crochet seams to connect the sides of the vest.
- Weave in any loose ends.

4. Edging Details
Edging the Armholes & Neckline:
- With the vest right side facing up, attach white yarn to the edge of the armhole.
- Work single crochet stitches around.
- Repeat along the neckline, creating a clean edge.
Treble Crochet Detailing Around Waist:
- Begin at the corner of the bottom waist, attach white yarn, and create treble crochets:
- Alternate between groups of 2 treble crochets in one stitch, followed by 1 treble crochet in the next stitch.
- Continue this pattern all the way across the waist of the vest.
- Finish with a single crochet at the corner to secure.

5. Ties
- Create the front ties at the neckline:
- Attach light blue yarn at one corner of the neckline.
- Chain a long piece (the length of the tie you want).
- Work single crochets along the chain for a sturdy finish.
- Attach the tie at the base of the chain.
- Create matching ties for the other side of the neckline.
Final Touches
- Bind off and weave in all loose ends using a darning needle.
- Block the finished vest if desired to smooth out the fabric and even out the stitches.