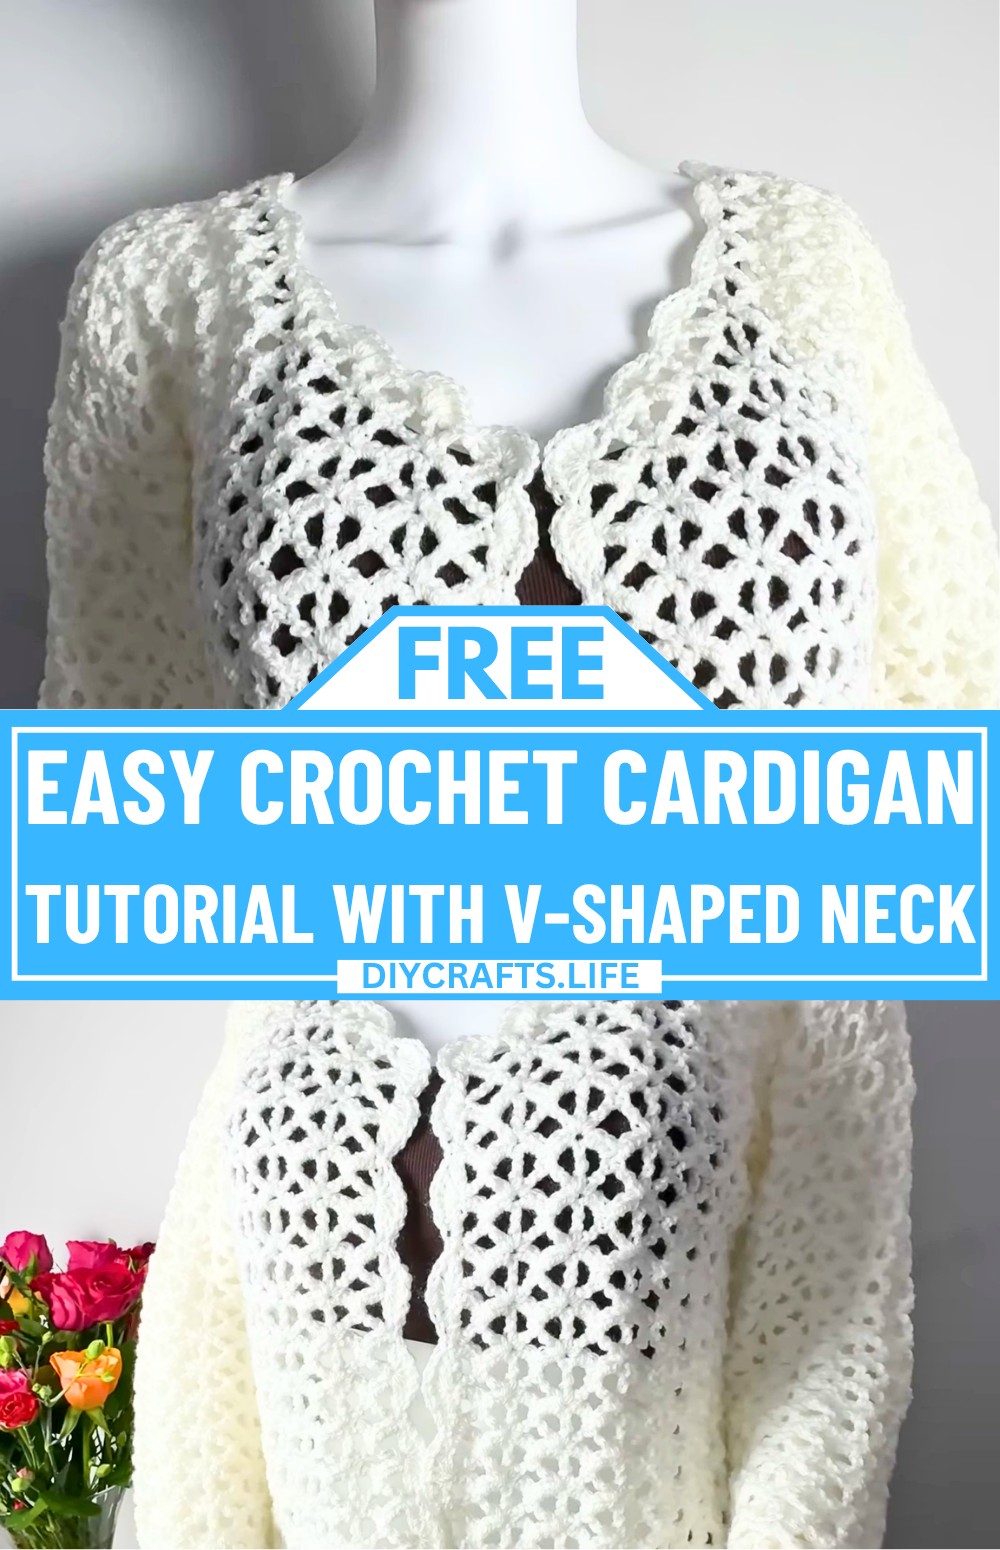
This crocheted cardigan is a cozy, wearable piece made with a timeless stitch pattern that blends comfort and style. It's a great choice for chilly days and is available in small, medium, and large sizes to suit different preferences. The V-neckline, long sleeves, and textured shell stitch create an elegant look while maintaining durability. You can also adjust the sleeve length or even make a sleeveless version to match your style. But there's more to this handmade crochet design that you will notice as you keep reading.
Crochet Cardigan With V-Shaped Neck Design
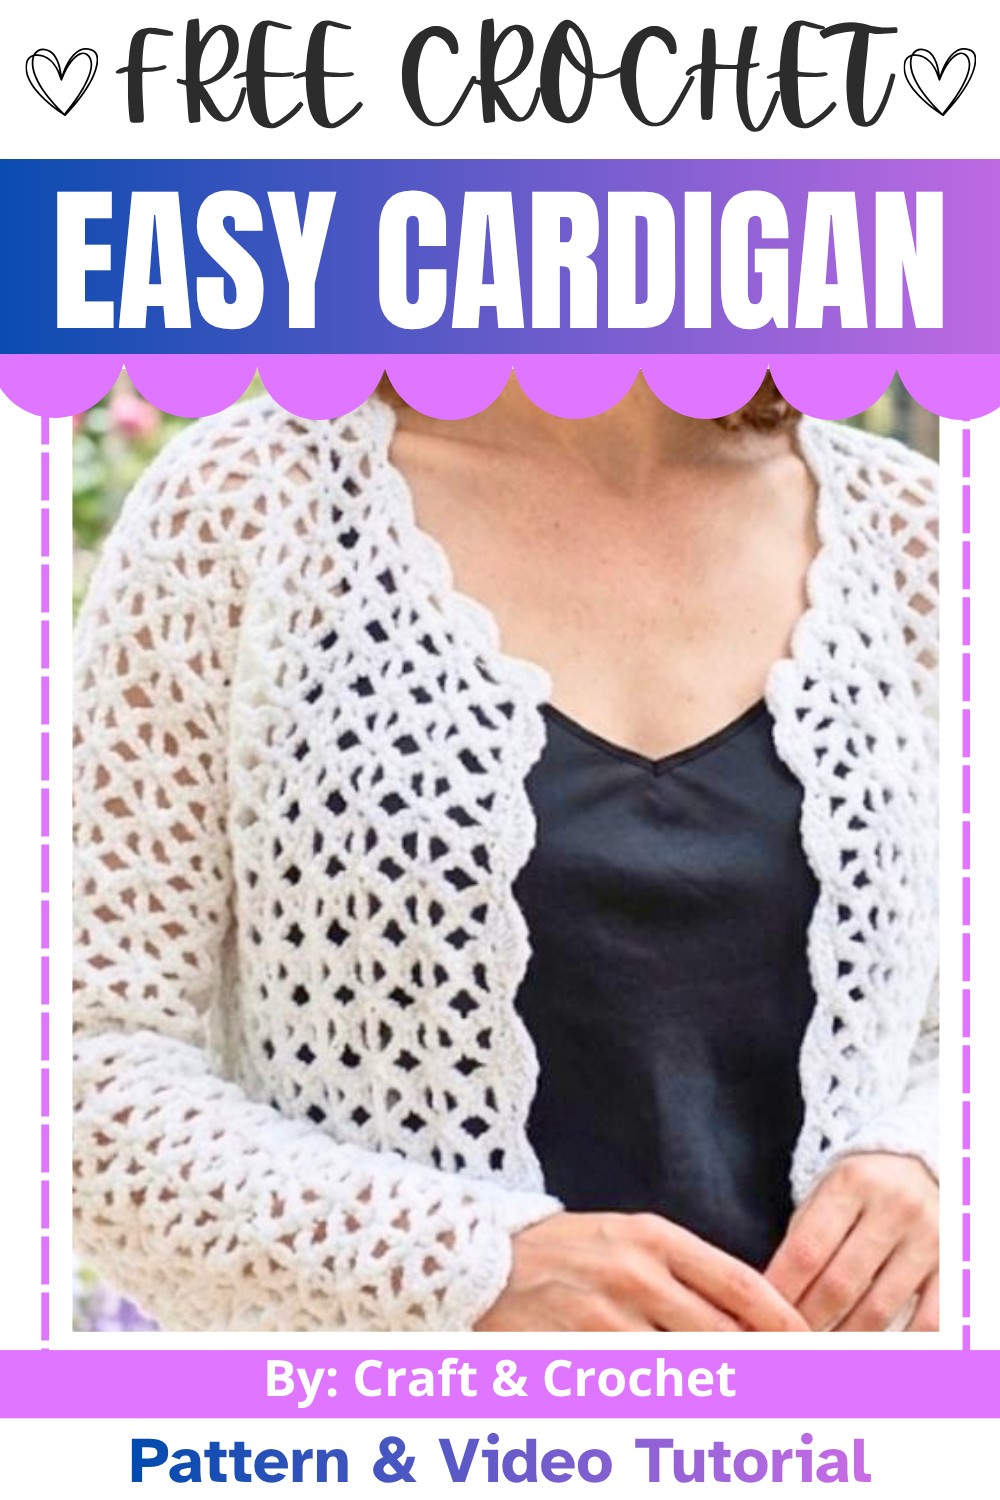
Designed with beginners in mind, this crochet cardigan pattern features a straightforward repeat that is easy to follow and enjoyable to crochet. It repeats just two rows, so you can follow along easily without feeling overwhelmed. The crochet cardigan comes together by joining a back panel, two front panels, and sleeves, before being finished with a clean edging for a polished appearance. Use your favorite yarn color and create a handmade crochet piece that reflects your personal style.
Credit Craft & Crochet
Materials & Tools Needed:
- Yarn: Double knitting yarn, approximately 330m/100g.
Example: Color code CE01 (used in tutorial), 3 skeins for medium size with long sleeves (additional 5-10g needed for shell rounds). - Hook: 4mm crochet hook (recommended for all sizes).
- Additional Tools:
- Yarn needle (for weaving ends and joining pieces)
- Stitch markers (to mark areas for decreases, corners, or alignment)
- Scissors
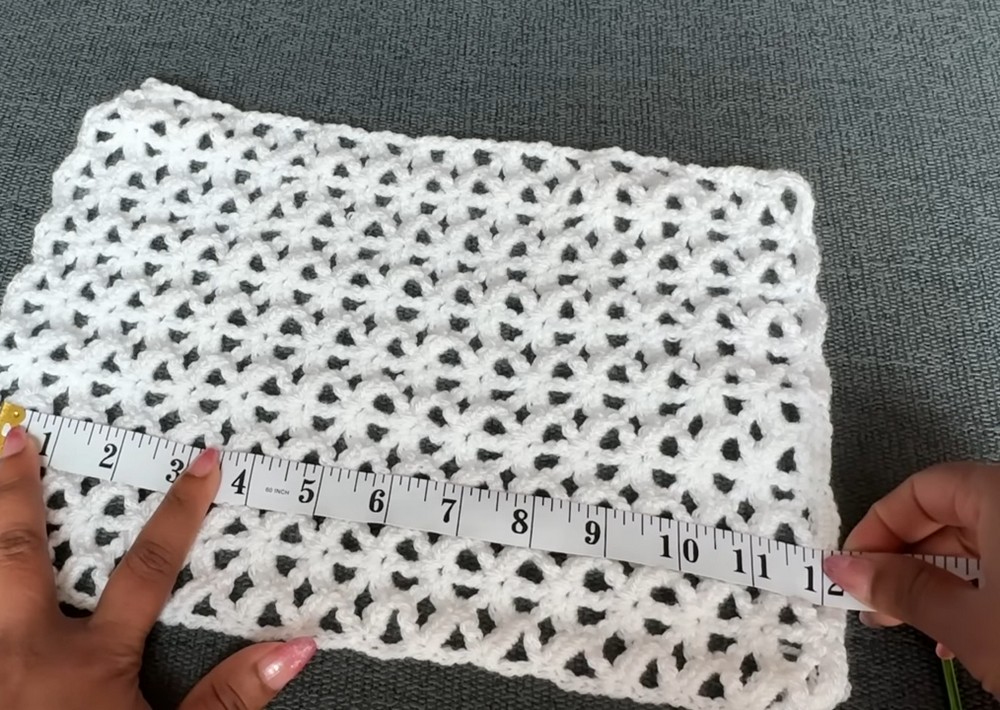
Finished Size & Customization Ideas:
The pattern is provided in three sizes: Small, Medium, and Large.
- Small: Width ~18 inches / Length ~17 inches / 29 rows
- Medium (Sample in Tutorial): Width ~20 inches / Length ~20 inches / 31 rows / 45 rows with finishing.
- Large: Width ~23 inches / Length ~23 inches / 33 rows
Customization Ideas:
- Length: Add or reduce rows as desired.
- Sleeve Options: Choose between short sleeves, ¾ length sleeves, or long sleeves. Adjust by adding or omitting rows after shaping.
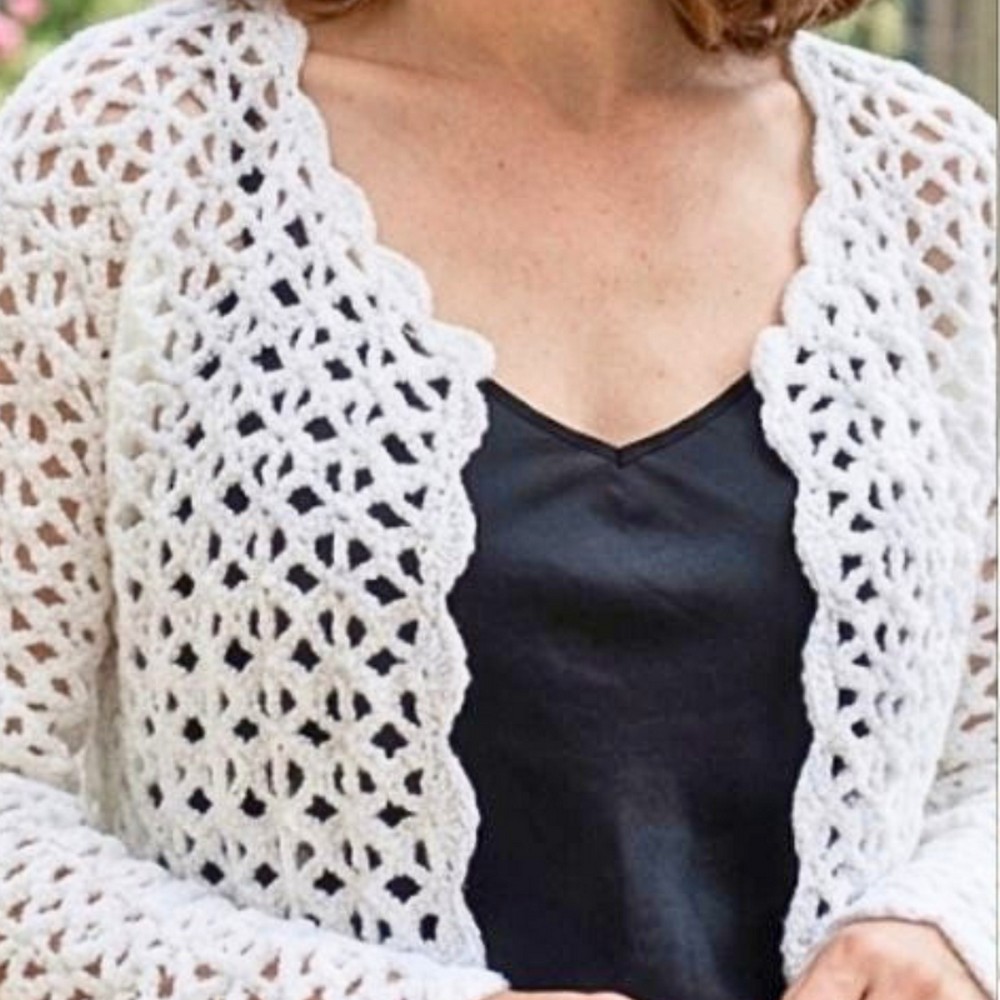
- Neckline: V-neck design as per tutorial or adjust to closed/rounded style with modifications.
Tip for Custom Sizing:
Adjust by measuring the chest size. Divide the chest measurement by 4 and apply the "multiple of 6 + 1" formula for foundation chains.
Pattern Abbreviations & Terminology:
All instructions follow US Crochet Terms.
- ch: Chain
- st: Stitch
- sc: Single Crochet
- dc: Double Crochet
- ext-dc: Extended Double Crochet
- sl st: Slip Stitch
- rep: Repeat
Step-by-Step Crochet Instructions
The cardigan is composed of 3 panels: Front Panels (2), Back Panel, and optional Sleeves. Below is the breakdown of steps:
I. FRONT PANELS
Each front panel is made identically. The V-shaped neckline is created by tapering rows. One panel will have a left decrease and the other a right decrease.
1. Foundation Row:
- Use the multiple of 6 + 1 formula.
- Suggested chains: Small (49 ch), Medium (55 ch), Large (61 ch).
- Begin with a slip knot. Chain the required number (e.g., 55 for Medium).
- Row 1: Turn the chain over. Work 1 sc in each chain across. For Medium, you’ll have 54 sc at the end.
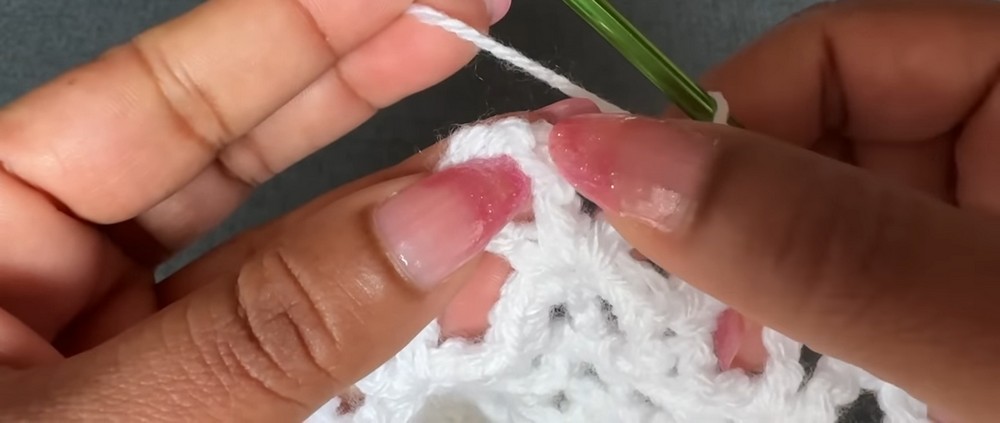
2. Shell Pattern
The pattern repeats Rows 2 and 3 for the main body:
Row 2 (Shell Row):
- Ch 6 (counts as ext-dc + 3 ch). Turn.
- Place 1 ext-dc into the first sc from the previous row. (This creates the first V-stitch.)
- Skip 5 sc, place [ext-dc, ch 3, ext-dc] into the 6th sc. (Repeat this across to create "shells").
- At the end, work [ext-dc, ch 3, ext-dc] into the last st.
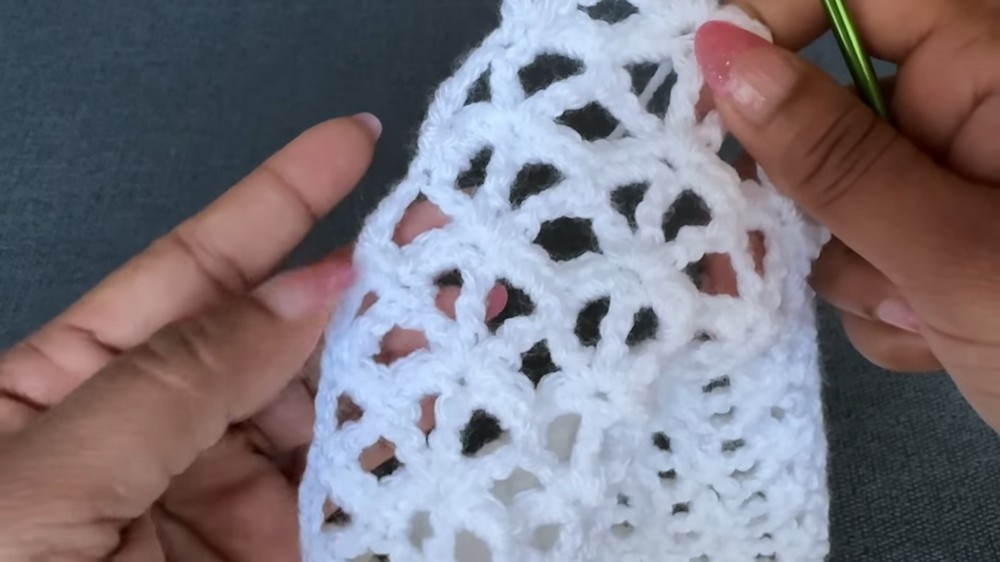
Row 3 (Single Crochet Base Row):
- Ch 1. Turn.
- Place 1 sc into the first st, then work 3 sc into each chain-3 space of the preceding row with 1 sc in between V-stitches.
- Repeat: [6 sc, 1 sc in next chain].
Alternate Rows 2 and 3 and continue working until achieving the desired length:
- Small: 14 shells (~29 rows).
- Medium: 15 shells (~31 rows).
- Large: 16 shells (~33 rows).
3. V-Neck Shaping
To create the V-shaped neckline, decreases begin after the body is formed. Work 14 rows, decreasing one shell on each taper.
Decrease Row 1:
- Start with ch 6 on the first side. Form V-stitch into the second shell and work remaining shells.
For the left panel, adjust decreases by slip-stitching along the taper side. Ensures both sides mirror.
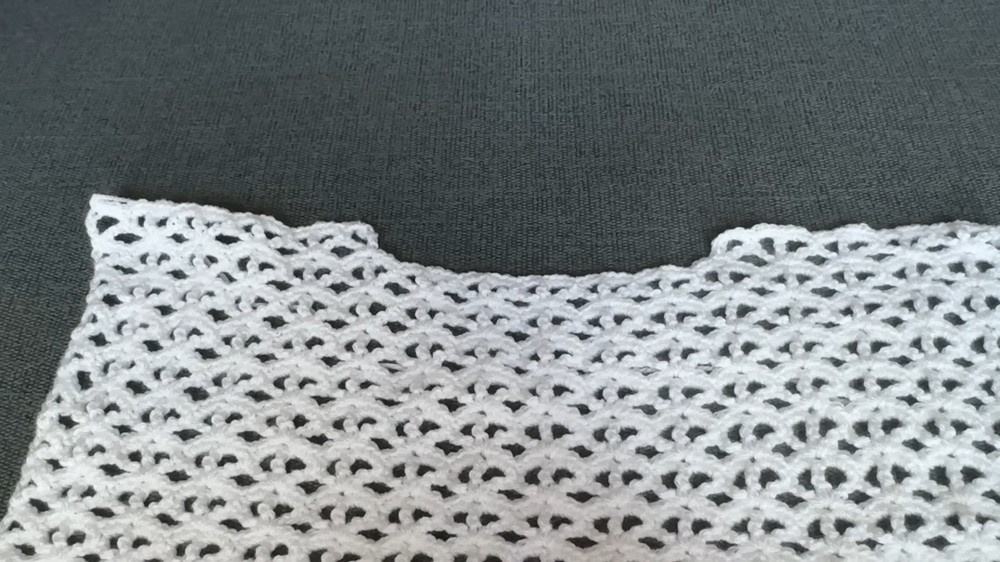
II. BACK PANEL
The back panel is wider than the front panels. It is rectangular with no shaping.
Steps:
- Chain 96 for Medium (Small: 78, Large: 108).
- Repeat the same pattern (Rows 2 and 3) as the front panel until the desired length:
- 29 rows (Small), 31 rows (Medium), 33 rows (Large).
- Mark the shoulders (leave ~4-5 shells in the middle for neck). Work 4 rows to build shoulder straps on either side.
III. JOINING FRONT & BACK PANELS
- Place the right sides together (the side with neater sc rows facing out).
- Align the front panels on top of the back panel. Use yarn and a needle or sl st to join:
- Shoulders: Seam the marked shoulders.
- Side seams: Seam the sides from bottom up until the armscye.
IV. SLEEVES (Optional)
Short Sleeves Option
- Attach yarn to the armhole. Begin the shell pattern directly without shaping. Typically 9 V-stitches for Medium.
Long Sleeves Option:
- Begin with a base of 13 shells (Medium) around the armhole. Reduce one shell after every 4-6 pattern repeats to create a taper.
Add Finishing Shell Rows:
- Once sleeves are at the desired length, add a finishing shell border of 6 double crochets per shell.
V. FINISHING TOUCHES
Shell Edging:
Using 6 double crochets per shell, work around the cardigan and edge of the sleeves. Adjust the number of double crochets for tighter or looser edges.
Customization Notes for Different Sizes
The pattern provides multiple ways to customize the cardigan length, width, sleeves (length), and neck opening. The key is to adjust your initial chain count, shell row repetitions, and tapering rows as per the given measurements.
Final Notes
- Before final assembly, ensure alignment by checking stitch counts.
- Use the wrong and right sides to ensure uniform texture as indicated by visible neat sc.
- Optional: Add buttons to the top of the cardigan or use gaps in the shell pattern as buttonholes.