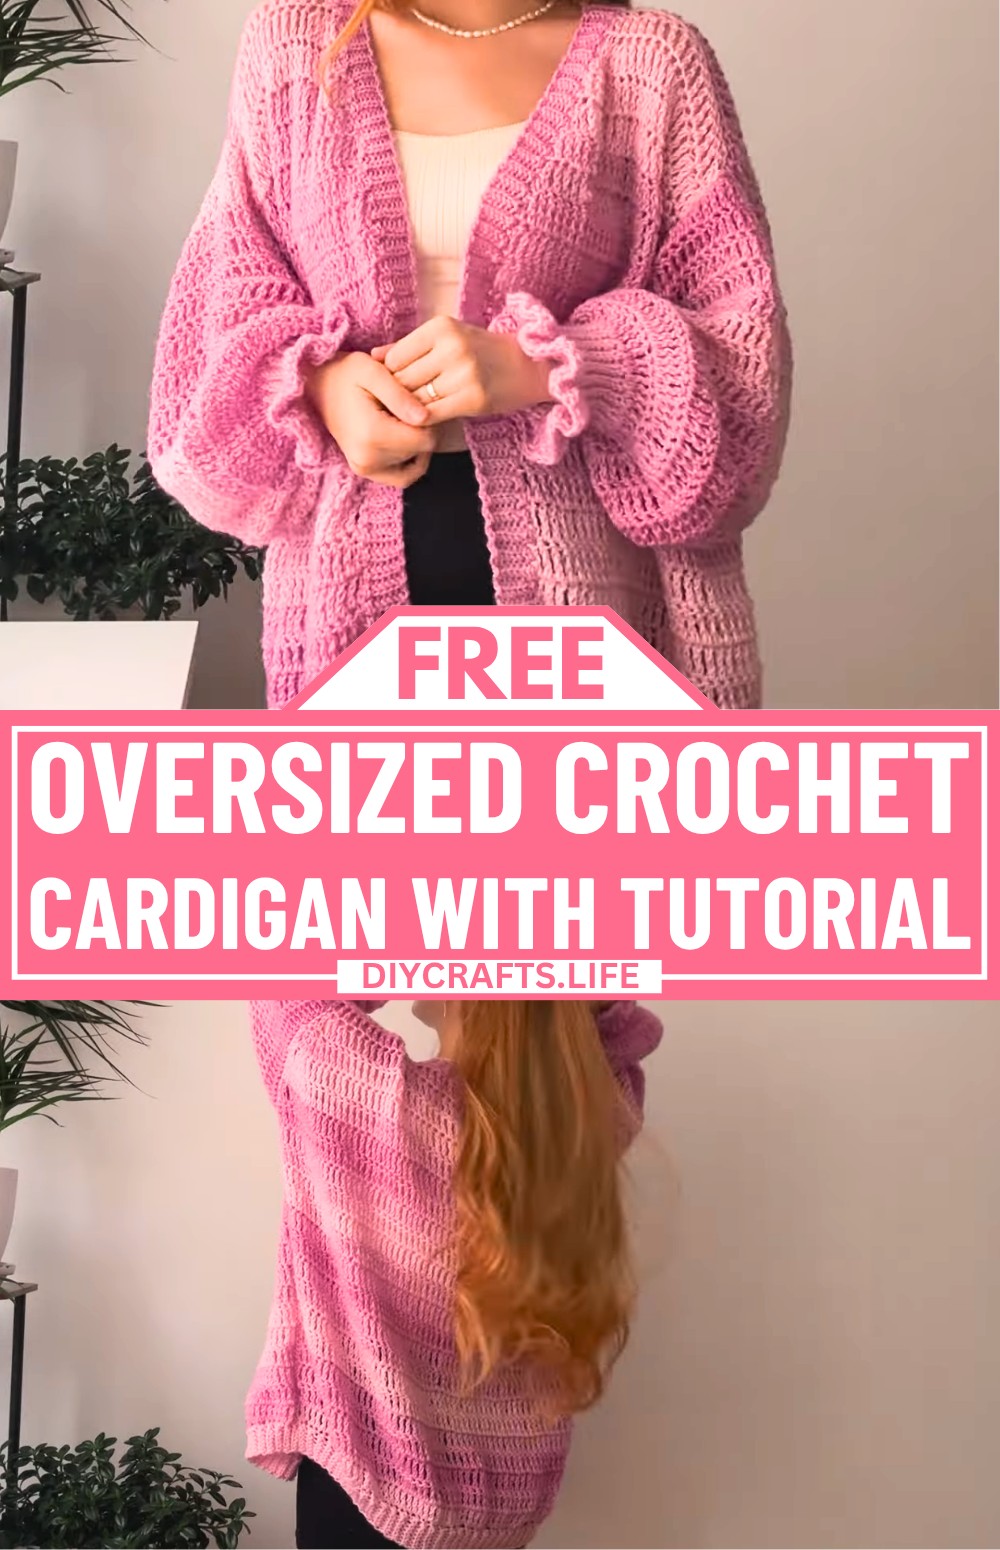
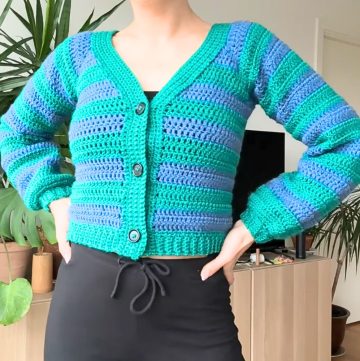
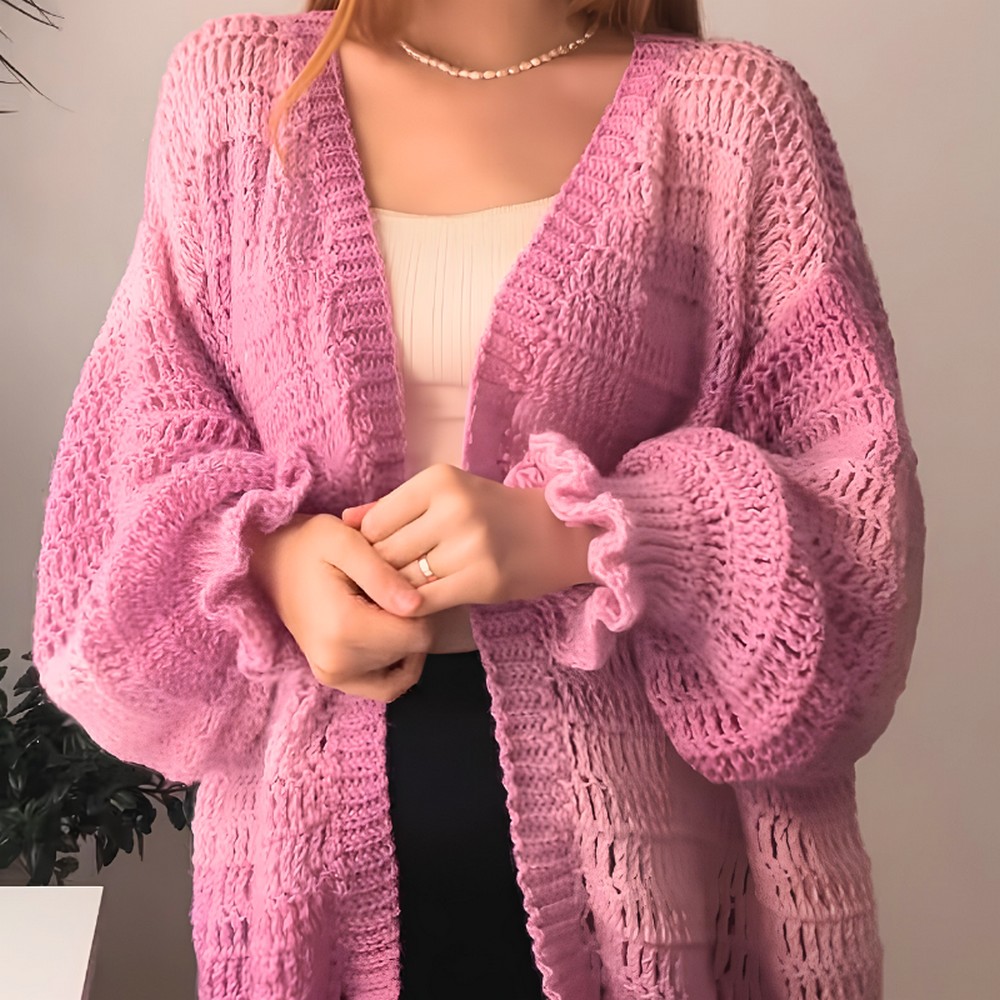
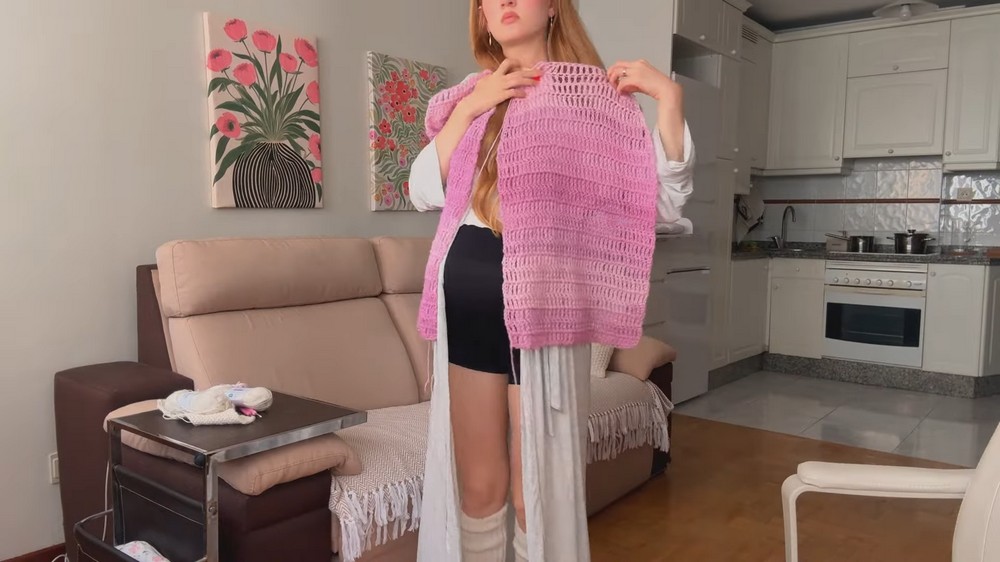
This super oversized crocheted cardigan combines comfort, style, and effortless charm in one beautiful design. Its lightweight and airy construction makes it perfect for layering over your favourite outfits. While the cloud-inspired aesthetic gives it a soft and dreamy appearance. The relaxed oversized fit creates a cosy feel for everyday wear, and the gradient yarn adds a stunning mix of colours that makes the cardigan stand out. At first glance, it may seem like a simple oversized piece, but one thoughtful crochet design detail makes it far more versatile than you might expect.
Crochet Oversized Cardigan Pattern Free

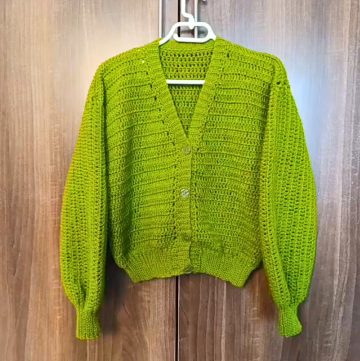
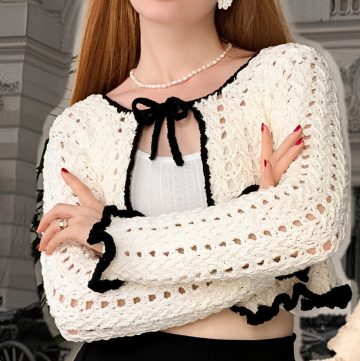
Despite its stylish look, this cardigan is surprisingly easy to make and is well-suited for beginners. Made primarily with double crochet stitches, it comes together quickly thanks to its open and airy structure. The ribbed edging helps it sit comfortably on the shoulders, while the optional matching belt offers extra styling flexibility. You can easily customise the sleeve length, choose different colour combinations, or even use fluffy yarn to add texture. Whether you make it as a thoughtful gift or keep it for yourself, this crochet cardigan delivers comfort, versatility and handmade charm in every stitch.
Credit WONDER NETTING
Materials & Tools Needed
- Yarn: Gradient yarn from Hobby (320 meters per skein).
- The tutorial uses Jade Color #04 (4 skeins of 100g, 300m yarn each).
- Hooks:
- Size 6mm crochet hook (main body and bulk of the cardigan).
- Size 5mm crochet hook (sleeve cuffs).
- Additional Tools:
- Stitch markers
- Scissors
- Yarn needle
Finished Size & Customization Ideas
Finished Size:
- Approximate height: 56 cm
- Width (at the top): 16 cm
Customization Ideas:
- Width and Length: Add/remove treble crochets or rows for front panels, back pieces, and sleeves.
- Cuffs: Adjust the initial cuff chain length for a tighter or looser fit.
- Yarn Choices: Gradient yarn enhances the look dramatically; substitute with solid shades, mohair, or other fluffy yarns for different textures or aesthetics.
- Optional Belt: Add a simple single-crochet belt for styling versatility.
Pattern Abbreviations & Terminology
- Ch – Chain
- Sl st – Slip Stitch
- Treble crochet (Tr) – Insert yarn over twice, pull loop, and complete with sets of two loops off hook.
- Inc – Increase (Two stitches worked into a single stitch).
- Dec – Decrease (Combine multiple stitches into one).
- RS/WS – Right Side/Wrong Side
Step-by-Step Detailed Crochet Instructions
Main Components of Cardigan
1. First Front Panel
Foundation Row:
- Begin with elastic foundation treble crochet method.
- Chain 5 (counts as the first Treble Crochet).
- Yarn over twice, insert hook into the first chain, pull up a loop, complete sets of loops off the hook sequentially (resulting in a Treble Crochet).
- Repeat until you have 40 Treble crochets in total.
Rows 2-15 (Straight Rows):
2. Start each row with a stacked Treble Crochet (to keep edges neat):
- Insert hook into first stitch and pull through.
Repeat 4 single crochets stacked in the same first stitch to replace "ch 4."
- Continue working Treble Crochets across entire row.
- At the end of each row, ensure you work into the final turning chain.
- Complete 15 rows straight (forming a rectangle).
Rows 16-22 (Decreases for Shaping)
6. Row 16 - Single Decrease:
- Start with 1 decrease: Combine first two stitches into one Treble Crochet.
- Crochet Treble into every stitch.
- Final decrease: Combine last two stitches.
- Complete the row.
- Rows 17-18:
- Repeat Row 16 decrease method (1 dec at start + 1 dec at end).
- Row 19:
- Begin with 2 consecutive decreases.
- At the end of the row, 2 consecutive decreases into the last four stitches.
- Rows 20-21:
- Begin with 3 consecutive decreases at the start.
- End with 3 consecutive decreases in the last six stitches.
- Row 22 (Final Row):
- Begin with 3 decreases at the start.
- No decreases at the end; finish with a Treble Crochet at the last stitch.
- Attach a stitch marker to indicate neckline placement for sewing later.
- Repeat Steps for Second Front Panel, mirroring placement of neckline stitch marker.
2. Back Panel
- Begin with 80 foundation Treble Crochets.
- Work straight for 15 rows (no shaping).
- Follow decreases similar to the front panel:
- Rows 16-22:
- Row 16: 1 decrease at start and end.
- Row 19: 2 decreases at start and end.
- Row 20-21: 3 decreases at start and end.
- Row 22: Work straight with no decreases.
- Rows 16-22:
3. Sleeves (2)
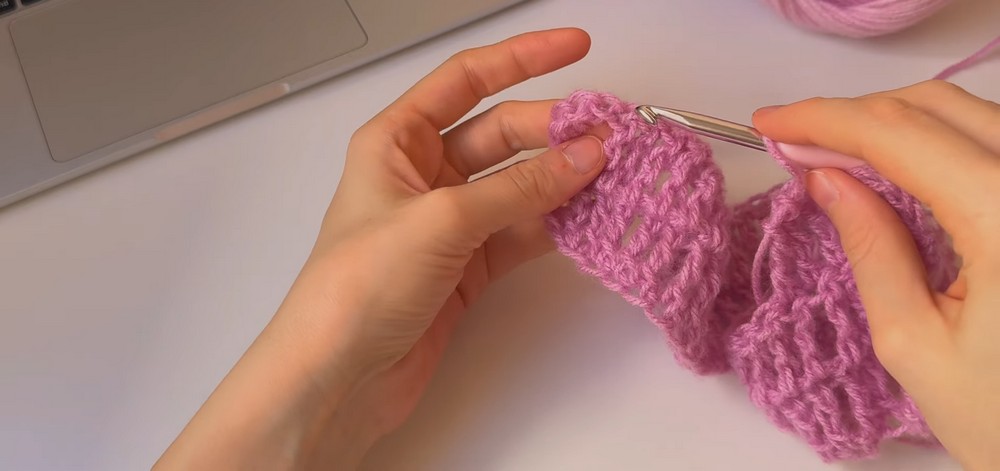
Cuff Section (Foundation):
15. Switch to a 5mm hook.
- Chain 13 (adjust size for preference).
- Work slip stitches in back loops only starting from 2nd chain.
- Chain one, turn, repeat slip stitches in back loop only until cuff circumference is reached.
- Fold cuff in half and join seam with back loop slip stitches.
Main Sleeve Section:
20. Switch to 6mm hook.
- Work Treble Crochets around cuff edge using this method:
- 2 Treble Crochets in ridge space.
- 2 Treble Crochets between ridge rows.
- Join round with slip stitch.
Increasing and Working Straight
23. Round 2: Begin increasing at regular intervals:
- Alternate every stitch:
- [1 Tr, Inc (2 Tr)].
24. Continue with 13 rounds straight (no increases).
Finishing & Assembly
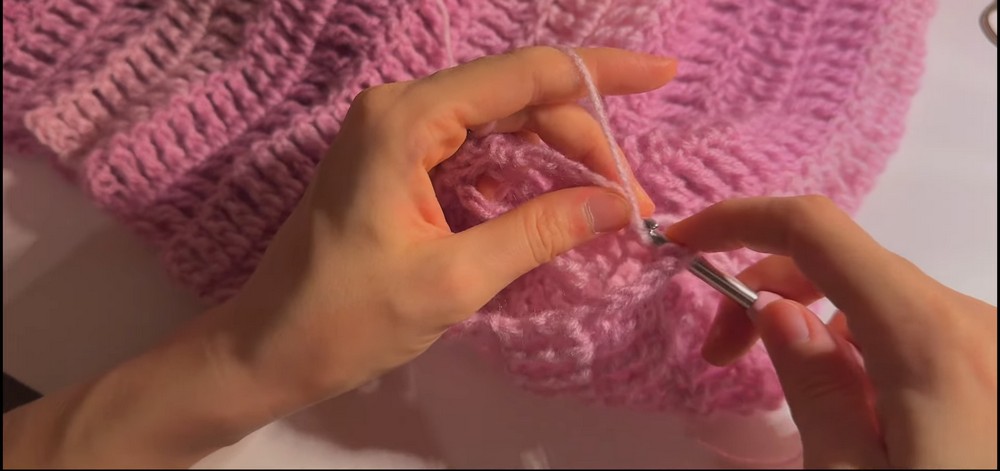
4. Joining Pieces
- Use flat seam slip stitch method:
- Insert into back loop of one piece and front loop of other piece.
- Slip stitch together, keeping yarn under the hook for smooth joins (shoulders, sides, sleeves).
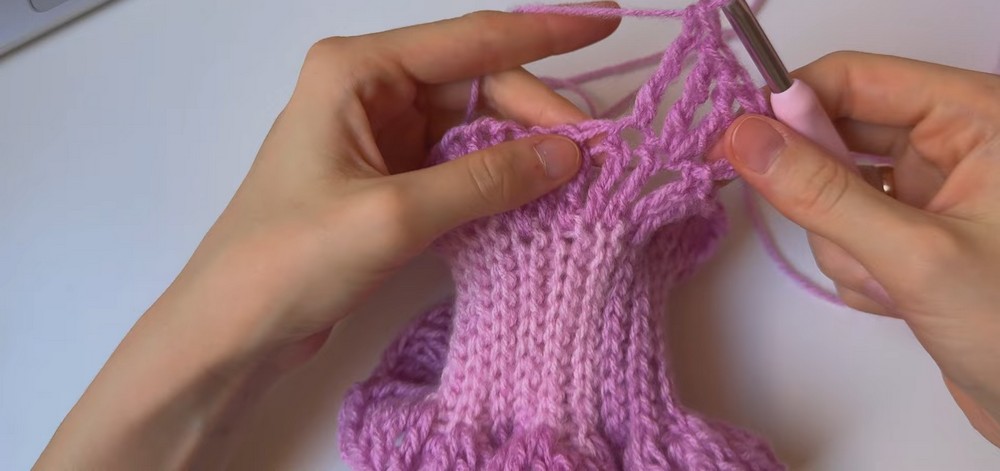
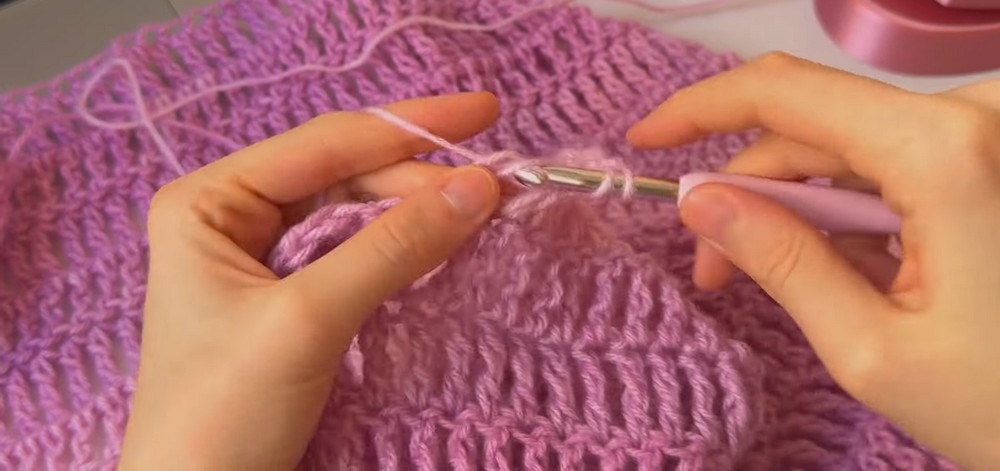
5. Ribbing Around Edges
- Starting with a 6mm hook at the front edge:
- Chain 7 air loops.
- Work slip stitches in back loops only.
- Join ribbing at cardigan edge by working 2 slip stitches per row.
- Turn and repeat slip stitches up ribbing edge rows.
- Continue ribbing around cardigan neckline and bottom edges for a finished look.
6. Optional Belt
- Crochet a simple single crochet belt in matching yarn.
Final Remarks
You’ve now completed your super oversized crochet cardigan; it’s light, airy, and cozy. Whether you make this for yourself or gift it to a loved one, this charming piece is sure to impress.