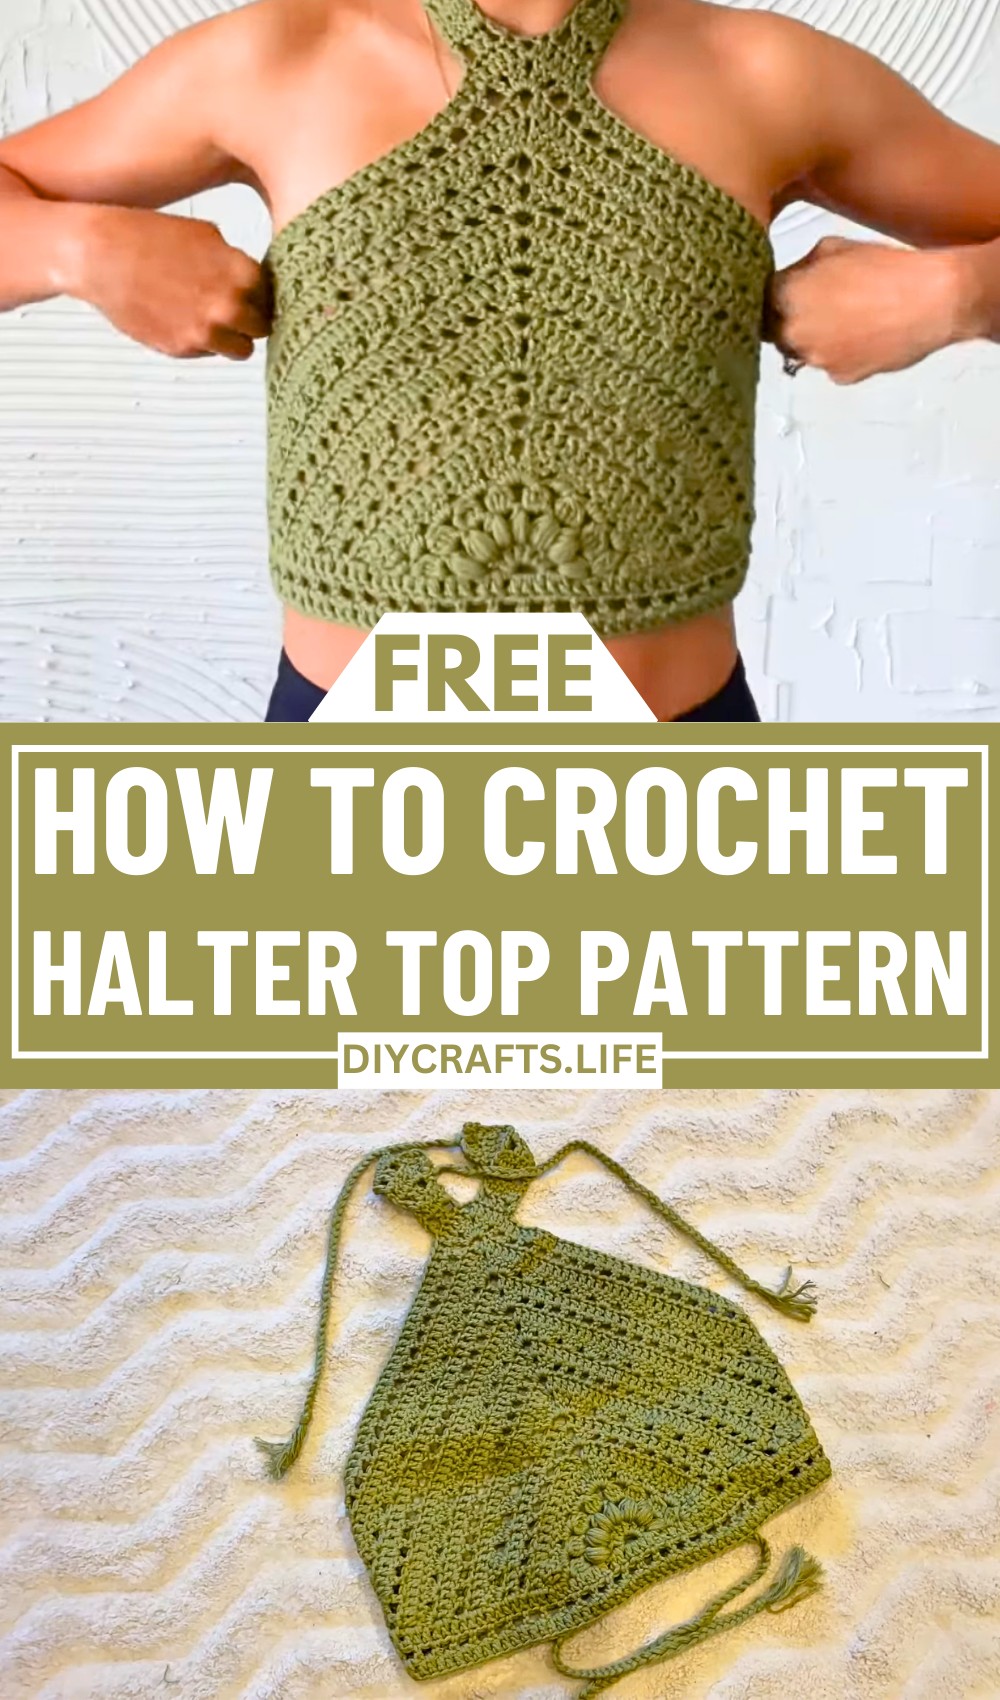
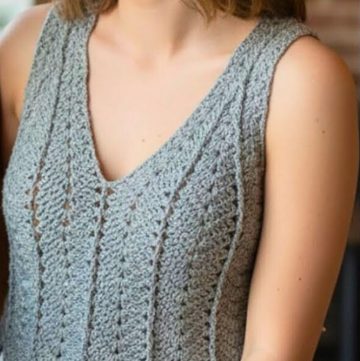
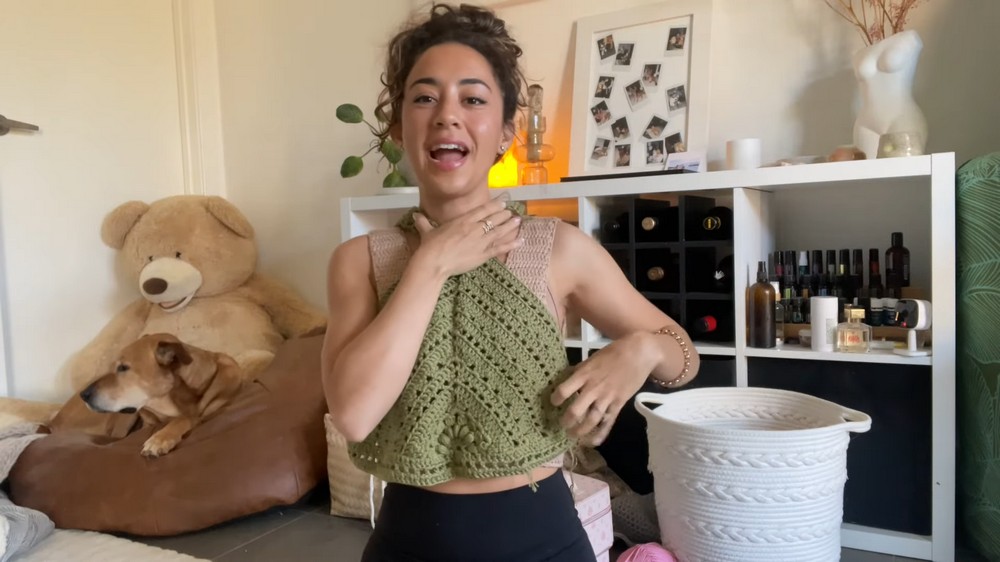
Turn heads with a crochet halter top that radiates charm and style! This design exudes carefree elegance, making it the perfect piece for sunny outings, casual gatherings, or layered looks that transition seamlessly from day to night. Whether you're crafting for yourself or creating a custom gift, this halter top offers endless possibilities for creativity.
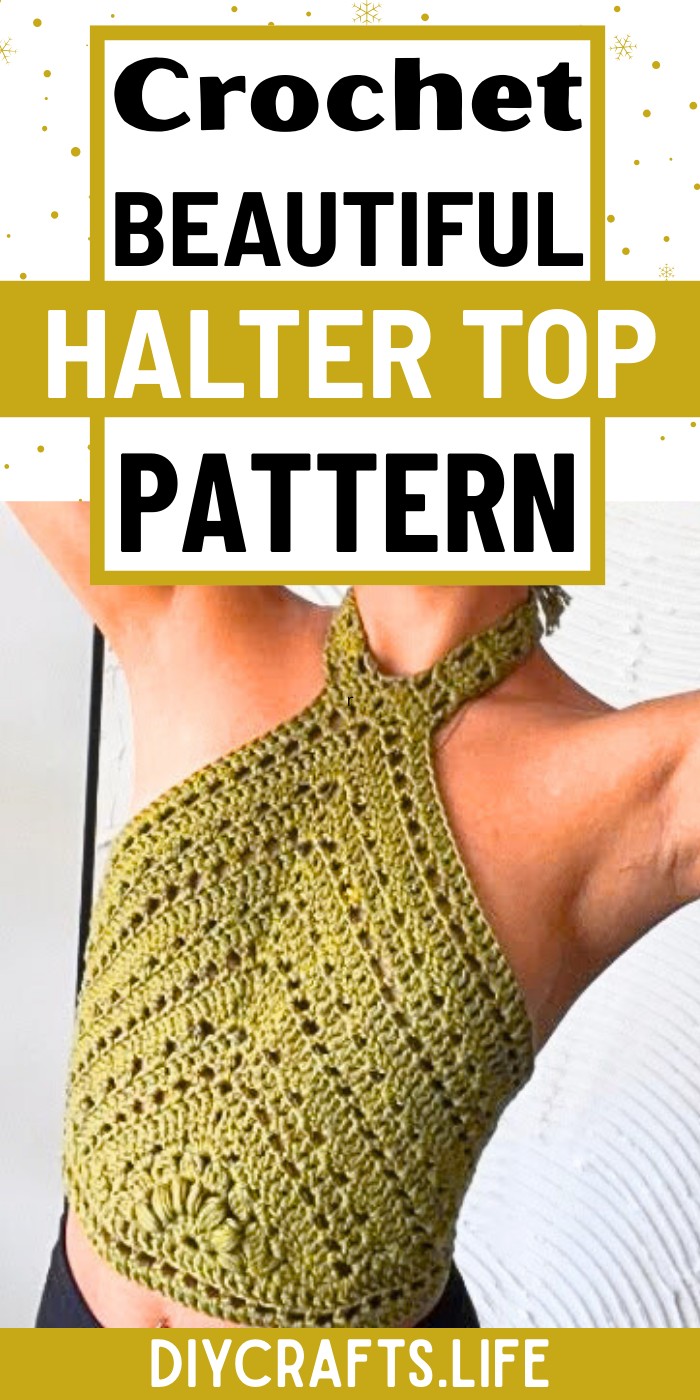
Crochet Halter Top Pattern
This halter top pattern stands out with its flattering shape and bold stitch details. Its timeless design combines airy textures and secure ties, providing both comfort and a polished finish. The unique construction allows for color customization, pattern adjustments, and the chance to pair it perfectly with any wardrobe. Get ready to crochet a stylish piece that effortlessly blends beauty and practicality.
Credit Emma Warrender
Materials & Tools Needed
- Yarn:
- Medium-weight or worsted cotton or acrylic yarn.
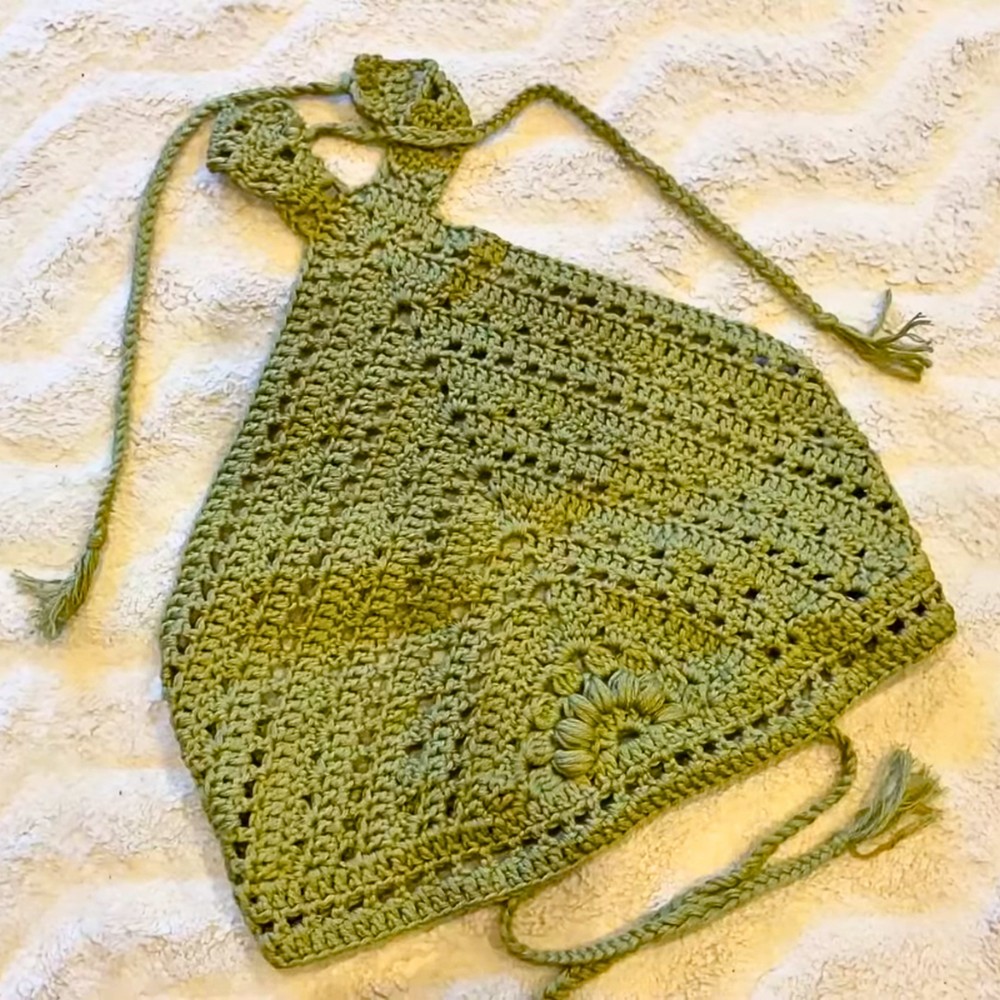
- Green was used in the tutorial, but you can opt for neutral or vibrant colors depending on your preference.
- Consider choosing yarn with good structure for shape retention.
- Crochet Hook:
- Sized appropriately for your yarn. Typically, a 4 mm to 5 mm hook works well with medium-weight yarn.
- Scissors:
- For cutting yarn.
- Stitch Markers (optional):
- Useful for marking corners or keeping track of stitches.
- Tapestry Needle:
- For sewing in ends and finishing touches.
Finished Size & Customization Ideas
Approximate Finished Size:
- The size depends on the number of rows you add during the crochet process. It should cover the bust region well and wrap comfortably across the body.
- After completing 4 rounds of the main pattern, the halter top’s length is tested by placing the corner at the neckline and ensuring coverage.
Customization Suggestions:
- Size Adjustments:
- Larger or Smaller Fit: Add or reduce rows of the main pattern (double crochet, space stitch, cluster stitch) until the triangle reaches a size that works for your body.
- Use Different Yarn Weights:
- Switch to lighter-weight yarn for a more delicate, summery look or chunkier yarn for a thicker texture.
- Strap Adjustments:
- Create longer or shorter halter neck ties depending on comfort.
- Color Variations:
- Use contrasting yarn for edging or drawstrings to add a pop of color. Neutral or monochromatic designs are also beautiful.
- Shape Adjustments:
- Optional single crochet border around the triangle can add a finished, clean look or introduce a secondary color.
Pattern Abbreviations & Terminology
Here are the abbreviations used in the pattern:
- Ch: Chain
- DC: Double Crochet
- SC: Single Crochet
- SP: Space
- Cluster Stitch: A group of double crochets worked in the same stitch or space.
- Skip: Skip the next stitch.
Step-by-Step Detailed Crochet Instructions
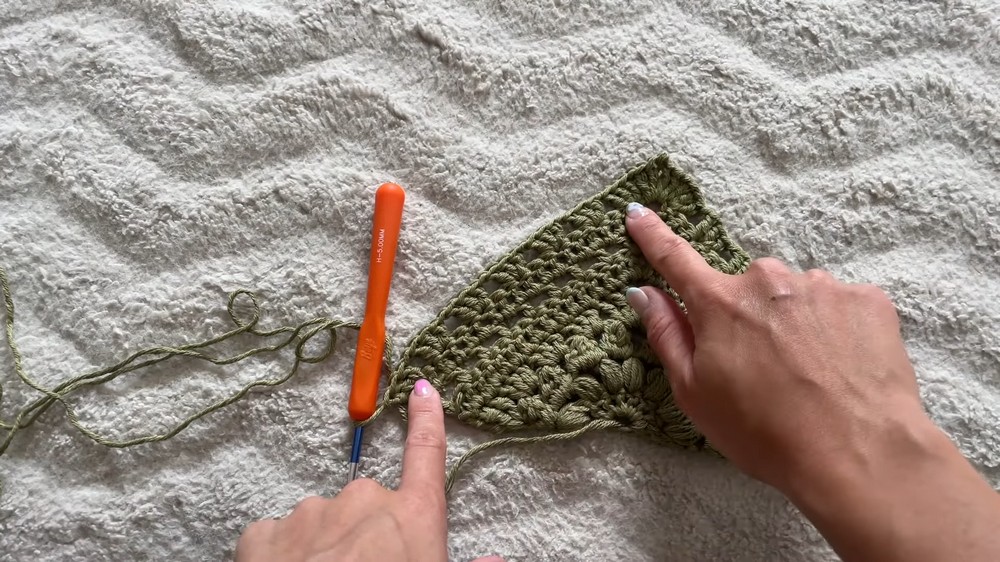
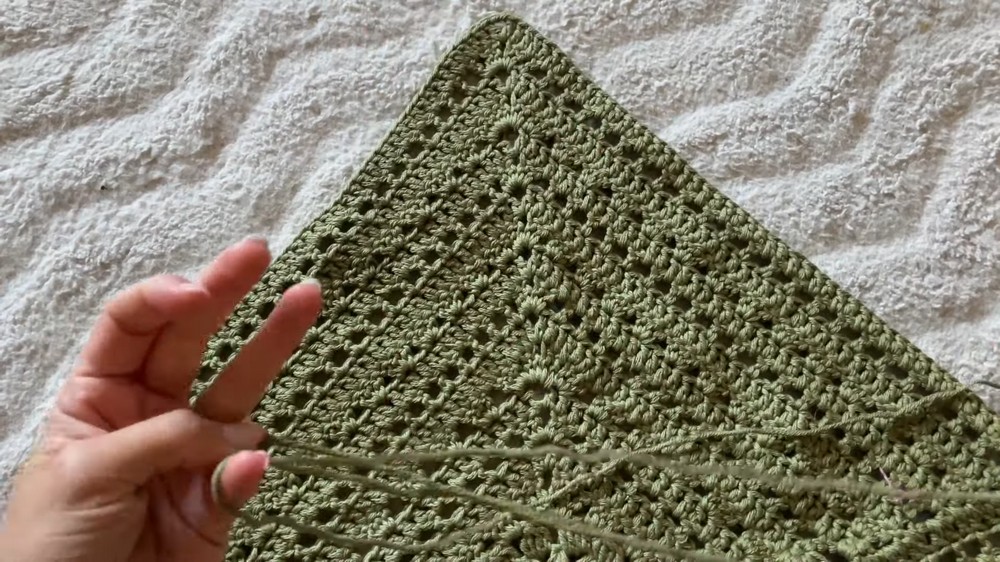
Step 1: Prepare Your Sunburst Granny Triangle
Before starting, create a Sunburst Granny Triangle (also referred to as granny half) using your preferred method. This triangle will form the base of your halter top.
- Once completed, begin adding rows to expand the triangle.
Step 2: Add Rows to Expand the Triangle
Here’s how to expand your triangle with alternating stitch rows:
Row 1: Double Crochet Row
- Start: From the completed triangle, chain 2.
- Stitches: Work a row of DCs into every stitch.
- At the corner, work DC, Ch 2, DC to maintain the point.
- Repeat: Continue DCs across the rest of the row to maintain edge symmetry.
Row 2: Space Stitch Row
- Start: Chain 2, turn, and chain 1 more (total Ch 3).
- Pattern: Skip the first stitch.
- Work a DC into the second stitch, then Ch 1 and repeat: "Skip 1, DC into next stitch."
- Corners: When you reach the corner space, work 2 DCs, Ch 2, 2 DCs into the corner space to maintain the point.
Row 3: Double Crochet Row
- Start: Chain 2 and turn your work.
- Pattern: Work DC into every stitch and space in the previous row. Continue until you reach the corner.
- At the corner space, work DC, Ch 2, DC to maintain the shape.
Row 4: Cluster Stitch Row
- Start: Chain 2 and turn your work.
- Pattern: Work a cluster of 3 DCs into the same stitch, then skip 2 stitches. Repeat: "Work cluster (3 DCs), skip 2 stitches."
- Corners: In the corner space: Work 2 DCs, Ch 2, 2 DCs to maintain the point.
Step 3: Repeat Rows Until Sufficient Coverage
Repeat Rows 1–4 (Double Crochet, Space Stitch, Double Crochet, Cluster Stitch) until the triangle achieves the desired size. Use the following check:
- Place the corner of the triangle at your neckline/collarbone.
- Ensure the triangle covers your bust comfortably. Add more rows if necessary.
Final finishing tip: End with a Double Crochet row for a clean edge.
Step 4: Add a Clean Bottom Edge
To tidy up the bottom edge:
- Row 1: Chain 2 and turn. Work DCs across the entire raw bottom edge.
- Row 2: Add a row of Space Stitches for texture: "Ch 1, Skip 1, DC into next stitch."
- Row 3: Finish with another Double Crochet row for clean edging.
Step 5: Create Halter Neck Straps
To create the halter neck ties:
- Locate the top points of the triangle.
- Attach yarn and work 6 stitches to form the straps (use double crochet and space stitches alternately).
- Alternate rows using the following pattern:
- Row 1: Space Stitch (Ch 1, Skip 1, DC).
- Row 2: Solid DCs across.
- Continue alternating rows until the strap is long enough to reach comfortably behind your neck.
- Alternate rows using the following pattern:
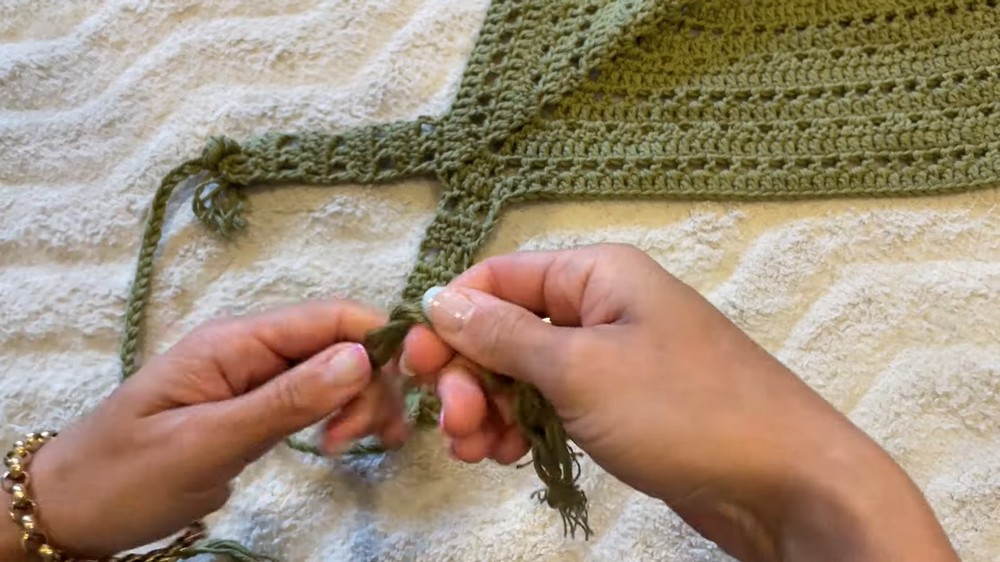
Step 6: Add Drawstrings Around the Waist
- Cut 6 long pieces of yarn and attach them to the corners of the triangle.
- Split the strands into 3 groups and braid them loosely.
- Secure with a knot. Trim and unravel yarn ends for a tassel effect.
Repeat on both corners to create ties that wrap around your waist.
Step 7: Final Finishing Touches
- Optional: Add a row of Single Crochets around the top edge for a defined border.
- Sew in all loose ends using a tapestry needle.
- Try the top on and ensure all straps and ties fit snugly.
Tips for Styling or Adjustments:
- Styling: Pair the halter top with high-waisted jeans, skirts, or shorts for a summer look. Add a cardigan for layering.
- Adjustments: The ties can be braided or knotted uniquely for style variations. Straps can also crisscross the back for more support.
This beginner-friendly crochet halter top is quick, customizable, and versatile. Have fun making it—happy crocheting!