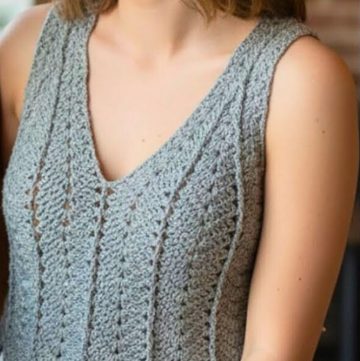
Bring a fresh and stylish twist to your summer looks with a crochet halter top that's as bold as it is beautiful. Perfect for sunny days, beach outings, or festivals, this design effortlessly combines comfort and charm, making it a standout choice for those who love handmade fashion with a modern flair.
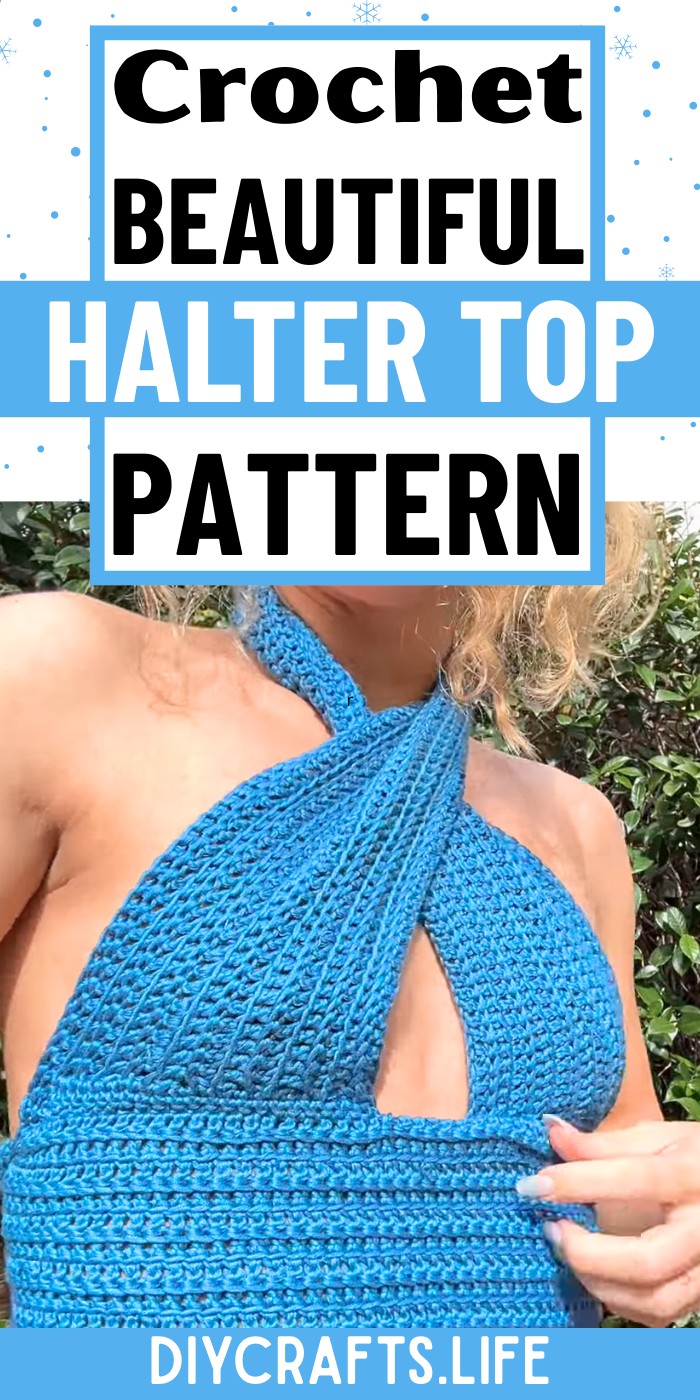
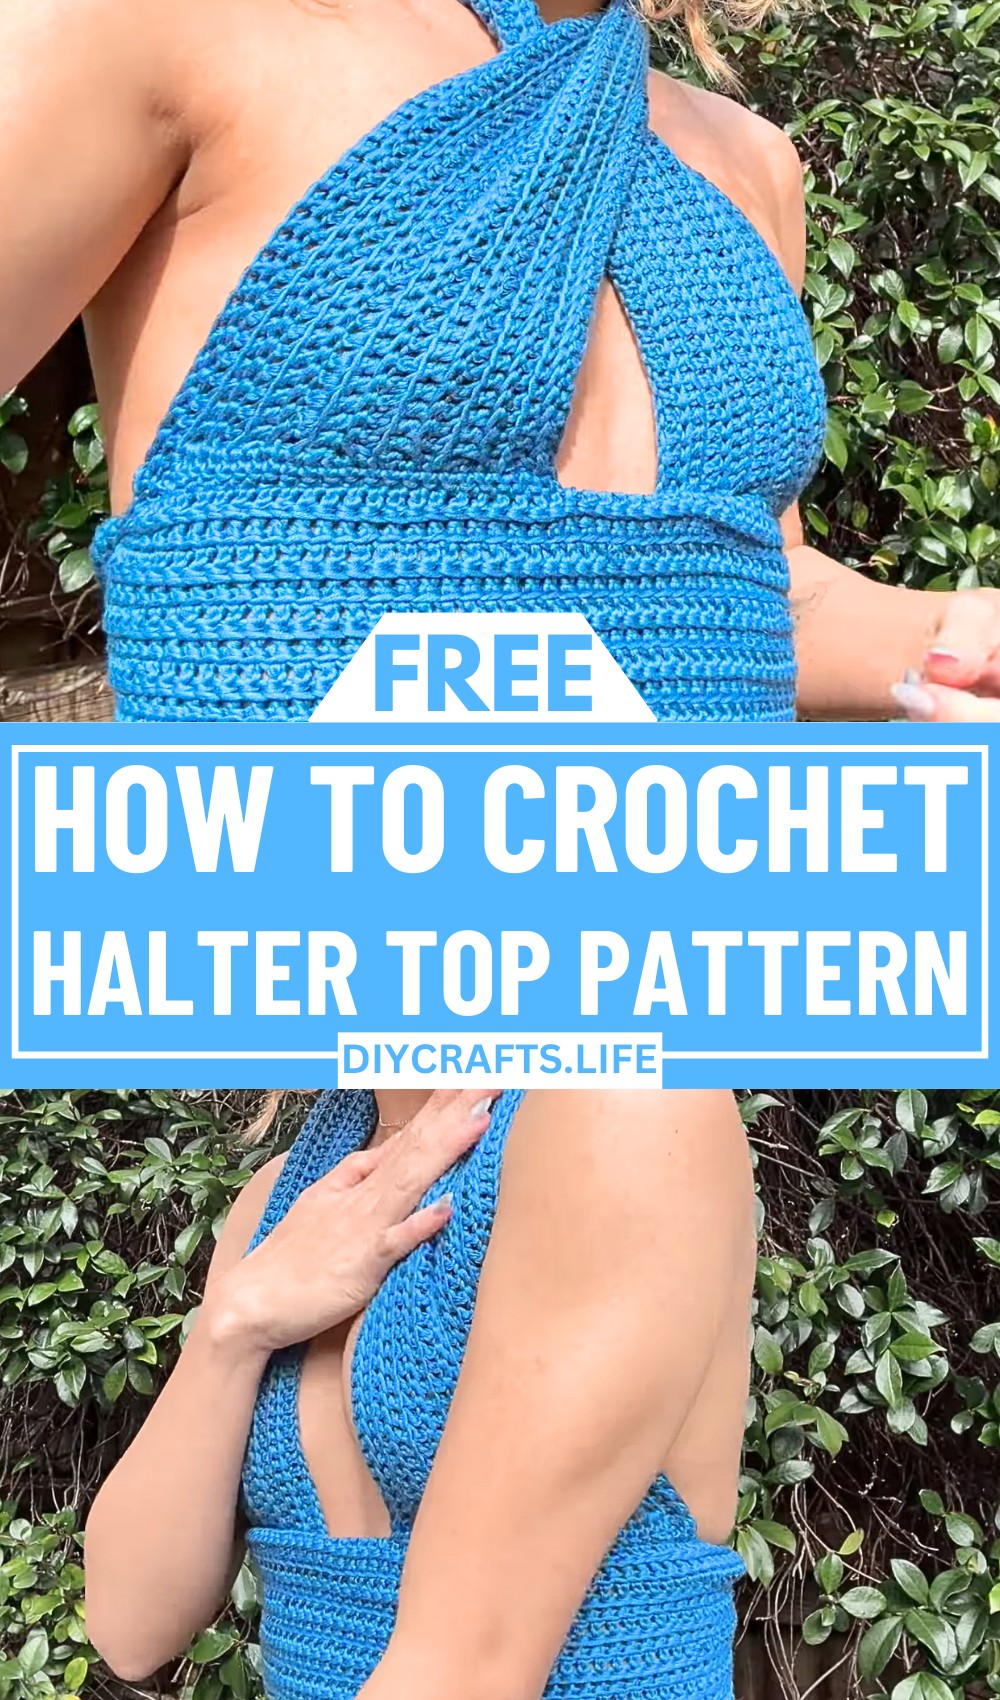
Crochet Halter Top Pattern
This halter top pattern features a flattering fit with intricate stitch details that add texture and dimension. Its adjustable ties ensure a customizable fit, while its open-back style provides a breezy, carefree vibe. The design is versatile—you can personalize the color choices to suit your aesthetic, making each finished piece a reflection of your creativity. It’s lightweight, stylish, and an absolute wardrobe essential for the warm weather months.
Credit Emma Warrender
Materials & Tools Needed
- Yarn
- Use cotton or cotton-blend yarn for a soft, breathable, and comfortable fit. Cotton is great for summer!
- Recommended yarn weight: Light (3) for a delicate, lightweight halter top.
- Example: DK yarn, 100g skeins (approximately 2-3 skeins) depending on the size and design adjustments.
- Crochet Hook
- Recommended size per video: 4mm hook, suitable for DK/lightweight yarn.
- Adjust the hook size based on your chosen yarn weight or your tension.
- Stitch Markers
- For marking key points like straps, bust cups, and joining edges.
- Tapestry Needle
- For weaving in loose ends and sewing straps securely.
- Scissors
- For cutting yarn cleanly.
Finished Size & Customization Ideas
Approximate Size Details:
- The base pattern is designed as a small/medium size (S/M):
- Bust cups: Designed to fit around an A/B cup size.
- The base panel length can be easily adjusted for additional coverage.
Customization Options:
- Adjust Size (Bust Coverage):
- For larger busts: Add additional rows to each cup or adjust the foundation chain.
- For smaller busts: Reduce the number of rows or start with fewer chains.
- Strap Customization:
- Extend the length of neck and back straps if you prefer a looser or crisscross tie design.
- Add decorative elements to the straps, such as beads or fringe.
- Yarn Weight:
- Laceweight yarn (1): For an intricate, lacy halter top, use a smaller hook for a tighter gauge and detailed design.
- Worsted weight yarn (4): For more structure and body, use a slightly larger hook size (e.g., 5mm).
- Color Customization:
- Use a solid color for a classic, minimalist look.
- Crochet in two-tone or ombré colors to add visual interest.
- Experiment with striped or multi-color designs (change colors every few rows).
- Style Adjustments:
- Extra Length: Add rows of single crochet (sc) or double crochet (dc) at the bottom to create a crop-top effect or convert it into a tank top.
- Decorative Edgings: Add picot, scalloped edges, or shell stitches along the base edge for a more decorative finish.
Pattern Abbreviations & Terminology
(Note: Instructions are based on US crochet terminology.)
- ch: Chain
- sc: Single Crochet
- dc: Double Crochet
- sl st: Slip Stitch
- YO: Yarn Over
- sp(s): Space(s)
- st(s): Stitch(es)
- inc: Increase (work 2 stitches in the same space)
Step-by-Step Detailed Crochet Instructions
1. Crocheting the Bust Cups
(The halter top starts with two triangular bust cups.)
- Foundation Chain:
- Chain 15 (or more based on bust size) to begin the first cup.
- Adjust the starting chain length according to your preferred coverage and size.
- Row 1:
- Work 1 sc into the 2nd chain from the hook and into each chain across.
- When you reach the last chain, work 3 sc into the same chain (corner increase) to form the tip of the cup.
- Turn your work and continue sc across the other side of the chain.
- At the end, chain 1 and turn.
- Row 2 (Increasing):
- Begin with a sc into the first st.
- Work sc across until you reach the middle sc of the 3-sc cluster from the previous row.
- In this middle stitch, work 3 sc (increase).
- Continue sc across the row. Chain 1, turn.
- Repeat Increasing Rows:
- Continue working additional rows in the same manner, increasing at the center point of the bust cup in every row.
- Stop when the cup measures 5-6 inches for S/M size (or add rows for additional coverage).
- Second Cup:
- Repeat the same steps to crochet the second bust cup.

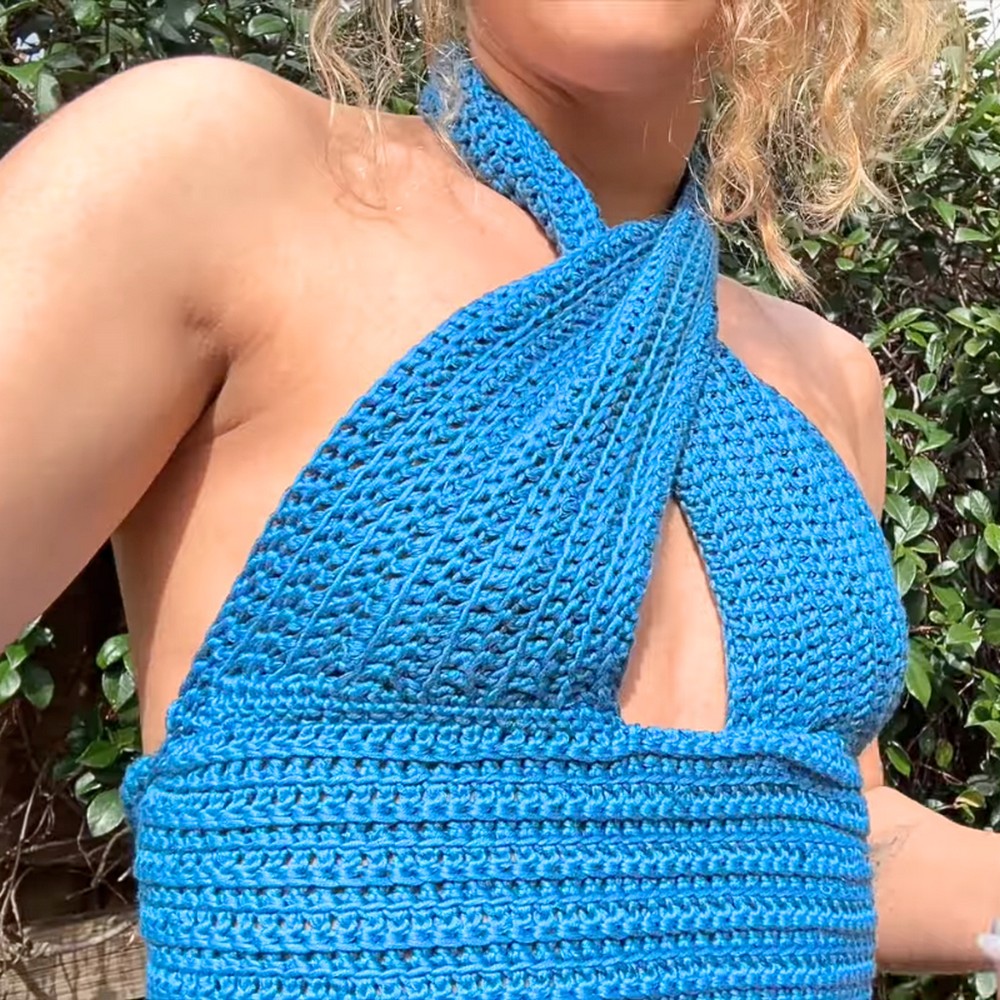
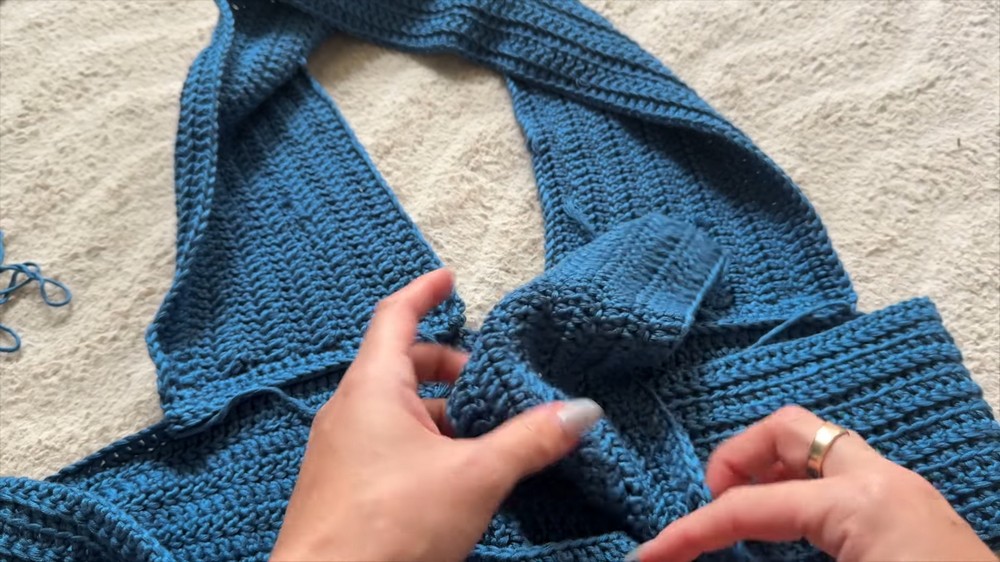
2. Joining the Bust Cups (Center of the Top)
- Place the two cups side-by-side, ensuring the shapes are mirrored (tips of each triangle should face outward).
- Chain 1 or 2 stitches, then slip stitch to the other cup at the top corner.
- This forms the neckline space between the two cups.
- Reinforce the connection with additional single crochet stitches if desired.
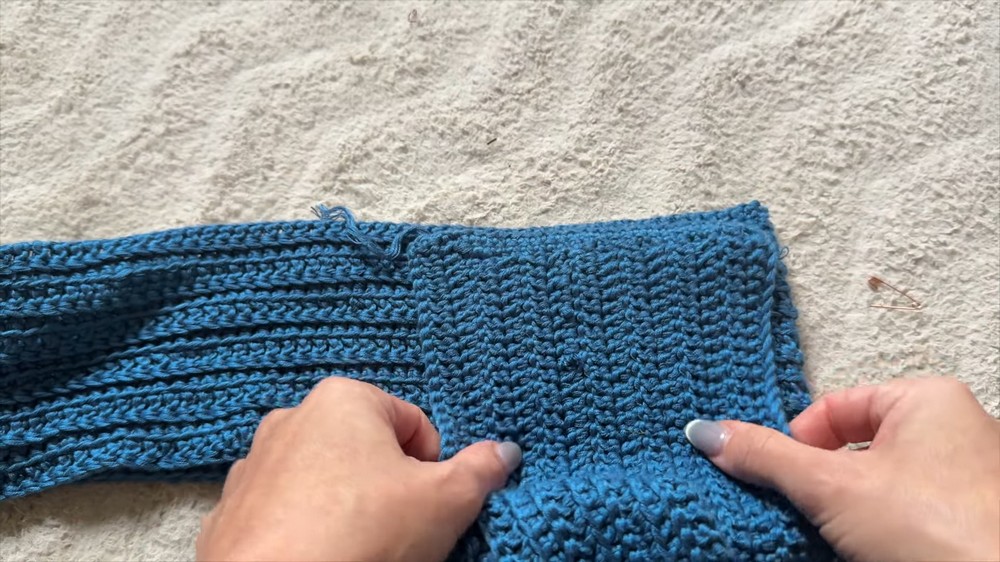
3. Creating the Body Panel
(The body panel is worked directly below the joined cups in rows.)
- Foundation Row:
- Attach yarn to the bottom corner of one cup and begin working sc stitches evenly across the bottom edge of both cups.
- Be careful to space stitches evenly to avoid puckering.
- Body Rows:
- For Row 1, chain 1 and turn. Work sc across the entire row.
- For additional rows, chain 2 and switch to dc stitches for faster coverage.
- Add as many rows as you like (usually 3-6) to create the desired length.
4. Adding the Straps
Straps are crocheted directly onto the halter top for both the neckline and back ties.
- Neck Straps:
- Attach yarn to the corner tip of each bust cup.
- Chain 50–100 (depending on your preference) for a tie-back strap.
- Fasten off and repeat for the other cup.
- Back Straps:
- Attach yarn to the bottom corner of each cup.
- Chain 50–100 stitches for long back straps that can tie around your back.
- You can also create crisscross straps for style if desired.
5. Edging (Optional)
- To give the halter top a polished look, add a decorative edge along the neckline, bust cups, and bottom.
- Scalloped Edging: Work 5 dc into one stitch, skip 2 sts, sl st into the next st, and repeat.
- Picot Edging: Work 3 sc, then chain 3, sl st into the first chain, repeat.
6. Finishing Touches
- Weave in all loose ends securely using a tapestry needle.
- Add embellishments like beads or charms for a decorative finish.
- Block the halter top (lightly dampen and shape if using a natural fiber yarn) for a smooth, professional finish.
Final Notes
This crochet halter top is quick to make and can be easily customized for any size or style. With options for adjustable straps, length, and detailing, you can create a piece that fits your personal preferences and is perfect for summer!