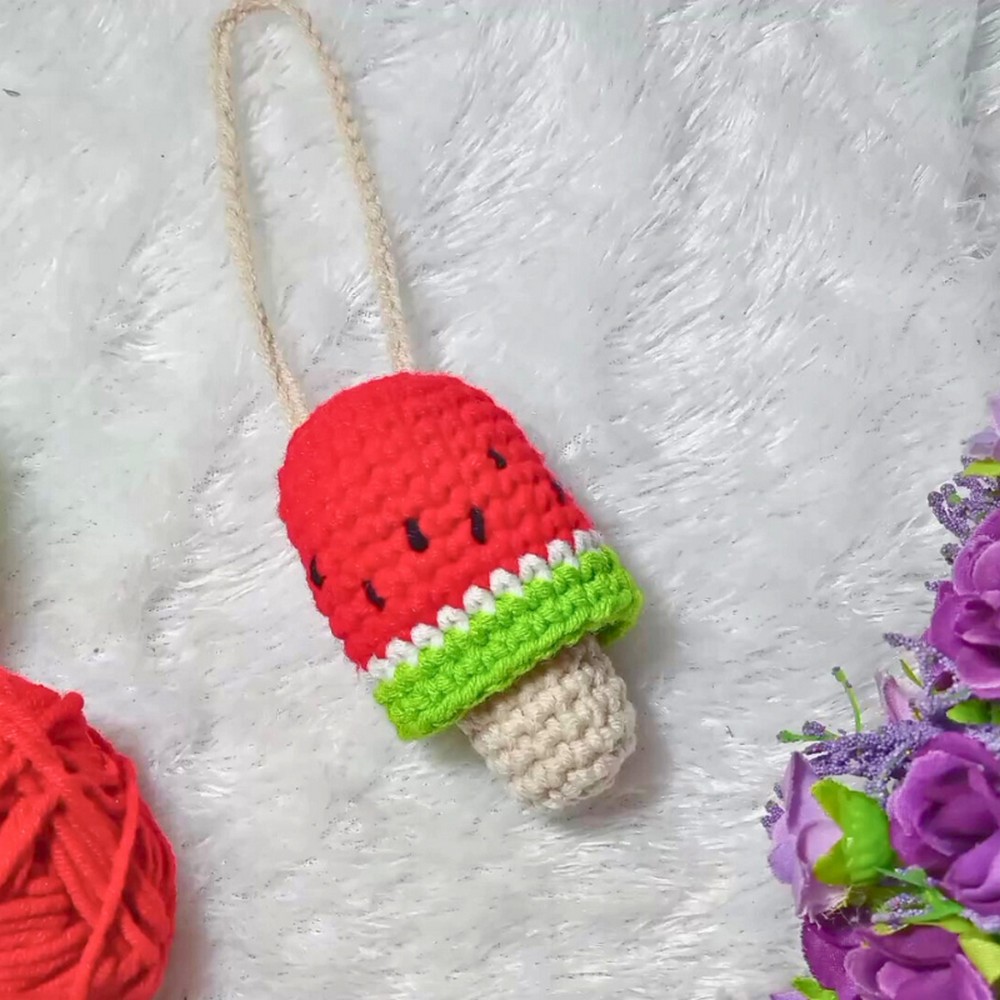
Create a charming and functional crochet lip balm holder that’s both beautiful and versatile. This accessory complements any bag or keychain, ensuring your essentials are stylishly within reach. Dive into this engaging project and explore the art of crochet design.

This crochet lip balm holder stands out with its durability and appealing design. It's the perfect accessory to keep your lip balm accessible and secure. Its compact size and charming look make it a must-have addition to your everyday carry items.
Crochet Lip Balm Holder
Crafting this lip balm holder is an enjoyable task for crocheters of all skill levels. Whether you're a beginner or advanced, you can customize colors and patterns to fit your style, tapping into your creative potential while making practical, stylish items.
Materials and Preparation
Here is a list of materials you will need to create your crochet lip balm holder:
- Yarn: Big Play Mil Katon Thread (use any strong cotton yarn)
- Hook: 3.5 mm crochet hook
- Additional Tools:
- Tapestry needle for weaving in the ends
- Scissors
- Stitch markers (optional)
- Thread: Small pieces of black, white, and green thread for color changes
Yarn Weight Recommendation:
The pattern works best with lightweight cotton yarn that provides enough structure for your holder.
Abbreviations and Notes
Here are the common crochet abbreviations and pattern notes for this tutorial:
Abbreviations:
- MR: Magic Ring
- CH: Chain stitch
- SC: Single Crochet
- INC: Increase (2 SC into the same stitch)
- SLST: Slip Stitch
Pattern Notes:
- A Magic Ring (MR) will be used for the foundation row. If you're unfamiliar with it, you can substitute with a CH 4 ring by slip stitching to the first chain.
- Use a stitch marker to keep track of rounds, especially when working continuously.
- The lip balm holder is crocheted in rounds, with color changes introduced as needed.
Gauge, Approximate Size, and Pattern Notes
Gauge:
No specific gauge is required for this project. However, aim to have tight stitches for a sturdy and firm holder.
Finished Dimensions:
When completed, the holder should measure approximately 2.5 inches tall and 1 inch across, perfect for a standard-sized lip balm tube.
Special Techniques:
- Magic Ring: Often used to create a tight center for the bottom of the holder.
- Continuous Rounds: Ensure smooth, seamless rounds by skipping a SLST at the start and working directly into the next stitch.
Step-by-Step Pattern
Step 1: Foundation/Base
- Start by making a Magic Ring (MR).
- Chain (CH) 1 and then work 6 SC into the MR.
- Pull the ring tightly to close.
Step 2: Increasing Rounds
- For Round 2, work 2 SC in each stitch (INC) around – you'll have 12 stitches at the end of the round.
- For Round 3, alternate 1 SC in the next stitch, followed by INC (2 SC in the same stitch). Repeat this pattern around. You should have 18 stitches by the end of the round.
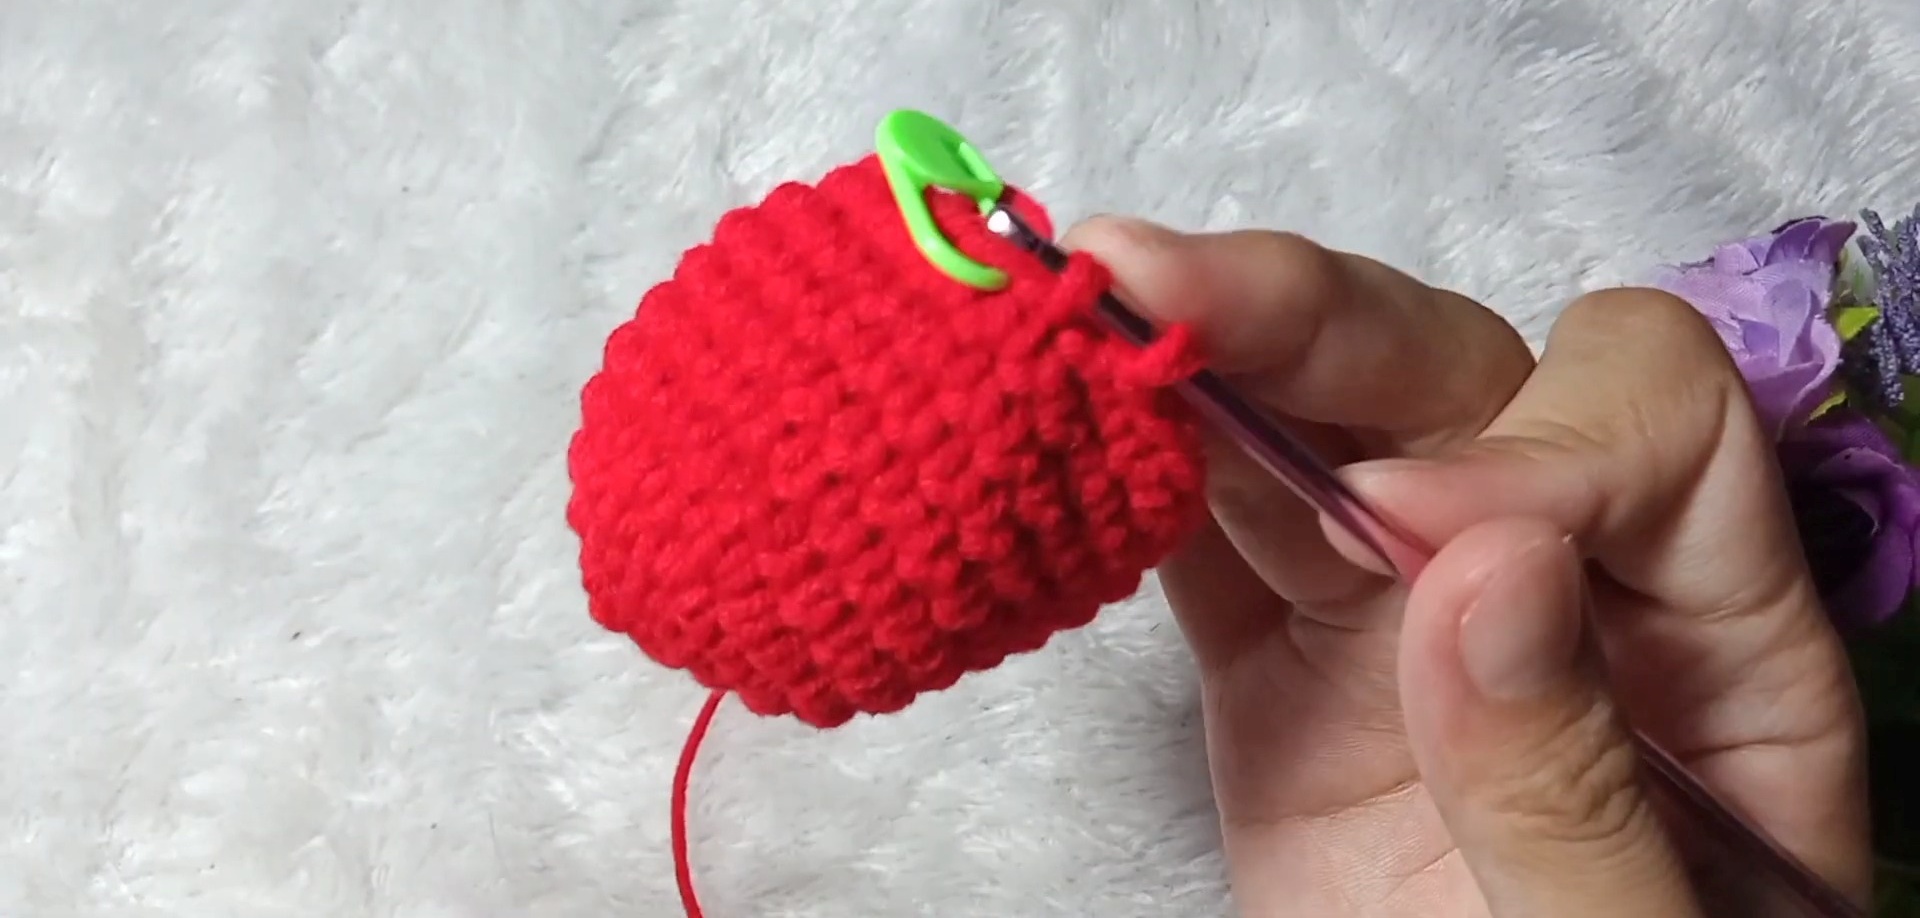
Step 3: Building the Height
- From Round 4 to Round 15, work 1 SC in each stitch around. This will create the tall, cylindrical shape of the holder.
- Optional: Insert a stitch marker after each round to keep track easily.
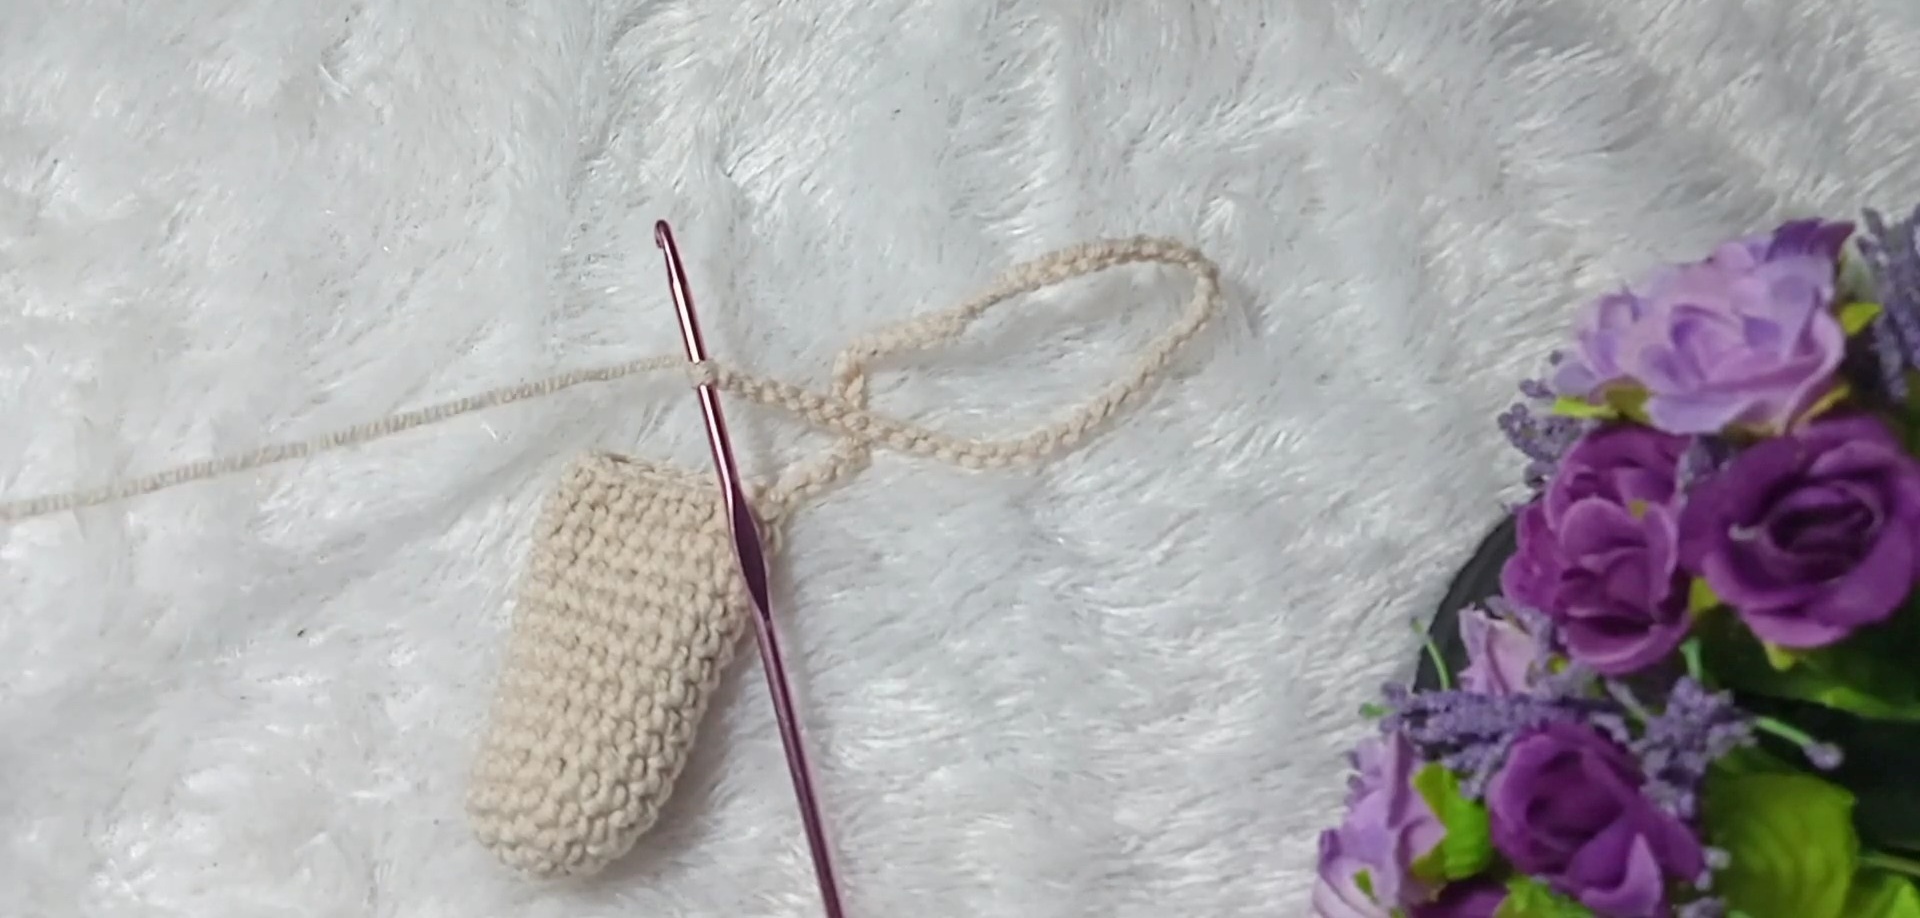
Step 4: Adding the Chain Loop
- After finishing the 15th round, work SLST in the next stitch to secure the round.
- Chain 55 to create the hanging loop for your holder.
- Slip stitch into the same stitch at the base of the holder to complete the loop.
Step 5: Color Changes (Optional)
- For an added design, switch thread colors:
- Round 12–15: Use white thread to fill each stitch with 1 SC.
- Round 13–14: Switch to green thread and continue with 1 SC in each stitch.

Step 6: Finishing Touches
- When the final row is complete, make a SLST in the next stitch, then CH 1 to secure.
- Cut the thread and use a tapestry needle to weave in any loose ends.
- Trim excess thread and tidy up your work for a polished finish.

Pattern Question:
Q: Can I use different thread types?
A: Yes! You can experiment with different thread types, but using cotton or other durable materials ensures your holder maintains its shape and longevity.
Conclusion
This crochet lip balm holder is a delightful project combining creativity, practicality, and style. It's an enjoyable crafting experience that results in a useful accessory. Give it a try and add a personalized touch to your collection!