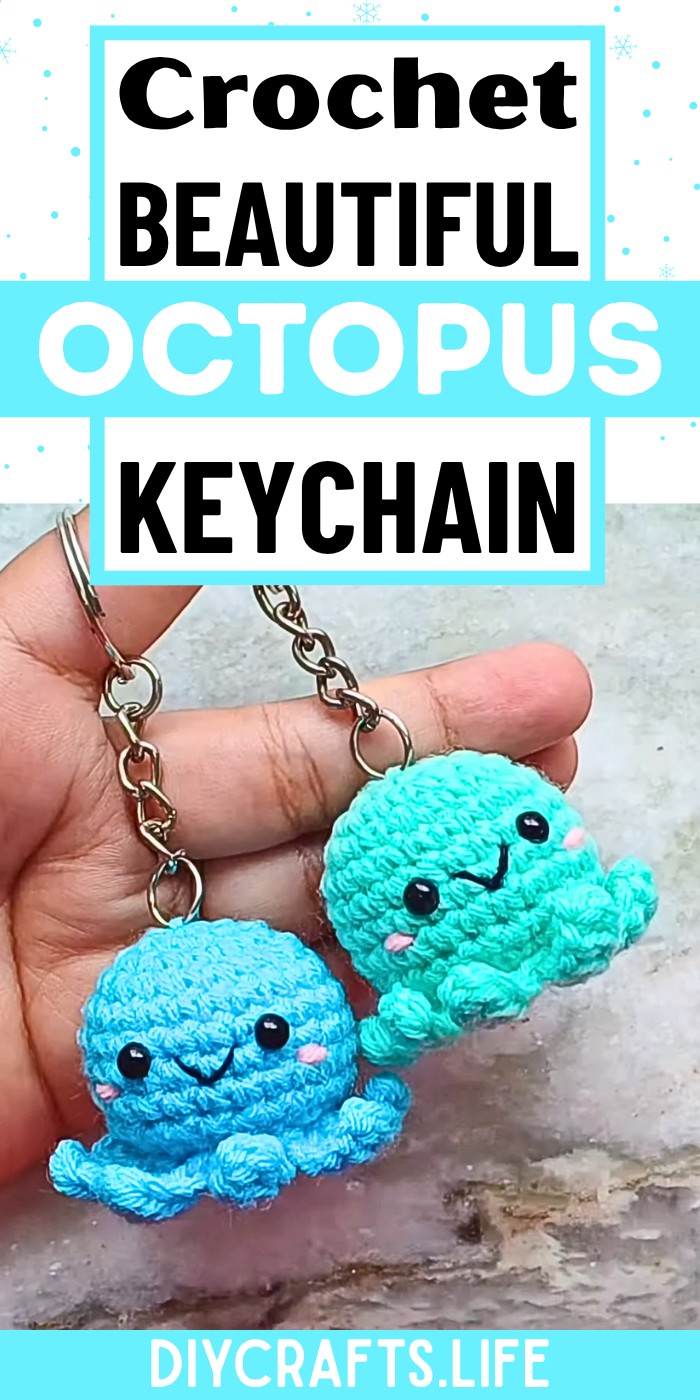
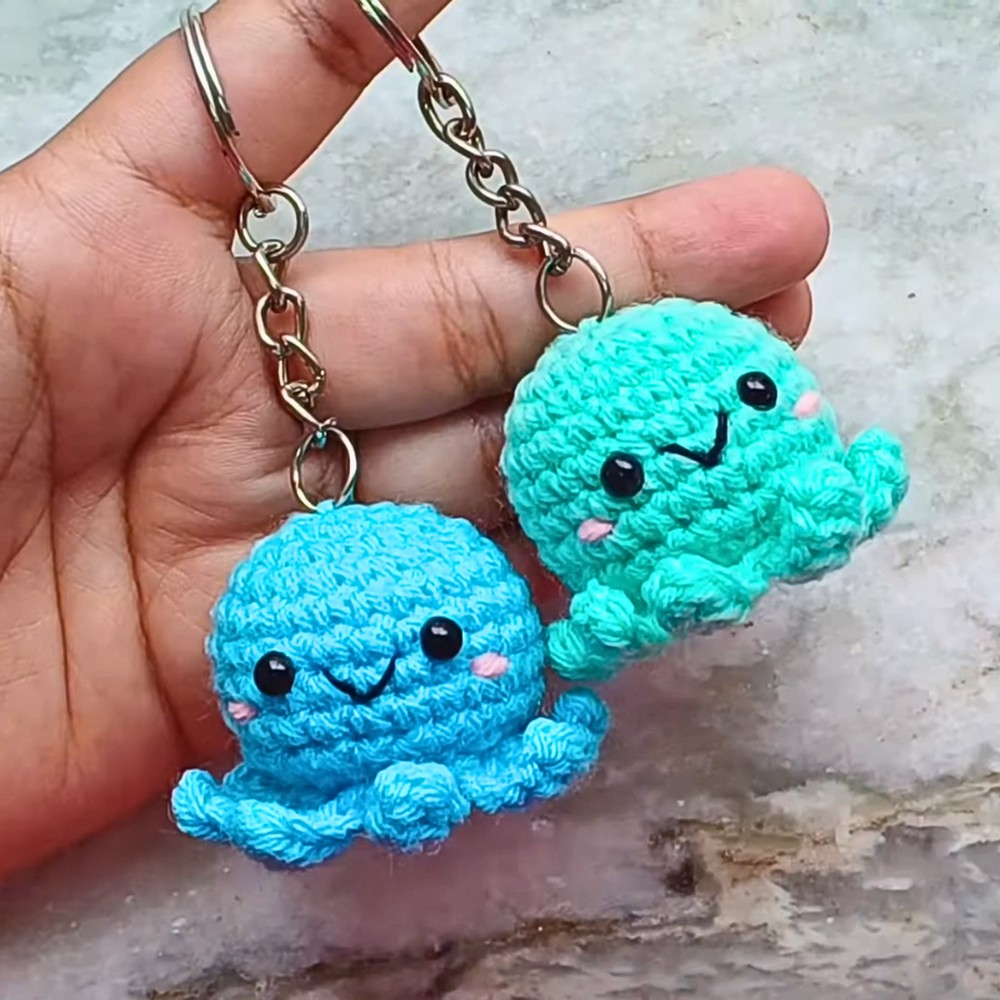
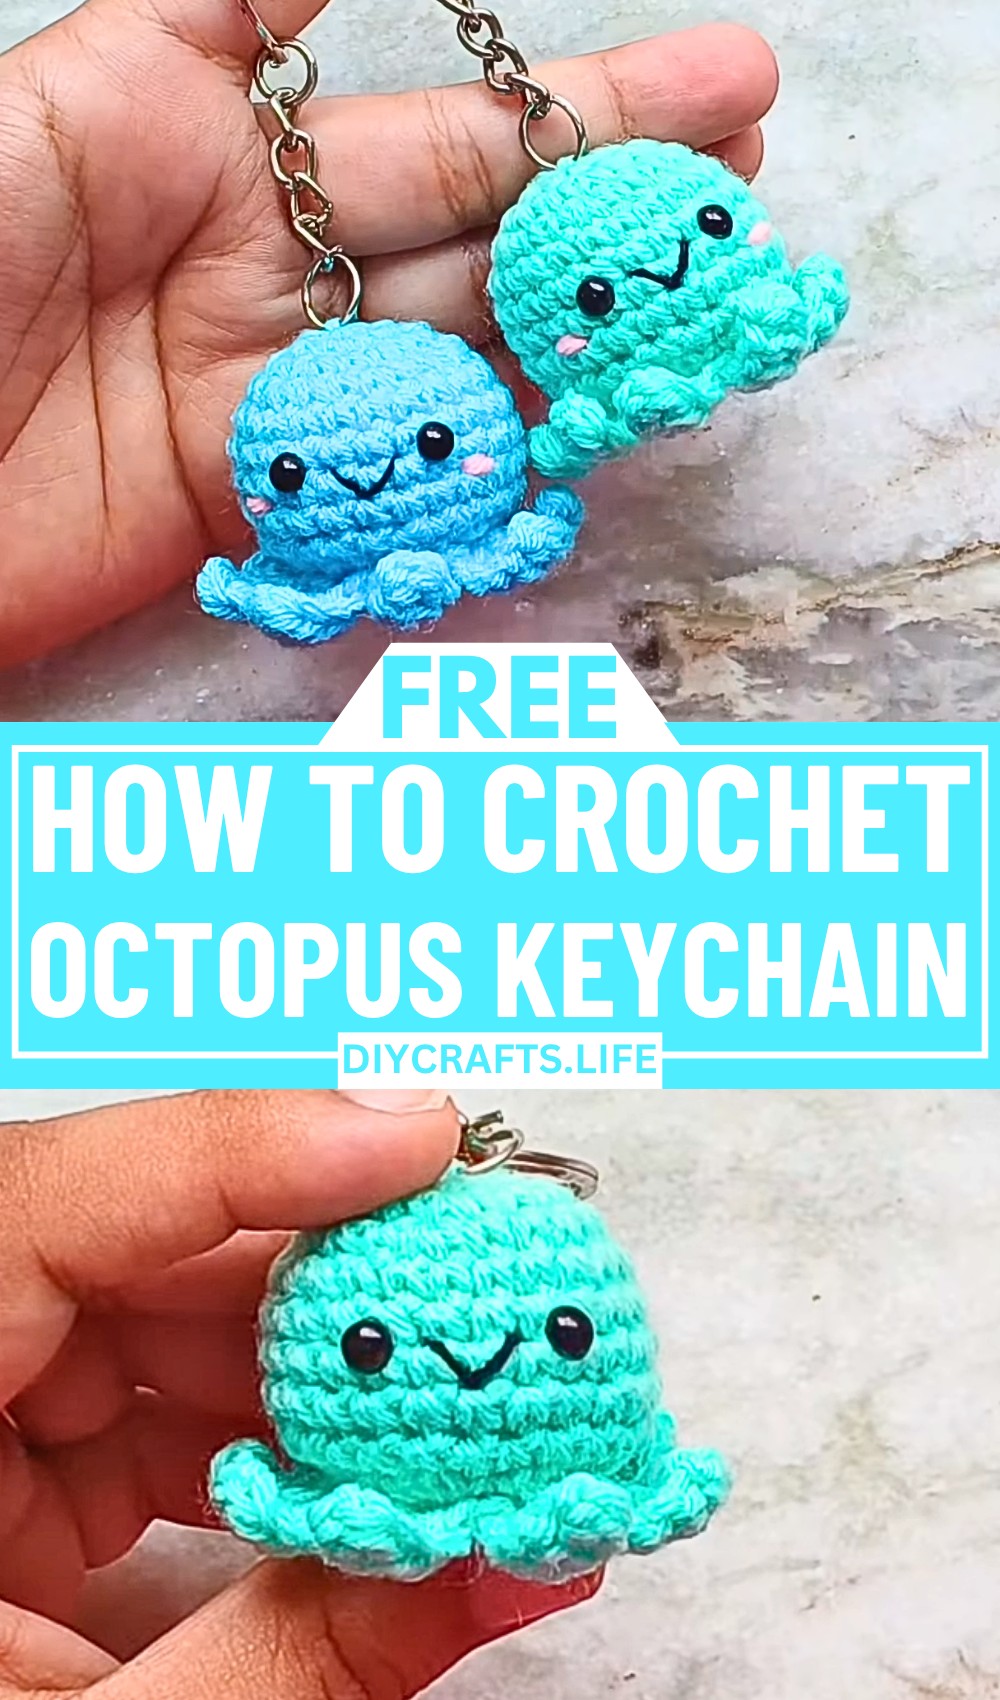
Learn how to create an adorable mini octopus amigurumi! Its charming design features tentacles, blush cheeks, and detailed eyes, making it perfect as a keychain, gift, or cute decoration. With beginner-friendly instructions, this project is simple yet fun for crocheters of all levels.
The mini octopus amigurumi excels in durability, portability, and charm. Made with snug, tight stitches to prevent stuffing from showing through, it’s lightweight and strong enough to be a daily-use keychain while also doubling as a unique handmade keepsake or a cheerful desk decoration.
Crochet Mini Octopus Amigurumi Keychain
Using a 3mm crochet hook with tightly spun yarn, this project is crafted with basic techniques such as single crochet, increases, and decreases. Features like embroidered cheeks, stitched smiles, and tentacles elevate its detail, making the creative process engaging for both beginners and experts.
Credit Cute Crochet
Materials and Preparation
To create this adorable mini octopus amigurumi, you’ll need the following:
Materials:
- Yarn: 4-ply yarn in colors of your choice for the body, black yarn for the mouth, and pink yarn for the cheeks.
- Recommended: Steel blue yarn for the body.
- Hook: 3 mm crochet hook (smaller than the recommended 4 mm for the yarn to ensure tight stitches).
- Eyes: 4 mm safety eyes.
- Stuffing: Fiberfill stuffing to fill the octopus body.
- Keychain Component: Keychain ring or blank earrings to transform it into a keychain.
- Tools:
- Yarn needle (for sewing and embroidery).
- Stitch marker (or a paperclip, contrasting yarn, etc.).
- Scissors.
Abbreviations and Notes
Abbreviations:
- Ch: Chain
- SC: Single crochet
- HDC: Half double crochet
- MR: Magic Ring
- Sl st: Slip stitch
- Inc: Increase (2 SC in 1 stitch)
- Dec: Decrease
Notes:
- Work tightly to prevent stuffing from showing through your stitches.
- The pattern is worked in continuous rounds, so use a stitch marker to track the last stitch in each round.
- The decreases are invisible decreases, worked into the front loops only for a neater finish.
- The front loops from Round 10 will be left unworked, as they will be used to crochet the tentacles.
- Size can vary slightly depending on yarn weight and tension but will fit nicely as a small keychain.
Gauge, Approximate Size, and Pattern Notes
- Gauge: Gauge is not critical for this project. Use the suggested tools to ensure tight stitches.
- Approximate Size: Finished size is about 3 inches tall, excluding tentacles.
- Special Techniques to Know:
- Magic Ring: Used to start the project.
- Invisible Decrease: Worked into the front loops for a cleaner look.
- Tentacles are worked into the leftover front loops in Round 10.
Step-by-Step Pattern
Part 1: Crochet the Body
Round 1: Begin with body yarn.
- Start with a Magic Ring (MR).
- Ch 1 (does not count as a stitch).
- Work 6 SC into the MR. Pull the tail to tighten and close the ring. (6 SC total)
Round 2 (Increase Round):
- Work 2 SC into each stitch (Inc in each stitch). (12 SC total)
Round 3:
- Alternate between 1 SC, Inc, repeated around. (18 SC total)
Round 4 (Staggered Increases):
- Start with 1 SC, then Inc in the next stitch.
- Continue repeating 2 SC, Inc, ending with 1 SC. (24 SC total)
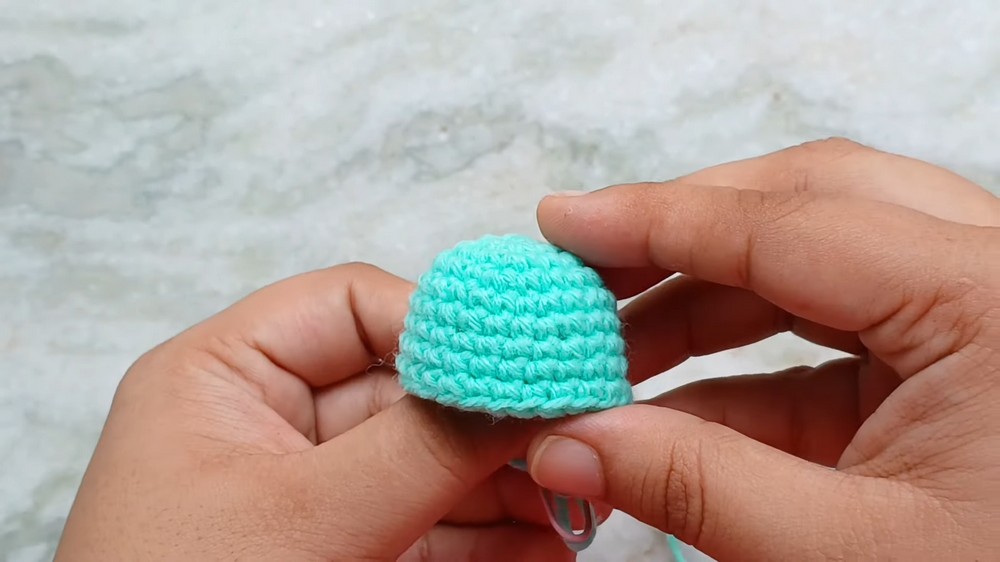
Round 5–9:
- Work 1 SC into each stitch around. Maintain 24 SC per round.
- At the end of Round 9, your body will start curving upward, forming the round octopus body. This is normal.
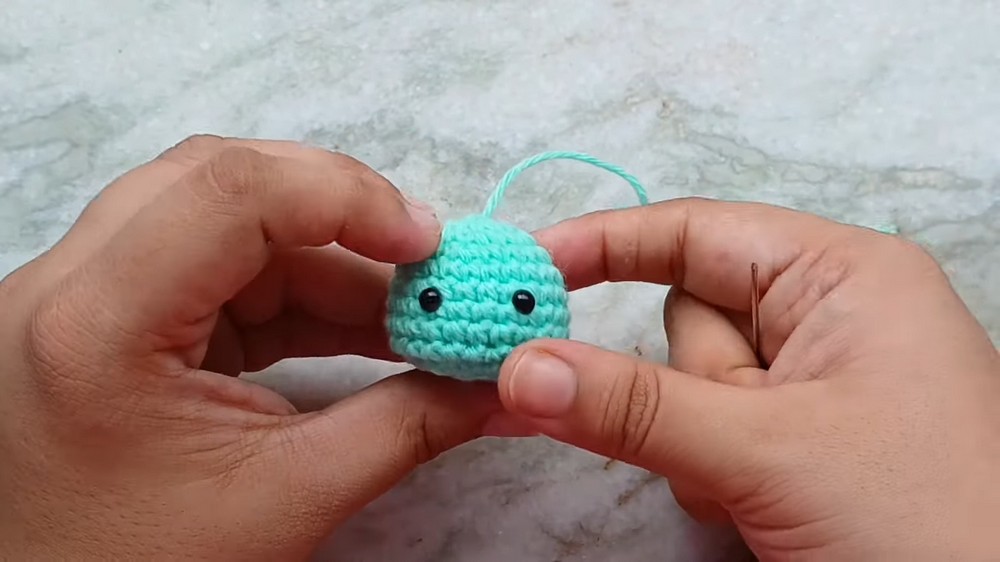
Insert the Safety Eyes:
- Locate Round 6–7.
- Insert the first safety eye between these rounds.
- Place the second eye 3 stitches away from the first. Use the safety eye backings to secure them.
Round 10 (Start Decreasing):
- Alternate between 1 SC, Invisible Decrease (Dec). Repeat around for a total of 16 stitches.
- Leave the front loops unworked for the tentacles (they’ll be used later).
- Add stuffing to the body at this stage.
Round 11 (Final Decrease):
- Work Invisible Decrease into every stitch. (8 SC remaining)
Closing the Hole:
- Cut the yarn, leaving a tail for sewing.
- Use the tail to weave through the front loops of the last 8 stitches. Pull tight to close the hole.
Part 2: Crochet the Tentacles
Work in the Front Loops from Round 10:
- Attach the body yarn to the first front loop from Round 10 with a Sl st.
- Ch 5, skip the first chain, and work 1 HDC into the remaining 4 chains.
- Sl st into the next front loop.
Repeat this process for all 8 front loops to create 8 tentacles.
Finish Off:
- Fasten off and weave in the yarn tail.
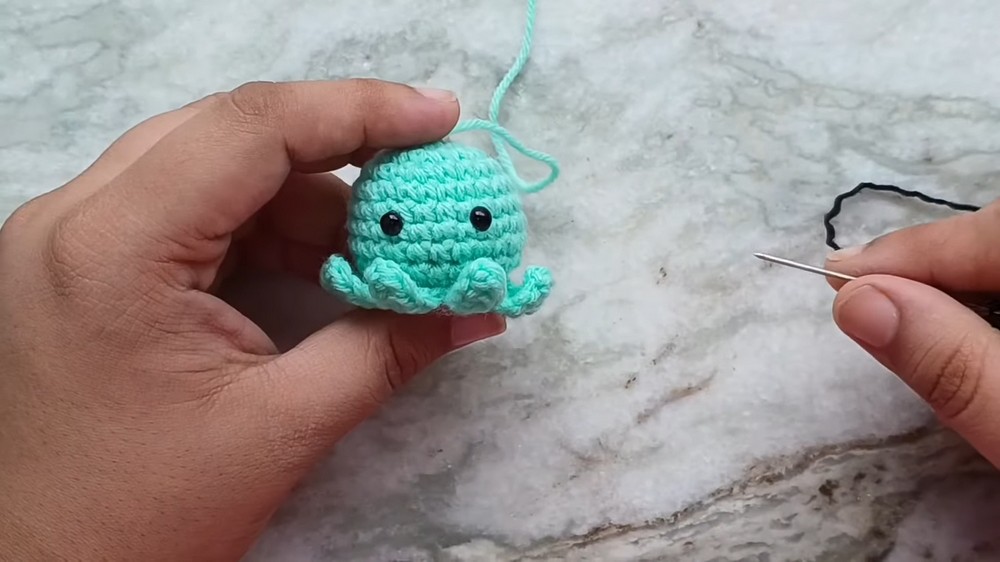
Part 3: Embroider the Face
- Smile:
- Use black embroidery yarn.
- Start between the eyes and embroider a simple smile in Round 7, spanning 2 stitches.
- Blush Cheeks (Optional):
- Use pink yarn.
- Create small horizontal stitches just below the eyes to form blush.
Part 4: Attach the Keychain
- Using the tail from the top of the head, sew the keychain ring securely at the center.
- Knot the yarn securely, hide the ends into the body, and trim excess yarn.
Final Touches
Congratulations! Your crochet mini octopus amigurumi is complete. The eight tentacles and smile make it irresistibly cute, perfect as a keychain, bag charm, or gift.
Pattern Question
Question: What should I do if my stuffing starts to show through the stitches?
Answer: Ensure you use a smaller hook than recommended for your yarn to keep stitches tight. Overstuffing can also cause visible gaps, so adjust the amount of filling to keep it snug but unobtrusive.
Conclusion
This crochet mini octopus amigurumi tutorial offers clear, step-by-step instructions for creating a delightful handmade accessory. Perfect for beginners, the project combines simple techniques with thoughtful details, making it a charming addition to accessories or gifts.


