Imagine wrapping yourself in a blanket that feels like a blooming garden, with intricate roses blossoming beautifully on its surface. This rose blanket design truly brings elegance and warmth together, making it a delightful piece for your home or a heartfelt handmade gift for someone special. Perfect for adding charm to any space, this pattern lets you craft something that is as unique as your creativity.
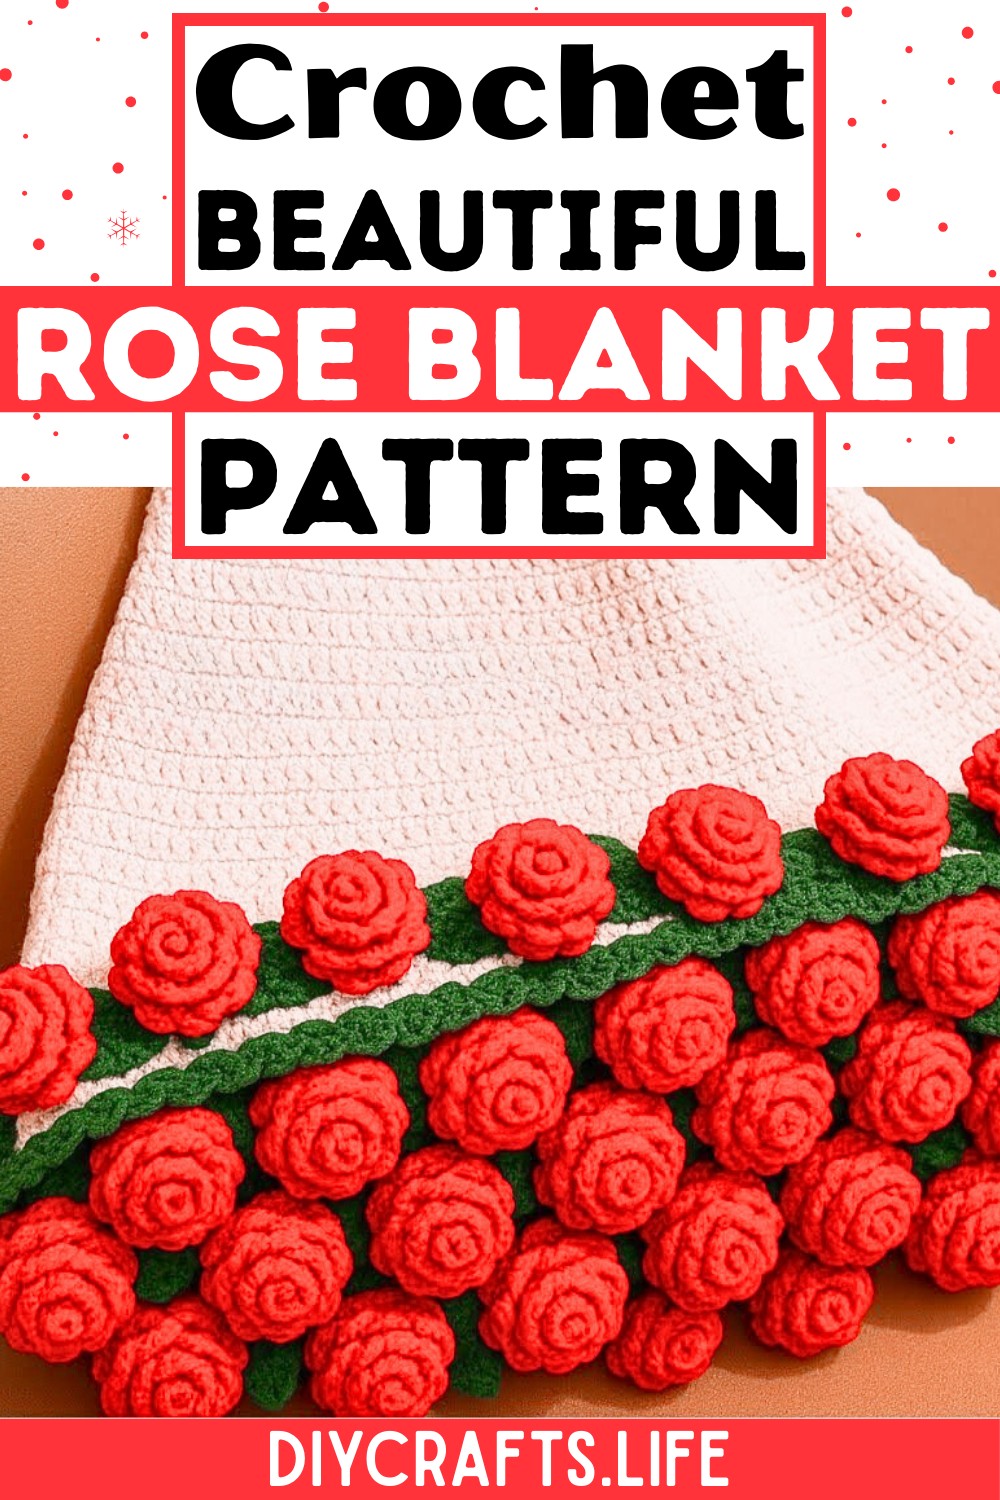
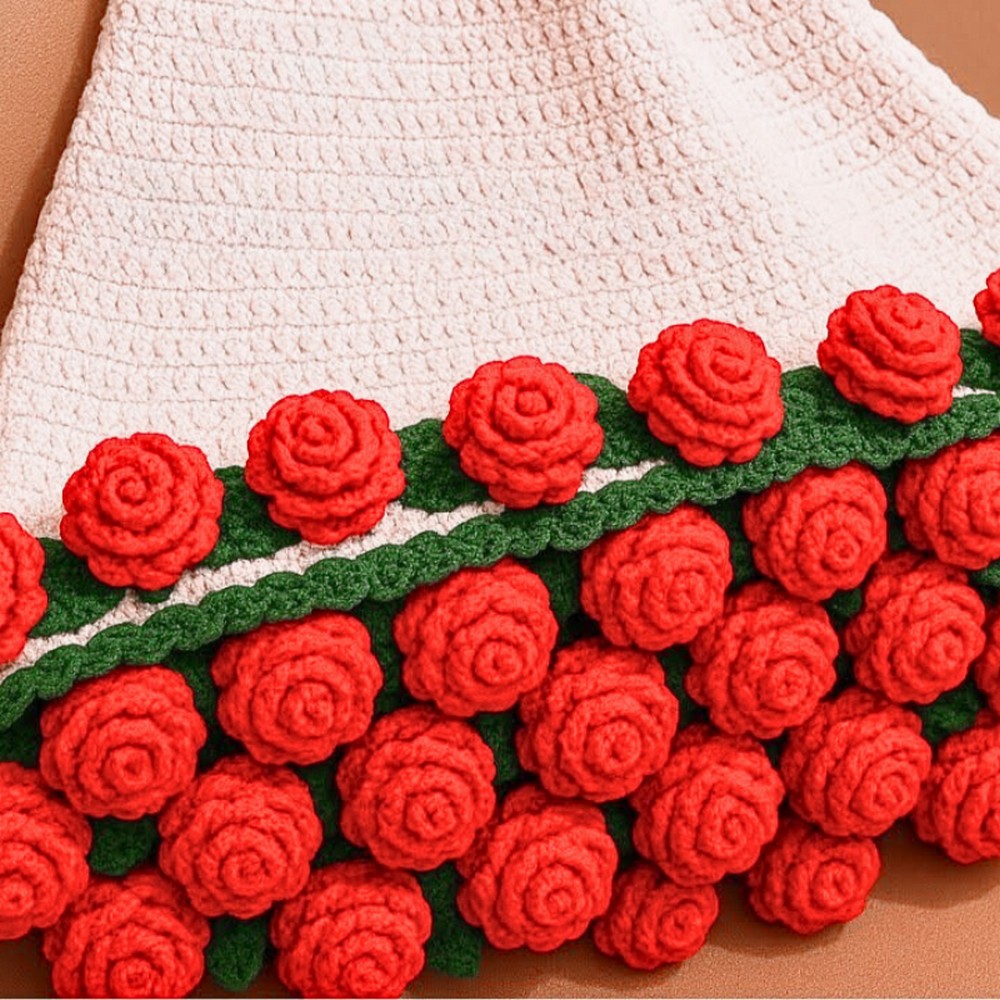
This crochet rose blanket stands out with its delicate flower patterns and thoughtful details. The interplay of leaves, braids, and roses creates a visually stunning texture that is both eye-catching and timeless. The design allows for endless customization, from the size of the blanket to the colors used for each rose. Whether made as a cozy throw or a decorative statement, this pattern transforms simple yarn into a breathtaking masterpiece.
Credit CrochetandCoffee
Materials & Tools Needed
Here is a list of materials required for the rose blanket:
- Yarn (Red, Green, Beige, and any Base Color):
- The red yarn is used for crocheting the roses.
- Green yarn is used for crocheting the leaves.
- Beige or a base-colored yarn is used for the blanket background.
- Choose a medium or worsted weight yarn for sturdier stitches, ensuring better form for flowers and leaves.
- 3.0 mm Crochet Hook: Helps to create tight, defined stitches for the 3D flower and leaves design without gaps.
- Tapestry Needle: For weaving in ends and hiding excess threads at the end.
- Scissors: To cut yarn as needed.
- Stitch Markers/Marking Buckles: To mark important stitches or positions in the pattern. Helpful for beginners to keep track of rounds and motifs.
Finished Size & Customization Ideas
- Approximate Size:
The overall size of the crochet rose blanket will vary based on the number of flower and background motifs created. If each motif is approximately 4" x 4", a small throw blanket with 5 x 5 motifs would be about 20" x 20". To make it larger, simply add more motifs to your design. - Customization Ideas:
- Size Adjustments:
- Increase or decrease the number of motifs to customize the length and width.
- Use a thicker yarn and larger hook size for chunkier flowers or faster stitch work.
- Lighter-weight yarn creates a more delicate, lace-like blanket.
- Color Adjustments:
- Experiment with different flower colors (e.g., pastel pink, white, or multicolor) to create a rose garden effect.
- Swap out the beige base with other background colors that complement your flowers.
- Texturizing:
- Consider doubling layers of flowers and leaves for a more textured or plush effect.
- Size Adjustments:
Pattern Abbreviations & Terminology
The pattern uses US crochet terms:
- ch: Chain
- sc: Single Crochet
- dc: Double Crochet
- tc: Treble Crochet (or Long Needle, as described in your notes)
- sl st: Slip Stitch
Step-by-Step Detailed Crochet Instructions
Part 1: Creating the Blanket Base
Base Color Rows
- Start with your beige/base-colored yarn. Create a magic loop (or adjustable ring).
- Round 1:
- Work 12 double crochets (dc) into the magic loop. Pull to tighten the loop and join with a slip stitch into the first dc. (12 stitches total)
- Round 2:
- Chain 3 (counts as the first dc). Into the same stitch, work 2 dc.
- In each stitch of the previous round, crochet 2 dc into each stitch to double the stitch count. Join with a slip stitch at the top of the first dc. (24 stitches total)
- Round 3:
- Chain 2. Begin working 1 dc in the first stitch, 2 dc in the next stitch.
- Continue this increase pattern around the circle (1 dc, then 2 dc). Join with a slip stitch to the first dc.
- Continue crocheting in the round, increasing evenly, until your base reaches the desired size.
Part 2: Adding the Leaves
- Switch to green yarn. Insert your hook onto the edge of the base in any stitch position.
- Round 1 of Leaves:
- Make a short crochet stitch into the chosen starting position. Lock with a braid. Chain 4 (counts as an air braid).
- Skip 2 stitches. Into the 3rd stitch, work 1 short crochet stitch and chain 4 again. Repeat until you’ve created “leaf loops” along the edge.
- Join with a slip stitch to end the round.
- Round 2 of Leaves:
- Into each loop, crochet:
- 1 sc, chain 4, 2 slip stitches, lock a braid. This creates the heart-shaped contour for each leaf.
- Into each loop, crochet:
- Continue this process along all edges to create a layer of leaves around your blanket or flower motifs.
Part 3: Crocheting the Roses
- Switch to red yarn for the rose. Choose a position on the base between two “leaf loops.” Create a starting slipknot.
- Form the Rose:
- Chain 12 to form the foundation loop of the rose.
- Start working into the chains: On each chain stitch, you will crochet 3 treble crochets (tc).
- This creates petals that naturally curl into a rose shape.
- At the final stitch, roll the crocheted row into the shape of a flower (spiraling inward) and secure the bottom with your yarn needle or crochet hook by sewing it closed.
- Repeat this process on each section or spot of your blanket design where you wish to add roses.
Part 4: Joining Flowers, Leaves, and Motifs
- Continue creating motifs by repeating the above steps (base, leaves, and flowers).
- When joining motifs, use a slip stitch or whip stitch with your base-colored yarn to connect the edges or corners as you assemble the blanket.
Part 5: Finishing Touches
- Weave in all ends securely with a tapestry needle, ensuring all threads are hidden.
- Block your rose blanket as needed to smooth out stitches and give it a polished finish.
Additional Tips
- If you’re new to crocheting flowers and leaves, practice making a few on scrap yarn to familiarize yourself before starting the full blanket.
- Experiment with different color combinations for seasonal themes (red/white for holidays, pink/purple for spring).
- For a cohesive design, ensure the background and floral colors complement each other.