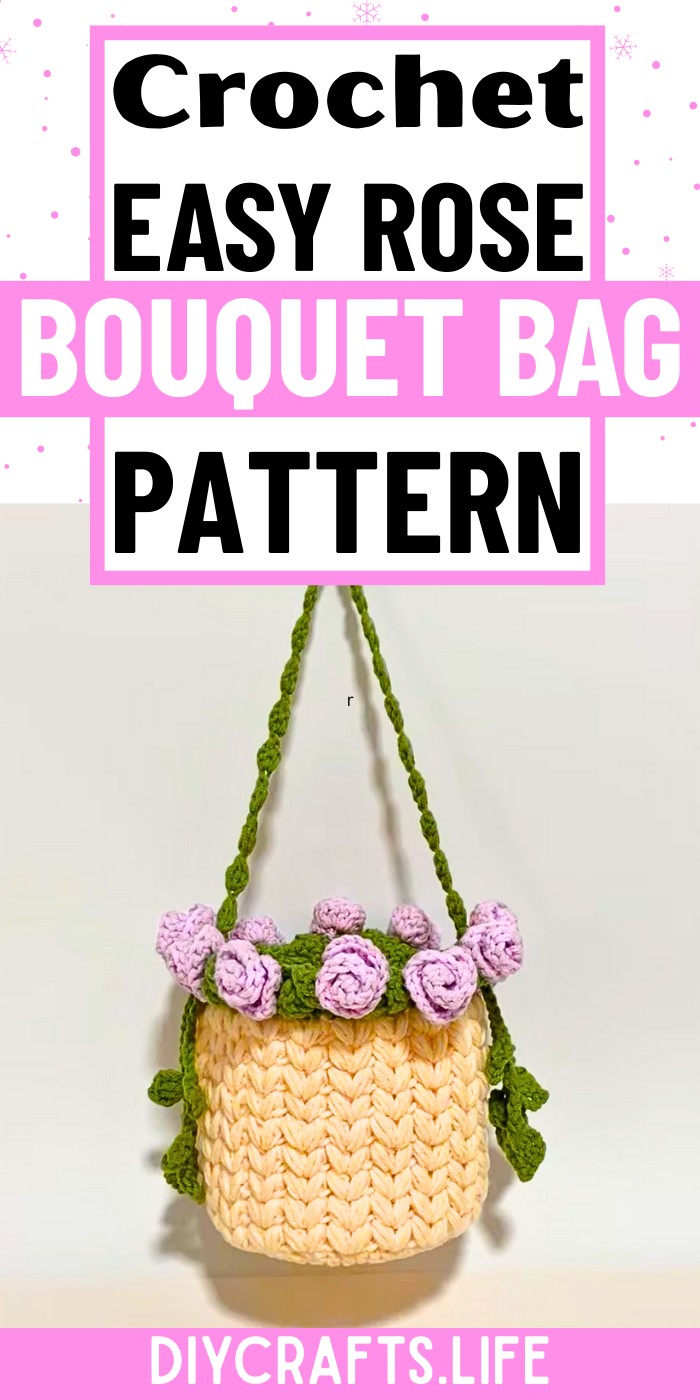
Step into a world of handmade elegance with the crochet rose flower bouquet bag. This exquisite design effortlessly turns everyday practicality into wearable art. Each delicate stitch blooms into life, making this design ideal for those who desire beauty and charm in every detail.
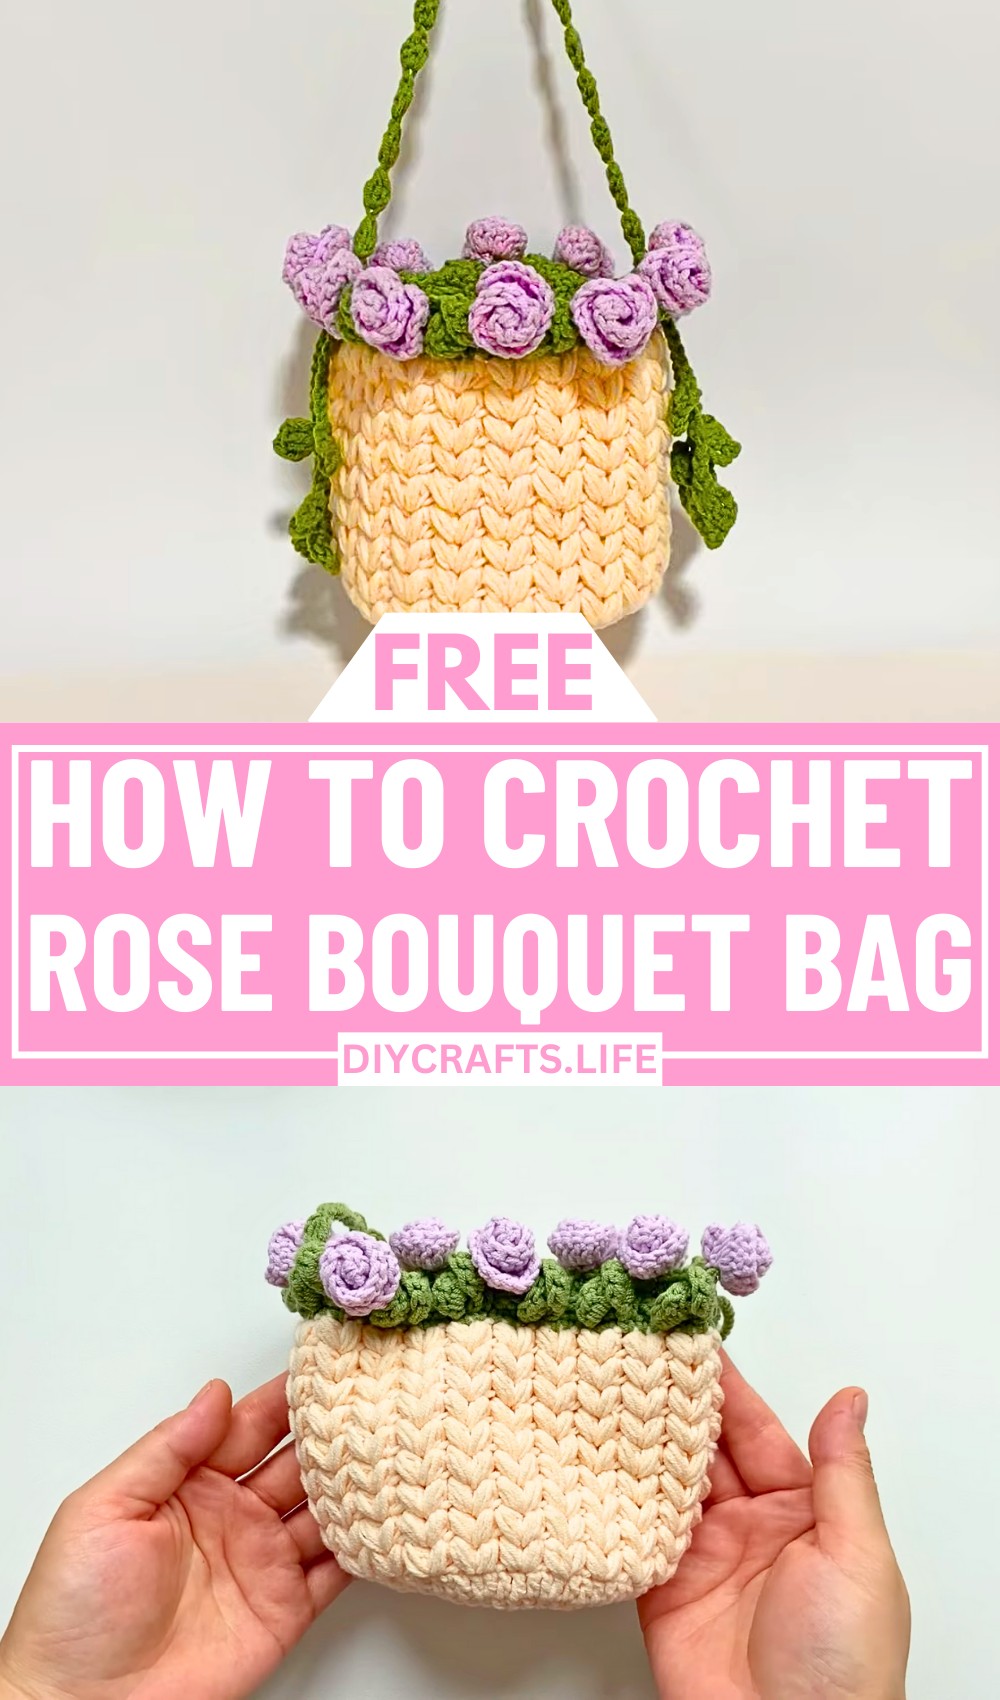
Crochet Rose Bouquet Bag
The crochet rose flower bouquet bag is a celebration of creativity and craftsmanship. Featuring intricately stitched roses arranged as a floral bouquet, this pattern perfectly combines functionality with artistic expression. The detailed flower accents bring a touch of romance and elegance, while the bag’s structure ensures it remains practical for everyday use. Whether paired with a sundress or used to elevate casual attire, this design adds style and individuality to any wardrobe.
Credit Ada's Handmade
Required Materials
- 4-ply cotton yarn (in varying colors, such as green for leaves and red/pink for roses).
- Crochet hook – 3.0mm
- Scissors to cut the yarn.
- Tapestry needle for securing yarn ends.
Important Notes
- Ensure you are familiar with basic crochet stitches such as magic loop, slip stitch, chain (ch), single crochet (sc), half-double crochet (hdc), and double crochet (dc).
- Tension consistency is crucial for an aesthetically pleasing final product.
- Follow the instructions step by step for both the rose and the accompanying leaves to ensure the flowers are well assembled for the bouquet.
Step-by-Step Instructions
Crochet the Flower Base:
- Start with a magic loop.
- Round 1: Chain 2, make 12 double crochets (dc) into the magic loop, and finish with a slip stitch.
- Round 2: Chain 2, (2 dc in each stitch) 12 times around, for a total of 24 dc. Slip stitch to finish.
- Round 3: Chain 2, (dc in first stitch, increase in next stitch) repeat around for a total of 36 dc. Slip stitch to finish.
- Round 4: Chain 2, (dc, dc, increase) around for a total of 48 dc. Slip stitch to finish.
- Round 5: Chain 2, (3 dc in individual stitches, increase in next stitch) repeat for a total of 60 dc. Finish with a slip stitch.

Create the Loops (Petal Setup):
- Round 6: Chain 2, create 2 loops by chaining 1 between, and make 3 loops in the next space.
- Skip 2 stitches, crochet 3 loops, chain 1, and then crochet 3 loops again. Repeat this pattern around the round.
Shape the Petals (Roses):
- Slip stitch into the next space. Chain 2, make 2 loops, and chain 1. Crochet 3 loops and repeat the petal pattern in each space.

Crochet the Leaves (Using Green Yarn):
- Switch to green yarn and single crochet (sc) around the edge.
- Round 1 (Base for Leaves): Chain 2, double crochet (dc) around and finish with a slip stitch.
- Round 2 (Leaf Shape): Chain 1, then:
- Make 1 sc in the same stitch.
- Chain 3, create 1 sc, hdc, 2 dc, hdc, sc into the same space to form a leaf.
- Repeat the pattern of chain 3, sc, hdc, dc, and sc to form leaves.
- Work 5 single crochets (sc), then repeat the leaf-making sequence as desired.

Crochet and Assemble the Roses:
- Petals: Chain 12 to start forming the flower petal design.
- Make 3 dc in the 4th chain from the hook, and then 3 dc in each subsequent chain.
- Chain 3, slip stitch, and repeat to complete the flower.
- On Leaves: To add detailing between the leaves, chain 4, make 2 dc, chain 1, and add a picot for embellishment.
- Chain 7, make 2 dc in the 4th chain, chain 1, create a picot, and repeat to form detailed accents on the flower.

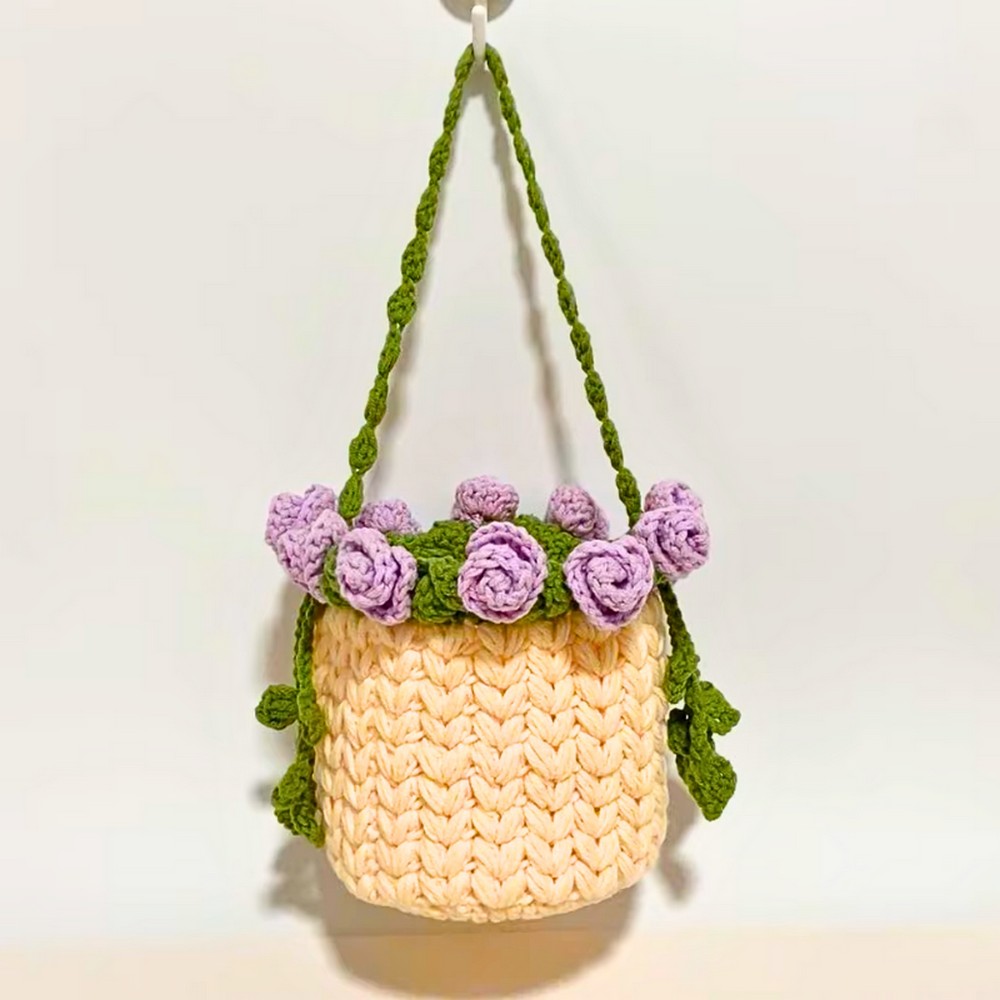
Final Assembly for Bag Decoration
- Use the roses and leaves you’ve crocheted to arrange them into a bouquet design.
- Sew or attach them firmly onto your bag. You can overlap flowers and leaves to create a fuller, more natural look.