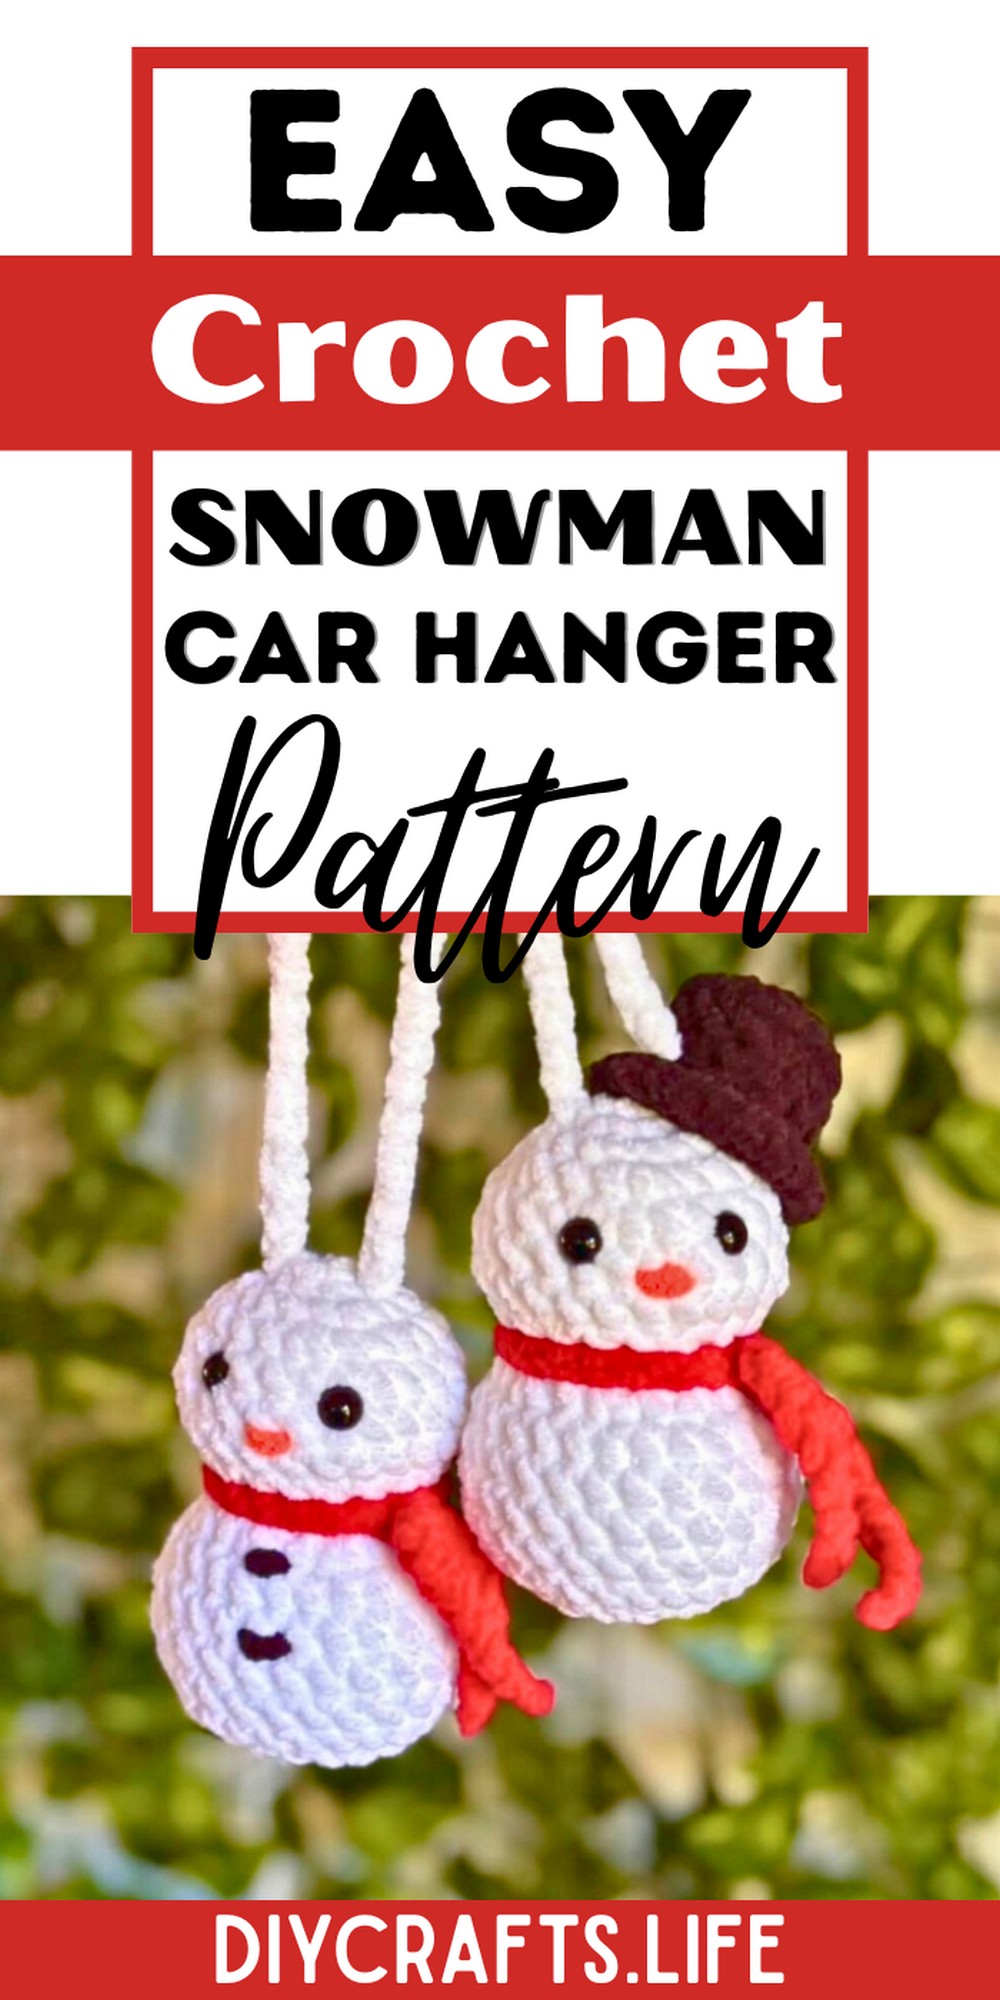
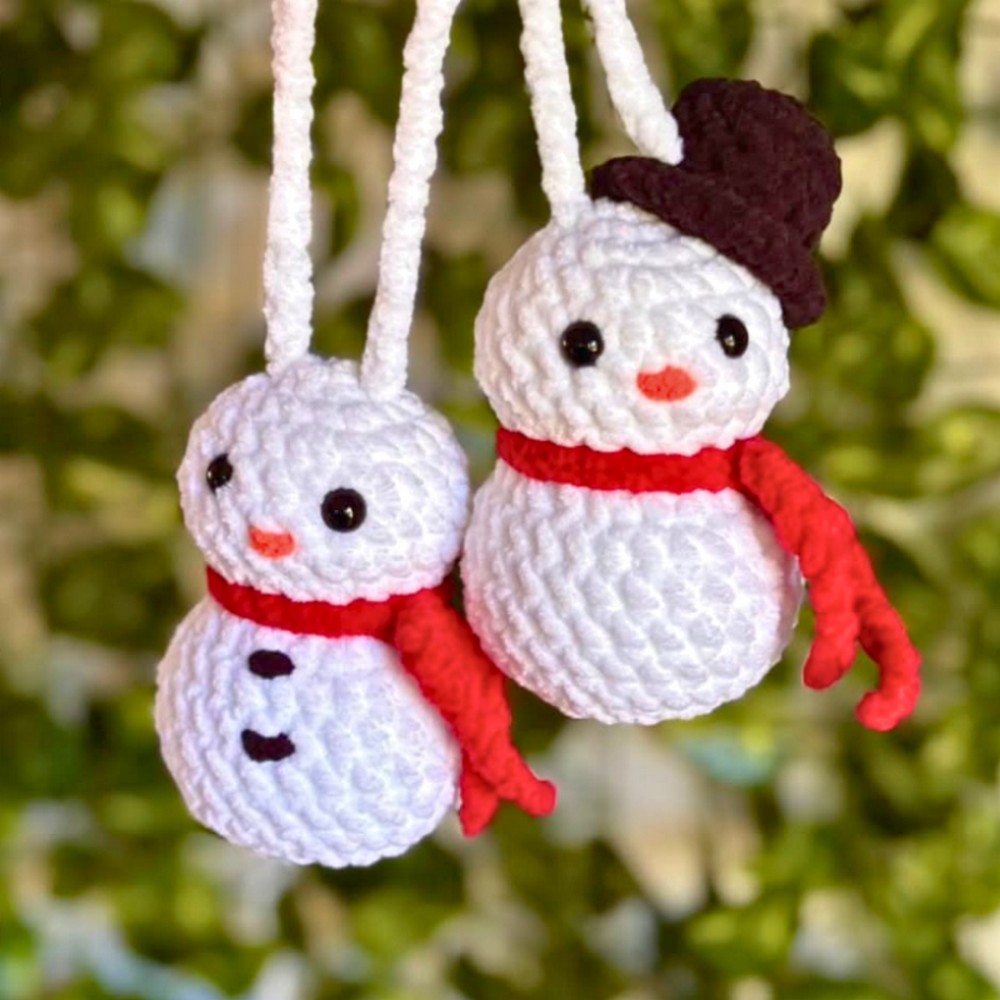
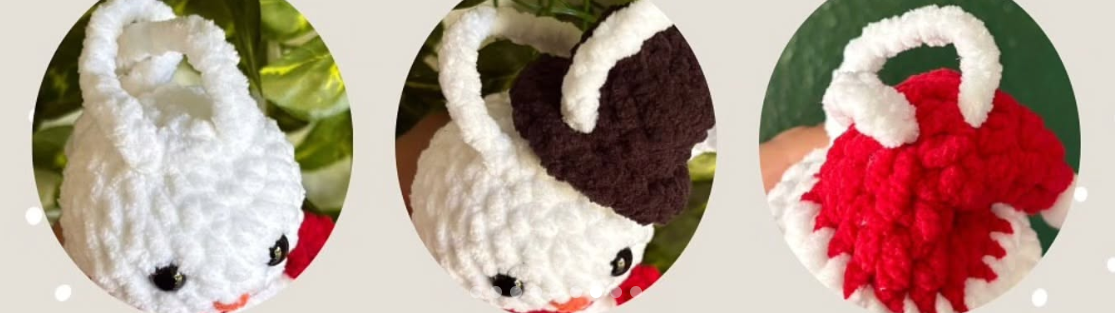
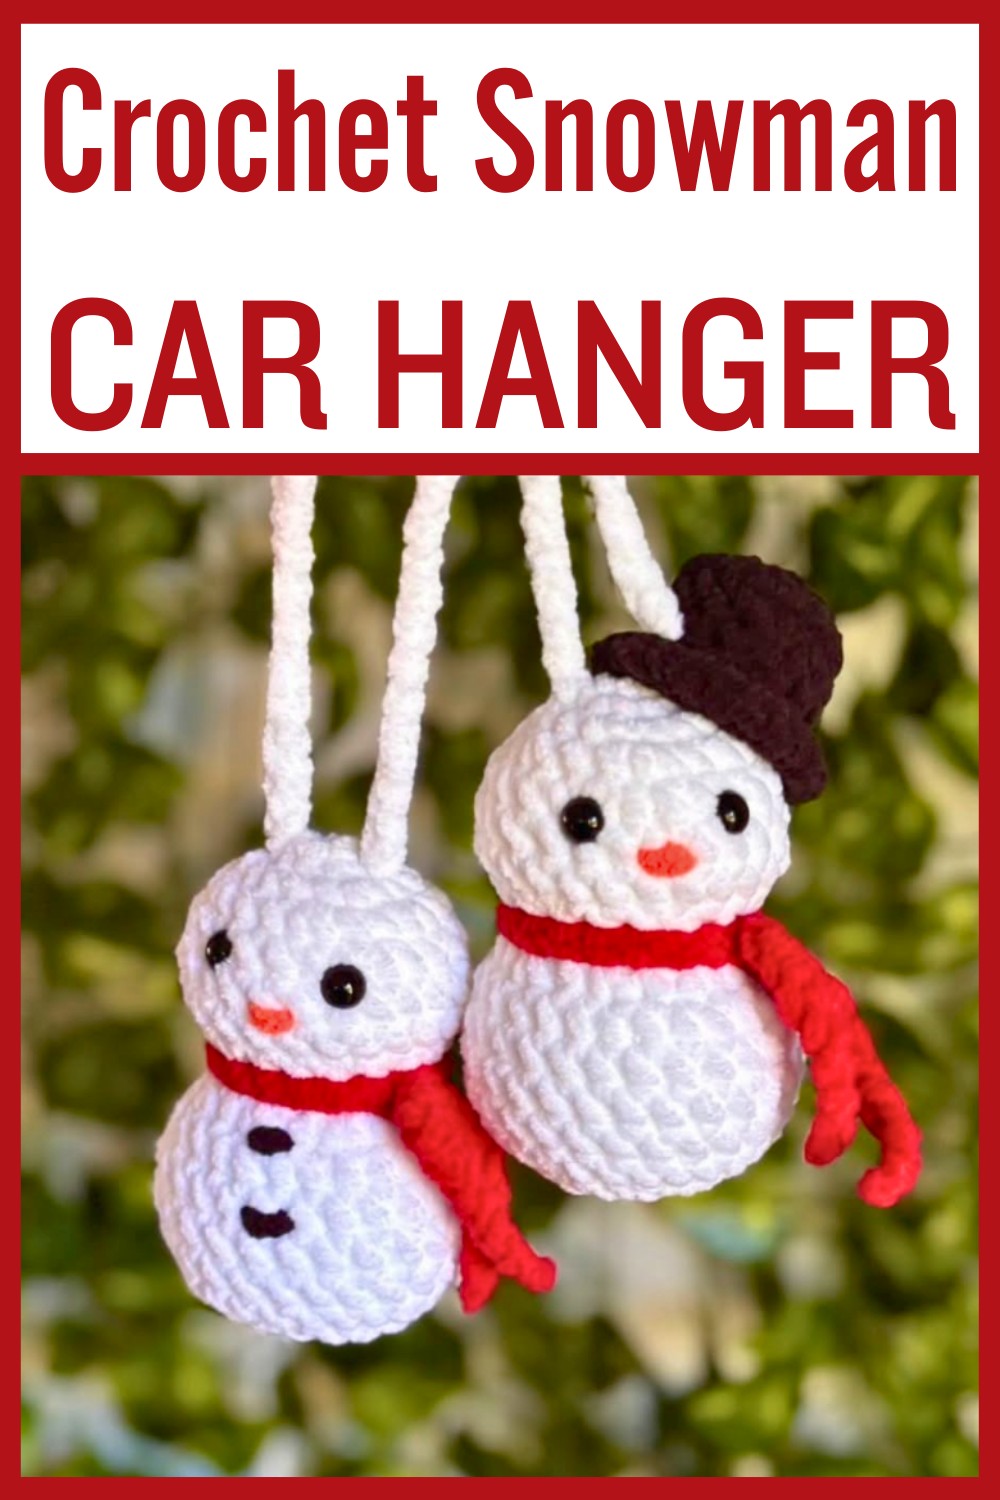
The Crochet Snowman Car Hanger Amigurumi Pattern is a delightful way to add festive charm to your vehicle. Featuring adorable snowmen with expressive details, these crocheted accessories effortlessly blend beauty, functionality, and versatility, making every ride more cheerful.
Designed to endure, this crochet creation is both delightful and durable. Crafted from high-quality yarn, its resilient structure and intricate detailing ensure it stands out as a long-lasting, charming accessory for cars or seasonal decor.
Crochet Snowman Car Hanger Amigurumi
Perfect for every skill level, this project invites you to explore your creativity. Clear, customizable instructions make crafting a unique piece a fun and accessible adventure, allowing you to add your personal flair to each snowman.
Materials:
- Yarn, I used Big Twist Posh in Whipped Cream, Red Velvet Cake, Black Sesame Ice Cream and Carrot Juice.
- 8mm Safety Eyes
- 4.5mm hook
- Hot Glue Gun
- Mini white pompoms
- Stuffing
- Stitch Marker·
- Yarning needle
Abbreviations:
- R: Round
- mc: Magic circle
- cc: Color change
- c: Single crochet
- hdc: Half-double crochet
- hdc-inc: Half-double crochet increase
- sist: Slip stitch
- inc: Increase
- dec: Decrease (invisible decreases were used)
- BLO: Back Loops Only
- FLO: Front Loops Only
- (#): Number of stitches per round
Head & Body:
Stuff and Shape as you go
- RI. 6sc in mc (6)
- R2. 6inc (12)
- R3. (sc, inc) x6 (18)
- R4. (inc, 2sc) x6 (24)
- R5-7. 24sc (24) 3 rounds
- R8. (2sc, dec) x6 (18)
- R9. (sc, dec) x6 (12)
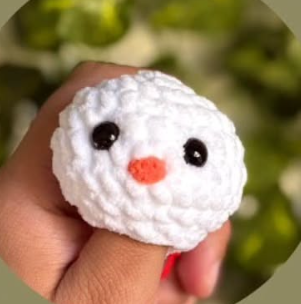
-Insert Safety eyes between R5-6, 2-3 stitches apart. Add nose between R6-7, one stitch across.
- RIO. (sc, inc) x6 (18)
- RII. (sc, inc) x9 (27)
- R12-16. 27sc (27) 5 rounds
- R17. (sc, dec) x9 (18)
- R18. (sc, dec) x6 (12) R19. 6dec (6)

-Sist in the next stitch, leave a long enough yarn tail to close hole, fasten off and weave ends in. -
Add button details if desired between RII-12 and R13-14, One stitch across
Top Hat:
- RI. 6sc in mc (6)
- R2. 6inc (12)
- R3. 12sc (12)
- R4. BLO 12sc (12)
- R5-6. 12sc (12) 2 rounds
- R7. FLO: inc x12 (24)
-slst into the next stitch, leave a long yarn tail to sew onto head OR fasten off and glue hat to head.
Flatten top of hat by pushing it down a bit.

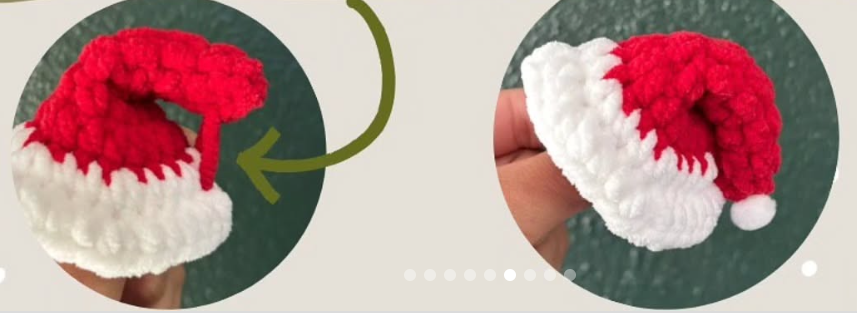
Santa Hat:
- RI. 4sc in mc (4)
- R2. 4hdc (4)
- R3. (hdc, hdc-inc) x2 (6)
- R4. 6hdc (6)
- R5. (hdc, hdc-inc) x3 (9)
- R6. 9hdc (9)
- R7. (2hdc, hdc-inc) x3 (12)
- R8. (hdc, hdc-inc) x6 (18)
- R9. cc to White, FLO (2hdc, hdc-inc) x6 (24) RIO. (3hdc, hdc-inc) x6 (30)
-Leave a long yarn tail to sew onto head, or glue hat onto head.
-Glue Mini white pompom to the tip of the hat.
-Using one of the extra yarn tails, or a new piece of yarn, tie down top of hat to the side or glue down.
Scarf:
- Ch 30, if needed, add more chains until desired scarf length. Cut the yarn, pull ends to tighten the first and last knots.
- Wrap scarf around the snowman's neck and insert the end of the chain through a single chain closest to the neck, for me it was chain number 9.
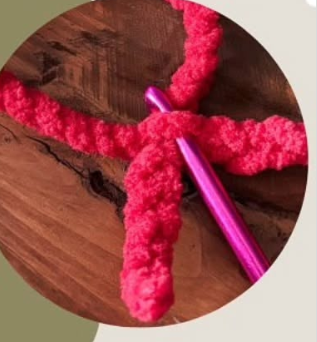
Car Chain:
- Leave a long starting tail, slip knot & chain 40-60, until desired length. Fasten off and leave a long tail.
- Attach chain and secure using the yarn tails to the top of the snowman's head/hat!
Ornament Chain:
- Leave a long starting tail, slip knot length. Fasten off and leave a long tail.chain 20-30, until desired
Conclusion:
This project is more than a craft—it’s a festive, practical statement of creativity. Enjoy the process and the cheerful result that brings both style and seasonal spirit to your everyday environment.
Pattern designed by @crochet_toys_patterns