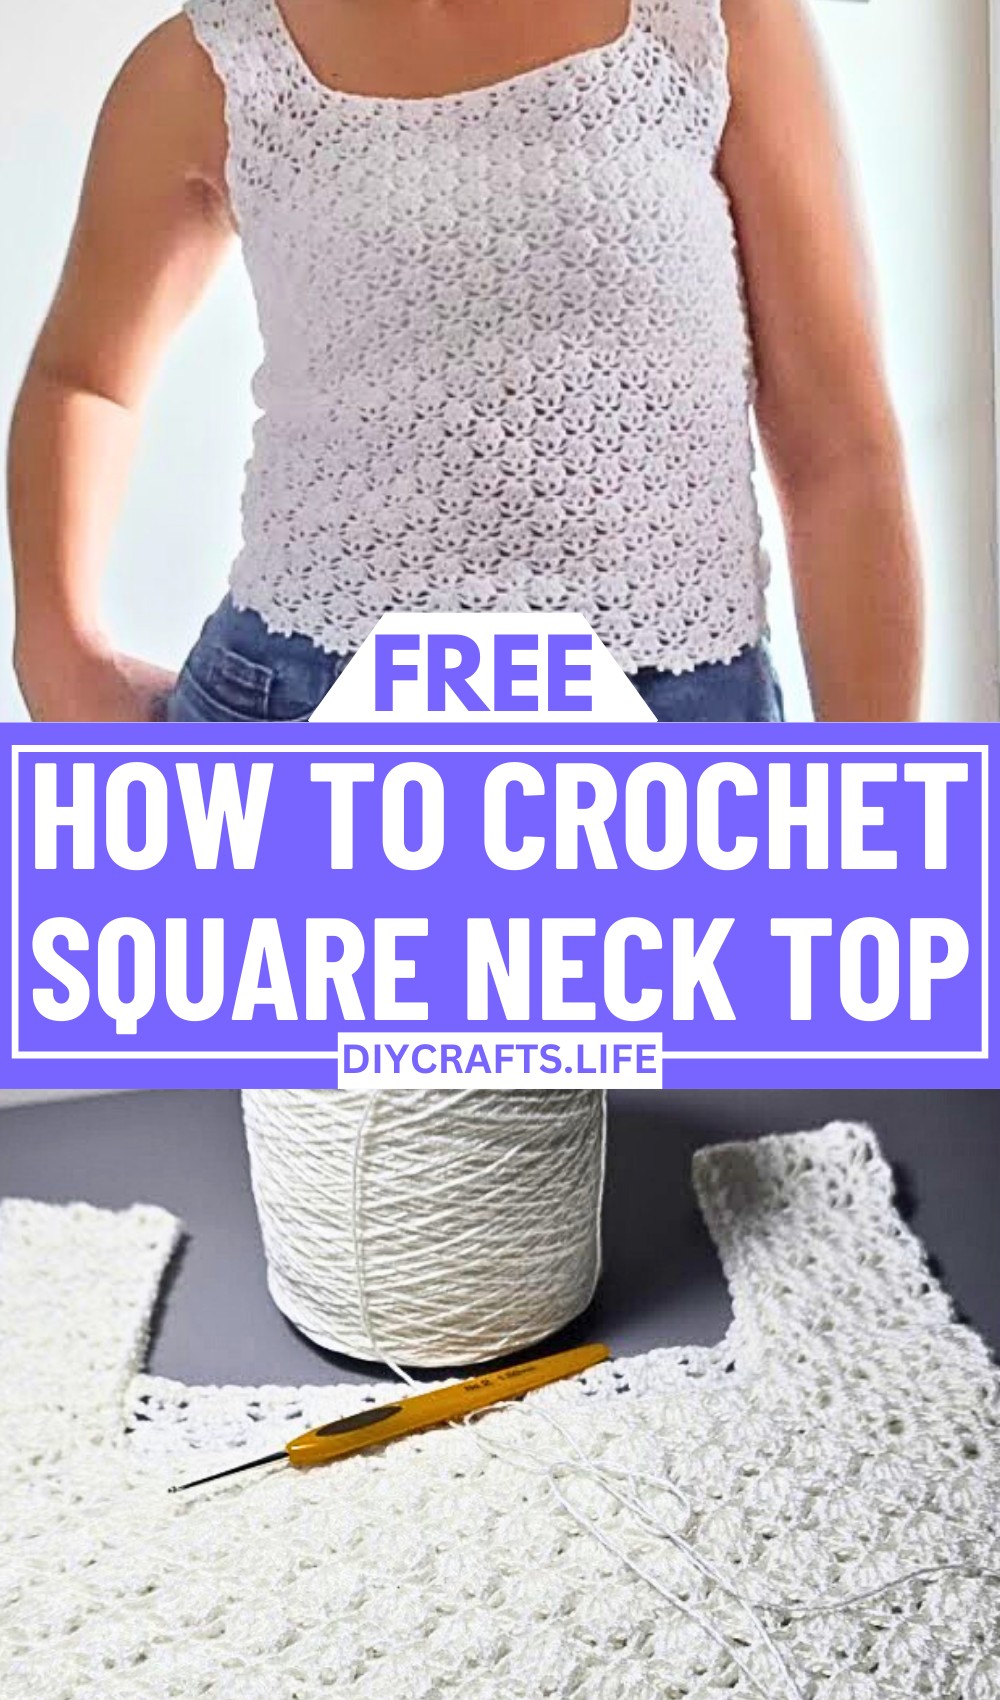
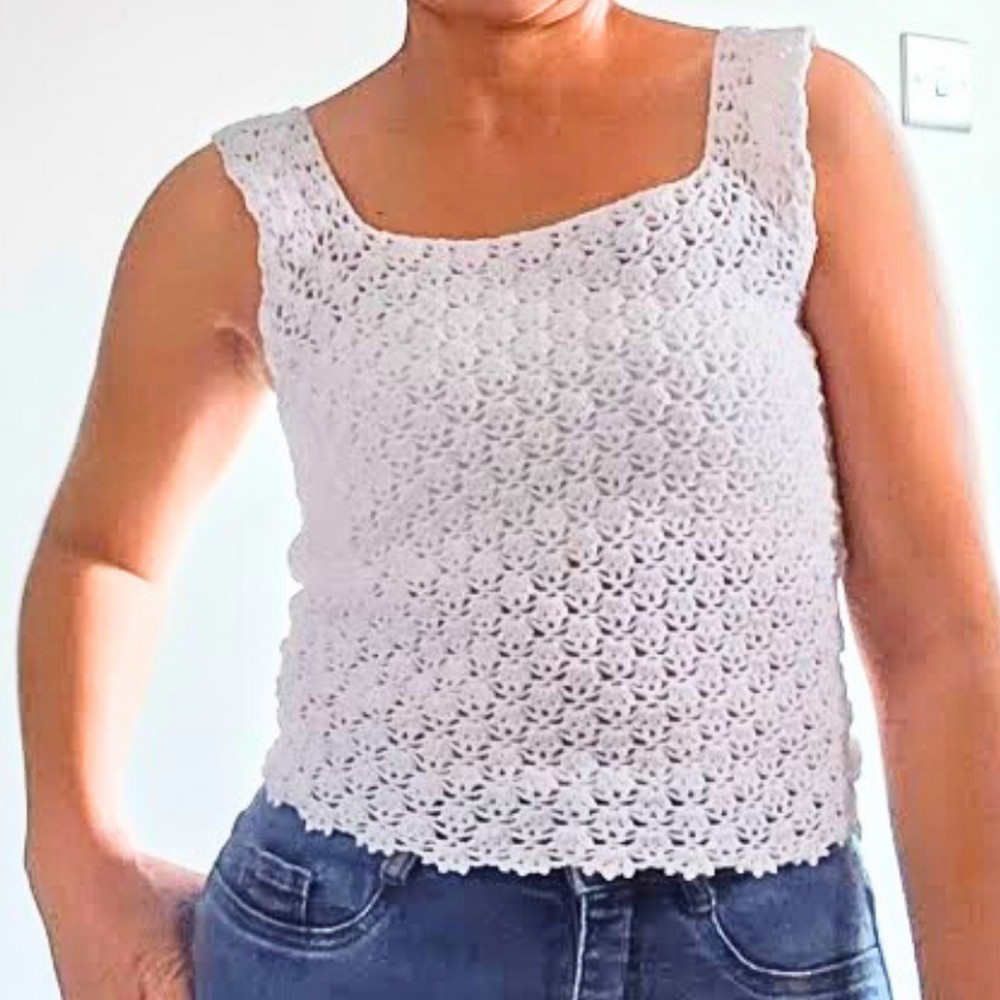
Breathe life into your summer wardrobe with this effortlessly stylish crochet square neck top. Designed to complement sunny days and breezy evenings, this piece blends simplicity and elegance, effortlessly creating a top that is timeless and eye-catching. Whether you’re heading to the beach or indulging in a casual day out, this design adds a touch of charm and comfort to any outfit.

Crochet Square Neck Summer Top
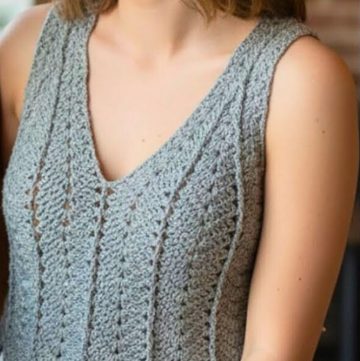
This summer top is defined by its square neckline, which gives it a modern and flattering silhouette. Clean lines and airy stitching make it lightweight and breathable, perfect for warm weather. The pattern allows room for customization, making it easy to experiment with colors and sizes to fit your own style. Pair it with jeans, shorts, or skirts—this versatile piece transforms with your creative touch and stands out as a must-have crochet project.
Credit KunitaHandmade
Materials & Tools Needed
- Yarn:
- Cotton yarn, 3-ply preferred, for a breathable summer feel.
- Recommended amount: 200–300 grams, depending on the size.
- You can choose any color to suit your style, or even a gradient or multicolor yarn for added visual interest.
- Crochet Hook:
- Recommended size: 1.75 mm hook, perfect for a fine, lightweight finish.
- Accessories:
- Stitch Markers: Helpful to mark start/end points, corners, or pattern repeats.
- Scissors: For trimming yarn ends neatly.
- Tapestry Needle: Used to weave in the ends and secure yarn tails.
- Measuring Tape:
- For taking body measurements (neck, shoulder, body circumference, and length).
Finished Size & Customization Ideas
Finished Size:
The tutorial provides a sample for size small, but it is easily adjustable based on your measurements.
- The base of the pattern is worked in rings, with a foundation of 78 rings for size small.
- Key to sizing:
- Work a multiple of 3 chains for the rings, ensuring the number divides evenly into 4 equal sections: front, back, and two shoulders.
For example:
- Front and Back: Each section might have 5 patterns (15 rings per section).
- Shoulders: Each shoulder might have 6 patterns (18 rings total for both shoulders).
Customization Suggestions:
- To Adjust the Size:
- Increase or decrease the total number of starting rings based on your chest circumference.
Example for larger or smaller sizes:- Medium: Start with 84 rings.
- Large: Start with 90 rings.
- The pattern is flexible because you can measure your neck, shoulder, and body fit as you work.
- Increase or decrease the total number of starting rings based on your chest circumference.
- Length Adjustments:
- Stop working the pattern at any row/length you find suitable (e.g., cropped top or longer blouse).
- For added length, work additional rows in the pattern after finishing the shoulder section.
- Style Changes:
- Experiment with yarn weight: Use 4-ply for a bolder look or lace-weight yarn for a lighter top.
- Color Variations: Choose a single color for simplicity, or select multiple colors for bright summer vibes.
- Strap Options: You can alternate the square-neck straps or tie the shoulder straps for an adjustable style.
Pattern Abbreviations & Terminology
(All terms are in US Crochet Terminology)
- Ch = Chain
- SC = Single Crochet
- DC = Double Crochet
- HDC = Half Double Crochet
- Sl st = Slip Stitch
- YO = Yarn Over
- Rep = Repeat
- St(s) = Stitch(es)
- Pop Stitch = A combination of Half Double and Double Crochet, creating puffed designs.
Step-by-Step Crochet Instructions
1. Foundation (Rings)
- Create Foundation Rings:
- Begin with Chain 4, then join into the first chain with a slip stitch to form a ring.
- Chain 3 (counts as your first DC).
- Work 1 DC into the loop of the first stitch.
- Continue Making Rings:
- Chain 3, then DC into the same ring.
- Repeat this process until you reach your desired number of rings (e.g., 78 rings for size small).
- Ensure the number of rings is a multiple of 3 to maintain the pattern.
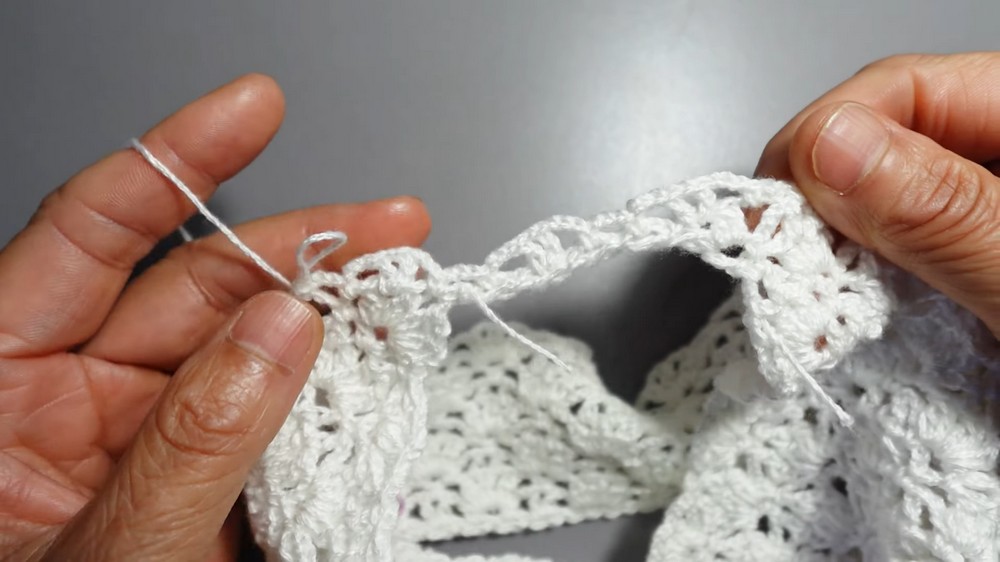
- Joining the Rings:
- Ensure that your rings are not twisted.
- Join the last ring to the beginning using a slip stitch into the first chain.
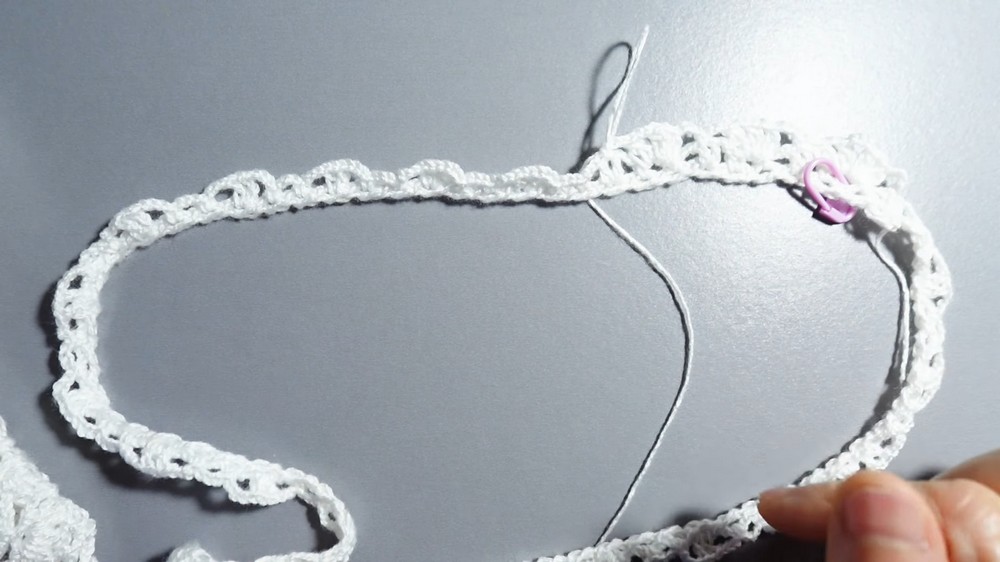
2. Setting Up the First Row
- Marking Corners and Sections:
- Divide your pattern into 4 sections: front, back, and two shoulders.
- Example: You will have 5 patterns for the front and back, and 6 patterns for each shoulder (always ensuring an even division of rings).
- Begin the Pattern:
- Chain 3, then work a DC followed by a Chain 1 into the next ring.
- Skip to the next ring and repeat:
- Chain 3, Single Crochet into the next ring, Chain 3, and repeat Single Crochet.
- Creating Corners:
- In the four corners (dividing the sections), crochet:
- (DC, Chain 1, DC) into the same stitch.
- In the four corners (dividing the sections), crochet:
- Continue Around:
- Work this alternating pattern around the full neck opening.
- Be sure to mark the corners using stitch markers for organizational ease.
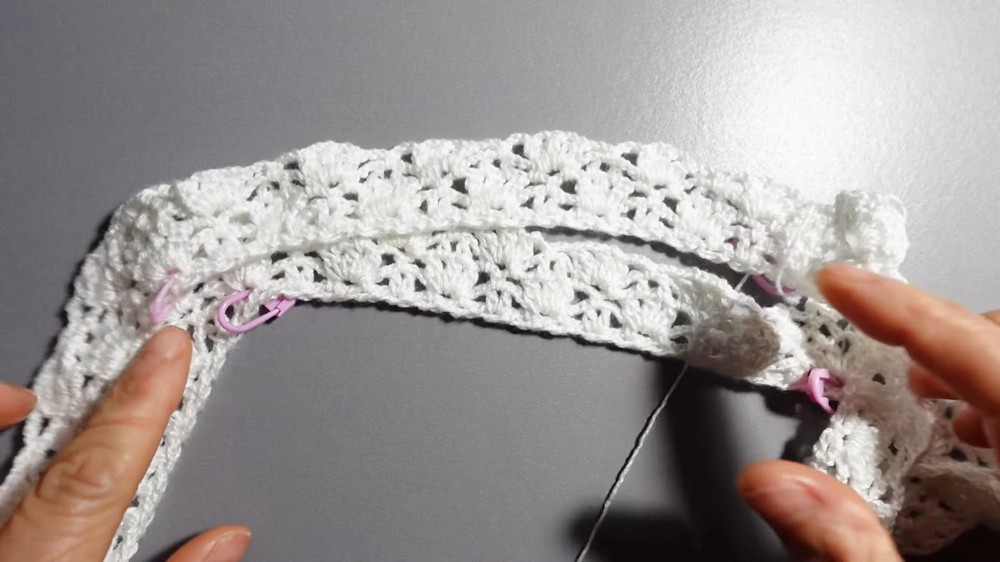
3. Working the Body Pattern
- Pop Stitch Pattern:
- In the next row, begin forming the distinctive puff/pop stitches:
- Work DC, leave the last loop on the hook, then YO and repeat DC into the same stitch.
- Pull through all loops on the hook to complete the pop stitch. Chain 2 before moving to the next repeat.
- In the next row, begin forming the distinctive puff/pop stitches:
- Row Repeats:
- The pop stitch rows alternate with single crochet and chain rows to create texture.
- Repeat the design, increasing in corners as needed to maintain the shape of the garment.
4. Joining the Body Panels and Underarms
- Connecting for Underarms:
- Measure how wide the top needs to be under the arms. Join the front and back panels by creating additional chains to form the side extensions.
- Example: Add 8-10 chains under each arm.
- Measure how wide the top needs to be under the arms. Join the front and back panels by creating additional chains to form the side extensions.
- Secure the Joins:
- Use slip stitches or single crochet to attach the side chains to the front and back sections.
- Work around the joined pattern to continue extending the body.
5. Finishing the Top
- Adding Length:
- Knit rounds of pop stitch and chain patterns until the top reaches your desired length.
- Neckline and Edge Finish:
- For a polished neckline, add single crochet or a reverse SC (crab stitch) edge around the square neckline.
- Final Edging for Hemline:
- To create a decorative hem, the video uses:
- Chain 3 with picots and puff stitches.
- Slip stitch around for added structure and finish.
- To create a decorative hem, the video uses:
Additional Notes
- Always measure as you go, especially the neckline and body fit.
- Blocking: Lightly block the finished top to relax the stitches, especially if using cotton yarn.
- You can define the back or front by adding rows or other decorative touches to differentiate the sections.