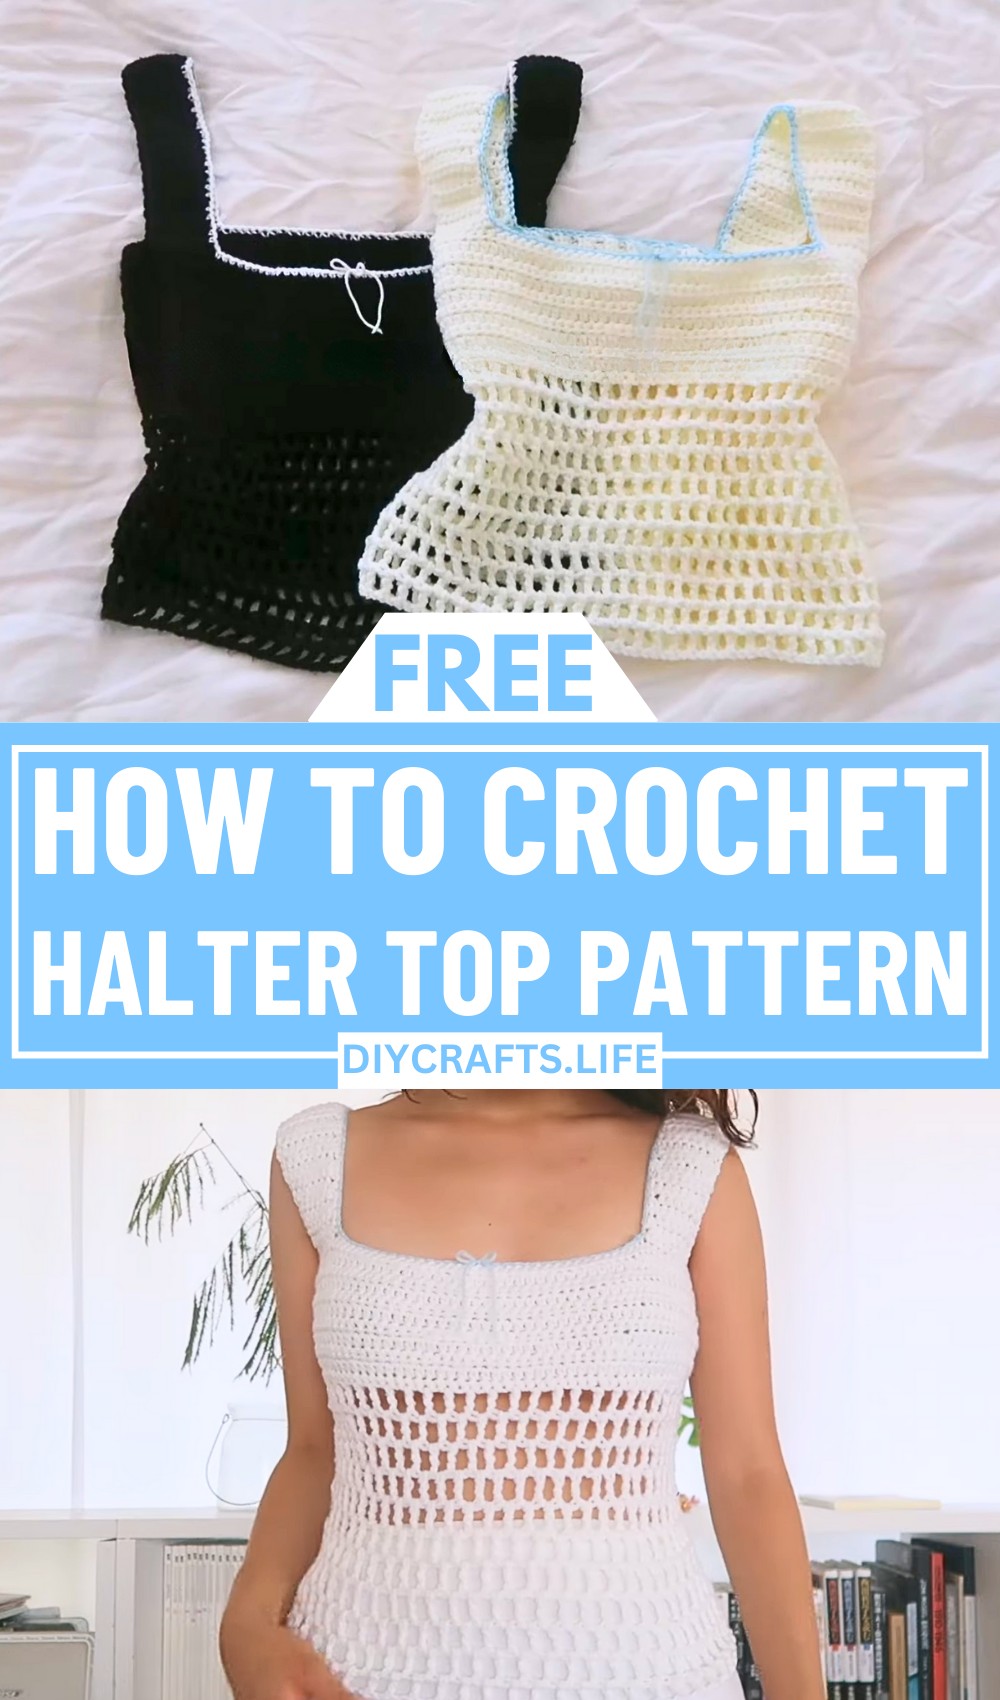
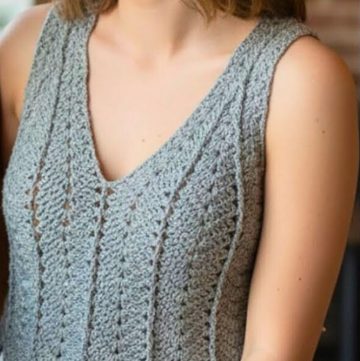
Elevate your crochet game with this stunning square neck top design—an effortless mix of style and comfort. Its clean lines and flattering structure create a modern piece that makes a statement, whether paired with jeans for a casual look or layered for something more refined. This crochet piece is where simplicity meets trendy elegance.
Crochet Square Neck Top
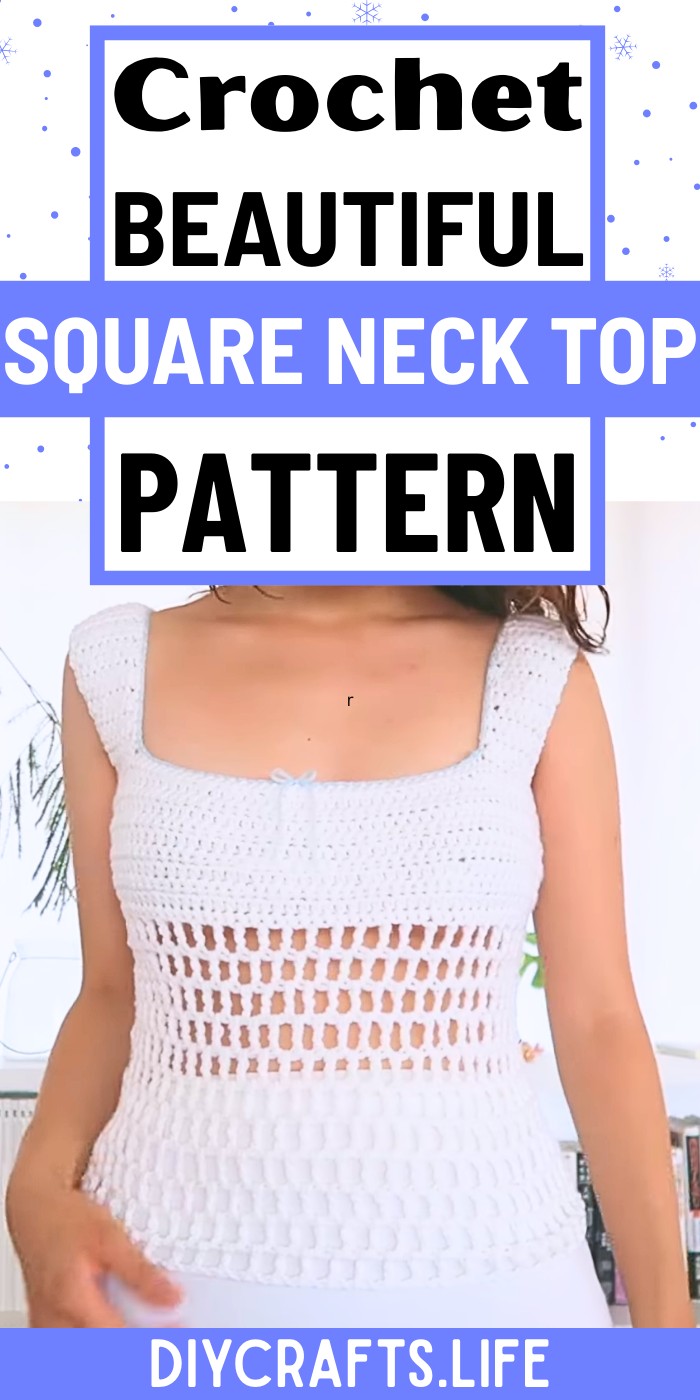
What sets this top apart is its classic square neckline, offering a timeless silhouette that flatters all body types. The pattern allows for subtle customization with textures and colors, giving you endless room to adapt and make it uniquely yours. Easy to style and incredibly versatile, this design is not just a project, but also a wardrobe essential that showcases both your skill and creativity.
Credit miu
Materials & Tools Needed
- Yarn:
- The tutorial uses yarn suitable for a size small top (you can customize based on size).
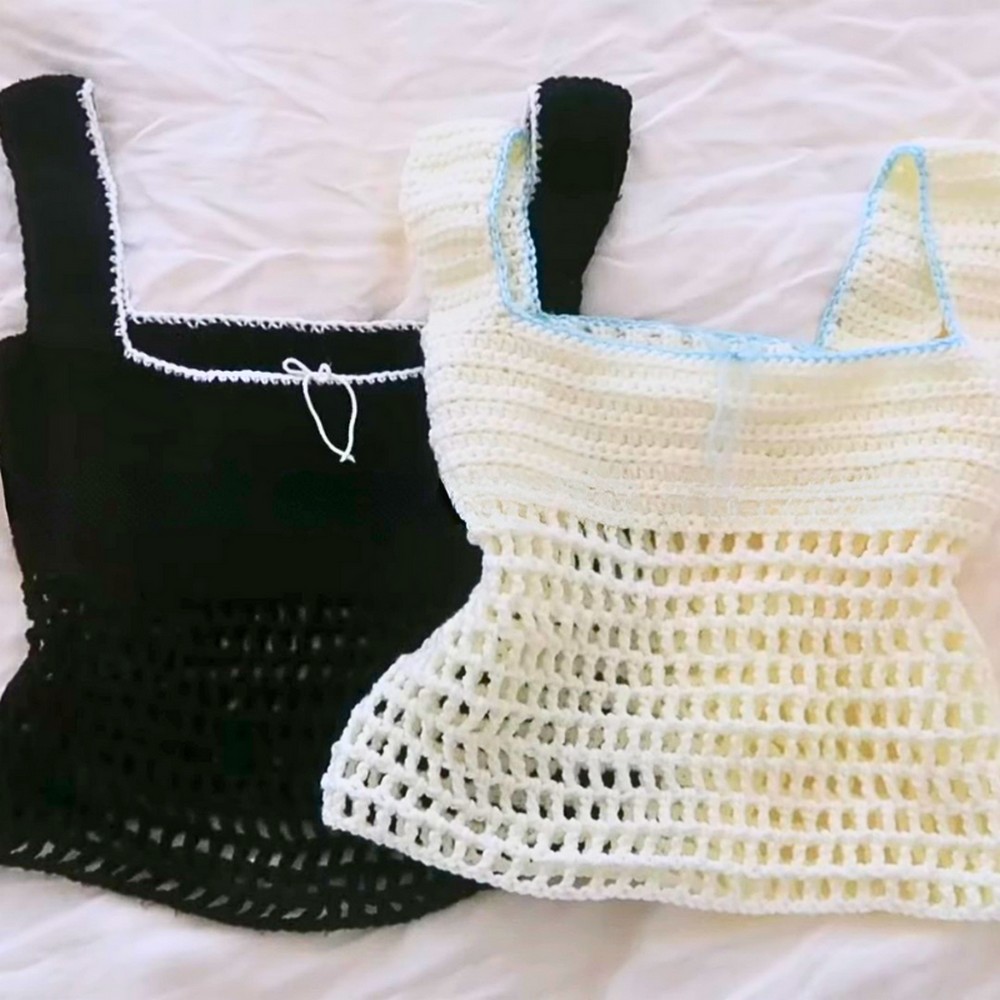
- Two colors are used in the example: White for the main body and baby blue for the lining/ribbon.
- Suggested yarn weights: Medium weight (4) for structure, or lighter yarn for a lacier feel.
- You can use a thinner yarn for the ribbon/lining if you want contrast.
- Crochet Hook:
- The example doesn't specify, but commonly recommended size for medium weight yarn is 5.0 mm (H/8). Adjust according to your yarn choice.
- Scissors
- Tapestry Needle:
- For sewing and weaving ends.
- Stitch Markers or Clips:
- Hair clips shown in the tutorial can also work for marking positions on the straps and other points.
Finished Size & Customization Ideas
- Approximate Size Details:
- The tutorial explains making a top for a size small, with measurements tailored to the creator's size. The ribbing section starts with 16 rows and the mesh section includes 11 rows.
- Approximate bust: 32-34 inches for size small.
- Customization Ideas:
- Adjust Size:
- For larger or smaller sizes, increase or decrease rows in the ribbing section and adjust the chain count for the front/back panels and straps as needed.
- Yarn Weight:
- Use lighter yarn for a more delicate lace-style look or heavier yarn for warmth and structure.
- Longer Straps:
- Extend strap rows or adjust the placement to suit your body proportions.
- Color Changes:
- Experiment with ombre yarns, color blocking, or matching ribbon/lining with your base yarn for a consistent look.
- Bottom Mesh Design Variations:
- Add fewer rows for a cropped style or increase rows for a longer top.
- Adjust Size:
Pattern Abbreviations & Terminology
Here are the abbreviations used in the project:
- ch – chain
- hdc – half double crochet
- sc – single crochet
- tr – treble crochet
- sl st – slip stitch
- sk – skip
- st(s) – stitch(es)
Step-by-Step Detailed Crochet Instructions
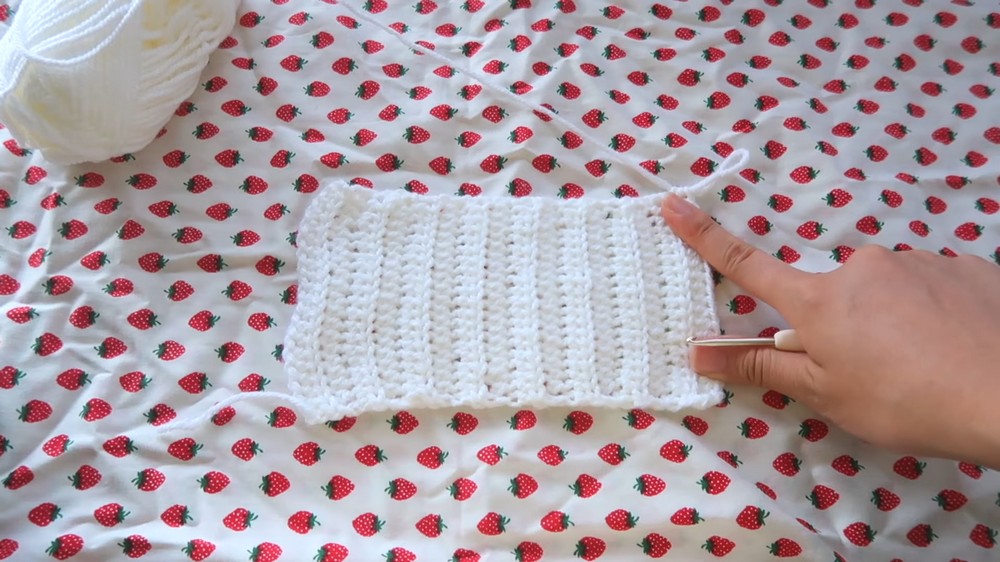
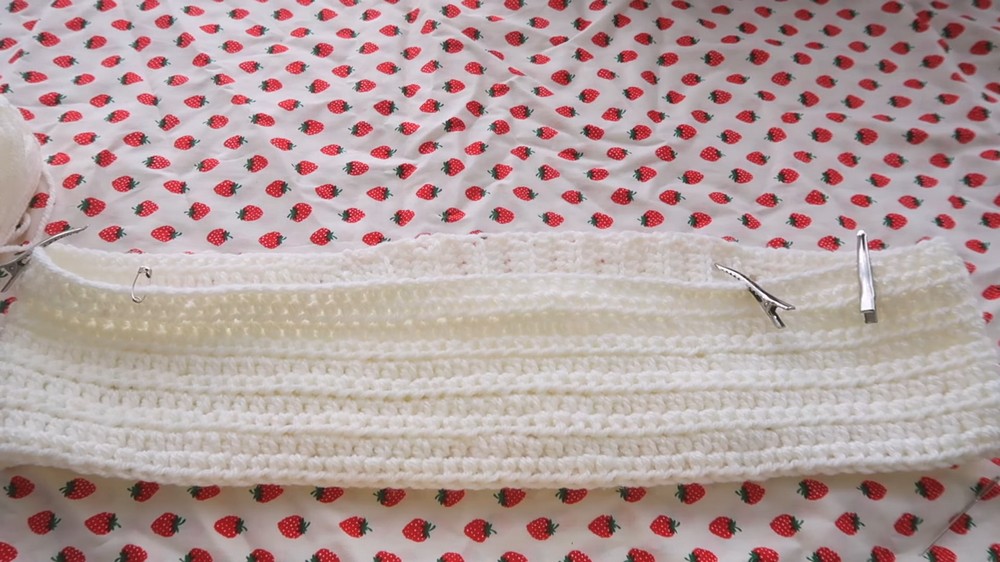
1. BACK RIBBING
Step 1:
- Chain 20 for the ribbing foundation.
Step 2:
- Add two extra chains (for turning height) and work hdc (half double crochets) starting in the 4th chain from the hook.
Step 3:
- Work hdc in back loops only for each row. Back loops allow stretch in the ribbing.
Step 4:
- Repeat this for 16 rows, then adjust row count for larger or smaller sizes.
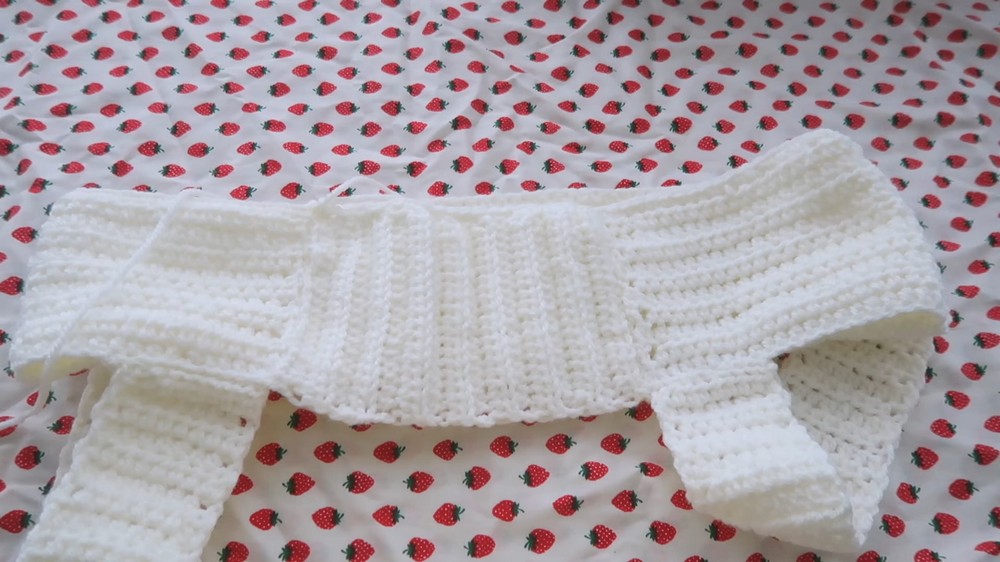
2. BACK PANEL
Step 1:
- Chain 95 (or adjust based on size).
Step 2:
- Start working hdc in each chain across. This forms the foundation row of the panel.
Step 3:
- Continue working rows of hdc until the panel’s width reaches to match the ribbing on the opposite side. Do NOT join the panel while working — wait until both sections are complete.
Step 4:
- Once rows are complete, use a longer yarn tail for sewing. Sew the panel to the ribbing by connecting the even edges of the ribbing and panel sections.
3. FRONT PANEL & STRAPS
Step 1: Strap Placement
- Try the top on to measure and mark spots for the strap placement (use stitch markers or clips). Strap alignment should match the edges of your ribbing.
Step 2: Make Straps
- Each strap starts with 8 hdc stitches and continues for 6 rows.
- After 6 rows, increase the width to 9 hdc for rest of the strap rows.
- For size small, the strap runs for a total of 23 rows. Adjust for different proportions.
Step 3: Attach Straps
- Sew each strap securely to the top edges of the back panel near the ribbing. Ensure symmetry.
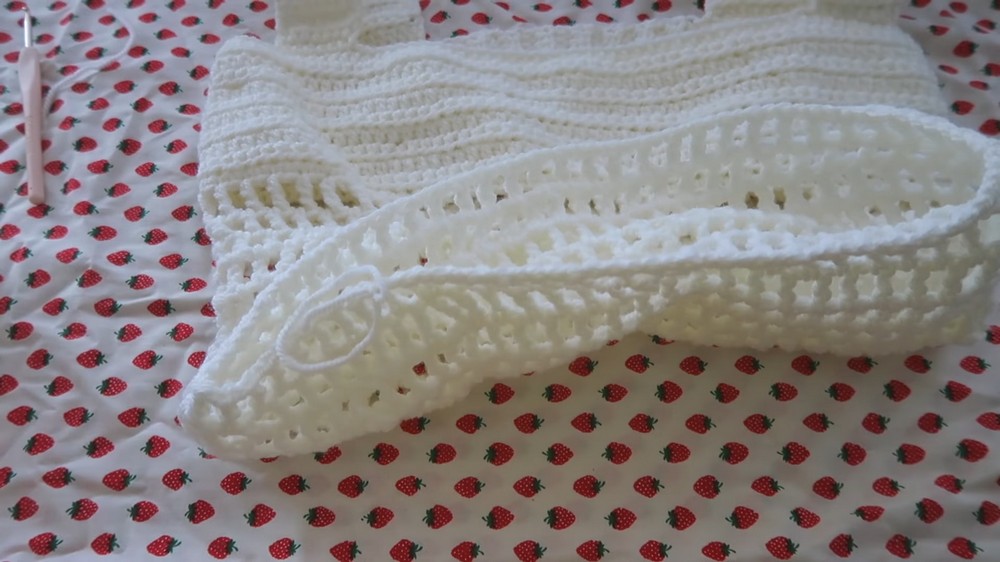
4. MESH DESIGN AT THE BOTTOM
Step 1: Start Single Crochet Edging
- Chain and work sc (single crochets) evenly around the bottom edge of the top to prep for mesh rounds.
Step 2: Mesh Pattern
- Chain 4 and work into every skipped stitch to create open mesh design. Example:
- Start ch 4, sk 1 st, tr in next st, chain 1 and repeat across the row.
- When you reach the end of a row, join with sl st, chain 4, and move to the next round.
Step 3: Number of Rows
- Complete 11 rows of mesh design or customize based on desired top length.
5. LINING & FINISHING TOUCHES
Step 1: Add Lining (Optional)
- Use a contrasting or complementary yarn color for a clean lining edge. Work single crochets along the inside of the mesh edge.
Step 2: Ribbon Detail
- Make a small ribbon using the lining yarn and attach it securely to the center of the front panel (or adjust placement as desired).
Step 3: Finishing
- Weave in all loose ends using a tapestry needle to ensure a polished look.
Final Notes
- If this is your first time trying a project like this, keep counting stitches after each row to ensure accuracy.
- Try the top on frequently as you work to check the fit and adjust as needed.