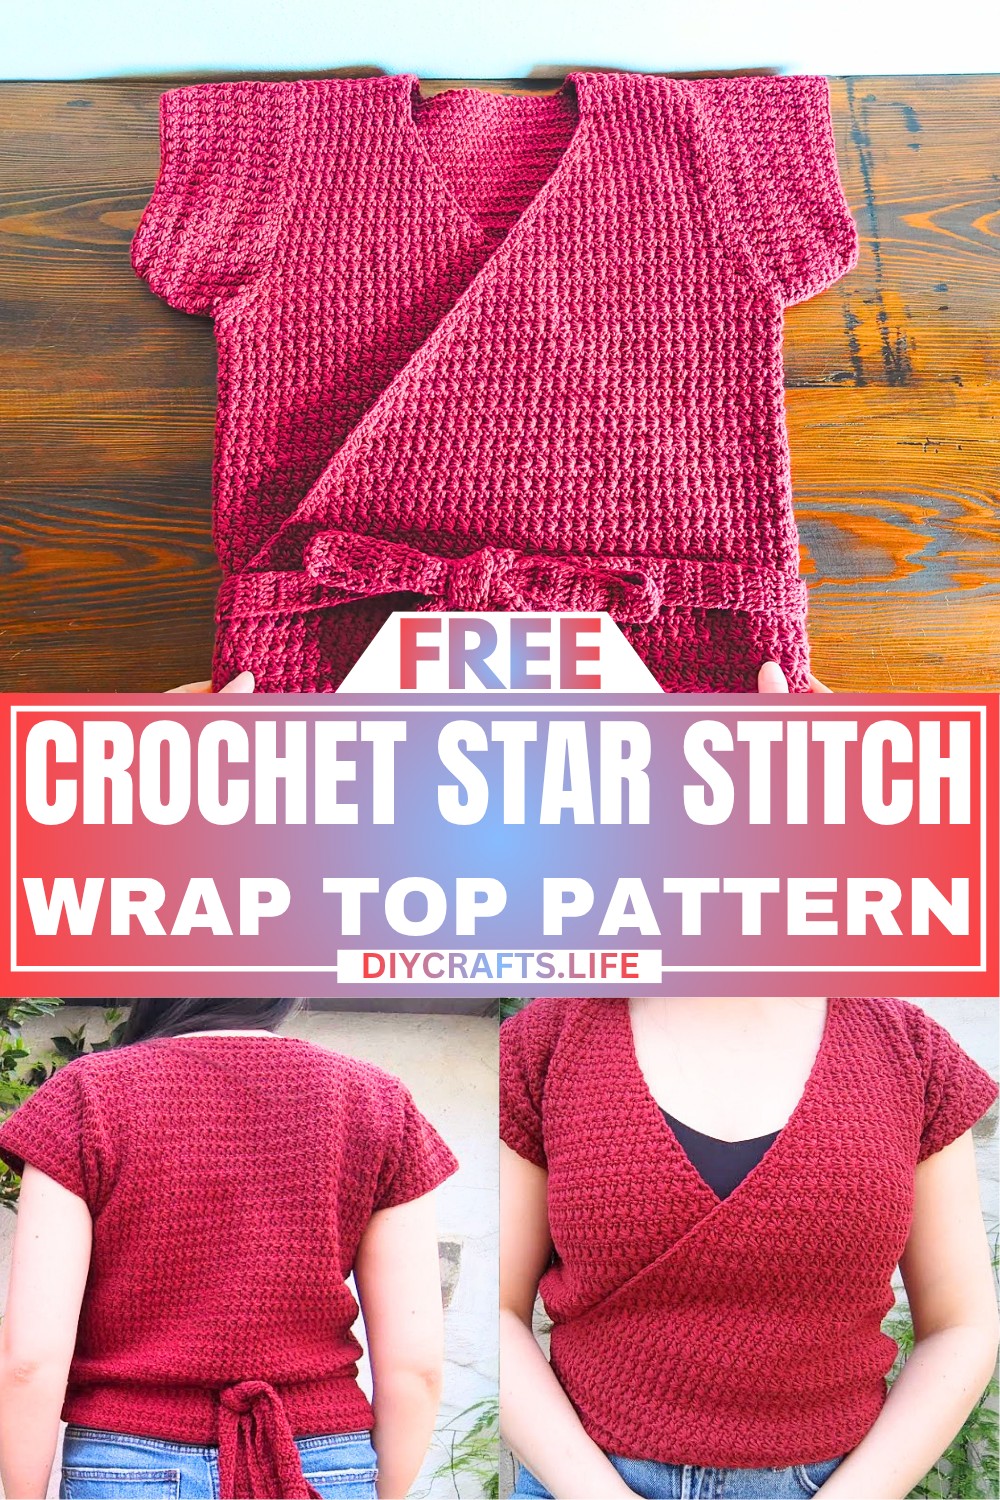
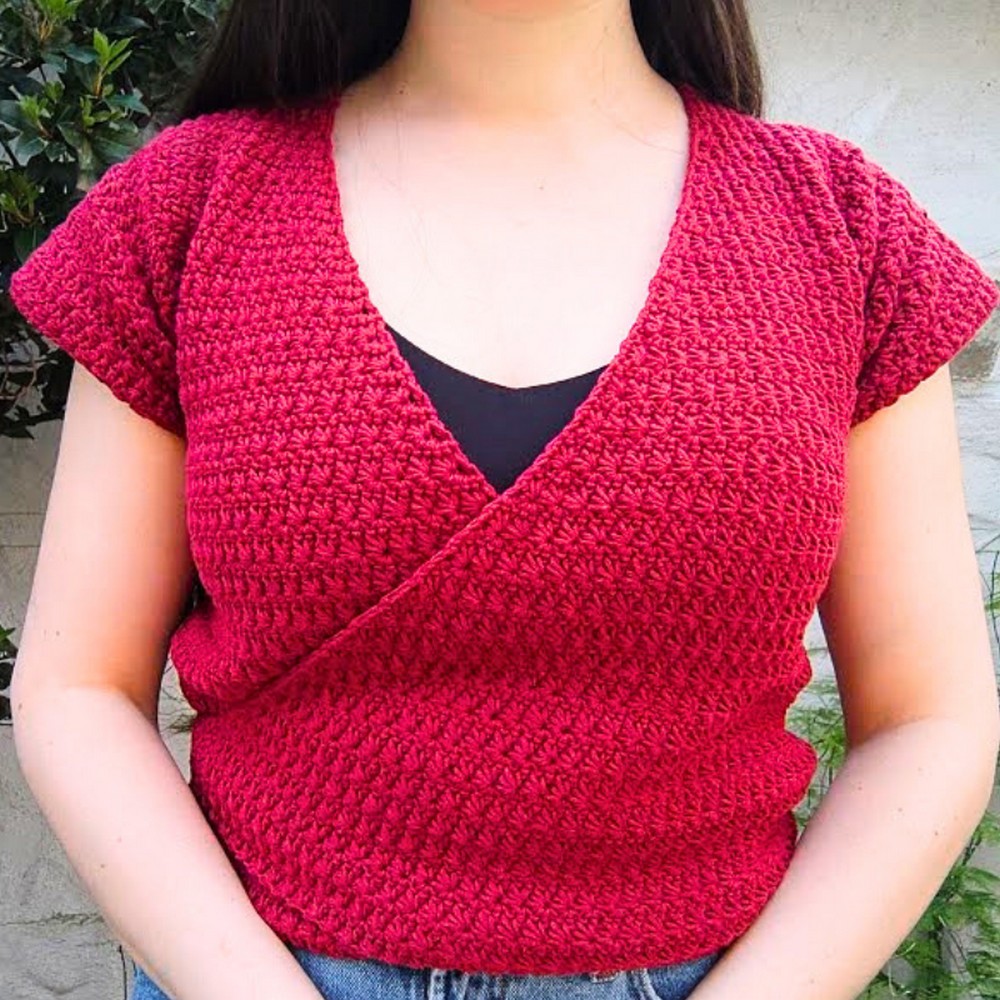
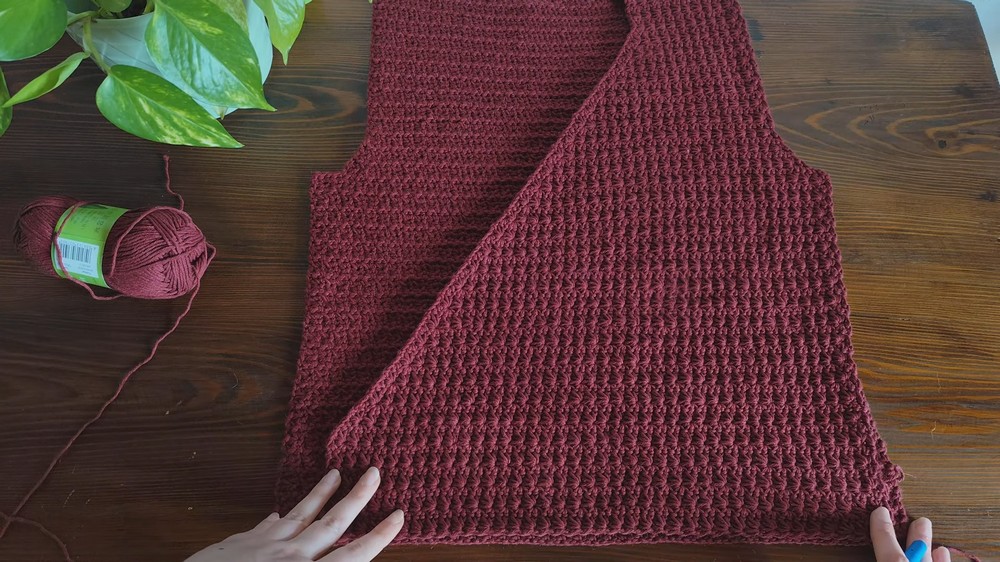
The Crochet Star Stitch Wrap Top is a stylish and comfortable handmade garment. Its wrap design is not only elegant but also practical, making it adjustable to fit perfectly. The star stitch gives it a unique texture that's soft and appealing, while the long straps allow you to tie it in different ways — either at the front or back.
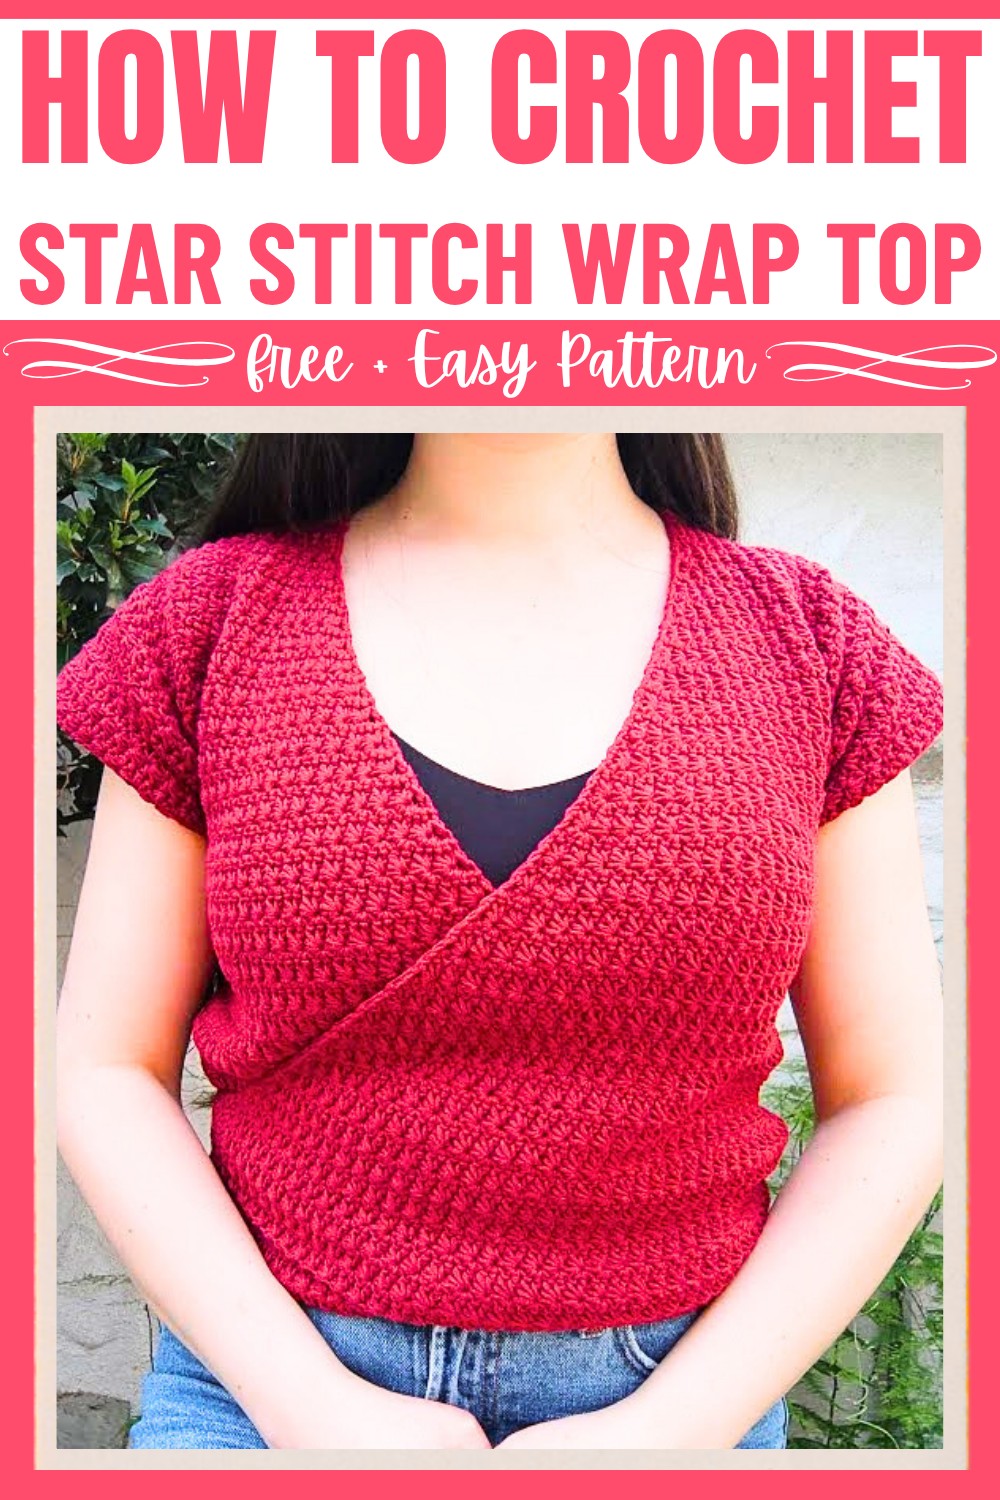
This wrap top is perfect for casual outings, warm evenings, or layering over a tank top. Made using DK cotton yarn and a crochet hook, this design is worked in sections — the back, front panels, and sleeves are sewn together to create the final piece. Its versatility in fit, thanks to the adjustable tie straps, adds a touch of comfort to its beauty. The step-by-step process makes it easy to follow and fun to create.
Credit Veroknitcrochet
Materials & Tools Needed
- Yarn: ~500g of DK cotton yarn (used in the tutorial: burgundy color).
- Hook: 4mm crochet hook.
- Tools:
- Measuring tape.
- Tapestry needle.
- Scissors.
- Stitch markers (a few for marking rows and sections).
Finished Size & Customization Ideas
- Finished Measurements: The main body measures approximately 46 cm wide (back panel) and 28 cm tall before shaping armholes.
- Customization Ideas:
- Customize the width by adjusting the initial chain count (chain multiples of 2 + 3).
- Adjust body length or sleeve length by increasing or decreasing the number of rows.
- Experiment with different yarn colors or fibers for seasonal variations.
- Lengthen the straps for more tying options.
Pattern Abbreviations & Terminology
The tutorial uses US crochet terminology:
- ch – chain
- sl st – slip stitch
- sc – single crochet
- hdc – half double crochet
- dc – double crochet
- dc2tog – double crochet two together (decrease)
- st – stitch
Step-by-Step Crochet Instructions
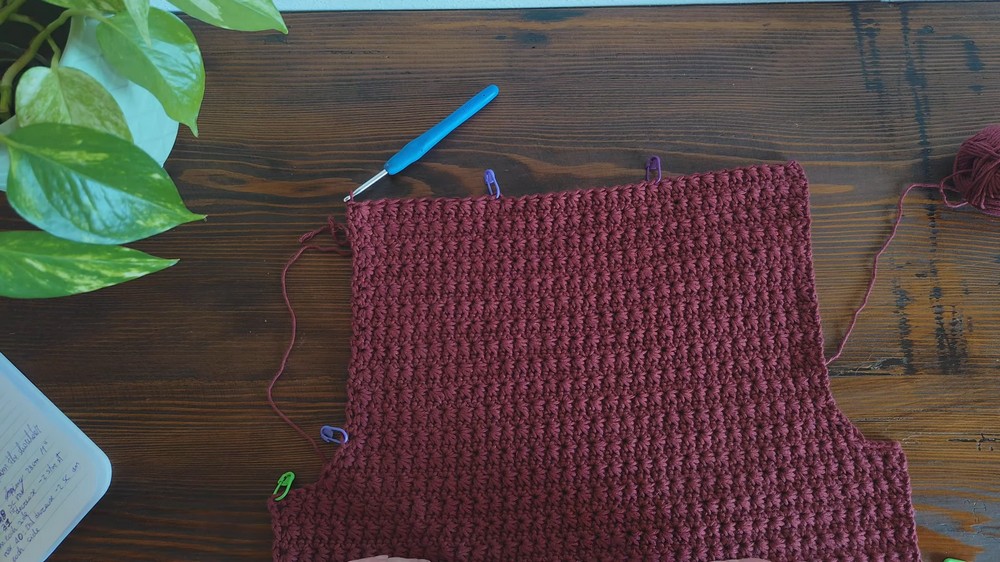
Part 1: Back Panel
- Foundation Chain:
- Start with a slip knot.
- Chain 83 (or multiples of 2 + 3) for a width of ~46cm.
- Row 1 - First Star Stitch Row (Right Side):
- Turn your chain and work into the back bumps of each chain.
- To create the first star stitch:
- Pull up 5 loops from the next 5 chains.
- Yarn over and pull through all 6 loops on the hook.
- Chain 1 to close the star stitch.
- Continue creating star stitches:
- Pull up loops from:
- The chain used to close the previous star stitch.
- The last bar of the previous star stitch.
- The chain where the previous stitch ended.
- Two back bumps in the next two chains.
- Yarn over, pull through all 6 loops, and chain 1.
- Pull up loops from:
- Repeat until the end. End with 1 hdc in the last chain.
- Row 2 - Single Crochet Row (Wrong Side):
- Turn.
- Chain 1.
- Make 1 sc into the first hdc of the previous row.
- Work 1 sc into the closing chain space of the first star stitch.
- In every other chain space, make 2 sc.
- End with 1 sc into the first chain used for the first star stitch.
- Rows 3–38: Repeat Rows 2 and 3.
- Star Stitch rows are always on the right side (odd-numbered rows).
- Single Crochet rows are always on the wrong side (even-numbered rows).
- Continue until the back panel measures 28 cm (or desired length).
Part 2: Armhole Shaping
- Row 39 – Start Armhole Shaping (Star Stitch Row):
- On the right side, slip stitch into the first 5 sc.
- Begin the star stitch row from the 6th sc and continue until only 4 sc remain at the end.
- End the row with an hdc in the 5th to last sc.
- Row 40 – Single Crochet Row with Decreases:
- Turn to the wrong side.
- Chain 1.
- Skip the hdc and make 1 sc in the first chain space, 1 sc in the next chain space.
- Continue the stitch pattern until the last 2 chain spaces.
- In each of the last two chain spaces, make 1 sc (instead of 2 sc each) to decrease.
- Row 41 – Star Stitch Row:
- Work the row as per usual.
- Row 42 – Single Crochet Row with Decreases:
- Repeat the single crochet decreases at the beginning and end of the row.
- Row 43 – Star Stitch Row:
- Work the row as per usual.
- The armhole shaping is now complete, with a total of 8 fewer star stitches.
- Rows 44–65: Continue stitch pattern without shaping.
- Work until the armhole measures 18–20 cm.
- Shoulder Marking:
- Measure 10 cm at each end for shoulders and place stitch markers to define these sections.
Part 3: Front Panels
Left Front Panel:
- Attach yarn at the stitch marker for the left shoulder.
- Work a single crochet setup row until the stitch marker.
- Row 1: Star stitch row (follow previous pattern).
- Rows 2–6: Continue alternating row patterns.
- Start increasing for the neckline in Row 7 by adding 2 sc at the end of the row.
- Continue neckline increases every 2 rows until reaching the desired depth.
- Shape the armhole starting at Row 23, mirroring the back panel’s armhole shaping instructions.
- Continue without increases for the final rows.

Right Front Panel:
- Mirror instructions for the left front panel.
- Start neckline increases at the beginning of the single crochet rows for the right panel.
Part 4: Sleeves
- Foundation Chain:
- Chain 67 (~35 cm).
- Increase Rows:
- Start increasing by adding 2 sc to the start and end of single crochet rows every 2 rows until the sleeve measures 40 cm.
- Straight Rows:
- Work without increases for the next 5 rows.
- Shaping:
- Start decreasing at the top by skipping 1 star stitch at the start and end until the sleeve fits the armhole.
- Make 2 identical sleeves.
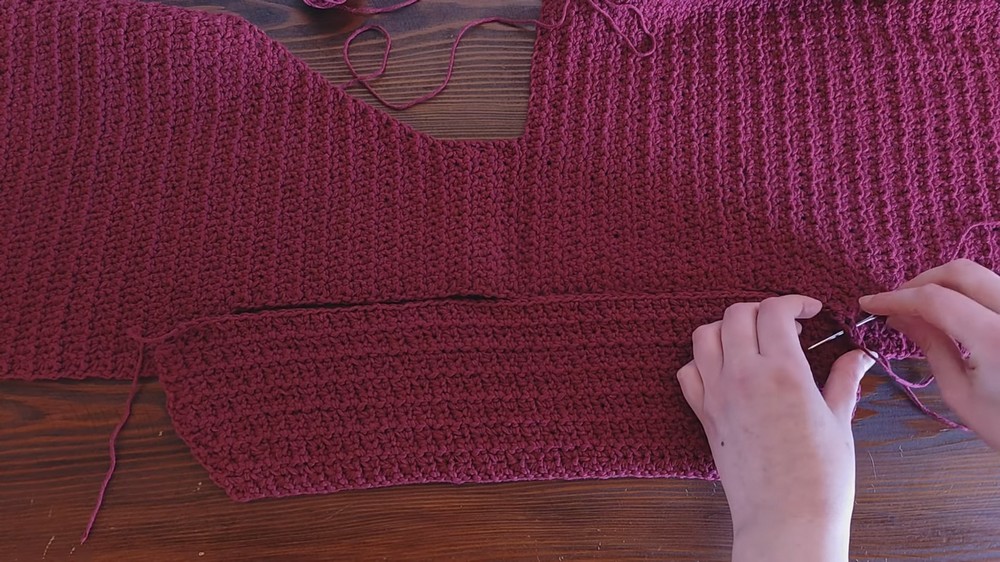
Part 5: Assembly
- Attach Sleeves:
- Position sleeves into armholes on the wrong side.
- Sew using a tapestry needle.
- Side Seams & Strap Opening:
- Sew the side seams from bottom to sleeve edge, leaving an opening near the waist for straps.
- Straps:
- Attach yarn to the end of the neckline.
- Work dc2tog decreases in the first and last stitches of each row until the strap measures 120 cm.
- Repeat for the other side.
Part 6: Finishing Touches
- Weave in all ends using a tapestry needle.
- Ensure the strap passes cleanly through the opening left in the side seam.
Tips for Customization
- Adjust sleeve length by adding rows before shaping.
- Try a contrasting color for straps to add flare.