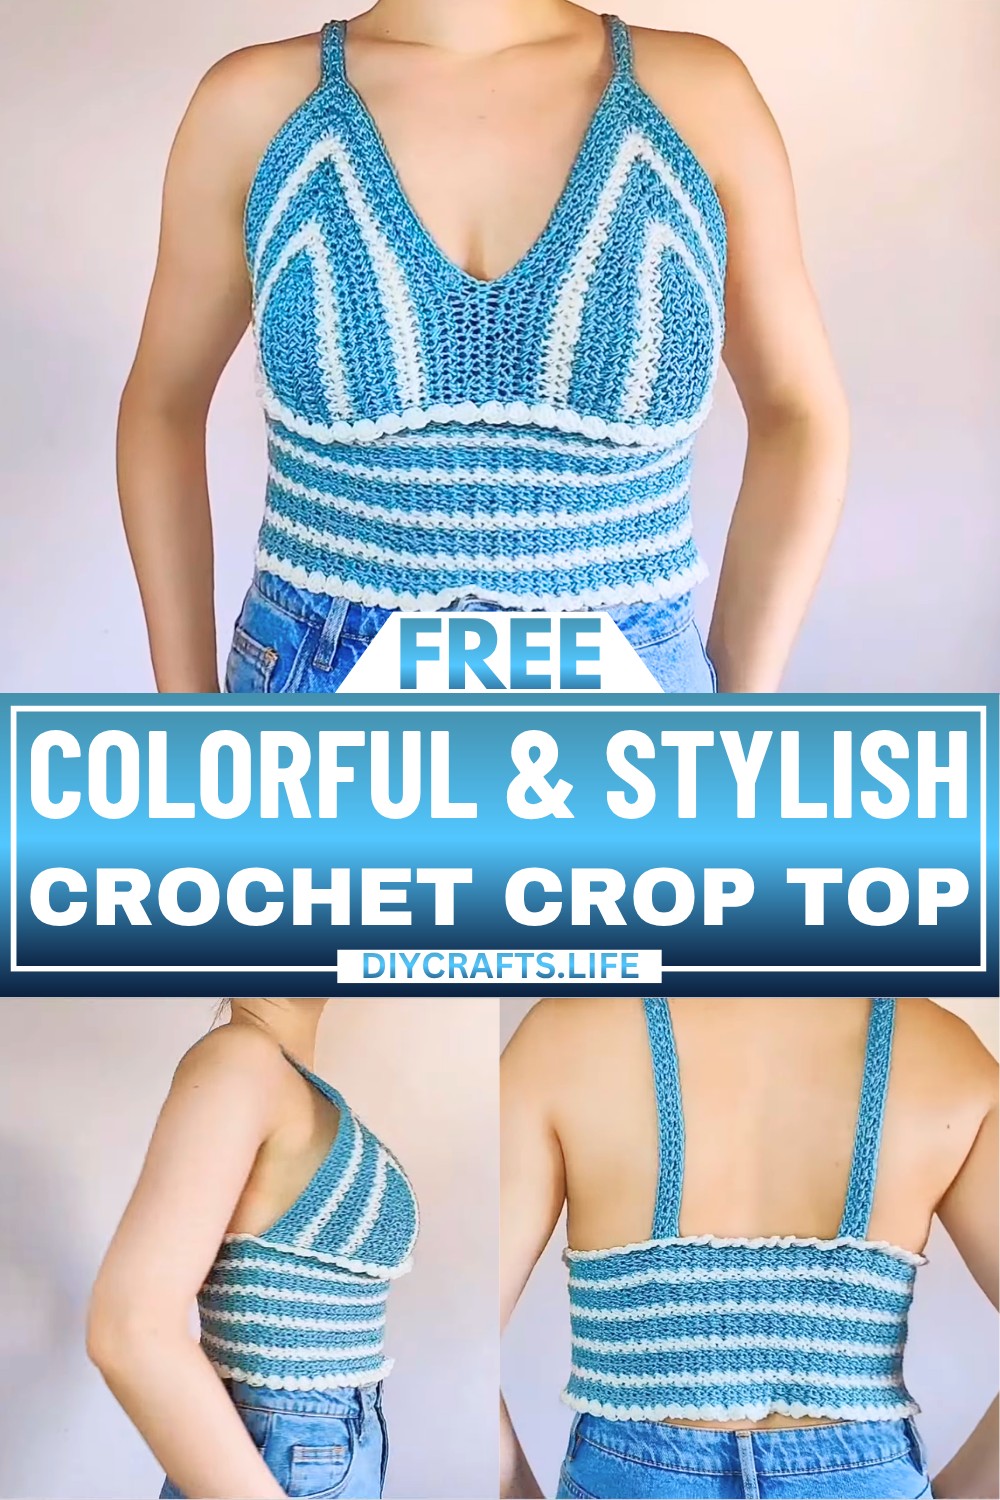
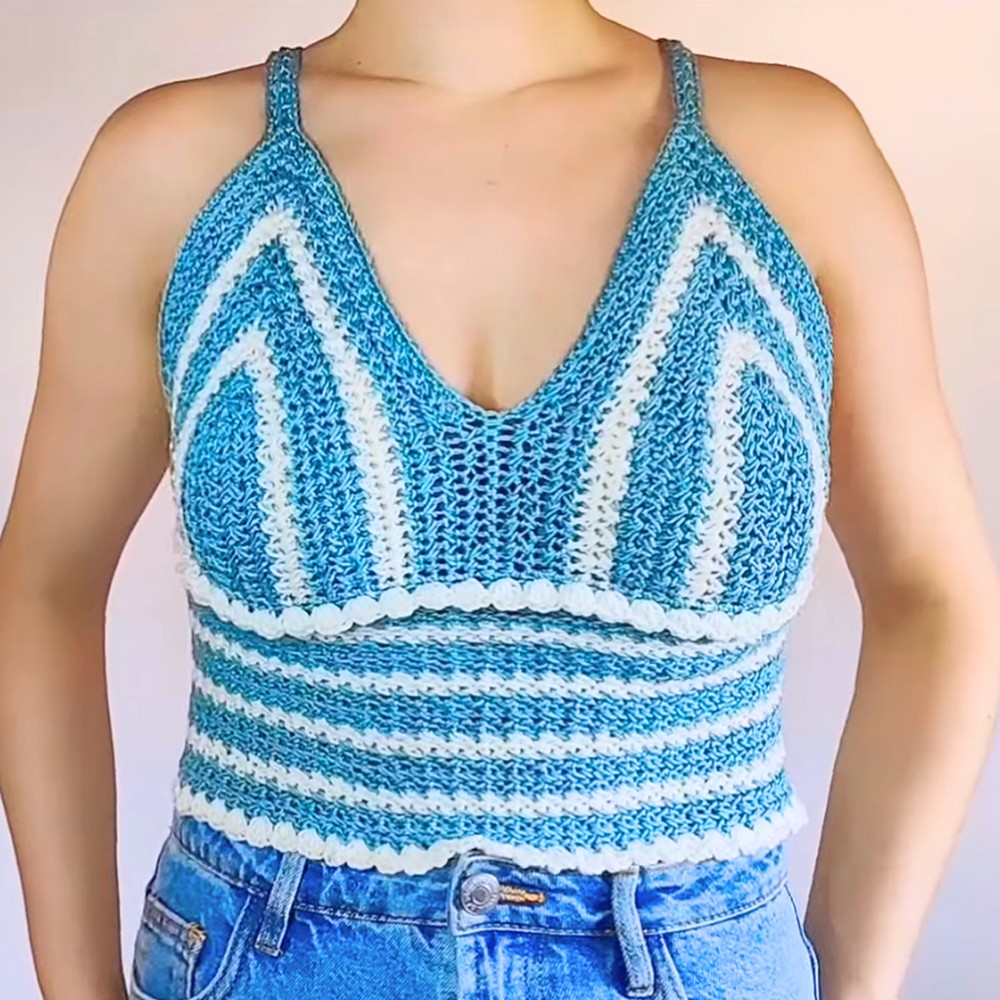
This crochet crop top is the perfect blend of style and comfort. It’s lightweight, breathable, and ideal for sunny days. With a classic design featuring two cups, a form-fitting body, and delicate straps, this top offers a chic yet casual look. The colorful pattern adds a touch of creativity, making it a standout piece for summertime outings or layering with your favorite outfits.
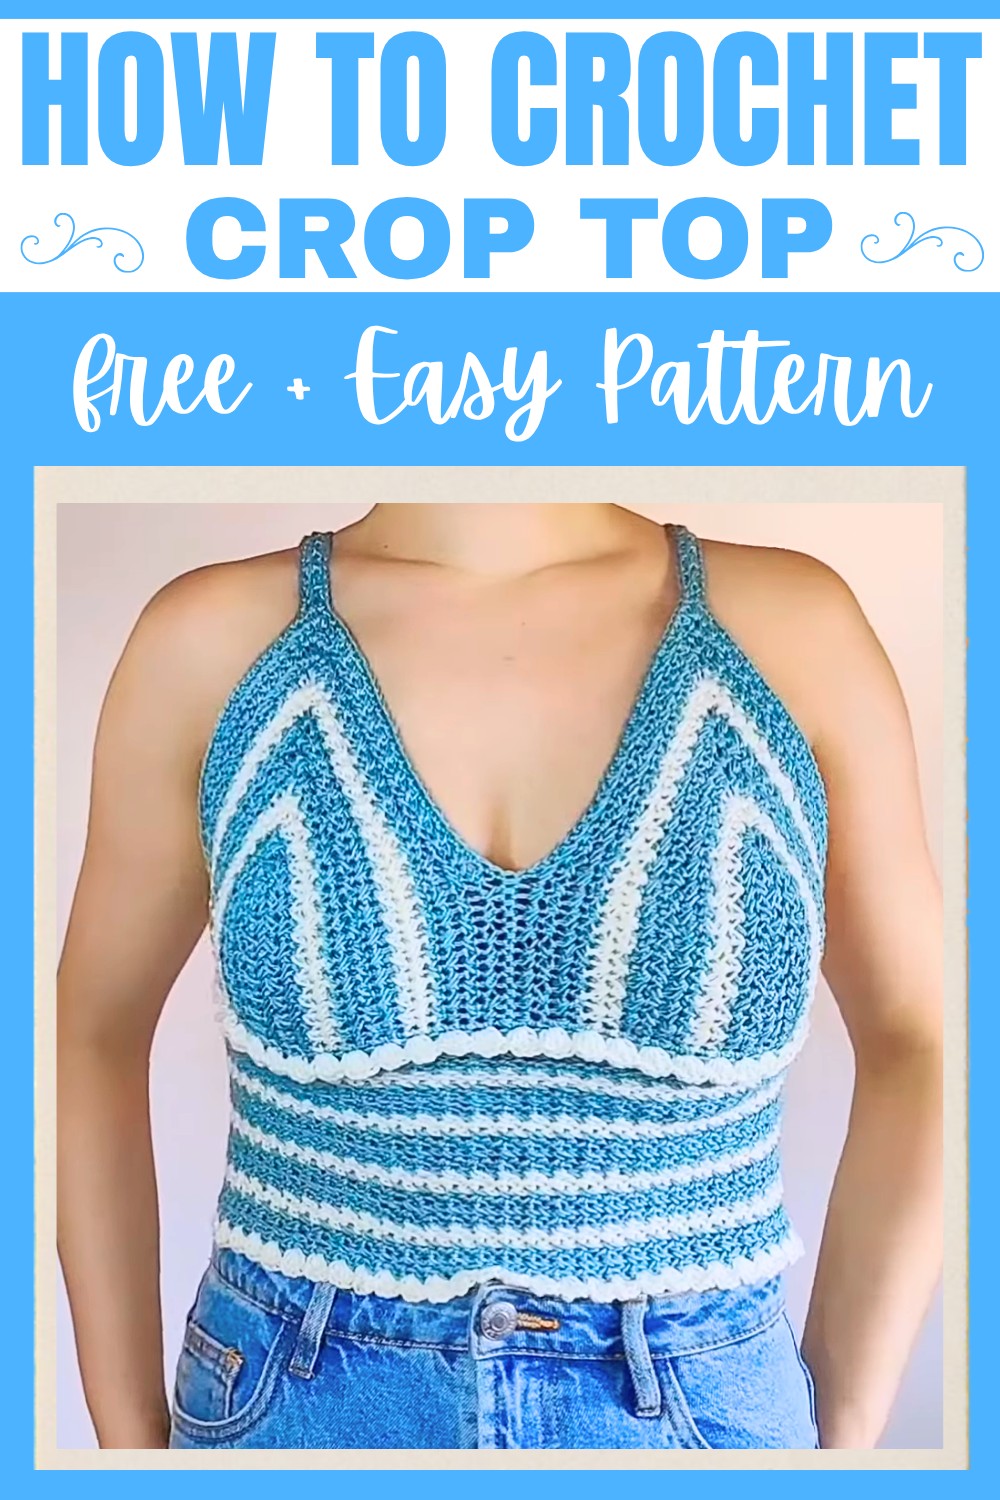
The crop top is made using a simple stitch pattern and alternating rows of colors to create a lovely striped effect. While the process is beginner-friendly, it looks polished and professional when complete. You’ll need yarn in two colors, a crochet hook, and just a few essential tools to make this. Plus, it includes a stretchy, adjustable strap and a secure fit for versatile sizing. Whether paired with jeans, a skirt, or shorts, this is a wearable staple that’s both fun to make and practical to wear.
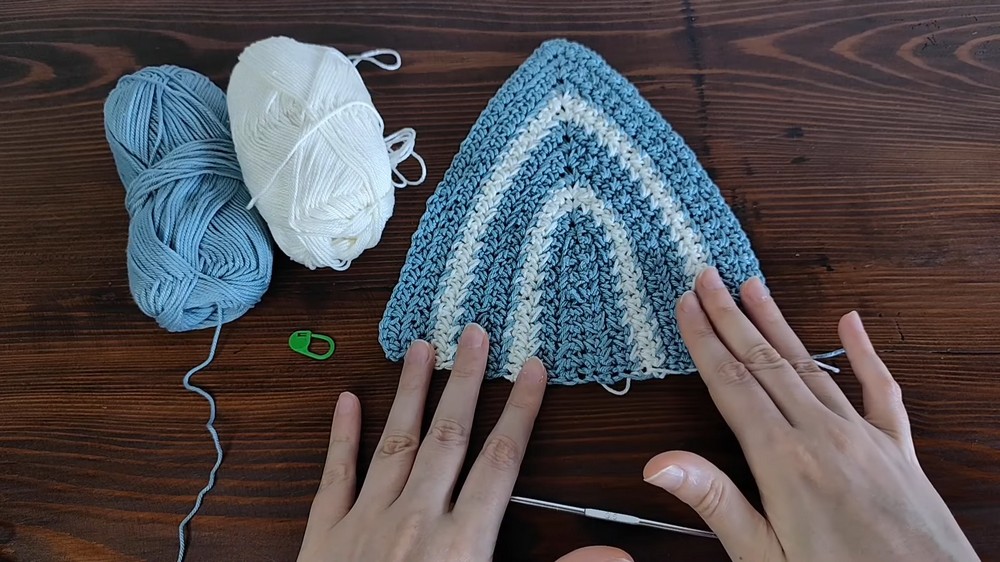
Credit Veroknitcrochet
Materials & Tools Needed
- Yarn:
- Main color: Fine cotton yarn, approx. 150g (3 skeins of 50g each, 125m per skein).
- Second color: Fine cotton yarn, approx. 50g (1 skein, 125m).
- Hook: 3.5 mm crochet hook.
- Additional Tools:
- Tapestry needle
- Stitch marker
- Measuring tape
- Pair of scissors
- Pins
Finished Size & Customization Ideas
- Finished Size: Can be customized based on bust size. Chain length for cups should correspond to the distance from the bottom of the cup to the center of the breast.
- Customization Ideas:
- Adjust the strap length for better fit.
- Add embellishments, like beads or additional borders.
- Experiment with different color combinations.
Pattern Abbreviations & Terminology
- st(s): Stitch(es)
- ch: Chain
- sc: Single crochet
- sl st: Slip stitch
- ch sp: Chain space
- dc: Double crochet
- sk: Skip
- yo: Yarn over
All terminology follows US crochet standards.
Step-by-Step Detailed Crochet Instructions
The crochet top consists of four main pieces: cups, body, straps, and borders.
Cup Instructions
- Start:
- Make a slip knot using the first color yarn.
- Foundation Chain: Chain a multiple of 2 + 1. For a 7cm width, chain 17.
- Row 1:
- Skip the first ch from the hook.
- Sc in the next ch, sk the next ch, sc in the skipped ch while pulling the loop slightly longer. Repeat across until 1 ch remains.
- In the last ch: 2 sc, ch 1, 2 sc (forms the cup’s center point). Insert a stitch marker into the ch space.
- Turn and work along the other side of the foundation chain: Repeat the stitch pattern from the first side.
- End with 1 sc in the remaining stitch.
- Row 2:
- Turn, ch 1.
- Repeat the same stitch pattern as Row 1 for all stitches until the stitch marker.
- In the marked chain space: 2 sc, ch 1, 2 sc (increase). Replace stitch marker into the ch space.
- Continue the stitch pattern for the remaining stitches on both sides of the cup. End with a sc.
- Row 3 and Beyond:
- Repeat Row 2 for all subsequent rows until desired size is achieved.
- Switch to second color (as specified): At the end of Row 4, join the second color, change yarn following the video’s method, and work 2 rows with the second color.
- Alternate: 4 rows with main color and 2 rows with second color.
Repeat these steps for the second cup.
Joining the Cups
- Do not cut the yarn after the last row of the second cup.
- Bottom Edge:
- Work sc evenly along the bottom of both cups.
- Ensure to match stitch counts (e.g., 32 sc per cup).
- To connect cups, make a sc2tog between the last st of the first cup and the first st of the second cup.
- Back Chain:
- Chain an odd number that matches or slightly exceeds the combined cup width. Example: If both cups have 64 sts total, ch 65 for the back.
- Sl st to the first sc of the first cup to form a circle.
Body Instructions
- Round 1:
- Work in back loops only for the first row.
- Repeat the stitch pattern from the cups: Skip 1 st, sc in next, sc in skipped st.
- Work the same stitch pattern for all stitches, including the back chain.
- Sl st to the first sc to close the round. Do not turn for the first row.
- Rounds 2 and Beyond:
- After Round 1, turn after every round.
- For each round: Ch 1, sc in first st, then follow the established stitch pattern. End each round with sl st and a turn.
- Alternate colors: 4 rows with the main color, 2 rows with the second color.
- Continue until the body reaches the desired length (e.g., 14cm to reach the belly button).

Bottom Border
- Switch to the second color yarn.
- Border Stitch Pattern:
- Ch 3 (counts as 1 dc), make 2 more dc in the first st.
- Sk next st, in the next st: 1 sc + 3 dc (all in same st). Repeat across.
- For the last stitch: End with 1 sc. Sl st to the third ch of the starting dc.
- Fasten off.
Under-Cup Border
- Attach second color yarn to the corner of the cup.
- Use the remaining front loops from the first row of the body.
- Repeat steps from the Bottom Border stitch pattern.
Straps
- For each strap:
- Chain a multiple of 2 + 1. Example: Ch 67 for 35cm strap length.
- Work 2 rows following the established stitch pattern.
- Attachment:
- Use a tapestry needle to sew straps to the top corners of the cups.
- Adjust and pin strap placement at the back. Sew straps securely.
Neckline Adjustments
- To close the gap between cups:
- Use single crochet to join stitches of the two cups at the center.
- Final Border:
- Work 1 row of sc around the cups, neckline, and straps for added strength and a polished look.

Finishing Techniques
- Weave in all loose ends with a tapestry needle.
- Check strap placement and neckline fit; adjust if necessary.
- Trim excess yarn and block if desired.
Customization Notes
- Adjust the number of foundation chains for wider or narrower cups.
- Experiment with border designs or stitch patterns for added flair.