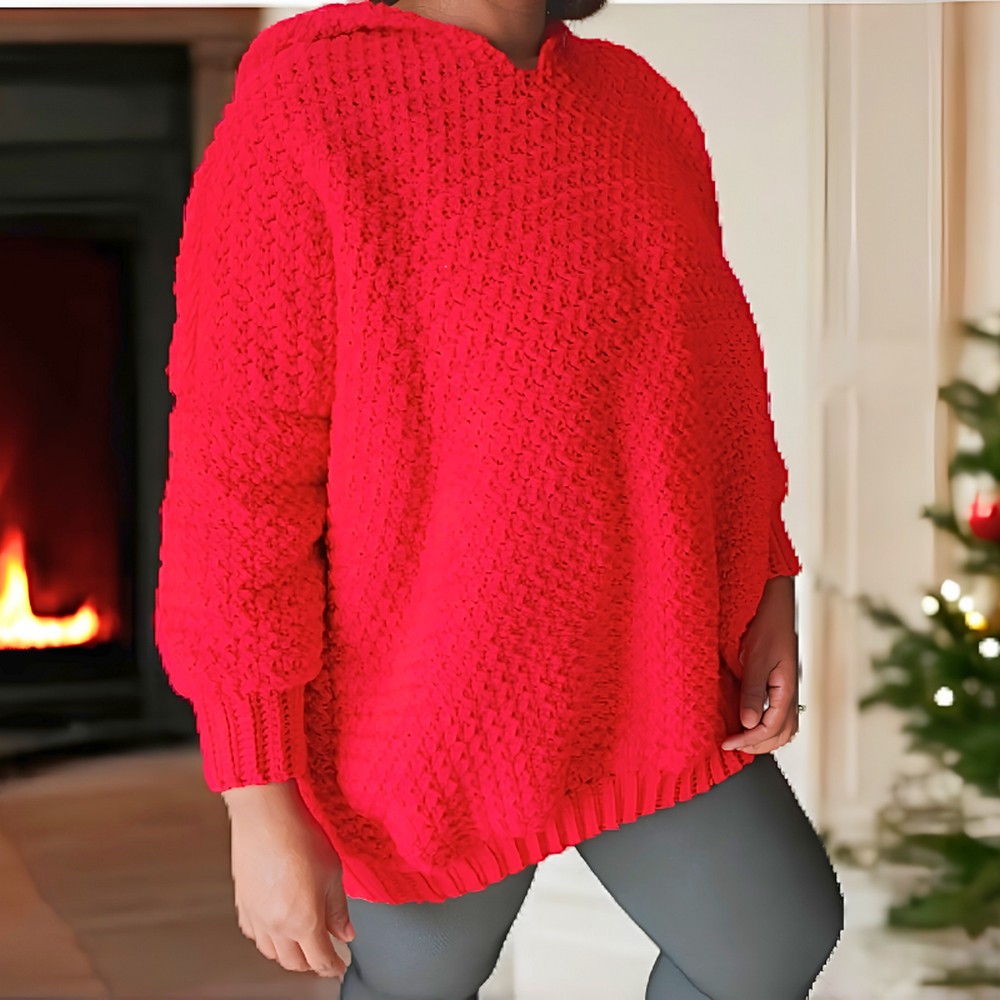
This oversized crochet sweater dress with a hood is the perfect blend of warmth, comfort, and style for colder days. Soft and cozy, it feels wonderful to wear and is ideal for relaxing at home, running errands, or staying comfortable during chilly weather. Its oversized fit creates a relaxed look while allowing plenty of freedom of movement, making it a practical choice for everyday wear. But one simple detail in this crochet design is what makes it stand out from ordinary sweater dresses.
Oversized Crochet Sweater Dress Pattern

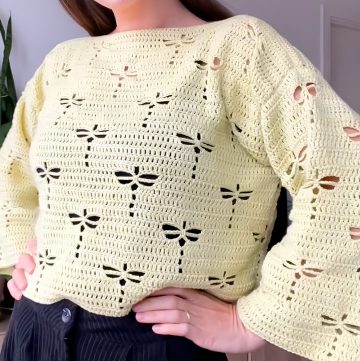
Made with simple stitches like single crochet and double crochet, this piece is easier than it may seem and enjoyable from start to finish. The suzette stitch adds beautiful texture and a polished appearance, while the hood provides extra warmth and a functional touch. Whether you are a beginner looking for a rewarding piece or an experienced crocheter searching for something cosy and stylish, this sweater dress is a piece you will enjoy making and wearing again and again.
Credit Creative Hands by SHAY
Materials & Tools Needed
- 5.5 mm Crochet Hook
- Option: Use a 5 mm hook for a tighter ribbing.
- Yarn: Medium-weight yarn (select color of choice).
- Scissors
- Darning Needle (for weaving in ends and sewing seams).
- Measuring Tape
Finished Size & Customization Ideas
- Main Sweater Dress Size: Large (customizable as per tutorial notes).
- Front Panel Length (adjustable): 24 inches for a deeper neckline.
- Back Panel Length: 28 inches as per tutorial.
- Sleeve Size: 12 inches long with 25 rows of ribbing.
- Customization Ideas:
- Adjust ribbing length for the cuff or bottom edge.
- Modify panel widths and lengths for desired fit.
- Experiment with colors for sections (ribbing, body, hood).
Pattern Abbreviations and Terminology
- ch: Chain
- sc: Single Crochet
- dc: Double Crochet
- hdc: Half Double Crochet
- st(s): Stitch(es)
- sl st: Slip Stitch
- BL: Back Loop Only
- Rep: Repeat
Step-by-Step Detailed Crochet Instructions
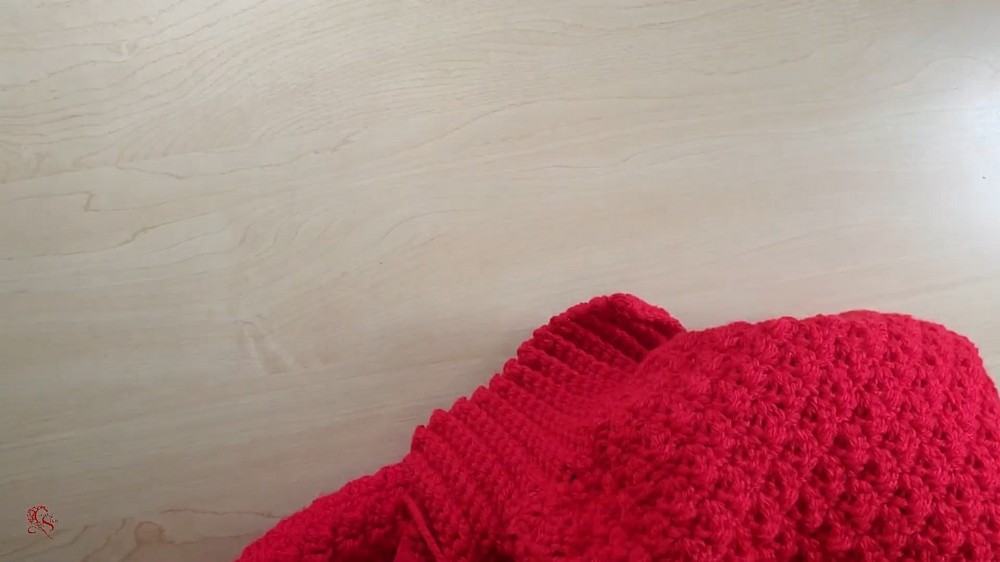
1. Ribbing (Sweater Base)
Steps:
- Begin: Create a slip knot and chain 12.
- Customize this — for longer ribbing, chain more (e.g., chain 20 or 15).
- Row 1:
- Sc into the 2nd chain from the hook (skip the first chain).
- Work sc across (you will have 11 stitches).
- Row 2:
- Chain 1, turn work.
- Work in back loops only, continue sc across (11 stitches).
- Repeat Rows: Continue until ribbing reaches the desired width (51 rows for size large).
- Tutorial Notes: Follow screen measurements for other sizes.
- Fasten off when the ribbing measures the correct width.

2. Body Panels (Front and Back)
Steps:
- Row 1:
- Chain 1. Work 2 hdc into each ridge of the ribbing edge.
- Count stitches carefully — end with 102 hdc for the panel.
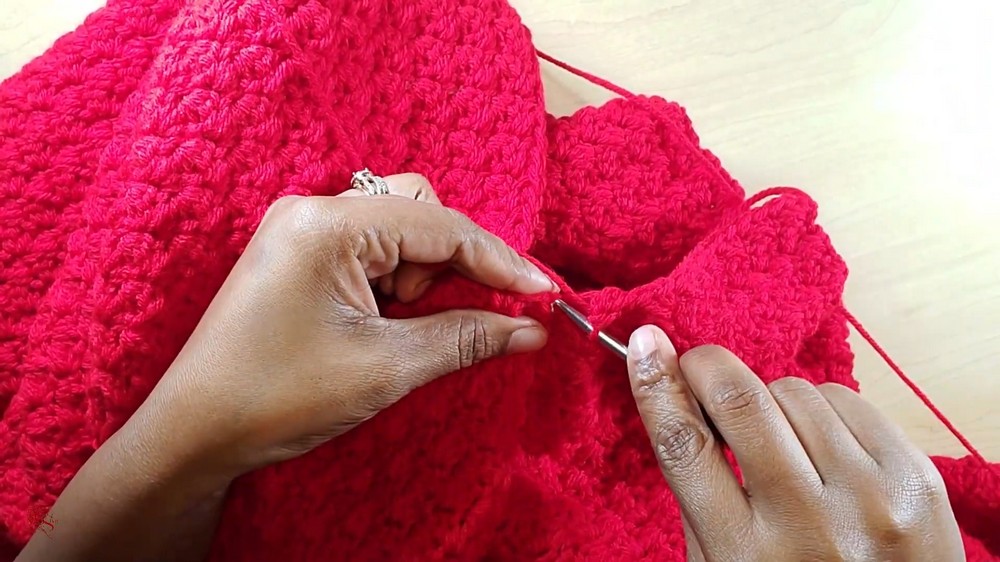
- Suzette Stitch (All Rows):
- Row Setup: Work 1 sc and 1 dc into the same stitch, skip 1 stitch, then repeat this suzette stitch across the row.
- End row with a single crochet.
- Panel Lengths:
- Back Panel: Crochet until it measures 28 inches from the base.
- Front Panel: Crochet until it measures 24 inches for a deeper neckline.
- To form the neckline: Split stitches evenly at the top of the front panel.
- Crochet 4 additional inches on each side separately, shaping the “V”.
3. Seaming the Front and Back Panels
- Lay the front panel on top of the back panel (with wrong sides facing up).
- Seam the shoulders using a slip stitch or darning needle, leaving the neckline opening.
- Mark the armhole openings on each side with stitch markers.
4. Hood
Steps:
- Attach Yarn: Join yarn to neckline opening (right side facing).
- Round 1:
- Work Suzette Stitch evenly around the neckline.
- Skip 1 stitch, work 1 sc and 1 dc into the next stitch; repeat around.
- Subsequent Rounds:
- Repeat Suzette Stitch pattern back and forth until the hood reaches desired height.
- Seam Hood:
- Fold the hood in half (wrong sides together).
- Use slip stitches to seam the top edge closed.
5. Sleeves
Ribbing:
- Create a slip knot and chain 13.
- Work back-loop-only single crochet for 25 rows (or more based on wrist size).
- Seam the edges of the ribbing into a loop using sl st.
Body of Sleeve:
- Round 1 (Foundation): Work 2 sc into each ridge of the ribbing edge; end with an odd number of stitches (e.g., 49).
- Suzette Stitch: Begin the Suzette Stitch pattern as done on the main body panels.
- Length: Continue working until the sleeve measures 12 inches in length.
Attach the Sleeve:
- Place ribbing against the sweater panel’s armhole opening (wrong sides together).
- Seam the sleeve using slip stitches or a needle, ensuring even joins.

6. Final Assembly
- Seam the side panels using slip stitches or the darning needle.
- Fold sweater inside out to reveal the right side.
7. Finishing Touches
- Weave in all loose ends using a darning needle.
- Block the sweater if necessary to shape properly.
Customization Notes
- Adjust panel widths/lengths for smaller or larger sizes
- Use the tutorial screen sizes for reference.
- Add decorative edges like scalloping for cuffs or hemline.
- Use contrasting colors for ribbing, sleeve edges, or hood accents.