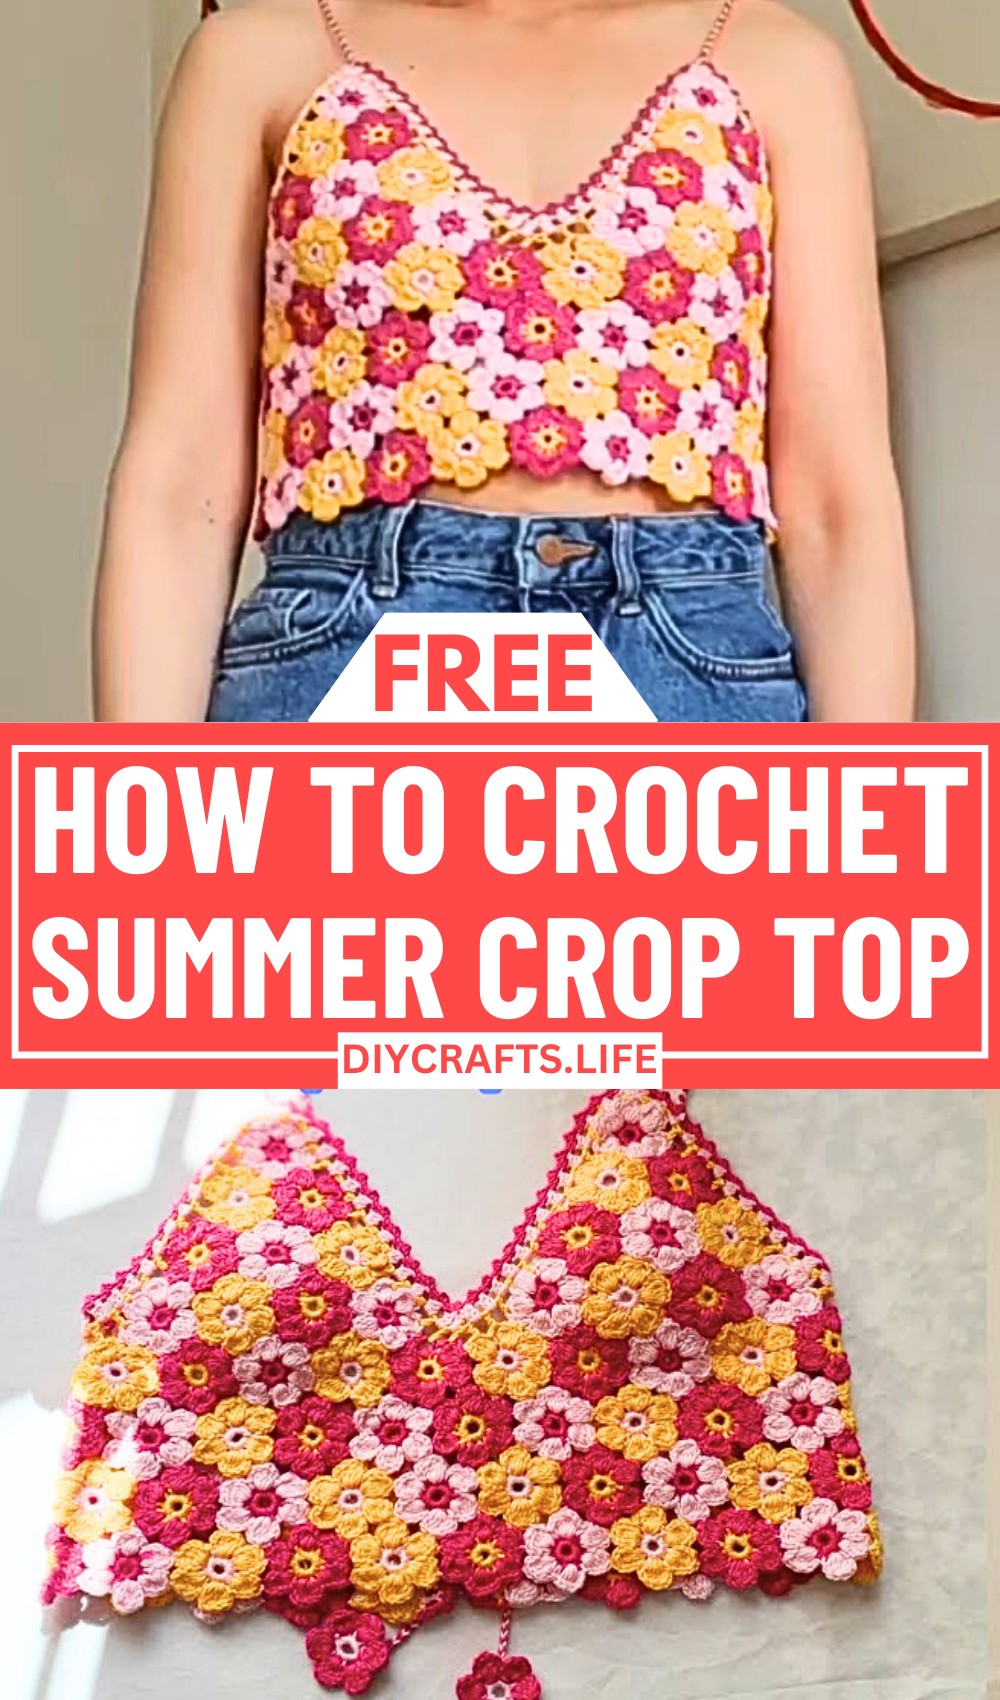
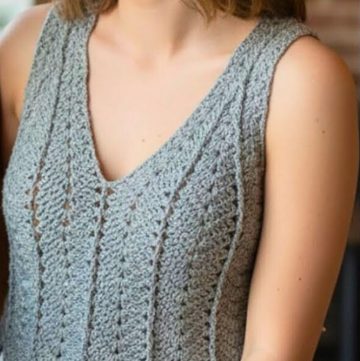
Add a burst of summer charm to your wardrobe with this stunning crochet crop top. Light, airy, and customizable, this design blends effortless style with intricate detail, making it the perfect choice for sunny days. Whether it’s a casual beach outing or a playful addition to your festival outfit, this handmade top will have you stepping out in confidence and creativity.
Crochet Summer Crop Top
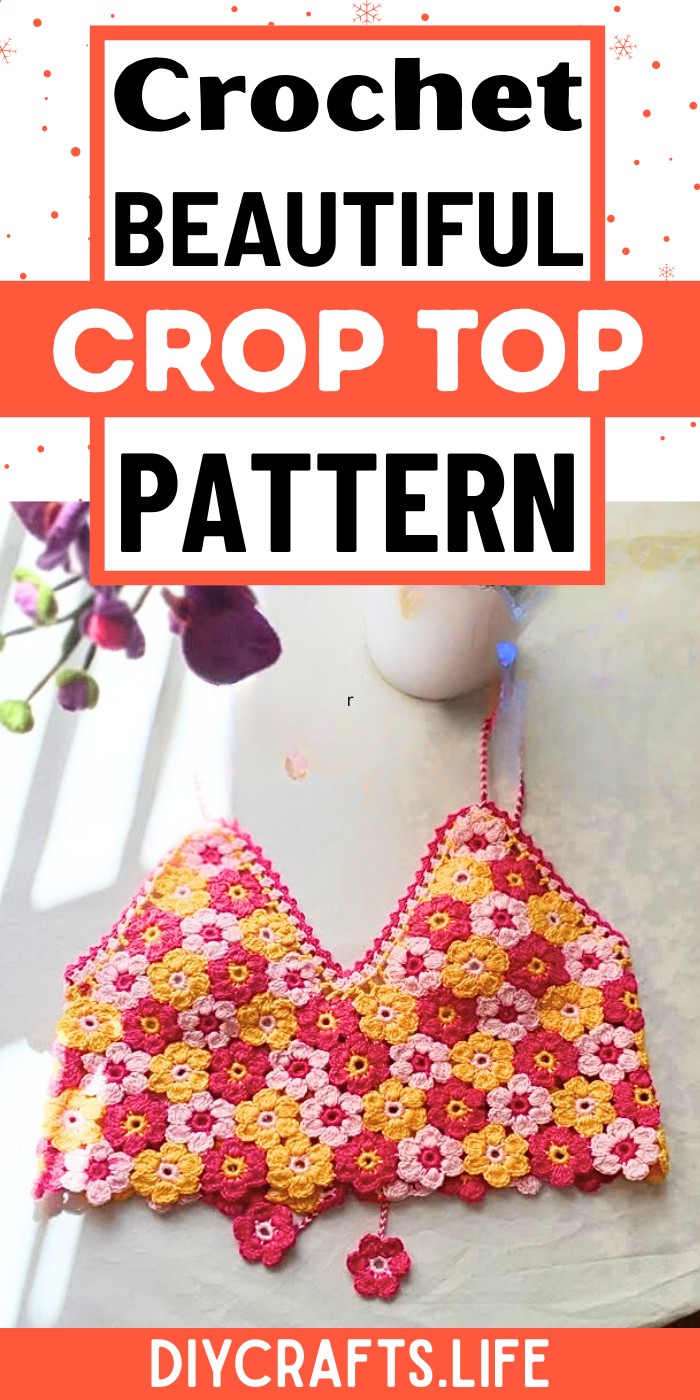
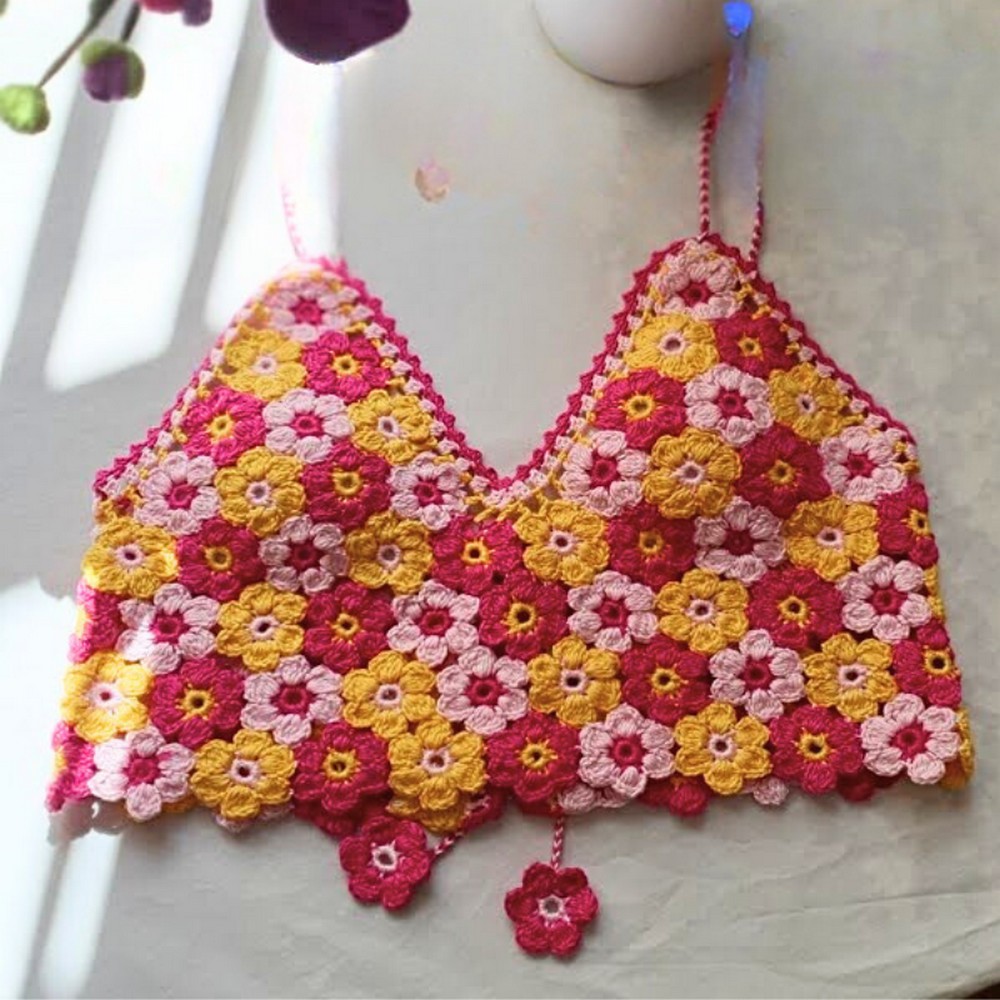
What sets this crop top apart is its delicate flower-inspired design, joined together to create a unique and eye-catching texture. With a lace-up back for easy adjustment and added flair, this piece transforms simple crochet into wearable art. Paired with vibrant colors and a fitted silhouette, this design is versatile and crafted to complement your personal style. Go bold with colors or keep it soft and neutral—the possibilities are endless with this pattern!
Credit KunitaHandmade
Materials & Tools Needed
- Yarn:
- Light weight (Category 3) cotton yarn is recommended for a breathable and summer-friendly feel.
- Approximately 150-200 grams, depending on your chosen size.
- Color Tip: Light, pastel, or bright summery colors work best! You can also experiment with multicolor or gradient yarn.
- Crochet Hook:
- Recommended size: 3.5 mm – 4.0 mm, depending on your yarn weight for clean and defined stitches.
- Scissors:
- A small, sharp pair to easily cut yarn.
- Tapestry Needle:
- For weaving in ends and joining straps neatly.
- Stitch Markers (optional):
- Useful for marking sections like the edges of the cups or stitch counts in the body panel.
Finished Size & Customization Ideas
Finished Size:
- The tutorial provides instructions for an average size small (S) croptop. The length and width can be adjusted as follows for various sizes.
Customization Suggestions:
- Size Adjustments:
- Increase or decrease the initial chain count for the body panel to adjust width.
- For larger bust sizes, create larger cups by adding stitches or rows.
- Add additional rows to the bottom panel to adjust the length.
- Strap Customization:
- Extend the strap chains for longer ties.
- Alter the strap placement to suit your preferred fit.
- Different Yarn Weights:
- Use lightweight yarn for a more delicate and lacy summer look.
- For a chunkier texture, switch to medium-weight yarn and a larger hook.
- Color Variations:
- Use two or more colors for a striped effect or change colors for the cups or straps for a trendy contrast.
Pattern Abbreviations & Terminology
Crochet terms used (US terminology):
- Ch = Chain
- SC = Single Crochet
- HDC = Half Double Crochet
- DC = Double Crochet
- Sl st = Slip Stitch
- YO = Yarn Over
- Rep = Repeat
- St(s) = Stitch(es)
Step-by-Step Crochet Instructions
1. Creating the Cups
- Foundation Chains:
- Begin with a slip knot and chain approximately 13-15 chains (this will form the base of the first cup and may need adjusting based on your bust size).
- First Cup Row:
- Work 1 SC in the 2nd chain from the hook and continue working 1 SC in each chain across.
- Shaping the Cup Point:
- At the last chain (end of row), work 3 SC into the final stitch.
- Turn your work and continue along the other side of the foundation chain, making 1 SC per stitch.
- At the end of this row, chain 1 and turn.
- Increase the Size of the Cup:
- Continue adding rows in the same pattern.
- In each subsequent row, add 3 SC at the top-most stitch of the cup (the middle stitch of the 3 SC from the previous row).
- Repeat this process for 8-10 rows or until the cup reaches your desired size.
- Second Cup:
- Repeat the above steps to create the second cup.
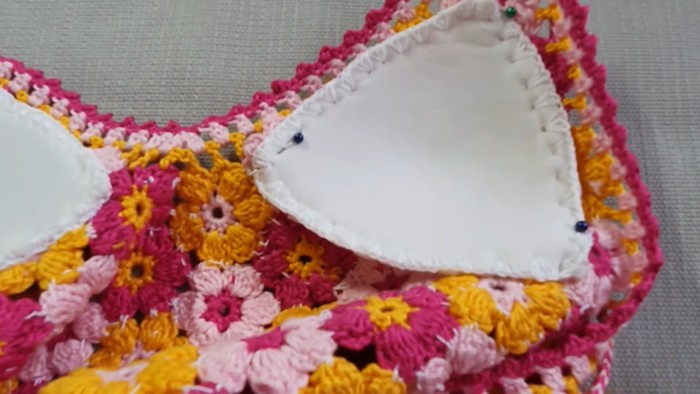
2. Joining the Cups
- Position both cups side-by-side with the pointed edges facing upward.
- Use SC stitches or a row of slip stitches to join the cups together at the base, leaving about 1-2 stitches in between for separation.
- Adjust the gap based on personal fit comfort (wider for more coverage, smaller for a snug fit).
3. Body Panel
- Foundation Row:
- Start at either edge of the joined cups and make a chain that matches your desired body width. (Tip: Measure around your ribcage or natural waist to know the length).
- Work the Rows:
- Use HDC or DC stitches to work rows back and forth.
- Continue until the body panel reaches your desired length (e.g., 6-8 rows for a cropped fit or more rows for a longer top).
- Optional Body Design:
- Add decorative stitch patterns such as shell stitches or use openwork (skip 1 stitch, chain 1) to create breathable designs for summer.
4. Adding the Straps
- Positioning the Straps:
- Attach yarn to the upper corners of the cups.
- Chain the desired length for the straps (approximately 50-70 chains per strap for tie-back designs).
- Securing the Straps:
- SC or slip stitch along the chain to reinforce the strap (optional).
- You can also thread the straps through the back of the body panel for an adjustable tie-back style.
5. Finishing Touches
- Edging (Optional):
- Add a row of SC, reverse SC (crab stitch), or picot edging along the top and bottom edges for a polished finish.
- Weave in Ends:
- Use a tapestry needle to neatly weave in all loose ends.
Additional Tips
- Testing Fit:
As you work on the project, periodically test-fit the top to ensure proper sizing. Adjust the length of straps and width of the body as needed. - Washing Instructions:
Handwash or machine wash on delicate (especially for cotton yarns). Flat dry to maintain the shape.