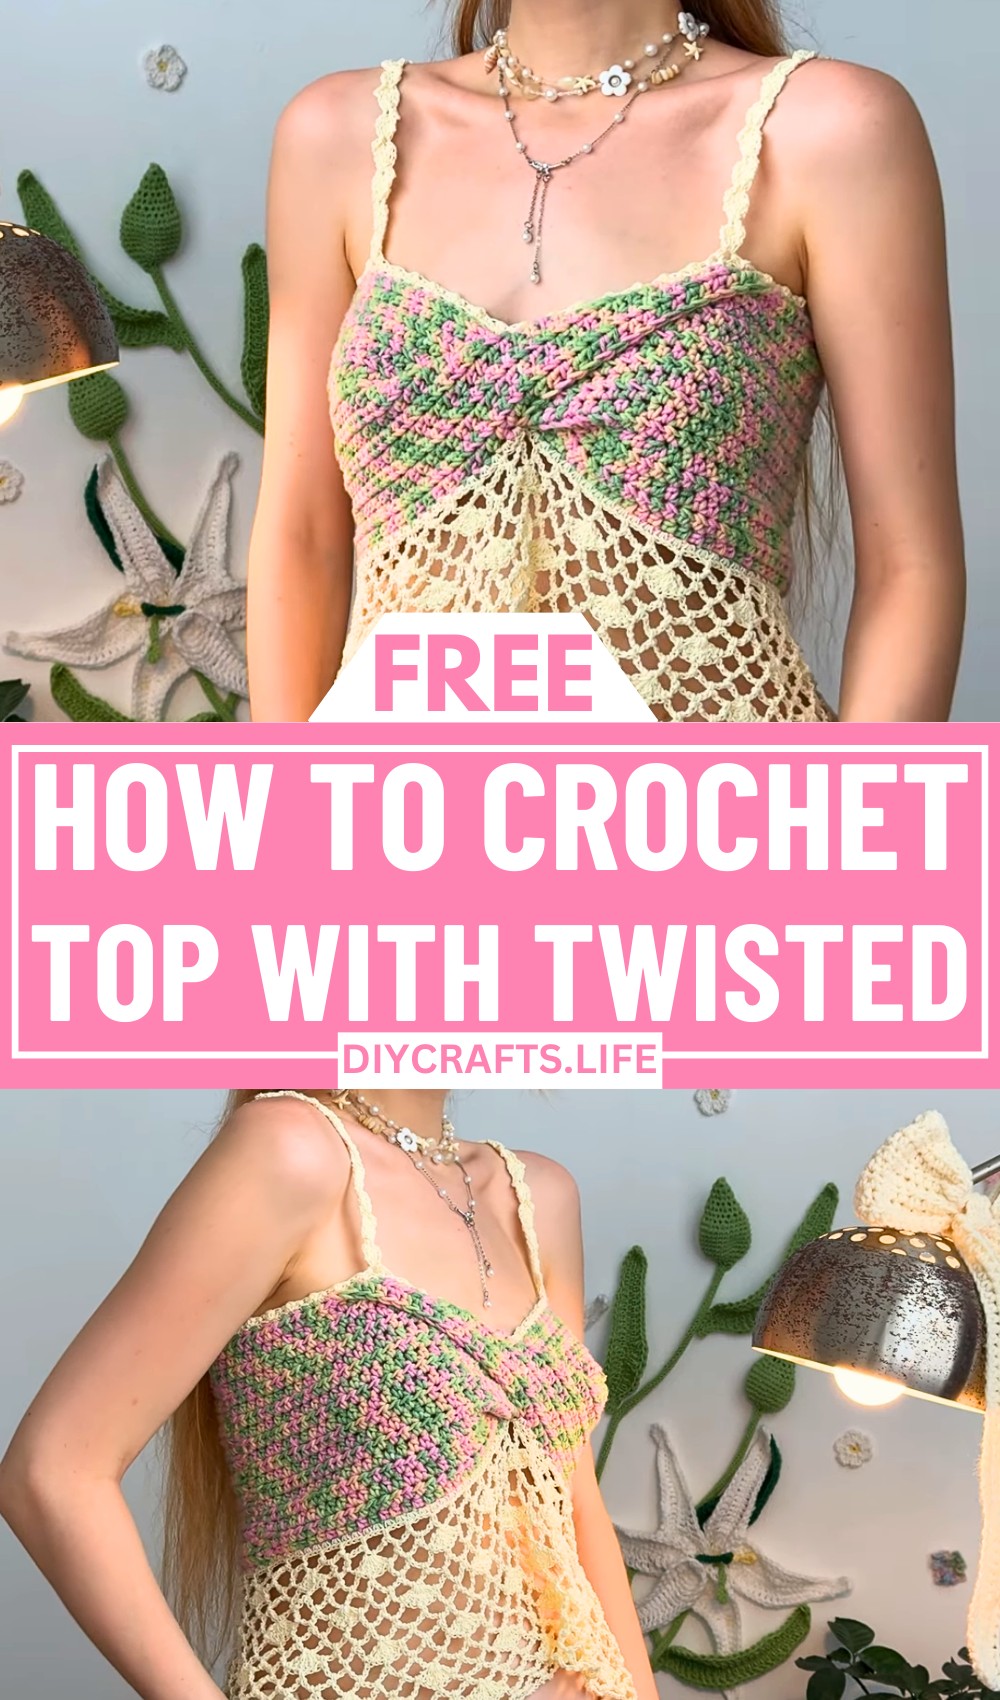
Turn heads this summer with a crochet top that’s as fresh as a summer breeze! This design combines effortless beauty with comfort, creating a piece that fits perfectly into sunny days. Light and airy with delicate details, this summer top is made to elevate your outfit while keeping you cool. The blend of textures and soft colors creates a dreamy, artistic look you’ll love wearing.
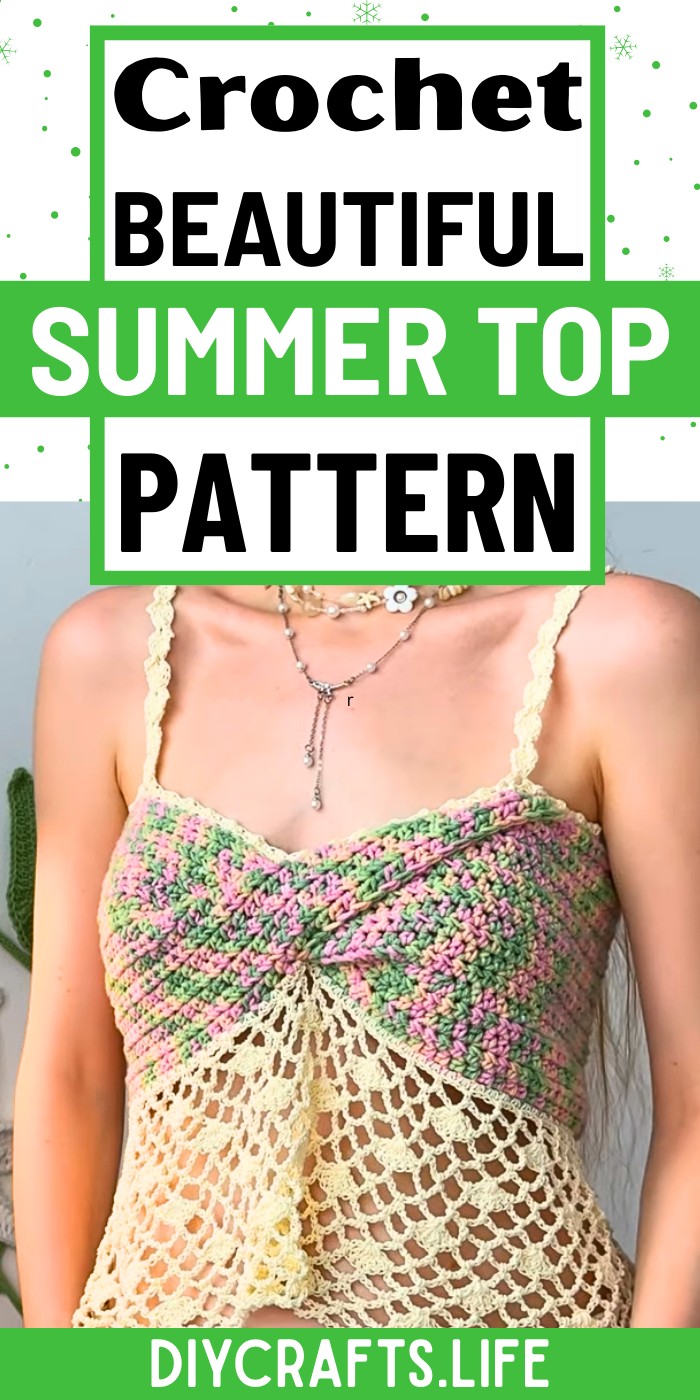
Crochet Summer Top
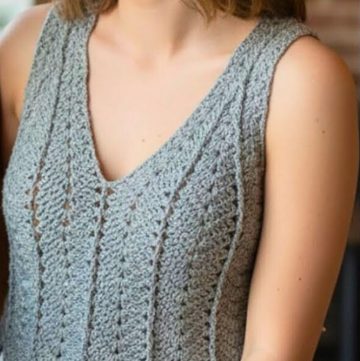
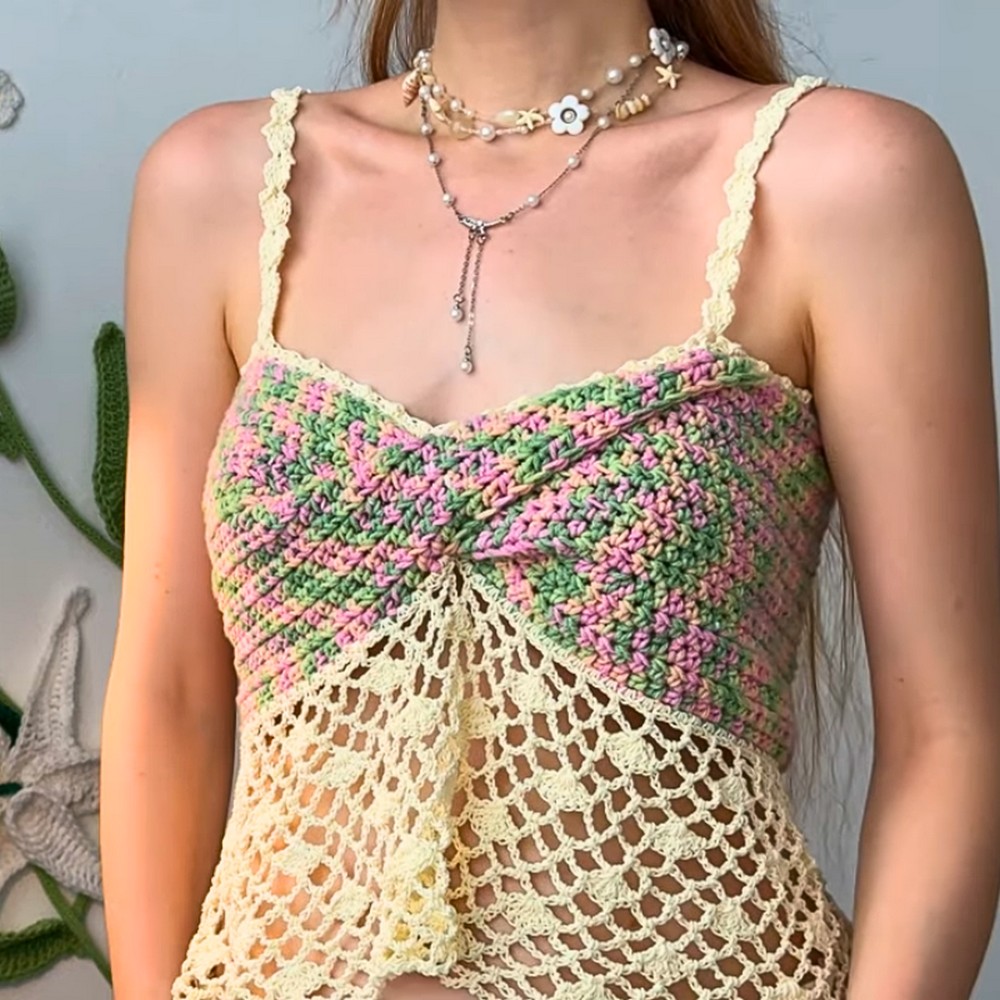
What sets this crochet summer top apart is its playful twist and customizable features. The main body, crafted with vibrant multicolored yarn, evokes the feeling of a flower-filled garden. A striking twist detail adds a unique flair, or you can keep it simple for a classic look. The bottom edge features graceful arches and shell stitches for subtle elegance, while thin cotton yarn gives it a polished finish. Paired with adjustable straps, this pattern offers endless possibilities—perfectly blending personal creativity with fashionable charm.
Credit WONDER NETTING
Materials & Tools Needed
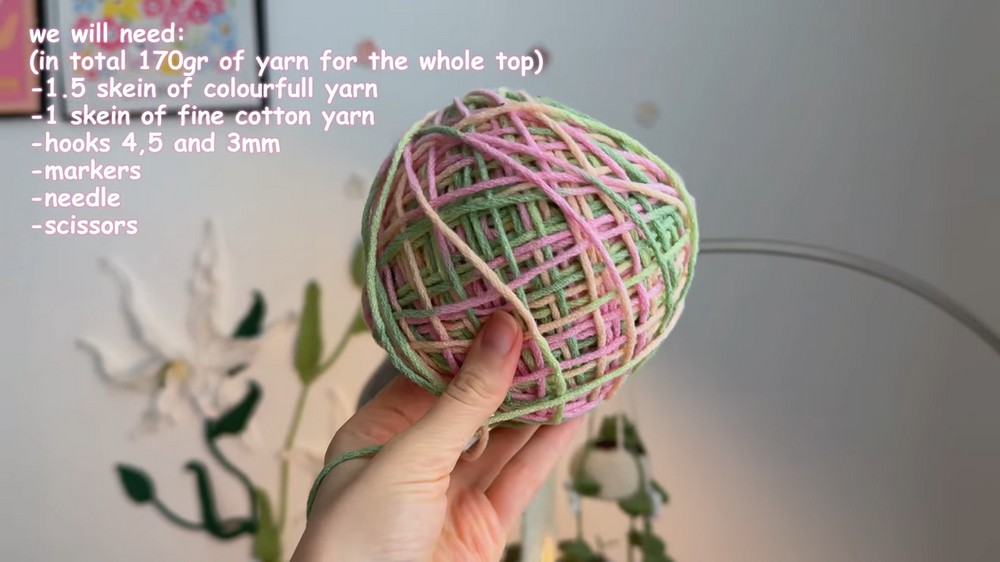
- Yarn:
- Main section: Multicolored yarn (possibly milk cotton or acrylic, as mentioned). The creator used a yarn labeled "Yak Love" with floral tones (green, baby yellow, soft pink).
- Bottom section: Fine cotton yarn (approximate thickness 0.5–0.8mm). Thin yarn creates breezy, detailed edging.
- Amount required:
- Approximately 1.5 skeins for the multicolored yarn (depends on chosen length).
- Fine cotton yarn for the hem and straps.
- Hooks:
- Larger hook: 4.5mm for the main acrylic/milk cotton yarn.
- Smaller hook: 3.5mm–3mm for the fine cotton yarn.
- Other Tools:
- Scissors for cutting yarn.
- Stitch markers to mark row beginnings, strap placements, or adjustments.
- Tapestry Needle to secure yarn ends and attach straps.
Finished Size & Customization Ideas
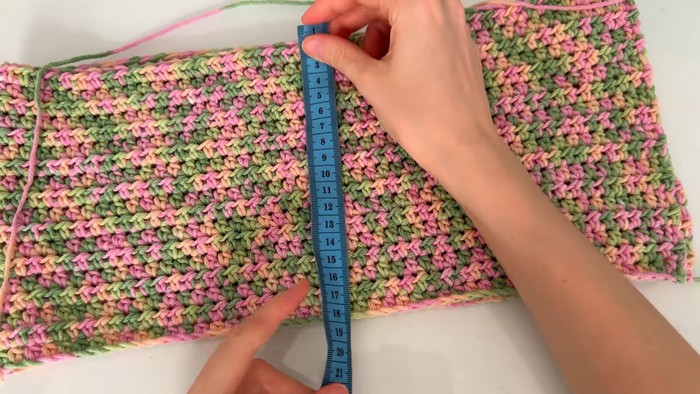
Approximate Finished Size:
- Height of the main top rectangle: Approximately 17cm.
- Width when folded in half: 40cm (bust circumference around 80cm, adjustable based on individual body measurements).
- Strap length and top length can be modified to better fit your preferences.
Customization Suggestions:
- Yarn:
- Use hand-dyed, multicolored yarn for a floral or dreamy aesthetic. Adjust colors based on personal taste (pastels, neutrals, or bold tones).
- Choose thicker yarn for a textured top or lighter yarn for a breezier look.
- Twist Variations:
- Keep the fabric plain (rectangle) without twisting the front.
- Add a gathered center instead of a twist by threading yarn through the middle rows and tying it tightly.
- Edging Design:
- Different lace patterns can be used for the hemline, such as picot stitches or scallop edges for more detail.
- Straps:
- Customize strap width using more rows of double crochet stitches.
- Extend the straps into halter-style ties or cross-back designs.
Pattern Abbreviations & Terminology
- Ch: Chain
- Sl st: Slip Stitch
- Sc: Single Crochet
- Hdc: Half Double Crochet
- Dc: Double Crochet
- Rep: Repeat
- St(s): Stitch/es
- Sk: Skip
(Tutorial uses US crochet terminology; adapt if you follow UK terms.)
Step-by-Step Crochet Instructions
1. Base Rectangle
- Foundation Chain:
- Using your larger hook and multicolored yarn, crochet a chain of 100 stitches. (Adjust depending on your bust circumference.)
- Ensure the chain fits around your bust, snug but not tight.
- Row 1:
- Add 1 turning chain.
- Single crochet into the second chain from hook.
- Work a single crochet into the front loop of the previous stitch and every chain thereafter.
- Place a stitch marker in the first stitch to keep track of row beginnings.
- Row 2:
- Turn your work.
- Single crochet into the first stitch as previously.
- Start working half-double crochets (hdc) into every stitch across the row:
- Yarn over, insert hook into the loop, yarn over and pull through, yarn over and pull through all three loops.
- Rows 3–18:
- Repeat this process. Each row begins with a single crochet and is followed by half-double crochets.
- Continue until the rectangle measures approximately 17cm in height and is wide enough to wrap around your bust comfortably.
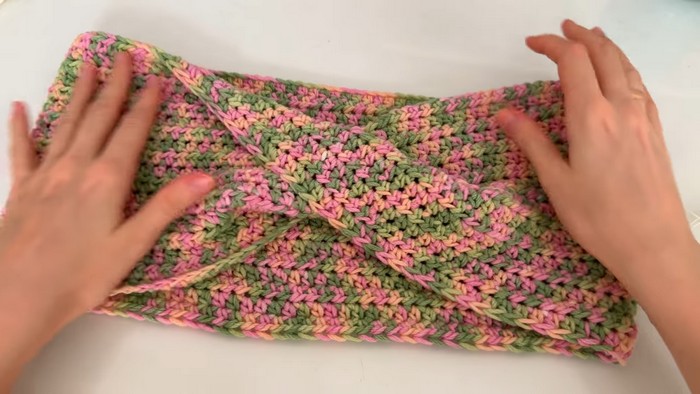
2. Twist and Join
- Create the Twist:
- Lay the rectangle flat, and twist one end once at the center.
- The twisted portion should align with the front middle of the top.
- Seam Edges:
- Fold the rectangle in half.
- Use single crochets to join the two edges together. Insert the hook into each stitch and work 1 single crochet across to create the seam.
- The seam should be positioned under the arm, not at the back.
- Secure Twist:
- Using a tapestry needle, stitch through the twist layers to keep the front secure.
- Cut yarn and weave in ends.
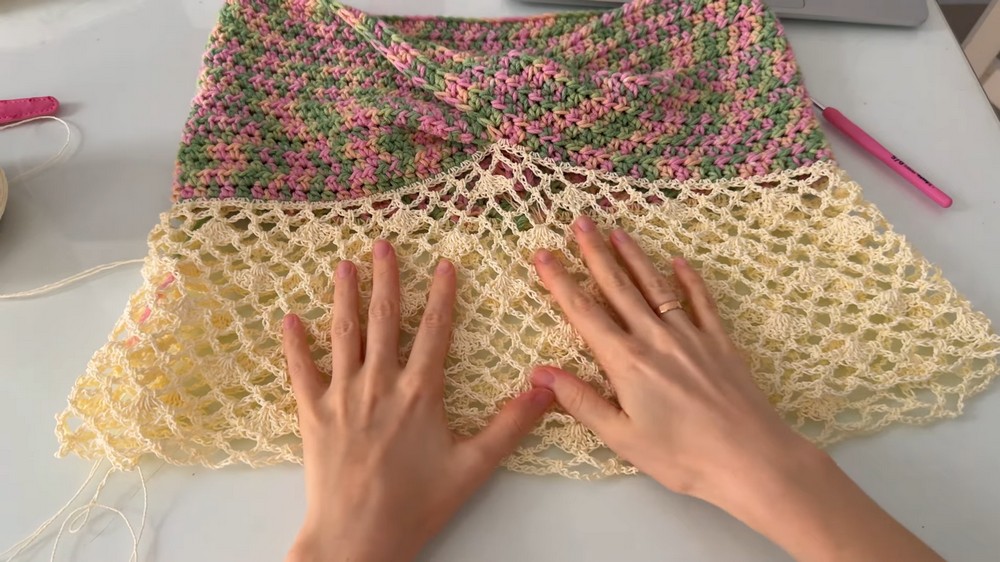
3. Bottom Hemline
- Base Row:
- Flip the top upside down.
- Using fine cotton yarn and the smaller hook, attach yarn to the bottom chains.
- Crochet 2 single crochets into each stitch along the bottom edge.
- Ensure Divisible Stitch Count:
- Count stitches to ensure the total number is divisible by 12 (necessary for the hemline arches).
- Add extra stitches in the back section if needed by working 3 single crochets into some stitches.
- Row 1 – Arches:
- Join row with a slip stitch.
- Chain 5, skip 3 stitches, single crochet into the fourth stitch.
- Repeat chain 5/single crochet across the row.
- Row 2 – More Arches:
- Sl st to the middle of the arch from the previous row. Ch 1, and sc into the arch center.
- Continue Chain 5, sc into the arch center in all arches around the row.
- Row 3 – Shell Pattern:
- Sl st to the middle of the first arch. Ch 1, make 1 sc into the arch center.
- Work 5 dc into the next sc stitch (shell).
- Make 2 arches (chain 5/sc into arch), then repeat the shell pattern.
- Continue this sequence around the row.
- Repeat Rows:
- Alternate between 2 rows of arches and 1 row of shells until the hem reaches your desired length.
4. Top Edging
- Switch to fine cotton yarn.
- Attach yarn at the top edge of the top and sc into every stitch across, including the twist section.
- For the decorative edging:
- Sc, dc, sc into the same stitch. Skip 1 stitch, repeat the pattern across the row.

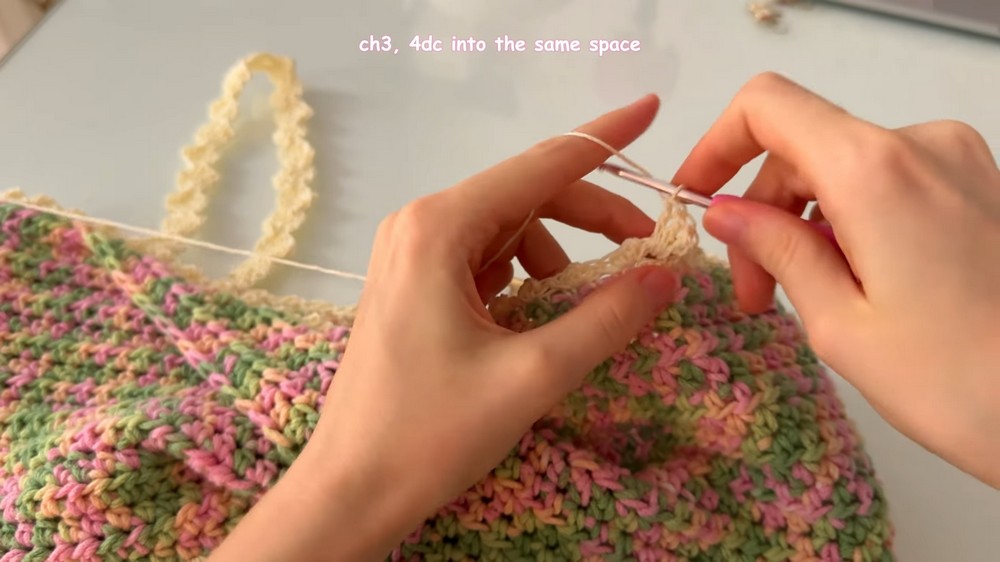
5. Straps
- Mark strap placements with stitch markers on the front and back.
- Attach yarn at the front strap marker and chain 3, then work 4 dc into the same stitch (5 dc total).
- Turn work, sl st to the third dc, ch 3, and work 4 dc into the same stitch.
- Repeat until strap reaches desired length.
- Sew straps to the back edges using a tapestry needle.
Finishing Techniques
- Weave in loose ends with a tapestry needle.
- If necessary, block the top to even out stitches and secure the twists and straps.
- Try on the top and ensure everything fits comfortably—the straps can be adjusted for tighter/looser fit.