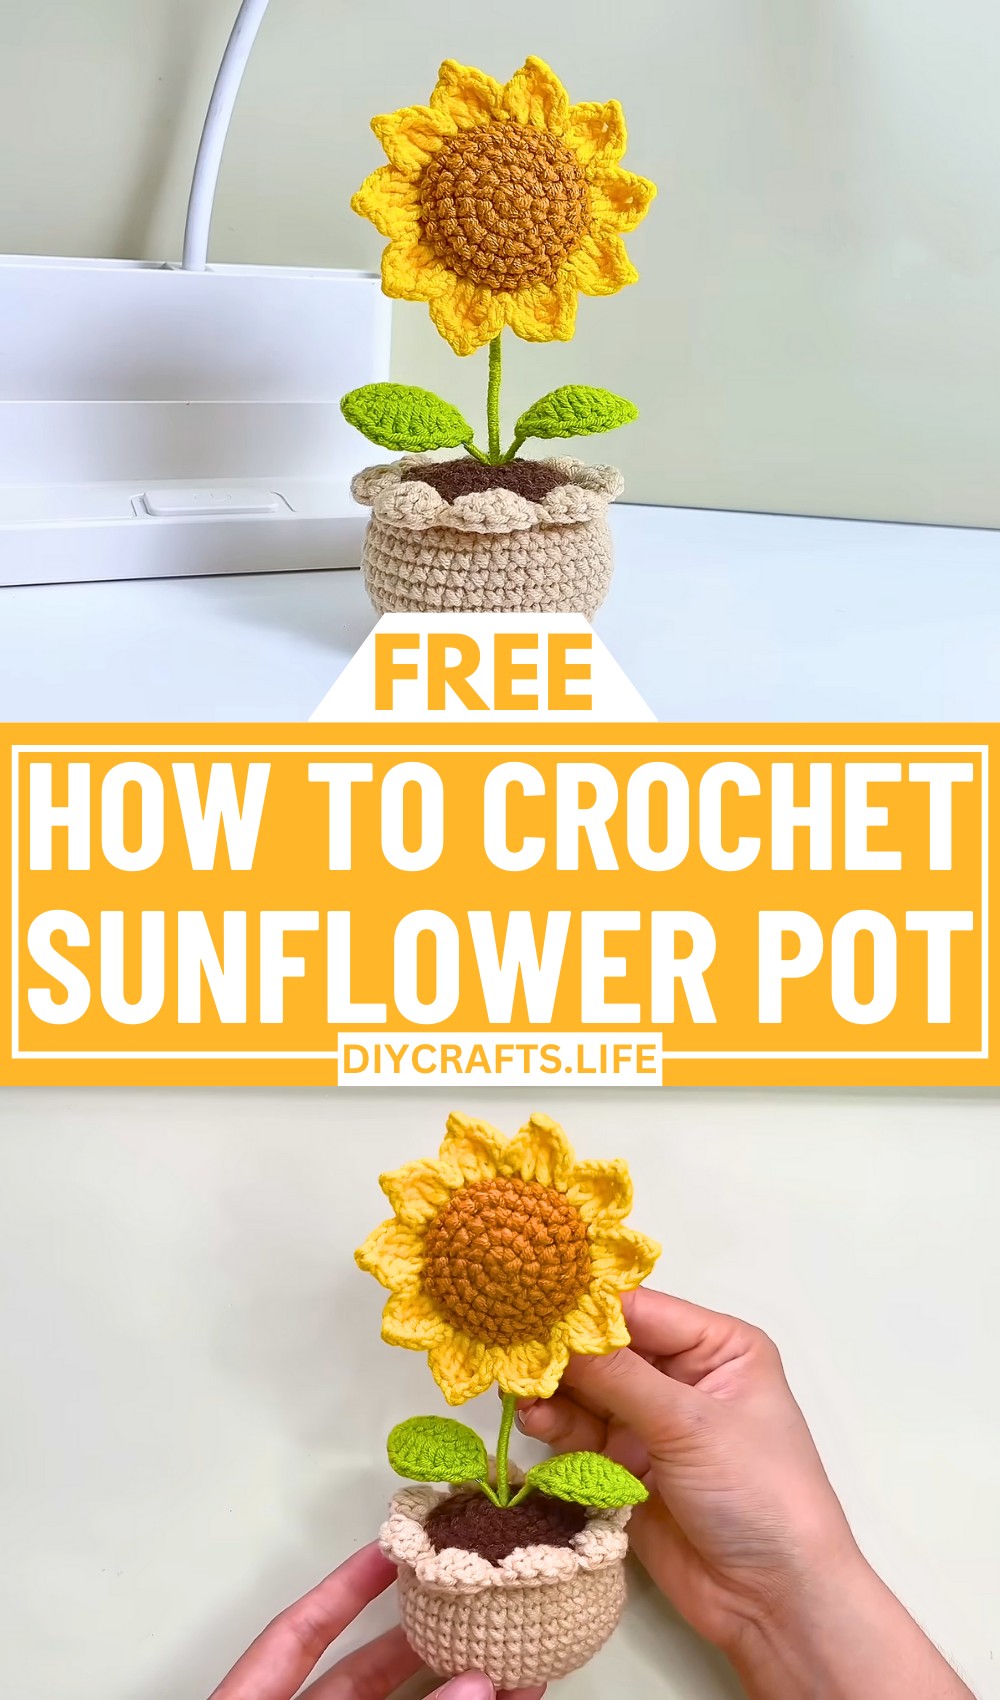
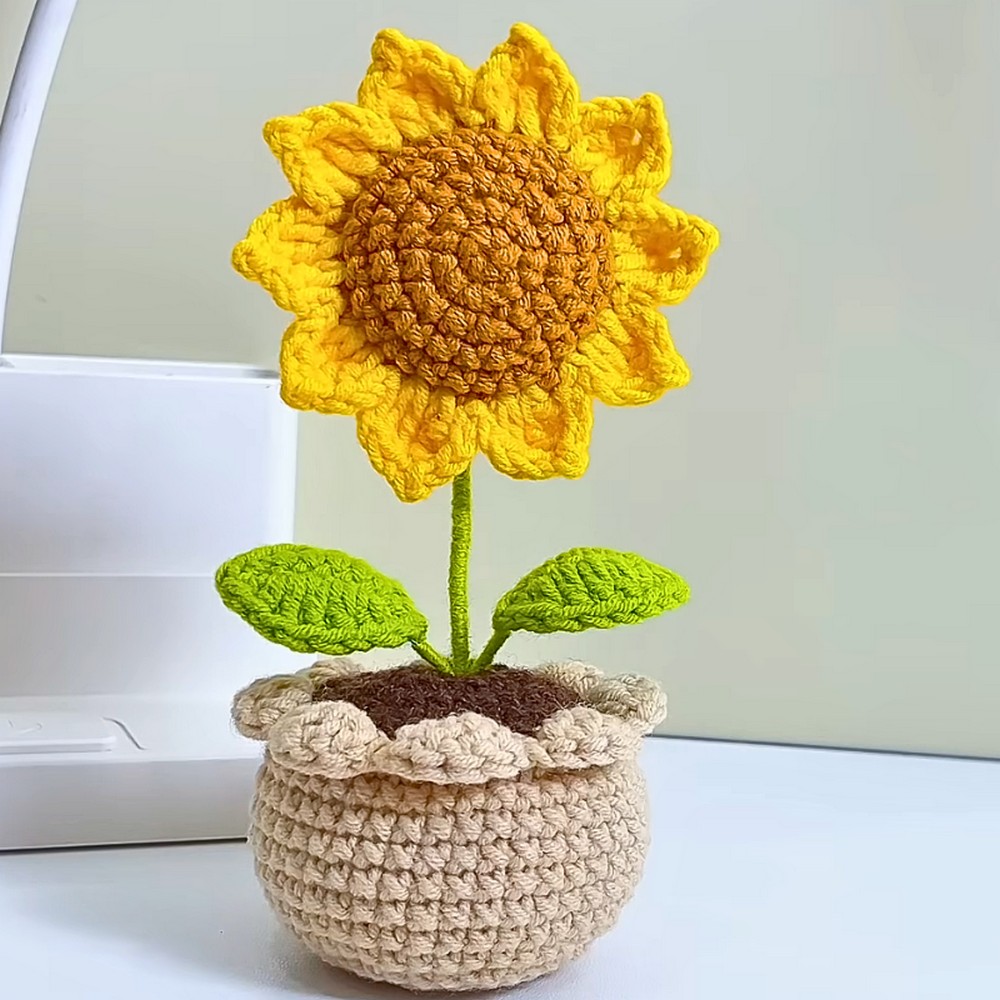
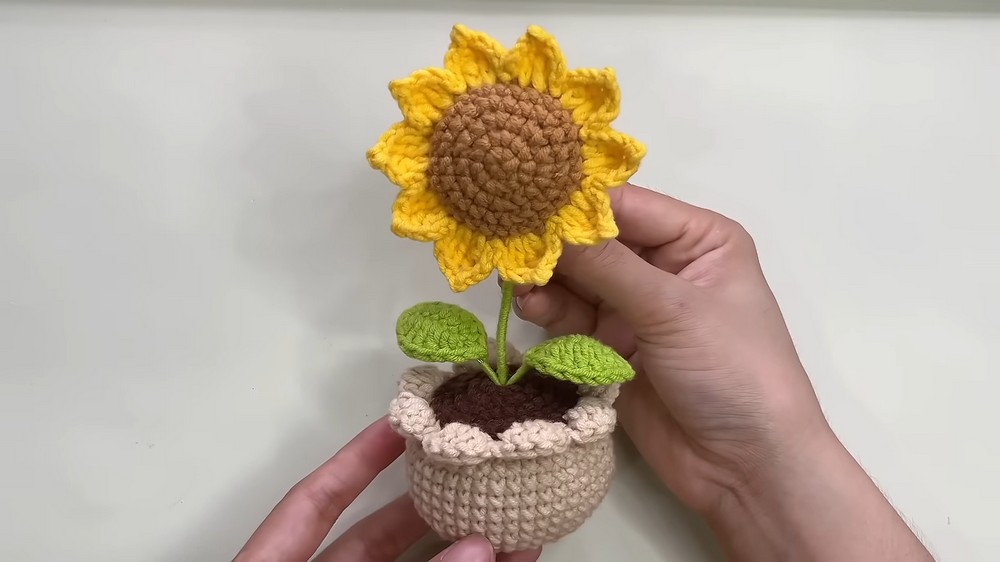
Brighten your space with this stunning crochet sunflower pot that captures the cheerful essence of nature! Carefully crafted with lifelike petals, textured leaves, and a realistic stem, this design blends charm and artistry, making it the perfect accessory to enhance your home or gift to someone special.
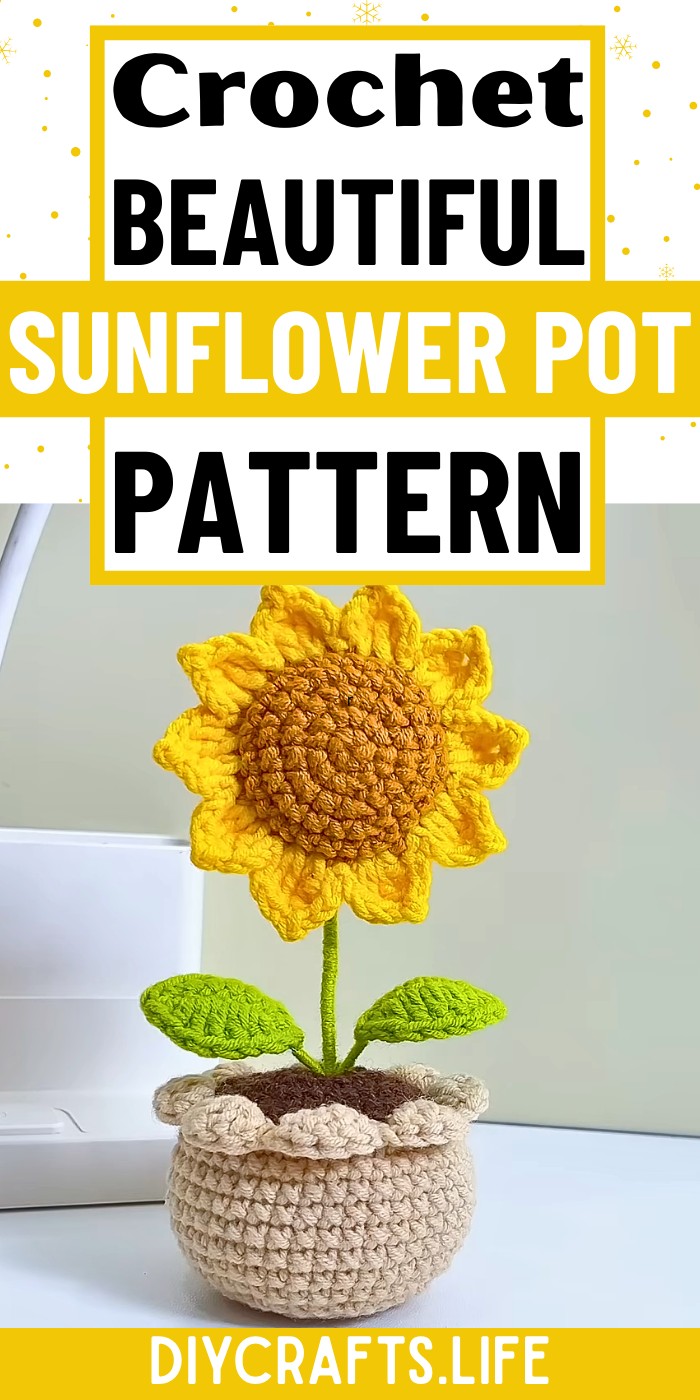
Crochet Sunflower Pot Design
This pattern stands out for its attention to detail—the sunflower features 10 beautifully shaped petals attached seamlessly to a sturdy stem and vibrant green leaves crafted with wire for added flexibility. The sunflower sits in a petite, textured pot, complete with soil details, adding an earthy and charming vibe. By incorporating creative elements such as wrapped yarn stems and customizable colors, the pattern gives endless possibilities for personalization—making every creation truly unique to you.
Credit DIY Yarn Crafts
Required Materials:
- Yarn Colors:
- Green yarn (for the base and leaves).
- Brown yarn (for the center of the flower/stamen).
- Yellow yarn (for the petals).
- Additional yarn for wrapping the wire (branch).
- Hook: Appropriate crochet hook for your yarn size.
- Wire (15 cm) for leaf support.
- Cotton: For stuffing the pot.
- Glue: To secure the branch.
- Scissors: To cut and trim the yarn.
Important Notes:
- Magic Ring: Start most sections (base, pot, soil) with a magic ring to create a tight and secure circular beginning.
- Increases and Decreases: Follow patterns for increases, decreases, and back-loop or front-loop stitches carefully to shape components properly.
- Wire for Leaves: Bend and hold the wire comfortably while crocheting; the wire adds stability to the leaves.
- Assembly: Secure pieces such as leaves, branch, soil, and pot together using glue and sewing methods.
- Adjust Yarn Tension: Ensure your tension is consistent to avoid uneven stitches or shapes.
- Safety: Handle wire carefully and ensure ends are properly covered.
Detailed Step-by-Step Instructions:
Step 1: Base (Green "Seep"):
- Row 1:
- Make a magic ring.
- Crochet 6 single stitches into the ring.
- Pull the ring tight and slip stitch into the first stitch.
- Row 2:
- Chain 1.
- Crochet 2 single stitches into each stitch (6 increases).
- Slip stitch into the first stitch to close the row.
- Row 3:
- Chain 1.
- Make 1 single crochet in the first stitch, then an increase in the next stitch. Repeat this pattern for 6 total increases.
- Slip stitch to complete the row.
- Repeat Rows 4–5:
- Adjust the sequence by adding increments to single crochet stitches between increases.
- Finish by chaining one and fastening off.
- This forms the green base of the flower.
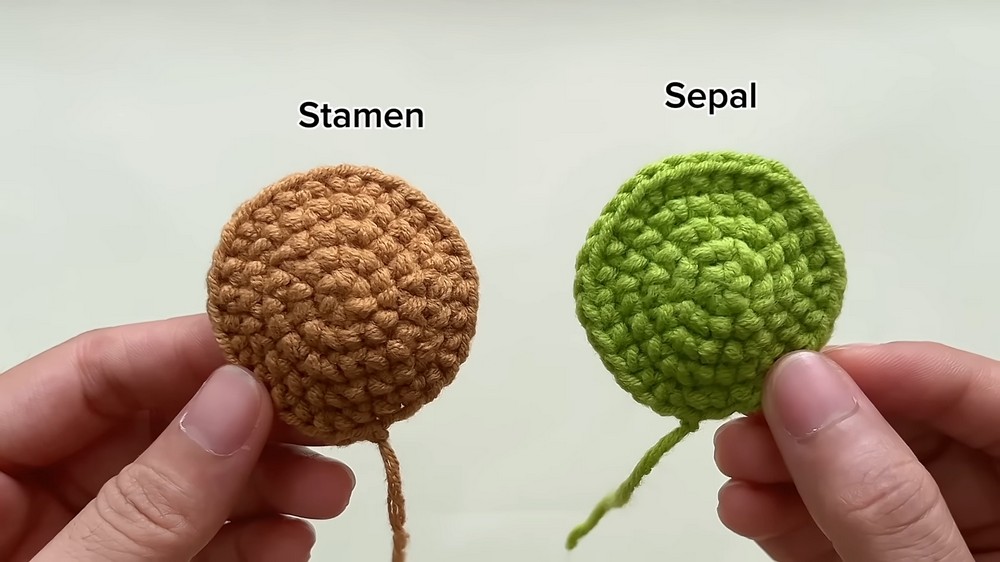
Step 2: Stamen (Brown Center):
- Follow the same pattern as the green base (seep) to make the stamen.
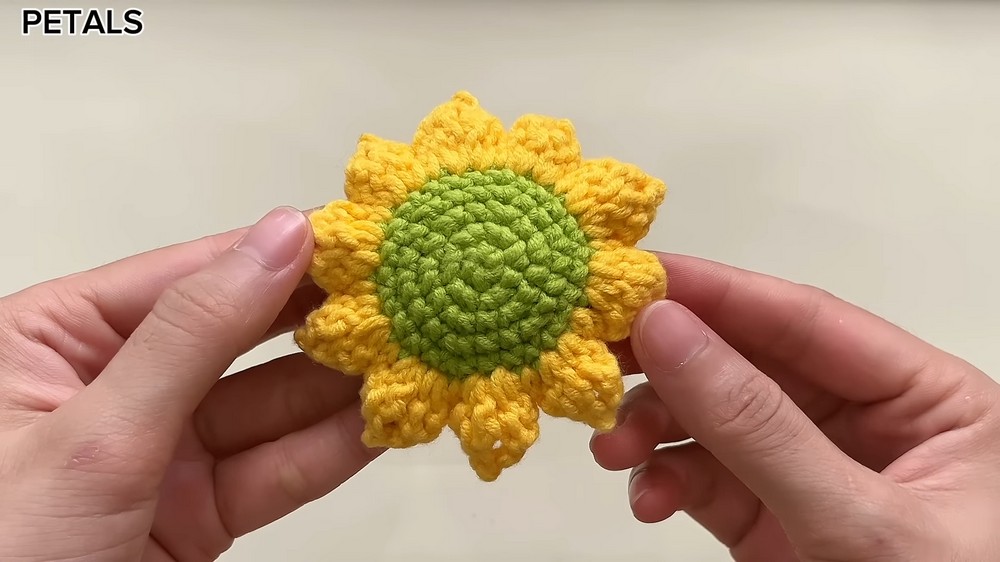
Step 3: Petals (Yellow):
- Hold the green base and brown stamen together. Use both pieces as a foundation for the petals.
- Insert your hook into both stitches (green and brown) to create connected petals.
- For each petal:
- Chain 2.
- Work into the connected stitches, making 1 double crochet and 1 treble crochet (yarn over twice, pull through loops sequentially).
- Chain 2 and work back with a slip stitch to close the petal.
- Repeat this pattern for 7 petals initially, leaving a gap for stuffing later.
- Add 3 more petals to complete the sunflower (total: 10 petals). Finish with a slip stitch, fasten off, and trim excess yarn.
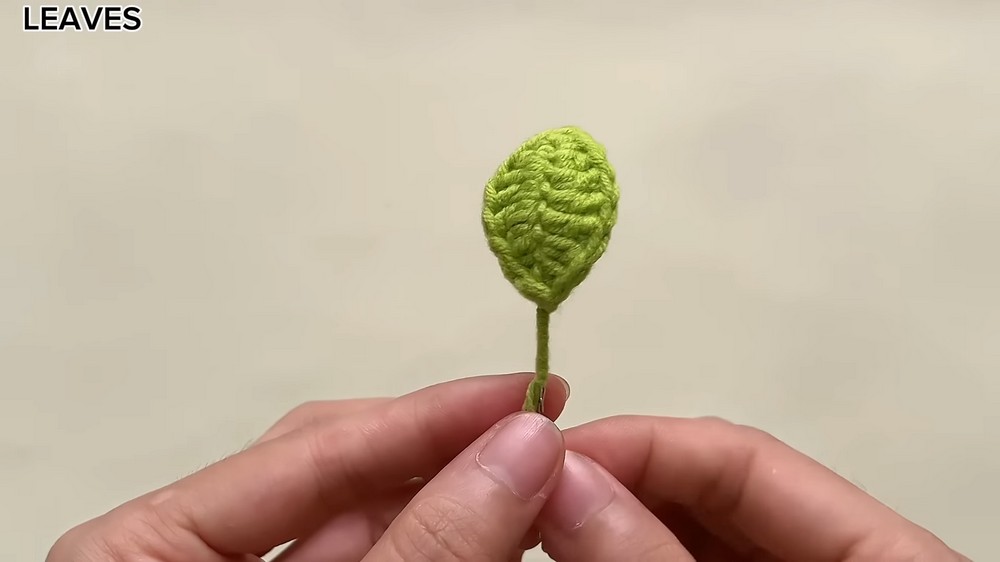
Step 4: Leaves:
- Create a slip knot and make 8 chains.
- With Wire:
- Place the wire under the working yarn and crochet along the wire.
- Work into the chains as follows:
- Single crochet, half double crochet, double crochet (vary stitch counts for shaping).
- Work back along the other side of the chain to form a symmetrical leaf.
- Wrap the wire with yarn and tie securely.
- Make two leaves following this process.
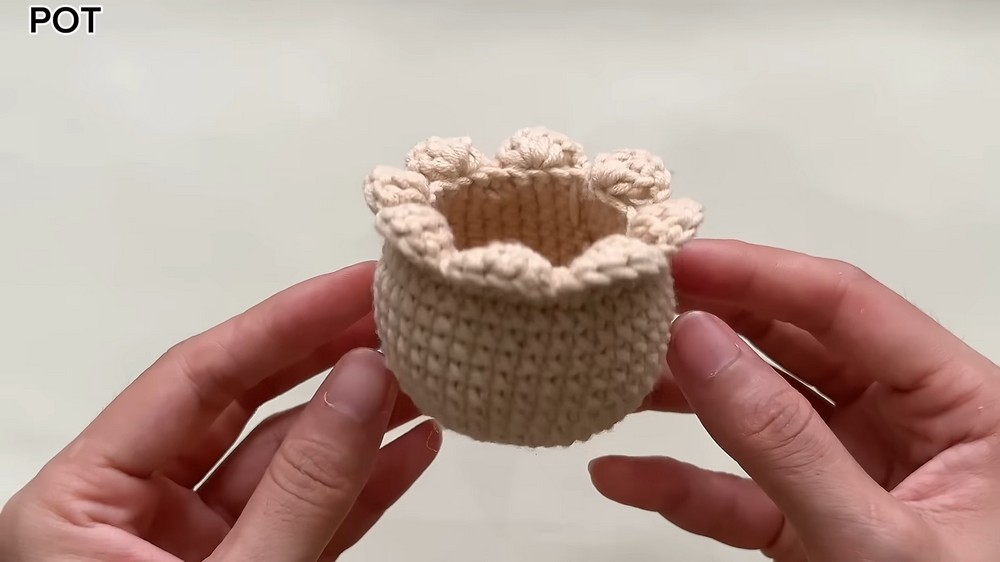
Step 5: Pot:
- Row 1: Make a magic ring and crochet 8 single stitches into the ring. Slip stitch to close.
- Row 2: Chain 1. Make increases in all stitches (8 increases). Slip stitch to finish.
- Row 3–4: Single stitch and increase alternately, expanding the base.
- Row 5: Work back-loop stitches for shaping. Single crochet in every stitch, with increases as per pattern.
- Row 6–12: Continue single crochet rows without increases (40 stitches per row).
- Row 13: Begin decreasing to narrow the pot's top. Work decrease stitches (insert hook into 2 stitches, pull through yarn) alternating with single crochets.
- Row 14:
- Crochet through front loops only.
- Skip one stitch, work 4 double crochets into the next stitch, chain 1, and slip stitch into the following stitch.
- Repeat the pattern to create decorative ruffles at the edge. Finish by fastening off and trimming yarn.
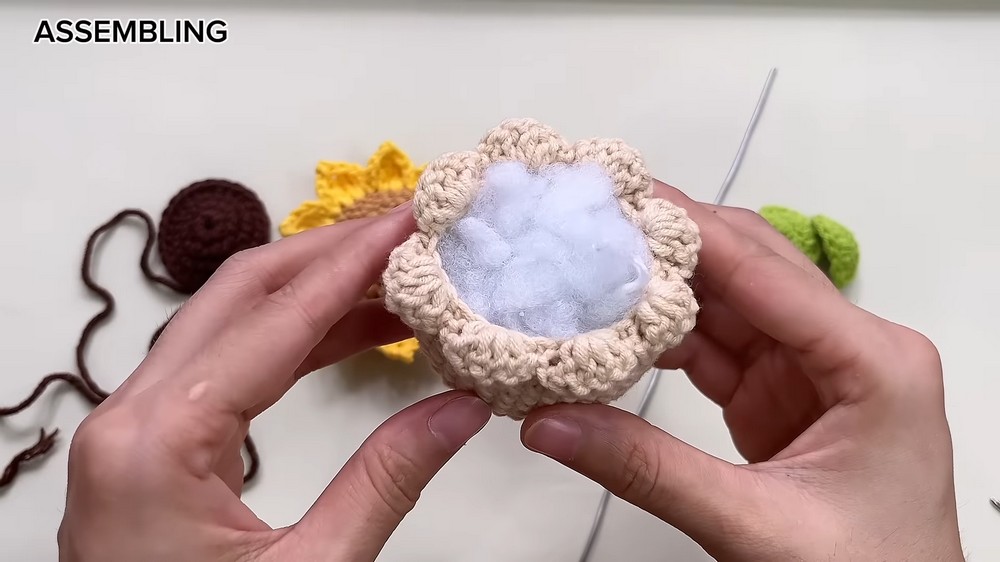
Step 6: Soil:
- Make a magic ring with brown yarn and crochet 8 single stitches into the ring, leaving a small hole at the center for the branch.
- Follow a pattern similar to the base "seep" for shaping the soil.
- Leave a long tail for sewing, and stuff the pot with cotton before attaching soil to the pot.
Step 7: Branch:
- Apply glue to the wire.
- Wrap green yarn around the wire, securing the yarn with knots and glue.
- Insert the branch through the sunflower center and wrap the yarn around the branch for about 10 cm.
- Attach the leaves to the branch securely using yarn and glue.
- Finish wrapping yarn around the branch completely.
Final Assembly:
- Insert the branch into the soil and pot.
- Ensure all pieces (flower, pot, soil, leaves) are securely fastened.
- Apply glue to stabilize components if necessary.
Conclusion:
Your crochet sunflower pot is now finished! Enjoy your beautiful creation and feel free to decorate or gift it. 🪴🌻