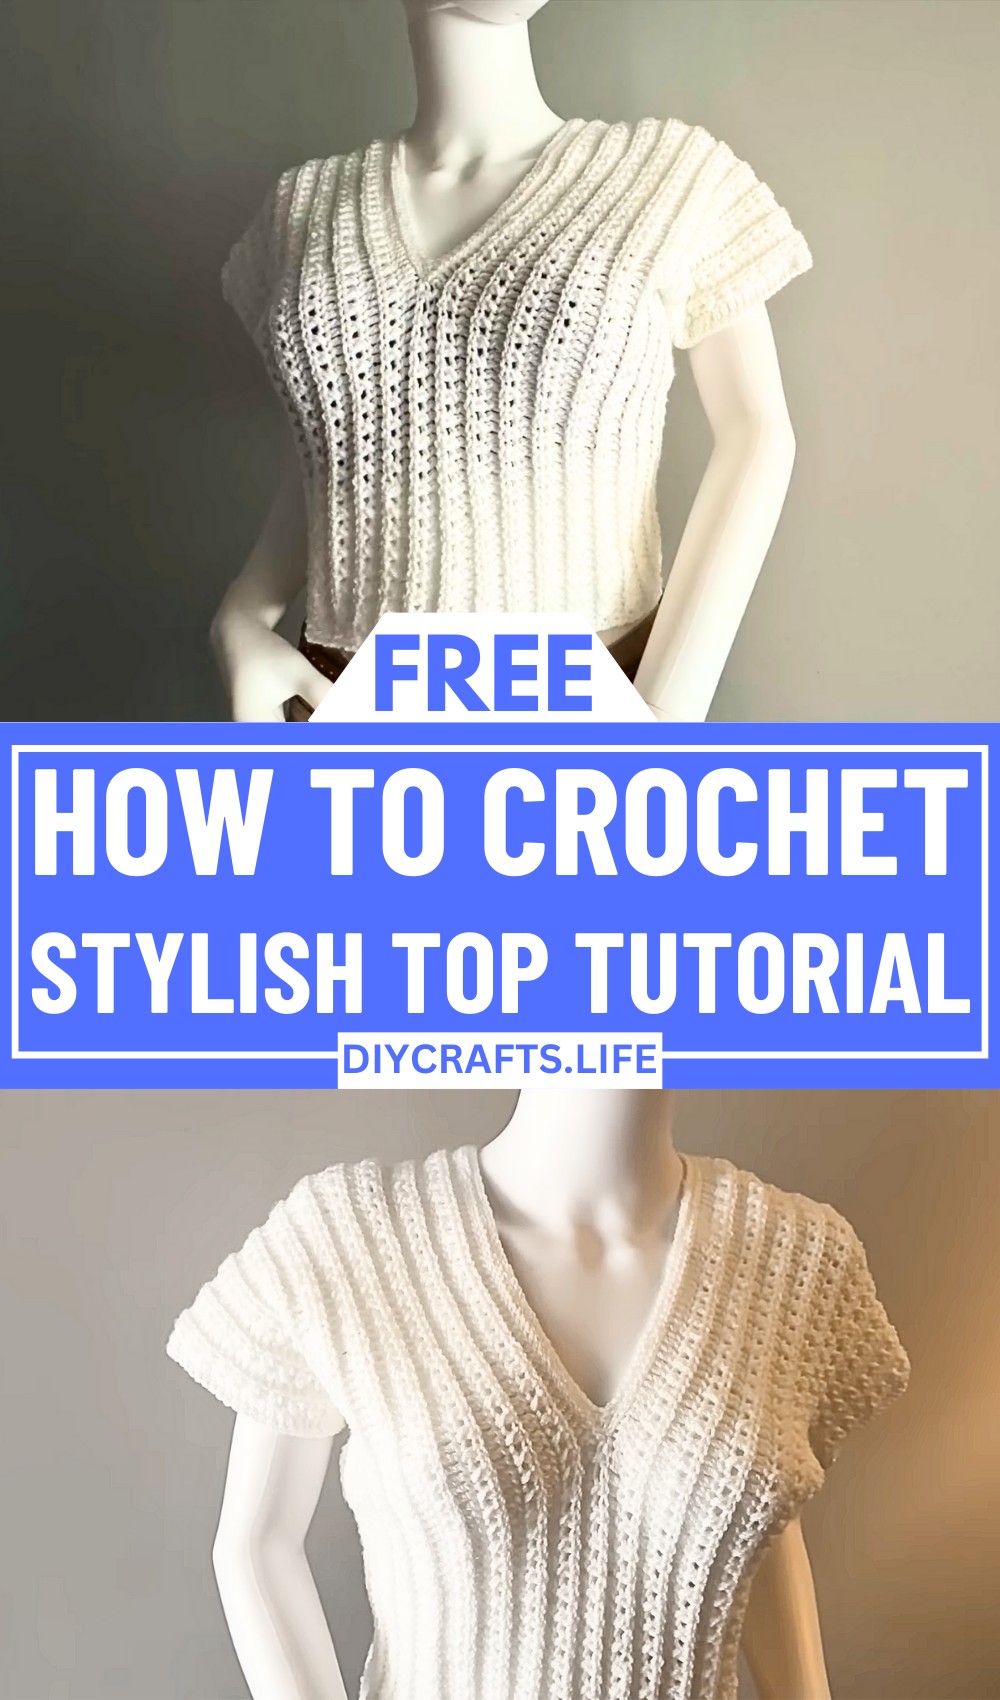
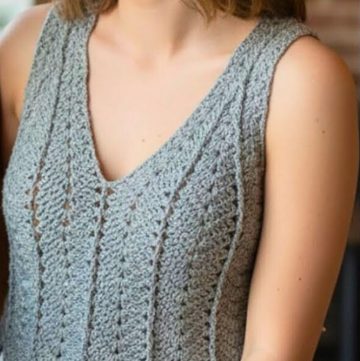
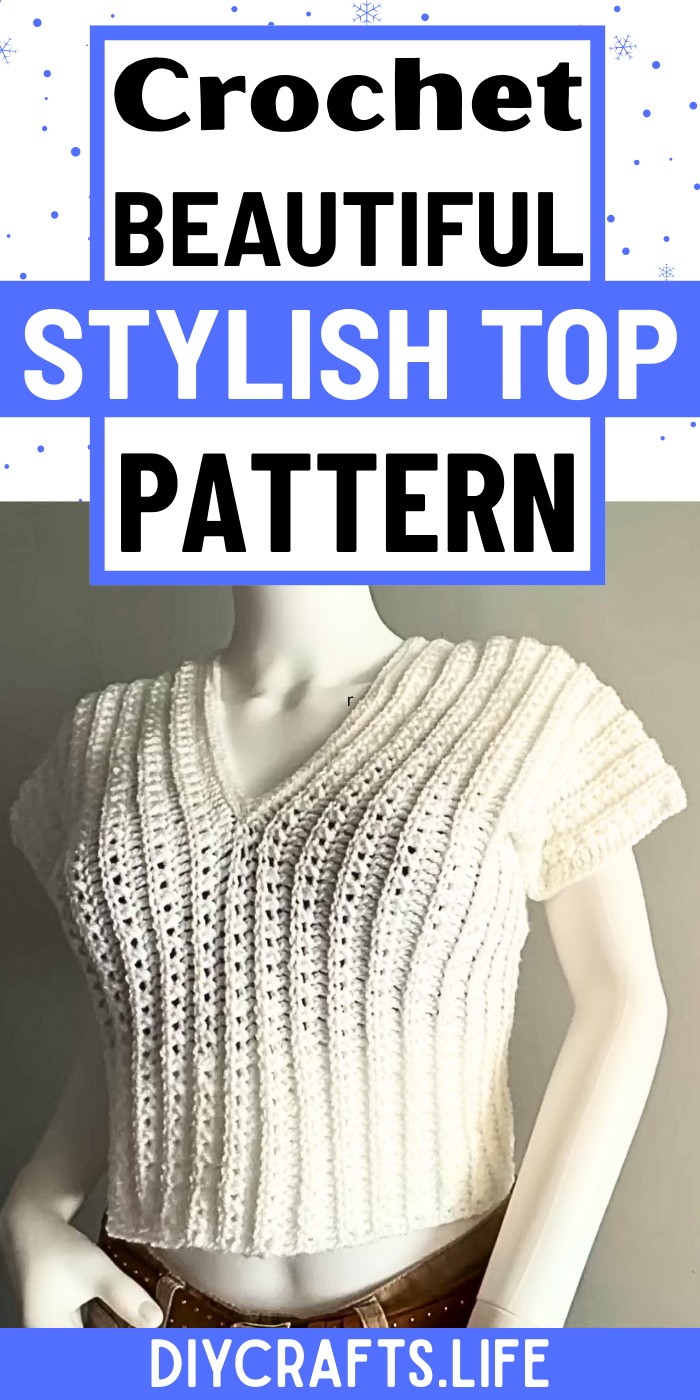
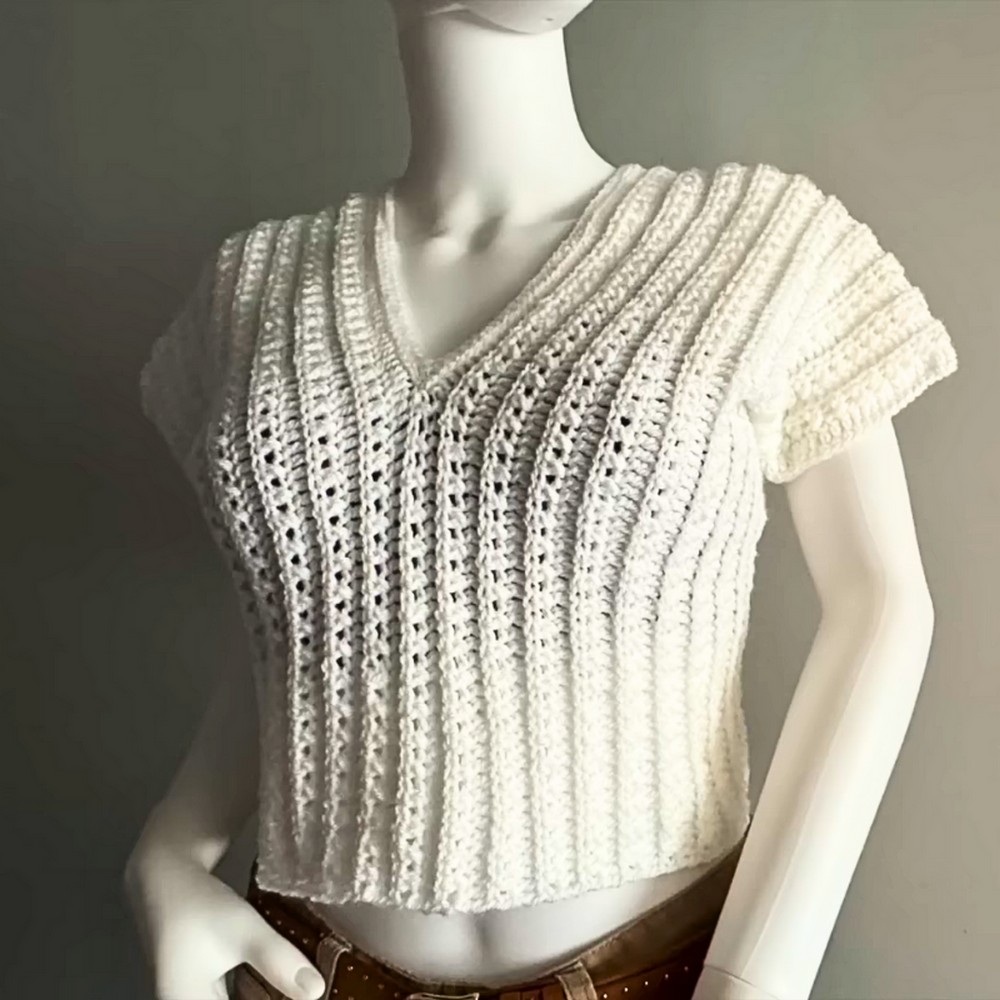
Step into a world of subtle elegance and endless versatility with this crochet top design, perfect for any occasion. Whether paired with jeans for a casual look or styled with a skirt to elevate your outfit, this piece adds charm and texture to your wardrobe with its delicate handmade touch. Comfortable to wear and soft to the skin, this crochet top opens up endless creative possibilities, making it a timeless addition to your crochet creations.
Crochet Top Pattern
This design stands out with its rich texture, featuring only two repeating rows for simplicity and efficiency. Crafted side-to-side, it allows for easy adjustments to make it longer or shorter while maintaining its refined and balanced pattern. It’s available in three sizes—small, medium, and large—and crafted using a 4mm hook and lightweight, double-knitting yarn, ensuring both skill-building opportunities for beginners and an advanced crafting experience for seasoned crocheters. Whether you want to perfect your technique or create a unique garment, this crochet top pattern offers a blend of practicality and artistry.
Credit Craft & Crochet
Materials & Tools Needed
- Yarn
- Type: Double Knitting Yarn
- Quantity:
- Small size: 1.5 yarn balls (~150g)
- Medium size: 2 yarn balls (~200g)
- Large size: 2.5 yarn balls (~250g)
- Specs:
- 100g per ball
- 330 meters
- Color Code: CE 001 (White yarn used in tutorial, but you can use any desired color)
- Hook
- Size: 4.0 mm crochet hook (recommended for double knitting yarn)
- Additional Tools
- Stitch markers (for marking sleeves and neck openings while joining)
- Yarn needle (for weaving in loose ends and joining edges)
- Measuring tape (for customizing dimensions)
- Scissors
Finished Size & Customization Ideas
- Finished Sizes:
- Small: Foundation chain of 136 stitches; approximately 80 cm wide (31.5 inches)
- Medium: Foundation chain of 142 stitches; approximately 86 cm wide (34 inches)
- Large: Foundation chain of 148 stitches; approximately 92 cm wide (36 inches)
- Customization Tips:
- Size Adjustments:
To increase or decrease the size, modify the foundation chain. Use multiples of 2 + 4 for proper stitch alignment. Measure your desired width before beginning. - Length Adjustments:
Customize the length by adding more rows—recommended rows per size:- Small: 17 rows
- Medium: 21 rows
- Large: 25 rows
- Style Adjustments:
- Use different yarn weights (e.g., sport-weight for a lighter fabric or chunky for a cozier look) with an appropriate hook size.
- Modify the strap style or length for varied looks (e.g., halter neckline).
- Incorporate multicolored yarn or add stripes for visual interest.
- Add decorative borders around the neckline and sleeves, such as picot edging.
- Size Adjustments:
Pattern Abbreviations & Terminology
- CH: Chain
- DC: Double Crochet
- HDC: Half Double Crochet
- V-ST: Cross V Stitch (created using HDC skipping stitches between)
- SL ST: Slip Stitch
- SK: Skip
Step-by-Step Crochet Instructions
Foundation Chain
- Start with a slip knot.
- Chain the required number of stitches for your size:
- Small: 136 chains
- Medium: 142 chains
- Large: 148 chains
- Ensure the chain measures:
- Small: ~80 cm
- Medium: ~86 cm
- Large: ~92 cm
Step 1: Row 1 (Double Crochet Row)
- Turn chain to the back side and start in the 4th chain from the hook.
- DC in each chain all the way across to create the first row.
- Count your stitches to ensure alignment:
- Small: 134 DC
- Medium: 140 DC
- Large: 146 DC
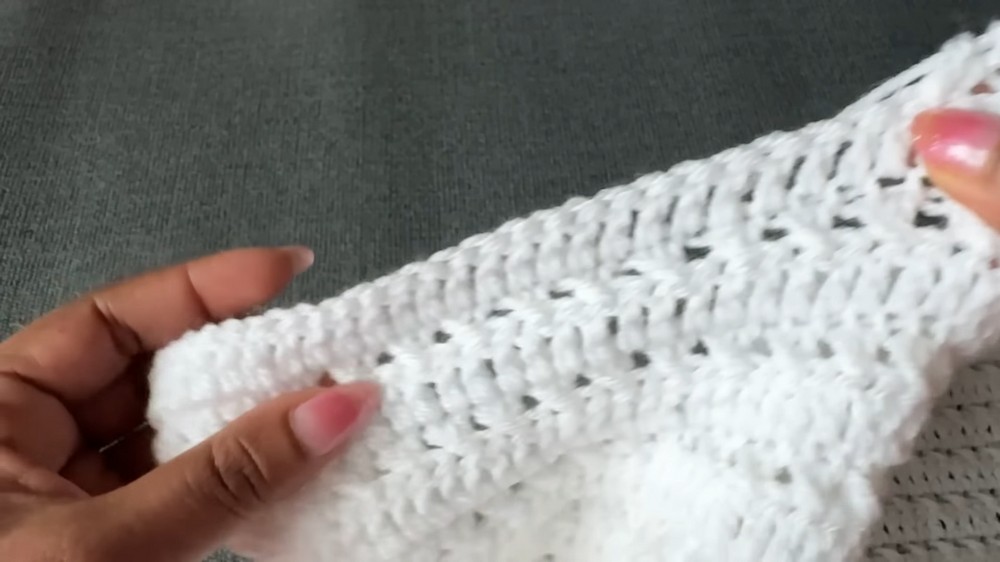
Step 2: Row 2 (Cross V Stitch)
- Start with a CH 2, turn your work.
- Skip 1 stitch, then HDC into the next stitch.
- Continue the pattern: SK 1 stitch, HDC in the next. Repeat across the row.
- End the row with HDC in the last stitch. You should have:
- Small: ~67 V-ST
- Medium: ~69 V-ST
- Large: ~73 V-ST
Step 3: Row 3 (Double Crochet Row)
- Start with a CH 3, turn your work.
- Work DC into each stitch across, but use only the back loops to create texture.
- You should end with the same number of DC stitches as Row 1.
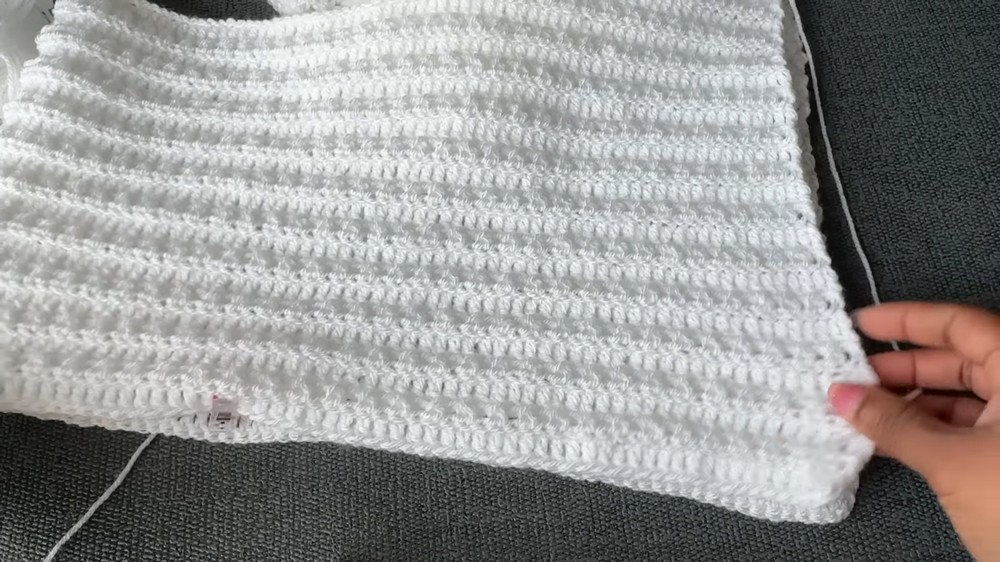
Step 4: Repeat Rows 2 and 3
- Continue alternating Row 2 (Cross V Stitch) and Row 3 (Back Loop DC Row) until achieving the required number of rows for your size:
- Small: 17 rows (~10 inches/25 cm)
- Medium: 21 rows (~12 inches/30 cm)
- Large: 25 rows (~14 inches/35 cm)
Step 5: Neck Opening
- Divide the top in half and mark 33 stitches for the neck opening on each side using stitch markers.
- For the neckline, work only on the remaining stitches (excluding the marked 33 stitches):
- Use the Cross V Stitch (Row 2 pattern) for the open section closest to the stitch marker.
- For the neckline, chain 74 stitches to create the open space and continue with DC into each chain.
Step 6: Second Panel
- Repeat all steps above to make the second panel. Ensure both panels have the same number of rows.
Step 7: Joining the Panels
- Lay both panels flat and fold them in half (wrong side facing you).
- Use a yarn needle to join:
- Sides: Join from the bottom hem upwards, leaving 40 stitches (~9 inches/23 cm) open for sleeve openings.
- Shoulders: Use stitch markers to align corners and join the panels evenly.
Step 8: Finishing
- Neckline Edging:
- Use the remaining yarn to make Slip Stitch rounds or Single Crochet rounds around the neckline for a clean finish.
- Suggested rounds: 5 rounds, decreasing slightly at corners.
- Sleeve Edging:
- Use Slip Stitch or Single Crochet around the sleeve openings.
- Add decorative edges, if desired.
- Weave in Ends: Use the yarn needle to hide loose ends.
Additional Tips
- If the yarn ends feel rough or uncomfortable, avoid tying too many knots when securing them.
- For a longer version, extend the foundation chain and add rows following the same 2-row repeat pattern.