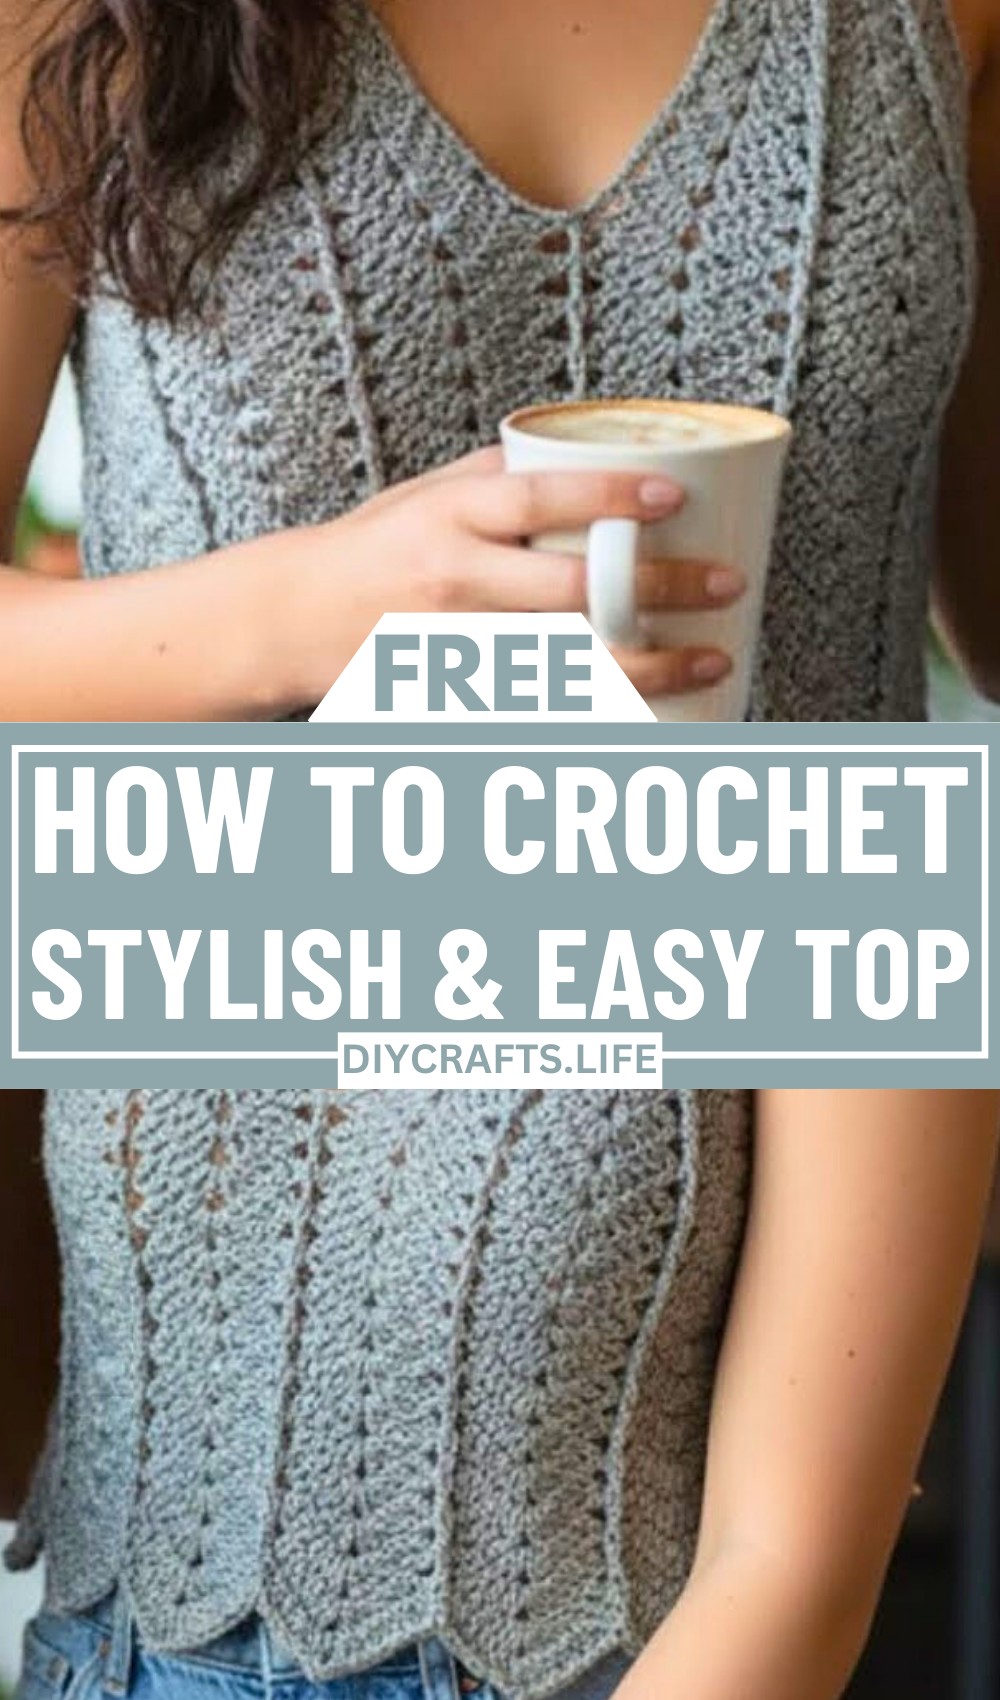
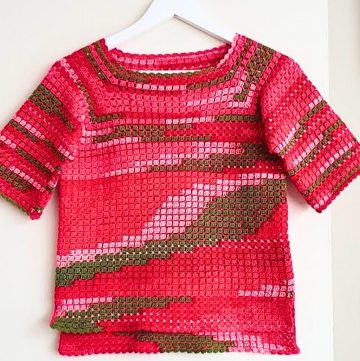
Transform your crochet skills into a masterpiece with this captivating crochet top design. Perfect for summer days, this elegant yet effortless style brings comfort and trend together. Whether you're looking for a chic addition to your wardrobe or a handmade gift for someone special, this crochet top opens up endless style opportunities with remarkable simplicity. It's a design that speaks to all skill levels while promising stunning results.
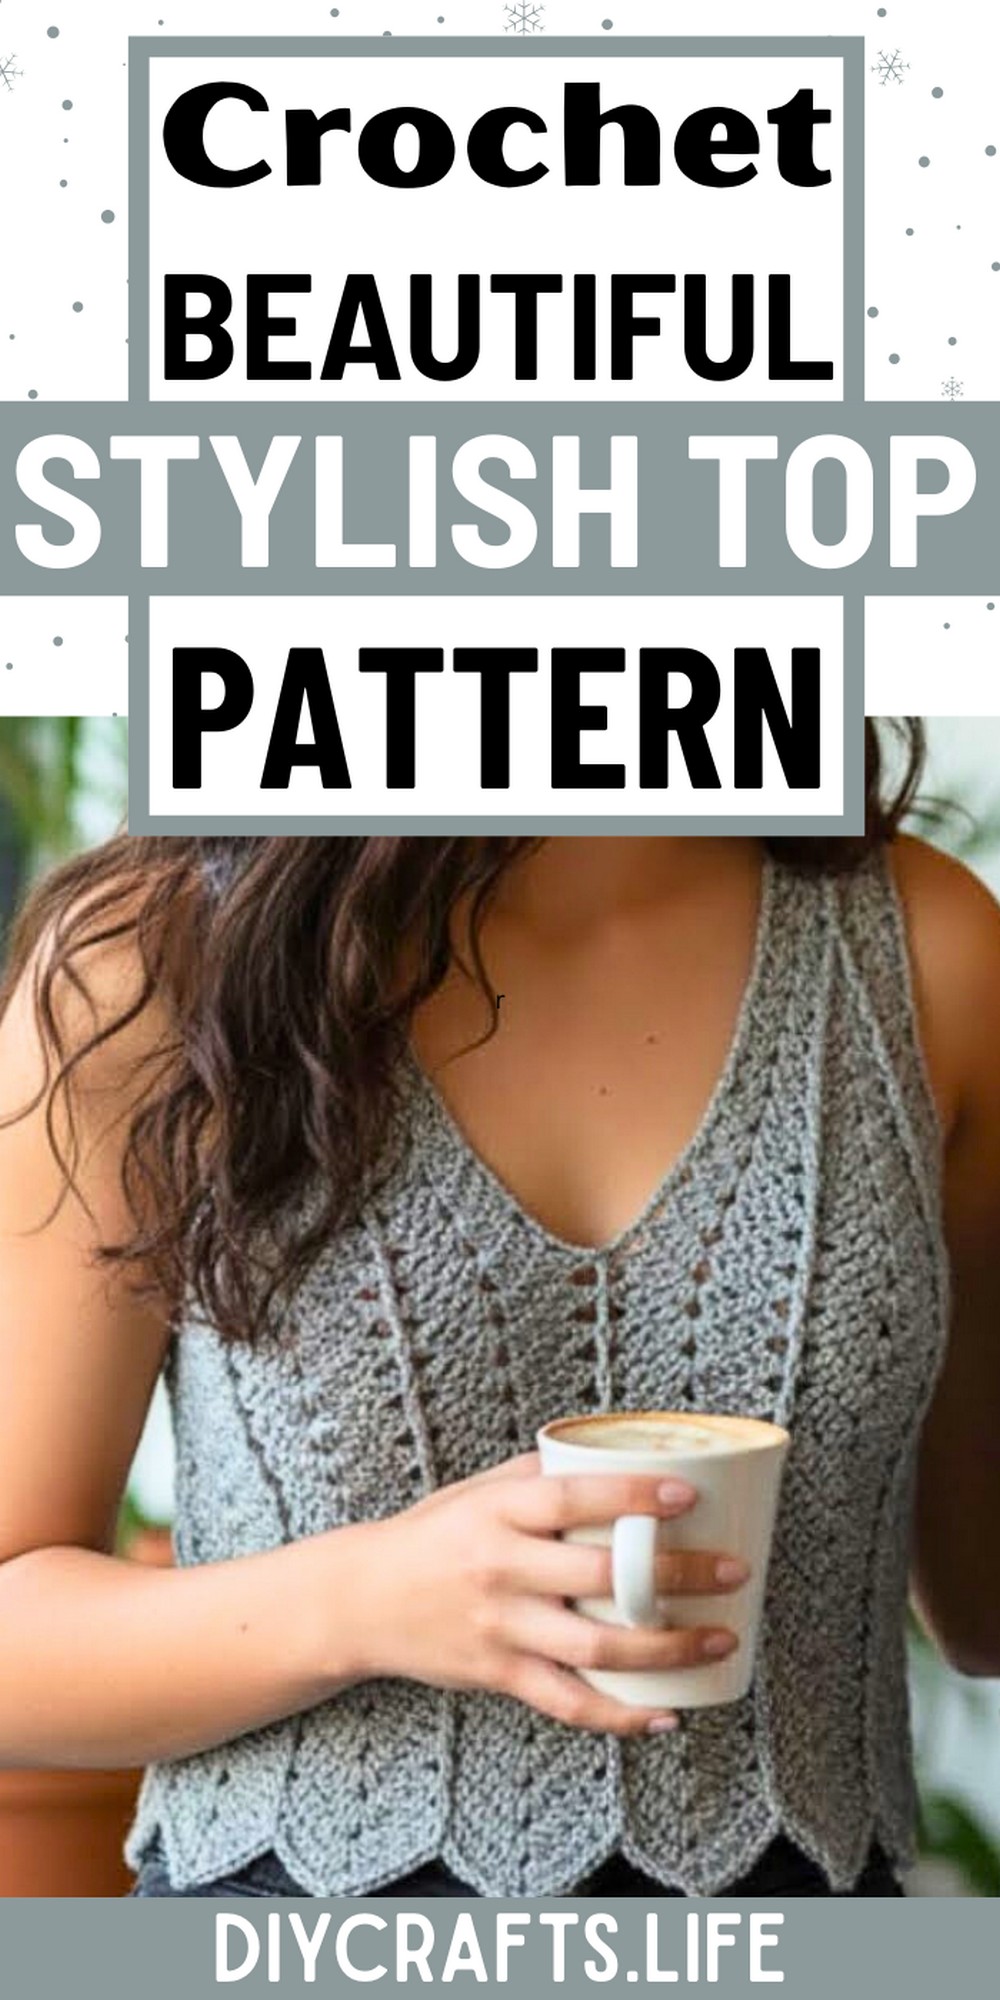
Crochet Top Pattern
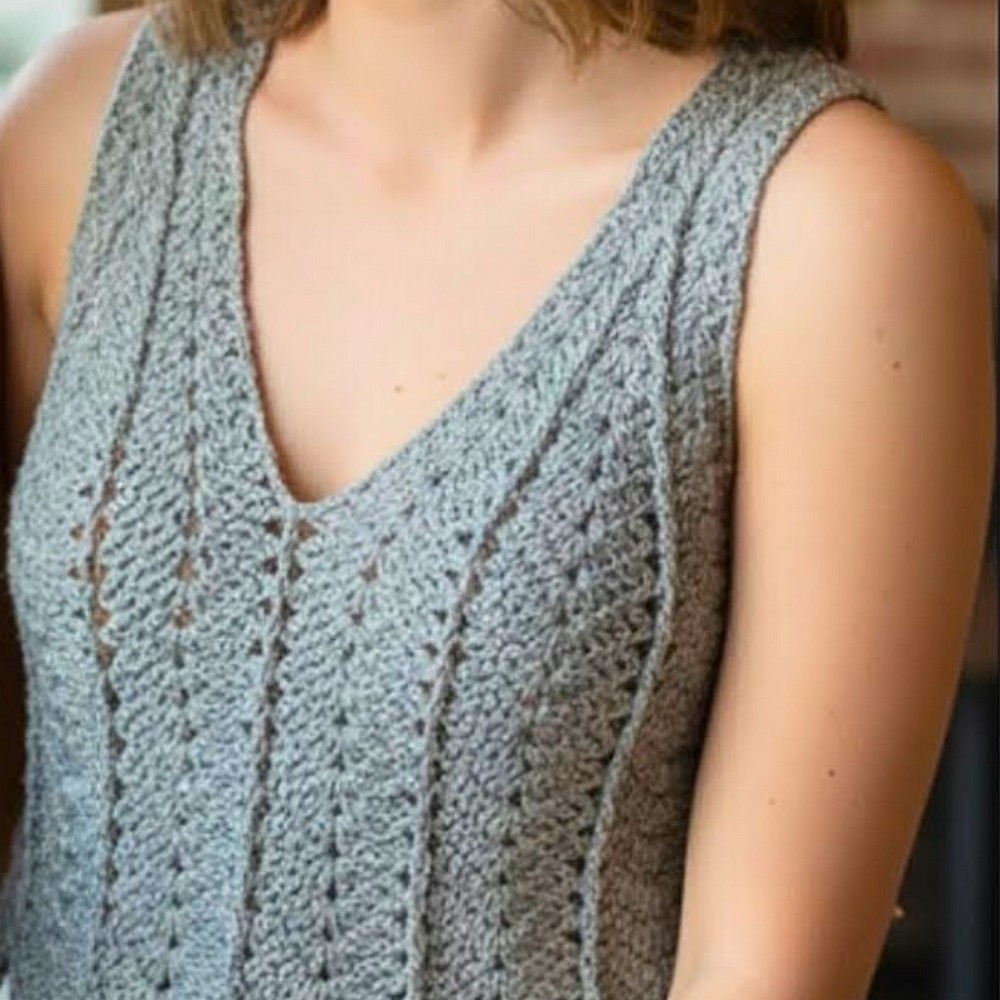
This crochet pattern stands out with its beautifully crafted 3D texture, delicate shell stitches, and adaptable length, making it perfect for crop tops or longer designs. The pattern offers three versatile sizes (small, medium, and large) and includes detailed instructions for adjustments for your perfect fit. With its clean finishing and thoughtful details, this crochet top merges modern fashion with timeless handmade charm. Experiment with colors, add personal flair, and create a piece uniquely yours.
Credit Made by BJax
Materials & Tools Needed
- Yarn:
- Double Knitting (DK) yarn, 100 grams, 330 meters.
- Color code: CE083 (Gray used as an example). Any similar yarn can be used for custom color variations.
- Approximate quantity:
- Crop top: 1 yarn ball.
- Long top: 2 yarn balls (medium size), may require more for larger sizes.
- Large sizes: More than 2 yarn balls.
- Crochet Hook:
- Size 4 mm. (Recommended size for the yarn).
- Other Tools:
- Stitch markers.
- Scissors.
- Yarn needle for weaving in ends.
Finished Size & Customization Ideas
- Finished Approximate Sizes:
- Small: 30-inch bust (15 inches front panel width).
- Medium: 32-inch bust (16 inches front panel width; 40 cm total).
- Large: 34–38 inches or beyond, adjustable by increasing rows.
- Customization Ideas:
- Adjust the length: Stop at desired row count (e.g., fewer rows for a crop top or add rows for a longer top/dress).
- Change yarn weight: Use finer yarn for a lighter, lacy look or thicker yarn for a cozy sweater style. Adjust hook size as needed.
- Add straps or sleeves: Extend the top by attaching longer straps or crocheted sleeves.
- Experiment with colors: Use gradient yarns, stripes, or color-blocking to personalize.
Pattern Abbreviations & Terminology
- ch: Chain
- dc: Double crochet
- sc: Single crochet
- sl st: Slip stitch
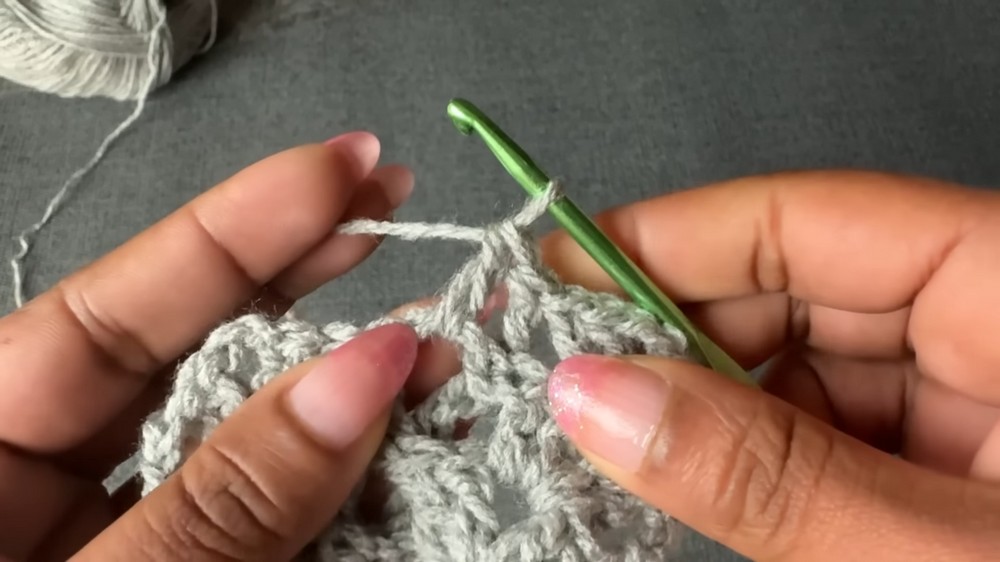
- fpdc: Front post double crochet
- bpdc: Back post double crochet
- shell: A cluster of double crochets separated by chain stitches, forming a fan or scallop shape. Usually written as
(2 dc, ch 2, 2 dc).
Note: The tutorial uses US crochet terminology.
Step-by-Step Crochet Instructions
1. The Foundation Row
- Start with a slip knot and chain 13 for all sizes. (Adjustable if needed).
- Turn the chain to the backside for better structure.
- Skip the first 4 chains; work 2 dc, ch 2, 2 dc in the 5th chain. (Forms the first shell cluster.)
- Skip 2 chains; place 1 dc in the next chain.
- Skip 2 chains again; repeat (2 dc, ch 2, 2 dc) in the next chain.
- Continue the pattern until the end, leaving 2 chains at the end. Place 1 dc in the last chain.
- First Row Result: 2 shell clusters with 1 dc between them.
2. Row 2 to Row 6:
(Repeat rows to create the base.)
- Row 2:
- Chain 3 and turn your work.
- In the ch-2 space of the shell cluster, work: (2 dc, ch 2, 2 dc).
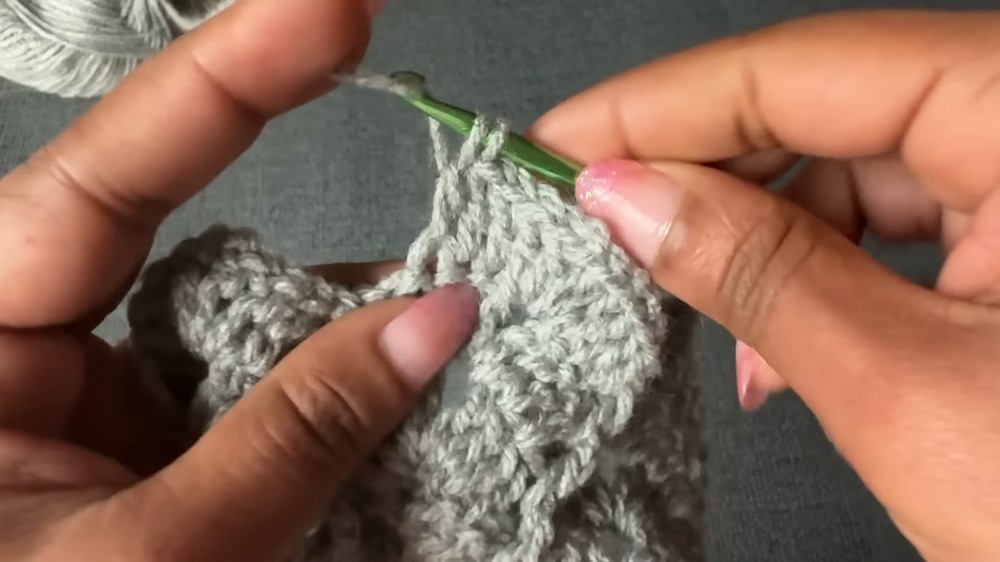
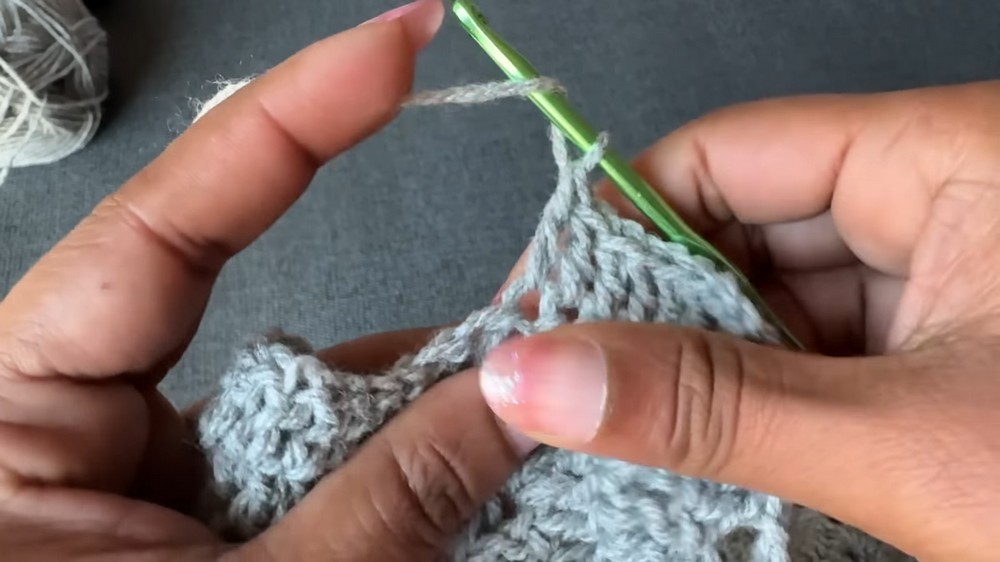
- For the middle 1 dc, work a bpdc.
- Repeat until the end of the row.
- Rows 3–6: Continue in the same pattern, keeping the shells aligned in their ch-2 spaces and alternating fpdc/bpdc for the middle stitch.
3. Increasing Stitches for Adjustments
To increase for larger sizes or desired width:
- Row 7: Add one more dc to each shell cluster, making it (3 dc, ch 2, 3 dc).
- For every additional row, follow the same pattern by increasing shell clusters as needed:
- Row 13: 4 dc.
- Row 15: 5 dc, and so on.
4. Separating Front and Back Panels
- Once the desired width/height of the front panel is achieved, create a second identical piece for the back panel. For medium size:
- Front panel width: 16 inches (~40 cm).
- Back panel: Same as the front measurements.
5. Joining Front and Back Panels
- Align both panels at the shoulder seams and use slip stitches or a yarn needle to join the edges.
- Leave space for armholes on both sides. Adjust width as needed by stitching fewer or more rows together.
Example armhole space for medium size: Leave space for a 7–8-inch armhole (~20 cm).
6. Crocheting the Body
- Continuing from the bottom edge of the panels:
- Work in rounds to crochet the body of the top.
- Follow the same shell pattern as the front and back panels:
- Example: 6 dc per shell, ch 2, 6 dc per shell.
- Keep the body straight by NOT increasing stitch count unless shaping is desired.
- For a tight fit or shaping, decrease shells by using (5 dc, ch 2, 5 dc) in each shell.
7. Borders and Finishing
- Add a finishing round:
- Use sc or sl st to stabilize the edges, working around armholes, neckline, and hemline.
- End threads neatly using a yarn needle.
8. Custom Adjustments for Fit
- If armholes feel too wide, sew them partially shut with more rows.
- Continue shell rows downward for a longer top or dress.
Tips for Beginners
- Work slowly at the start of each row to ensure stitches align.
- Use stitch markers to keep track of rounds or shells.
- Refer to the video for clarity on front post / back post double crochet stitches.