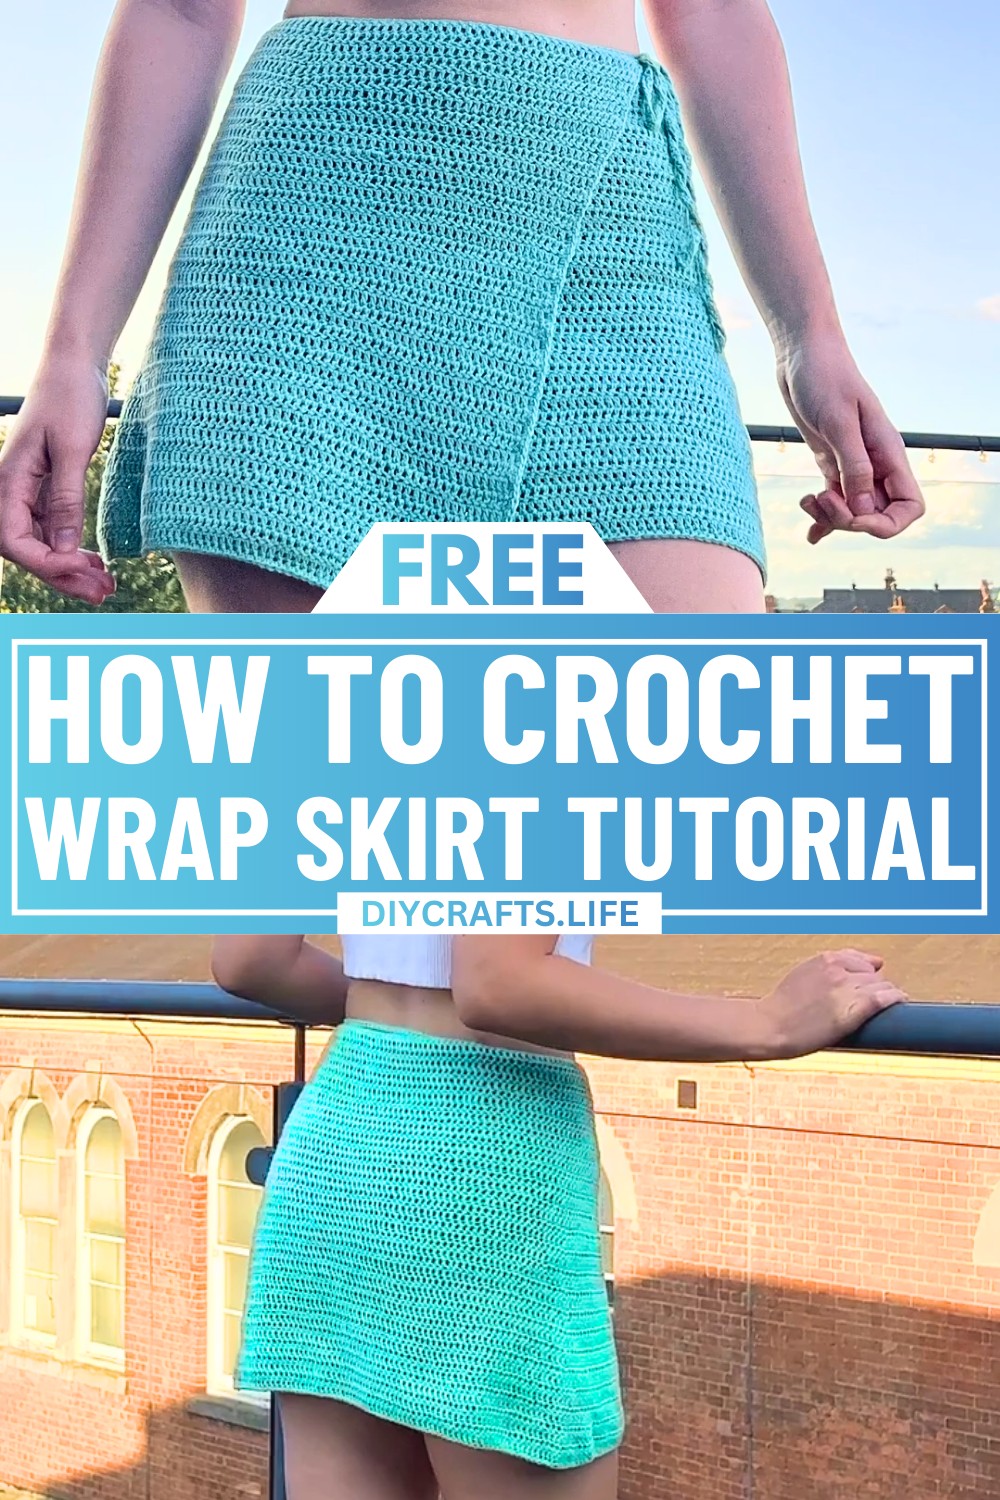
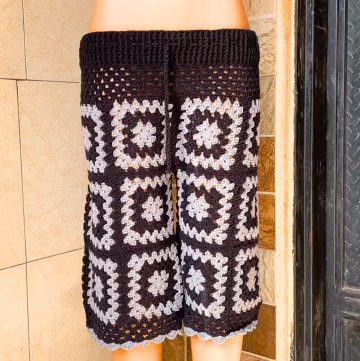
Step into the world of timeless fashion with a crochet wrap skirt that's as versatile as it is beautiful. This beginner-friendly design brings together elegance and simplicity, letting you create a piece that complements any occasion. Whether you pair it with casual tops or dressier options, this crochet wrap skirt is sure to spark compliments and reflect your personal style.

Crochet Wrap Skirt Tutorial
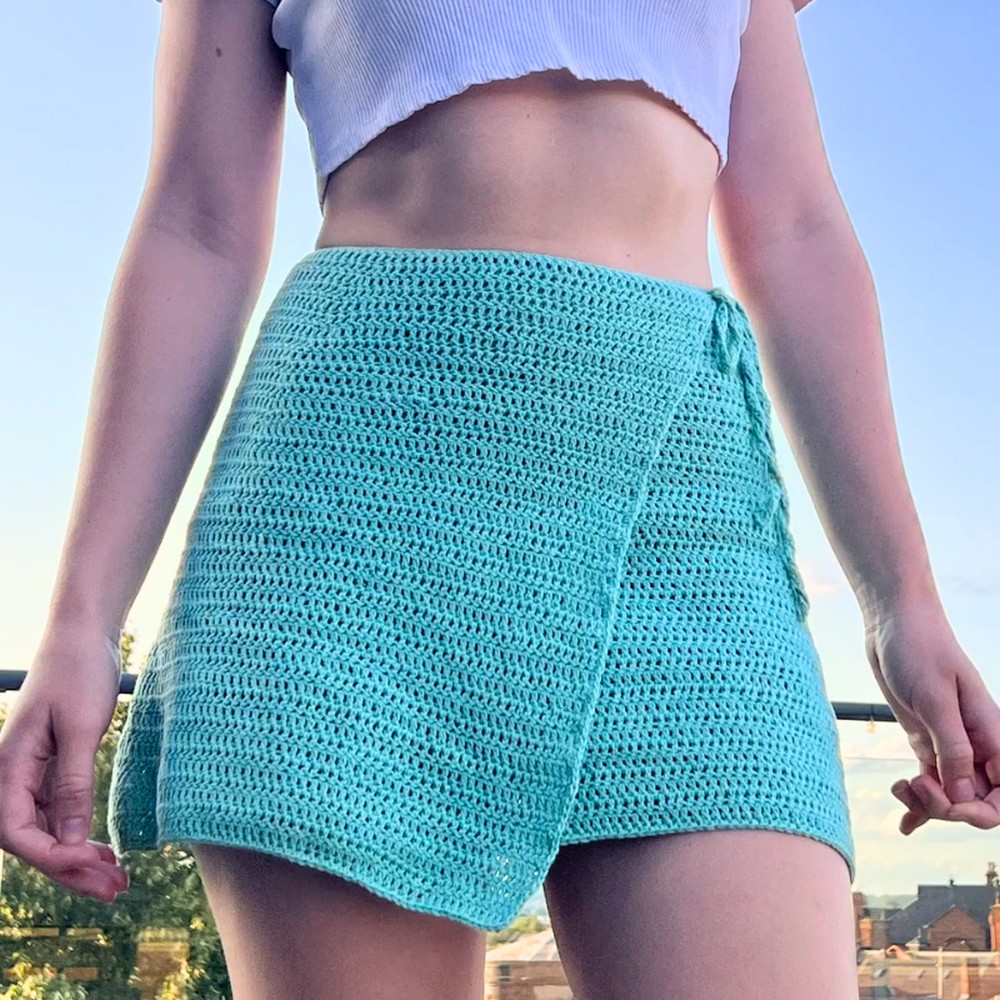
What makes this skirt truly unique is its customizable fit, delicate double crochet rows, and graceful wrap design that ties effortlessly at the waist. Its flowing silhouette is tailored with thoughtful details like subtle increases for a flattering shape and a clean single-crochet edge for a polished look. The beauty of this project lies in its adaptability, giving you the freedom to choose colors and textures that make it uniquely yours—perfect for any wardrobe and any season.
Credit Krafty Station
Materials Needed:
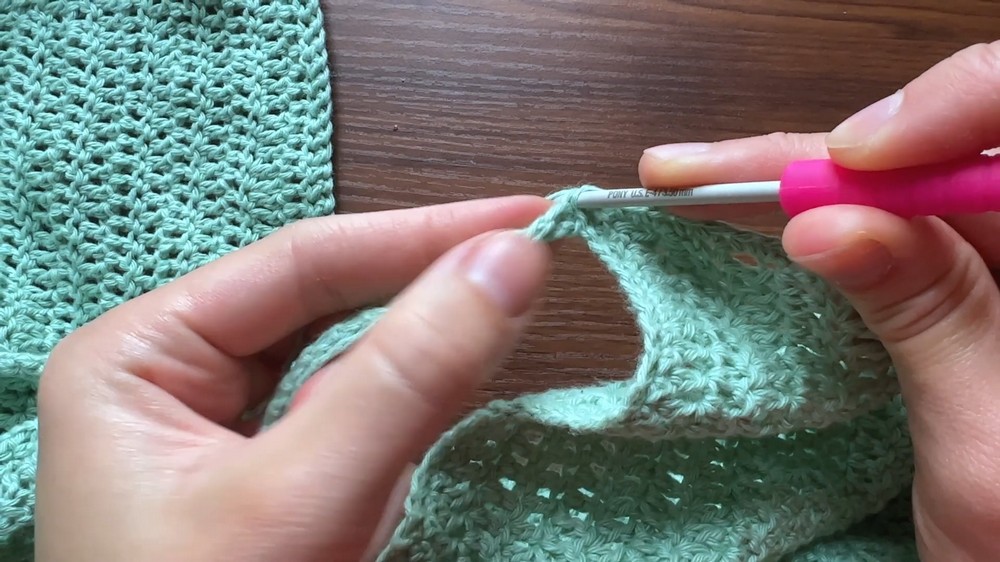
- Yarn of your choice (the person used Paintbox Cotton 4 Ply in mint green for a size medium that required 4 balls of yarn).
- 3.5 mm crochet hook
- 2 stitch markers
- Tapestry needle
- Scissors
Pattern:
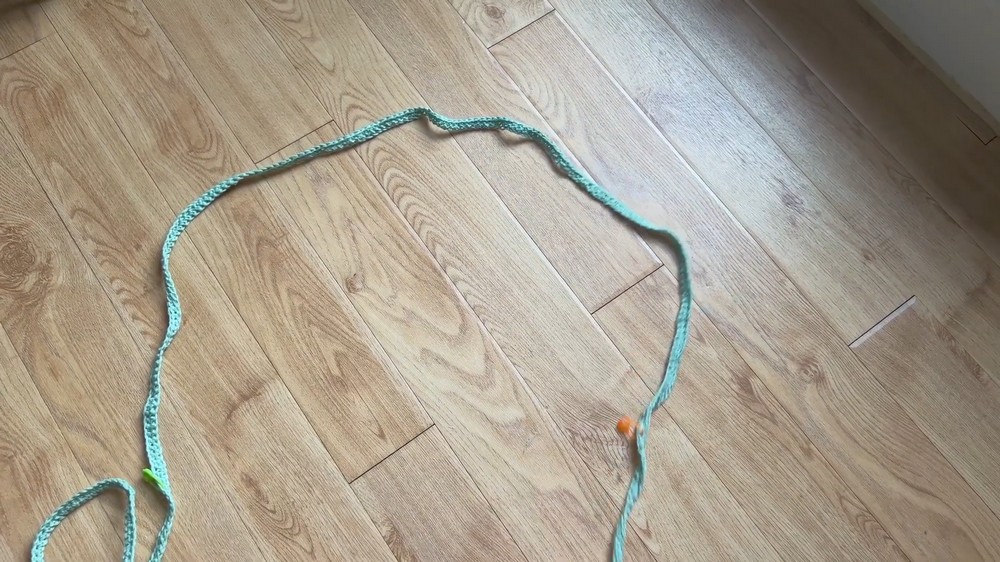
- Waist Strap (Foundation):
- Start: Make a slip knot.
- Chain: Create a chain that’s long enough to wrap around your waist and tie into a bow (e.g., ~346 chains for medium size).
- Tip: Check the length by wrapping it around your waist.
- Row 1: Work a row of single crochet (sc) stitches:
- Insert your hook into the first stitch, yarn over, pull through, yarn over, and pull through again. Repeat to the end.
- Row 2 (Optional): If using thinner yarn, make another row of single crochet. (Chain 1, turn work, and repeat single crochets).
- Finish the Strap: Once done, fasten off the yarn and cut it.
- Mark the Skirt Placement:
- Wrap the strap around your waist and use the stitch markers to mark the beginning and end of where you want the skirt part to be.
- Tip: Keep in mind it’s a wrap skirt, so leave space for overlap in the front.
- Wrap the strap around your waist and use the stitch markers to mark the beginning and end of where you want the skirt part to be.
Skirt Body:
Step 1: Attach the Yarn
- Attach the yarn to the stitch marker where the skirt starts.
Step 2: Row 1 - Double Crochet
- Foundation Row:
- Start with a chain of 2.
- Work double crochets (dc) across to the second stitch marker:
- Yarn over, insert your hook into the stitch, yarn over, pull through, yarn over, pull through the first 2 loops, yarn over, pull through the remaining 2 loops.
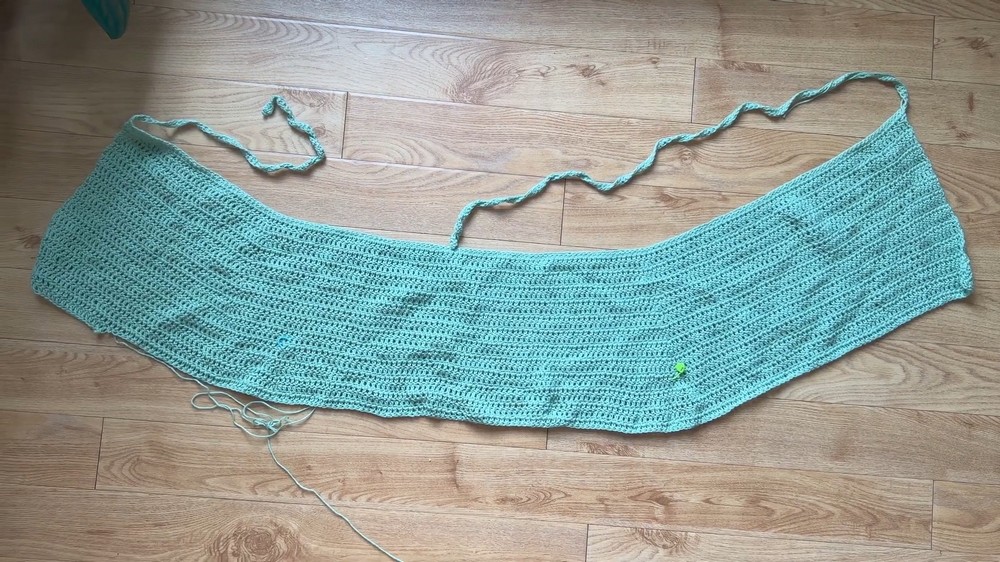
Step 3: Continuing Skirt Rows with Increases
- Row 2: Work one row of regular double crochet (dc).
- For subsequent rows, focus on increasing around the hip area:
- Place stitch markers where your hips are.
- How to Increase:
- When you reach a stitch marker, make 2 double crochets into the same stitch (this adds width). Move the marker to one of these new stitches to guide the next increase.
- Continue crocheting:
- Work double crochet rows with increases where the stitch markers are until the skirt reaches your desired length.
For reference, the example in the video did 42 rows of double crochet to achieve the full skirt length.
Finishing Details:
1. Edging:
- Add a single crochet edge around the bottom and sides of the skirt for a clean finish.
- For corners: Place 2 single crochets in the same stitch to create a clean corner.
- For the sides (where there are no clear stitches): Work into the gaps along the edge, placing 1 single crochet in each gap.
2. Weaving in Ends:
- Use a tapestry needle to hide loose yarn ends by stitching them into the waist strap or other inconspicuous areas of the skirt.
- Trim excess yarn after weaving.
Final Touch:
- Stretch out and adjust the skirt. It’s now ready to wear!
- Style it by tying the waist strap into a bow.