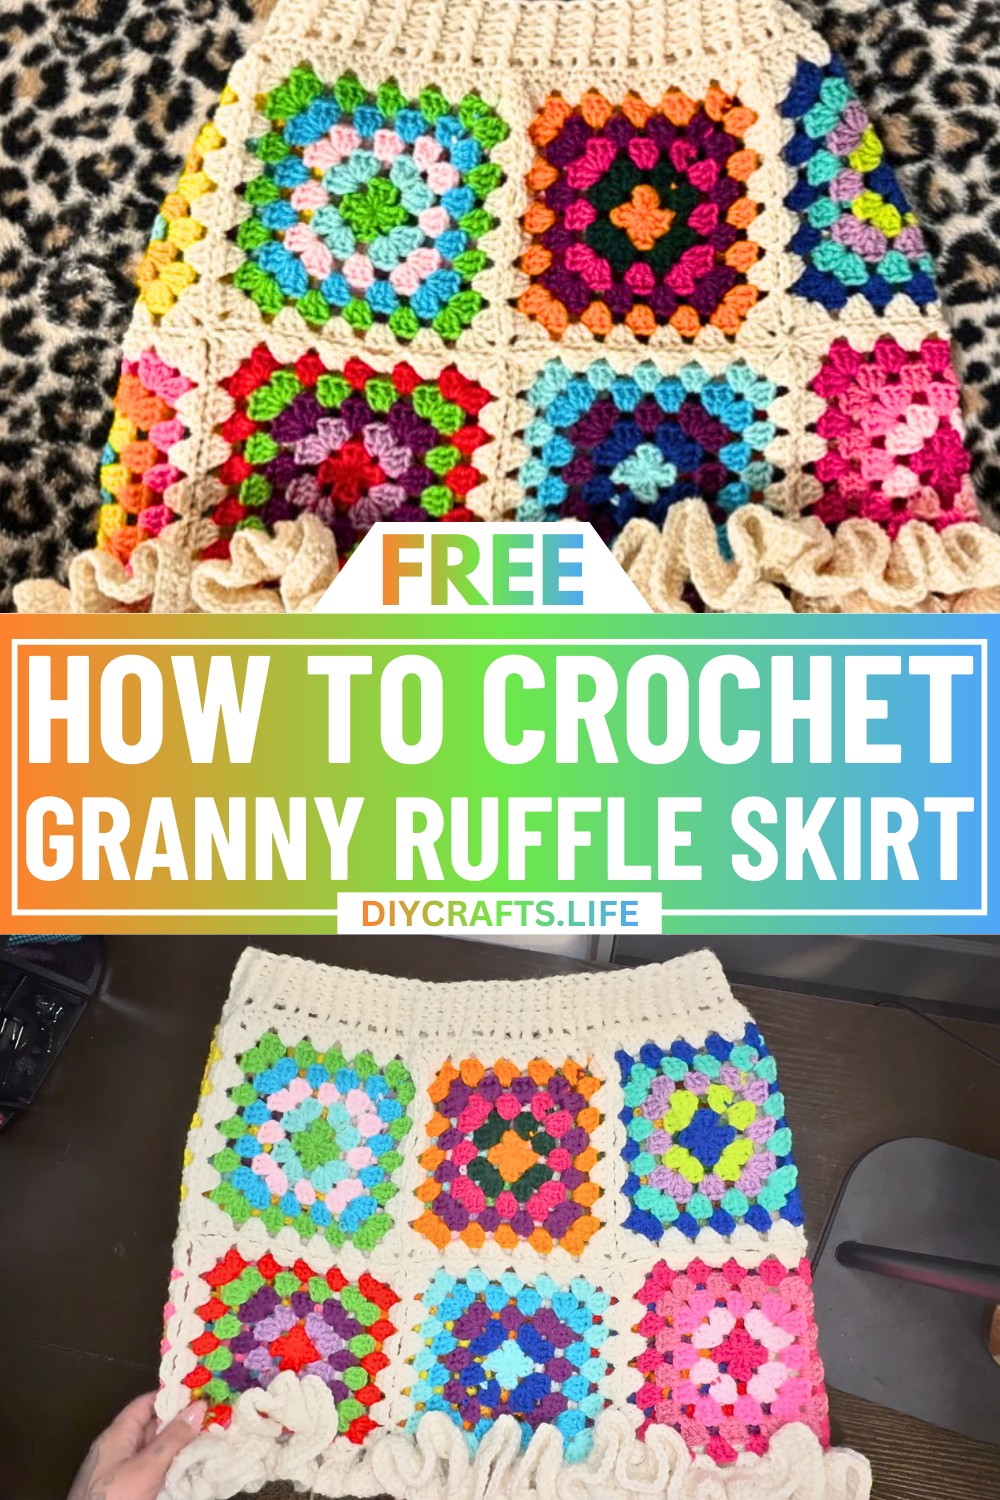
Bring your crochet skills to life with a design that radiates timeless charm and modern flair. The Granny Square Ruffle Skirt is not just another wardrobe addition; it’s a masterpiece you create with your own hands. Picture a classic crochet aesthetic fused with a playful, flowing skirt—perfect for casual days, special outings, or unique handmade gifts.
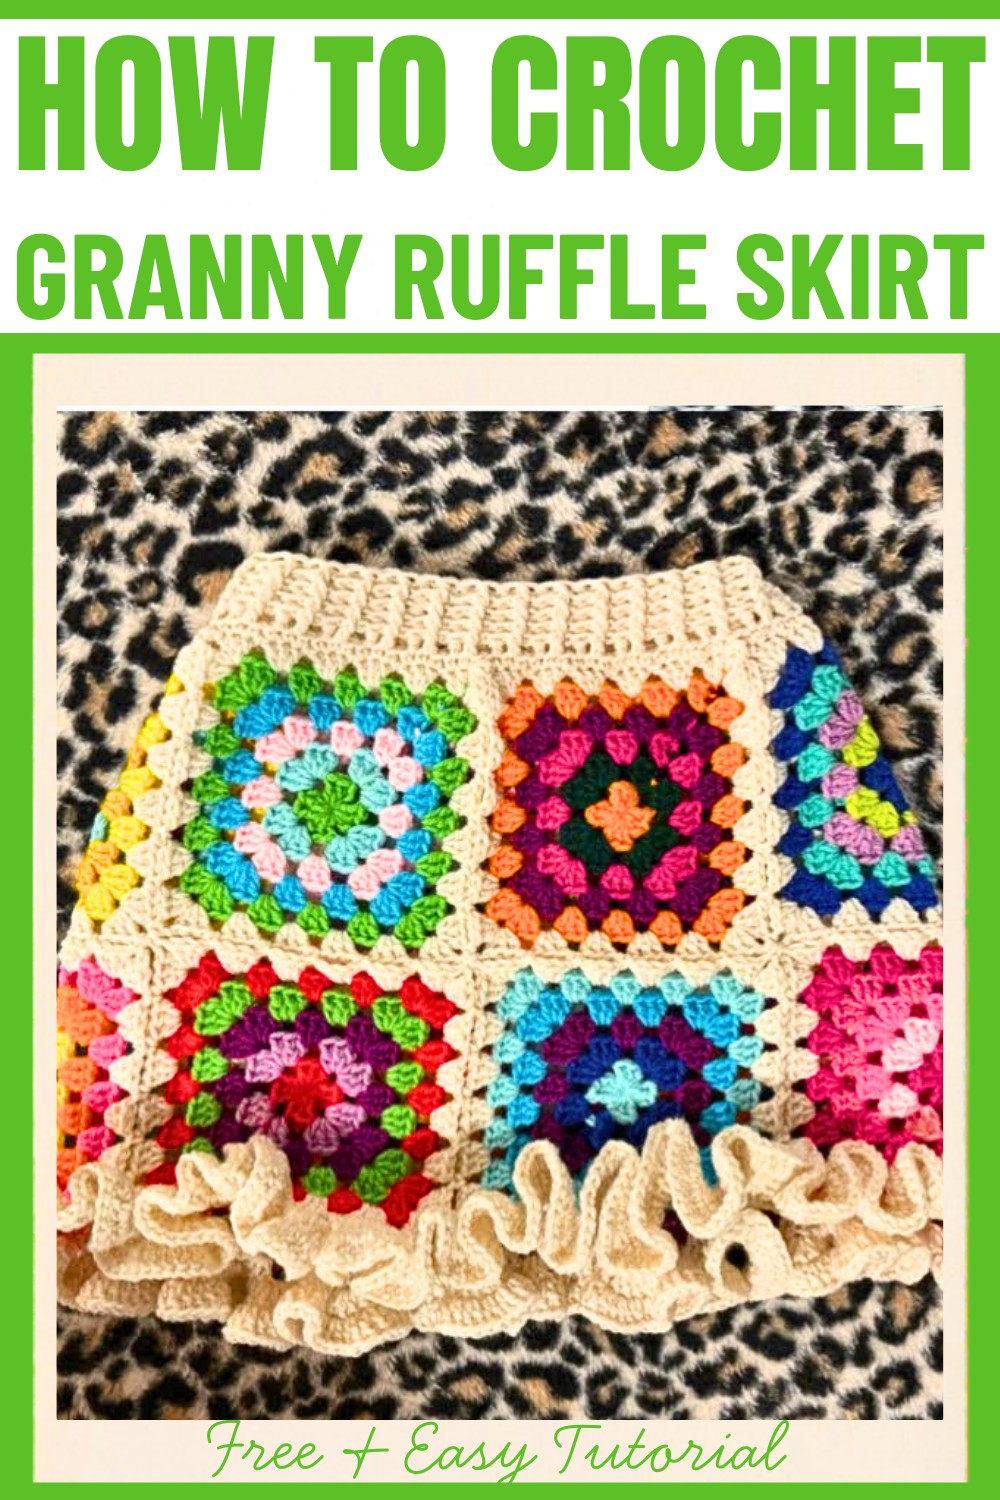
Granny Square Ruffle Skirt
This skirt stands out with its unique use of vibrant granny squares, joined seamlessly for customizable sizing. Its ruffled edge adds a touch of whimsy and movement, creating a flattering silhouette for all body types. Whether you follow a bold multi-colored palette or opt for neutral tones, every stitch of this design allows you to express your creativity while crafting a piece that’s as fashionable as it is personal.
Credit MarieMadeIt__
Materials Needed
- Weight 4 acrylic yarn (or any size, using the appropriate hook size)
- 5 mm crochet hook
- Scissors
- Needle for weaving ends
- Tape measure (to determine hip size)
Step 1: Measurement and Planning
- Measure your hip circumference (e.g., 45 inches).
- Subtract 2–3 inches if using a yarn that stretches (e.g., acrylic). This ensures a snug fit (e.g., 45 - 2 = 43 inches).
- Divide your hip measurement by 6 (e.g., 43 ÷ 6 = ~7.1 inches). Round down to a whole number for the granny square's width (e.g., 7 inches each).
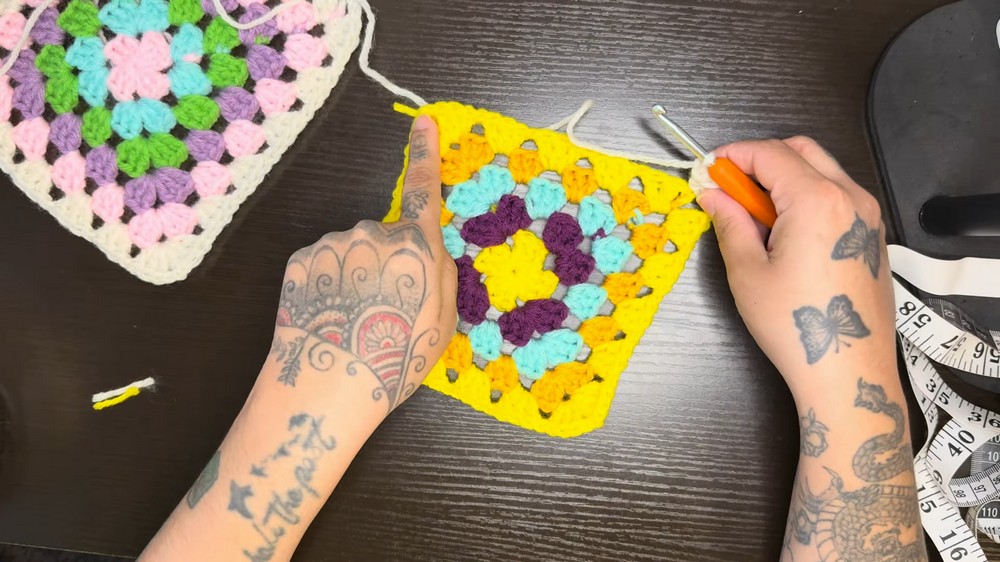
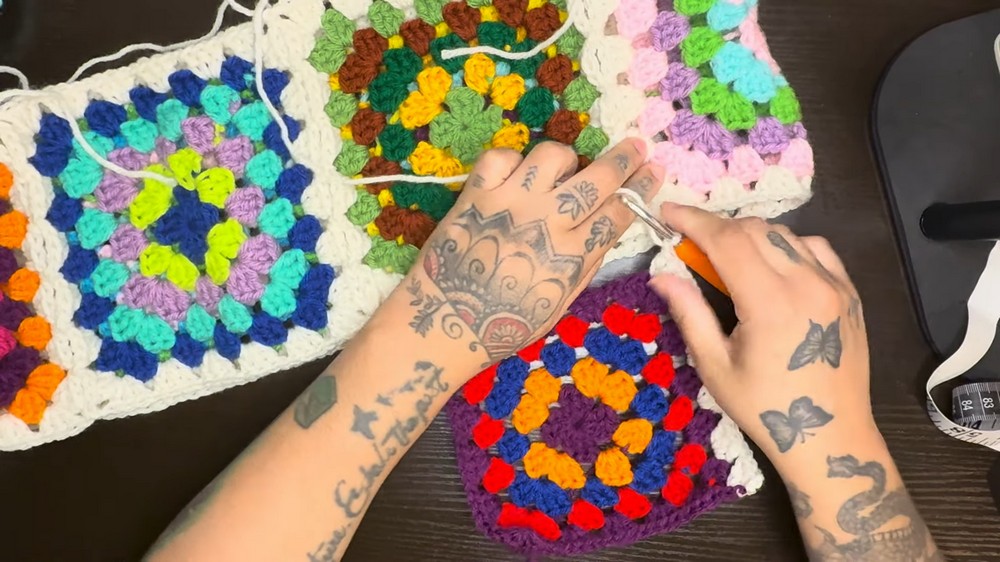
Step 2: Granny Square Instructions
- Create a magic ring: Wrap yarn around two fingers into an X shape. Insert your hook under the first loop, grab the yarn, and pull through. Alternatively, you can chain 4 and join to form a ring.
Round 1
- Chain 3 (counts as first double crochet).
- Place 2 double crochets (DC) into the ring (this forms the first cluster of 3 DC).
- Chain 2 (for the corner).
- Repeat: 3 DC, Chain 2 three more times (you’ll have 4 clusters).
- Tighten the magic ring to close, and slip stitch into the third chain of the starting chain-3 to complete the round.
Color Change (Optional):
- Cut the current yarn, leaving a small tail.
- Tie your new color to the previous yarn tail with a knot.
- Chain 2, slip stitch into the third chain of the beginning chain-3 to attach the new color.
Round 2
- Chain 3 (counts as your first DC), and place 2 more DC into the same space.
- Chain 1, move to the next corner, and create a corner: 3 DC, Chain 2, 3 DC.
- Repeat step 2 for all corners, crocheting chain 1 between clusters.
- Slip stitch into the chain-3 to complete the round.
Step 3: Adjust Granny Square Size
- Continue adding rounds by following the same corner structure:
- Corners: 3 DC, Chain 2, 3 DC
- Sides: 3 DC, Chain 1
- Add rounds until the square reaches your planned width (e.g., 7 inches).
Step 4: Join Granny Squares
- Create 6 granny squares according to your hip measurement.
- Join-as-You-Go Method (Fast Assembly):
- Attach the main yarn color to the last round of a new square.
- Complete one side of this square, stopping at the corner.
- Slip stitch into the corner of the finished square and proceed with chain 1 + 3 DC into the new square's corner.
- Continue slip stitching into corresponding spaces and corners of the finished square as you complete the new square.
- Repeat until all six granny squares form a circle for the skirt body.
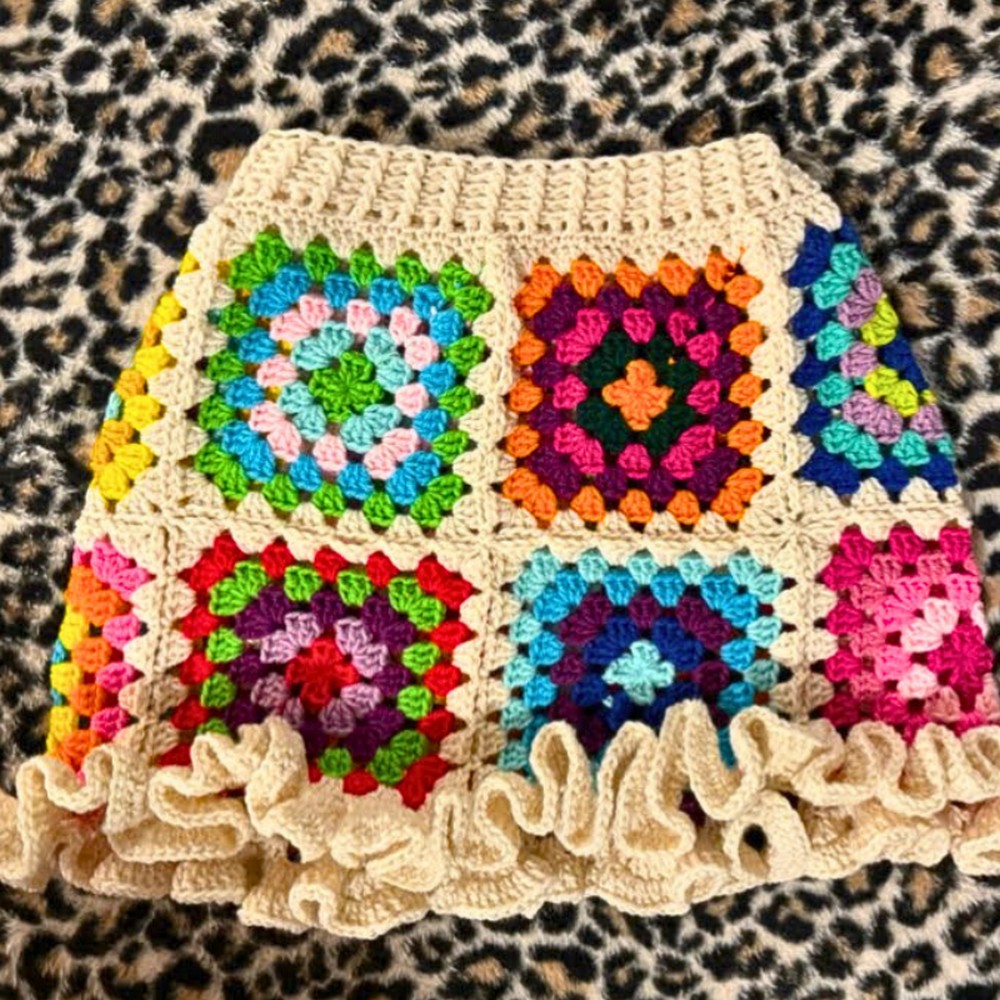
Step 5: Waistband
- Attach yarn to the middle space of one granny square.
- Round 1: Crochet single crochets (SC) into every stitch along the top, skipping chain-1 spaces and corner spaces.
- Round 2: Chain 3. Alternate between 2 DC + skip one stitch to create the first decrease round.
- Round 3 Onward: Alternate between front post double crochet (FPDC) and back post double crochet (BPDC) to form a ribbed waistband. Continue for 5 rounds (or as wide as desired).
Step 6: Ruffle Skirt
- Attach yarn at the bottom middle of the skirt.
- Begin by chaining 3 and placing 3 DC into each stitch/space, including chain-1 spaces. This increases volume for the ruffle.
- For round 2, place 2 DC into each stitch to build the ruffle pattern.
- Optionally, add a third round with 1 DC in each stitch if you desire a longer ruffle.

Step 7: Finishing Touches
- Weave in all yarn ends (from color changes and attachments).
- Optionally, add a drawstring for a secure fit. Simply chain a long cord and weave it through the waistband.
Optional Notes:
- The skirt is customizable: Adjust granny square sizes, colors, or rounds as desired, and add rows to increase the length.
- The diagonal join method prevents gaps between granny square corners for a neater finish.
- The waistband and ruffle are optional but enhance the fit and style.
Enjoy your beautiful Granny Square Ruffle Skirt! Let me know if you need additional help.