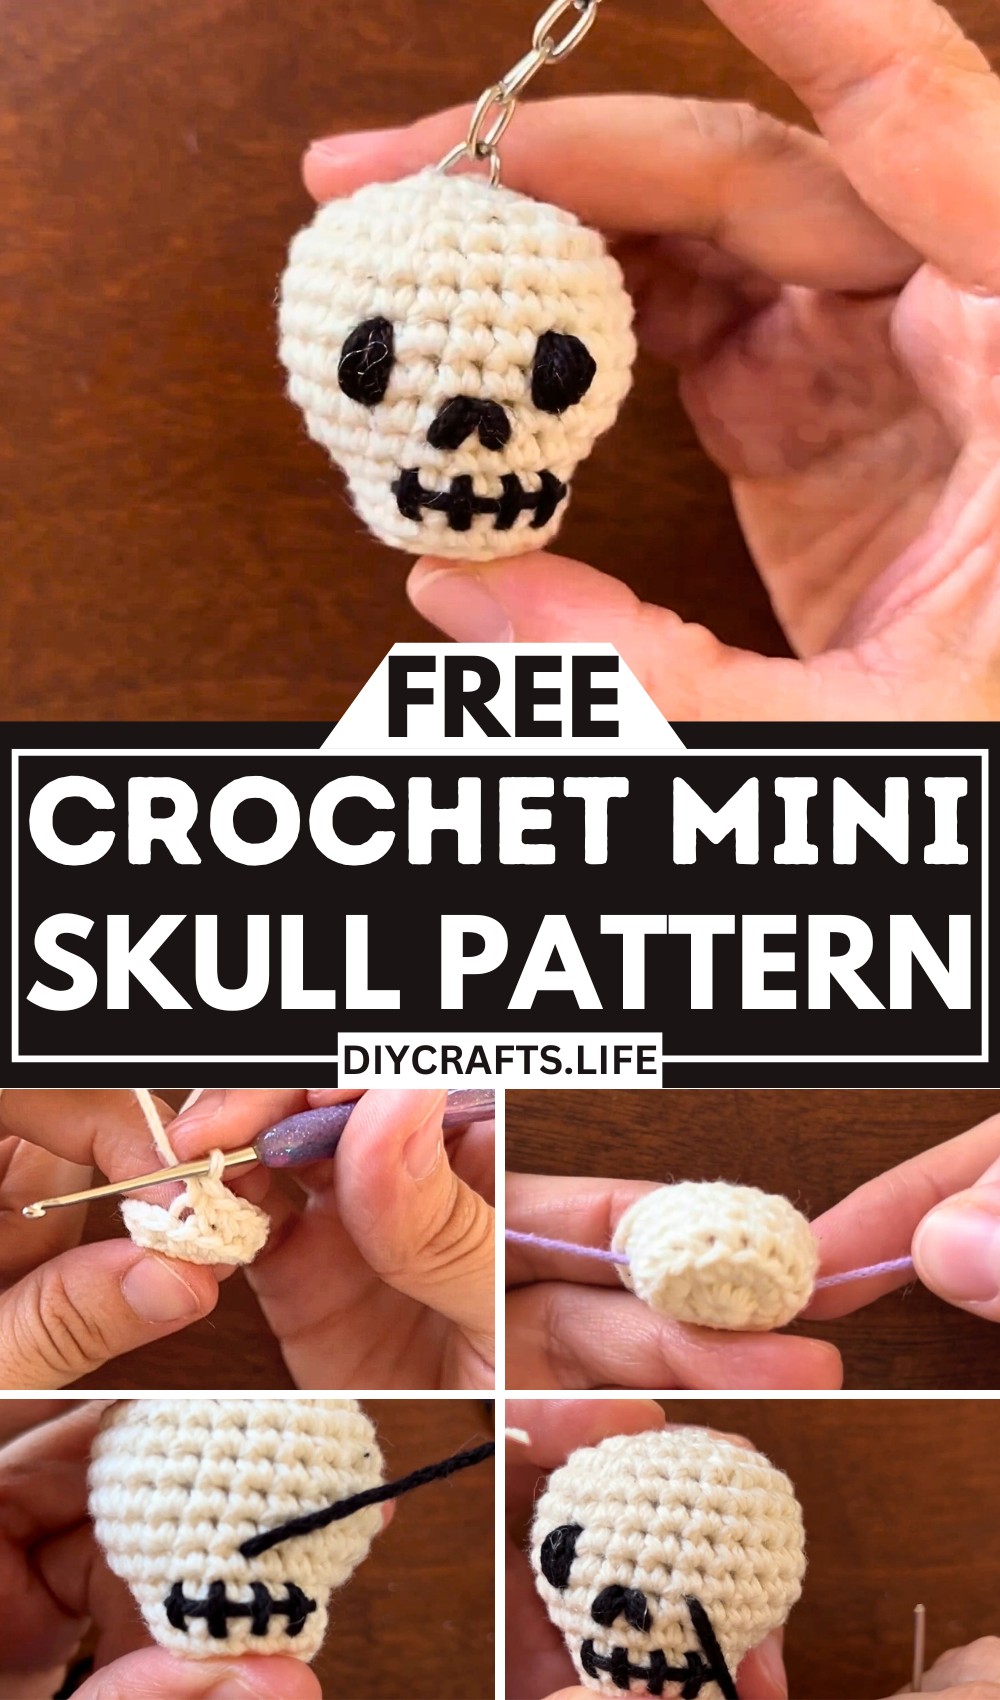
Create a charming crocheted skull that's perfect for beginners and experienced crafters alike. This project mixes simplicity with style and can even be turned into a functional keychain. Its unique, hand-crafted design makes it as versatile as it is visually appealing.
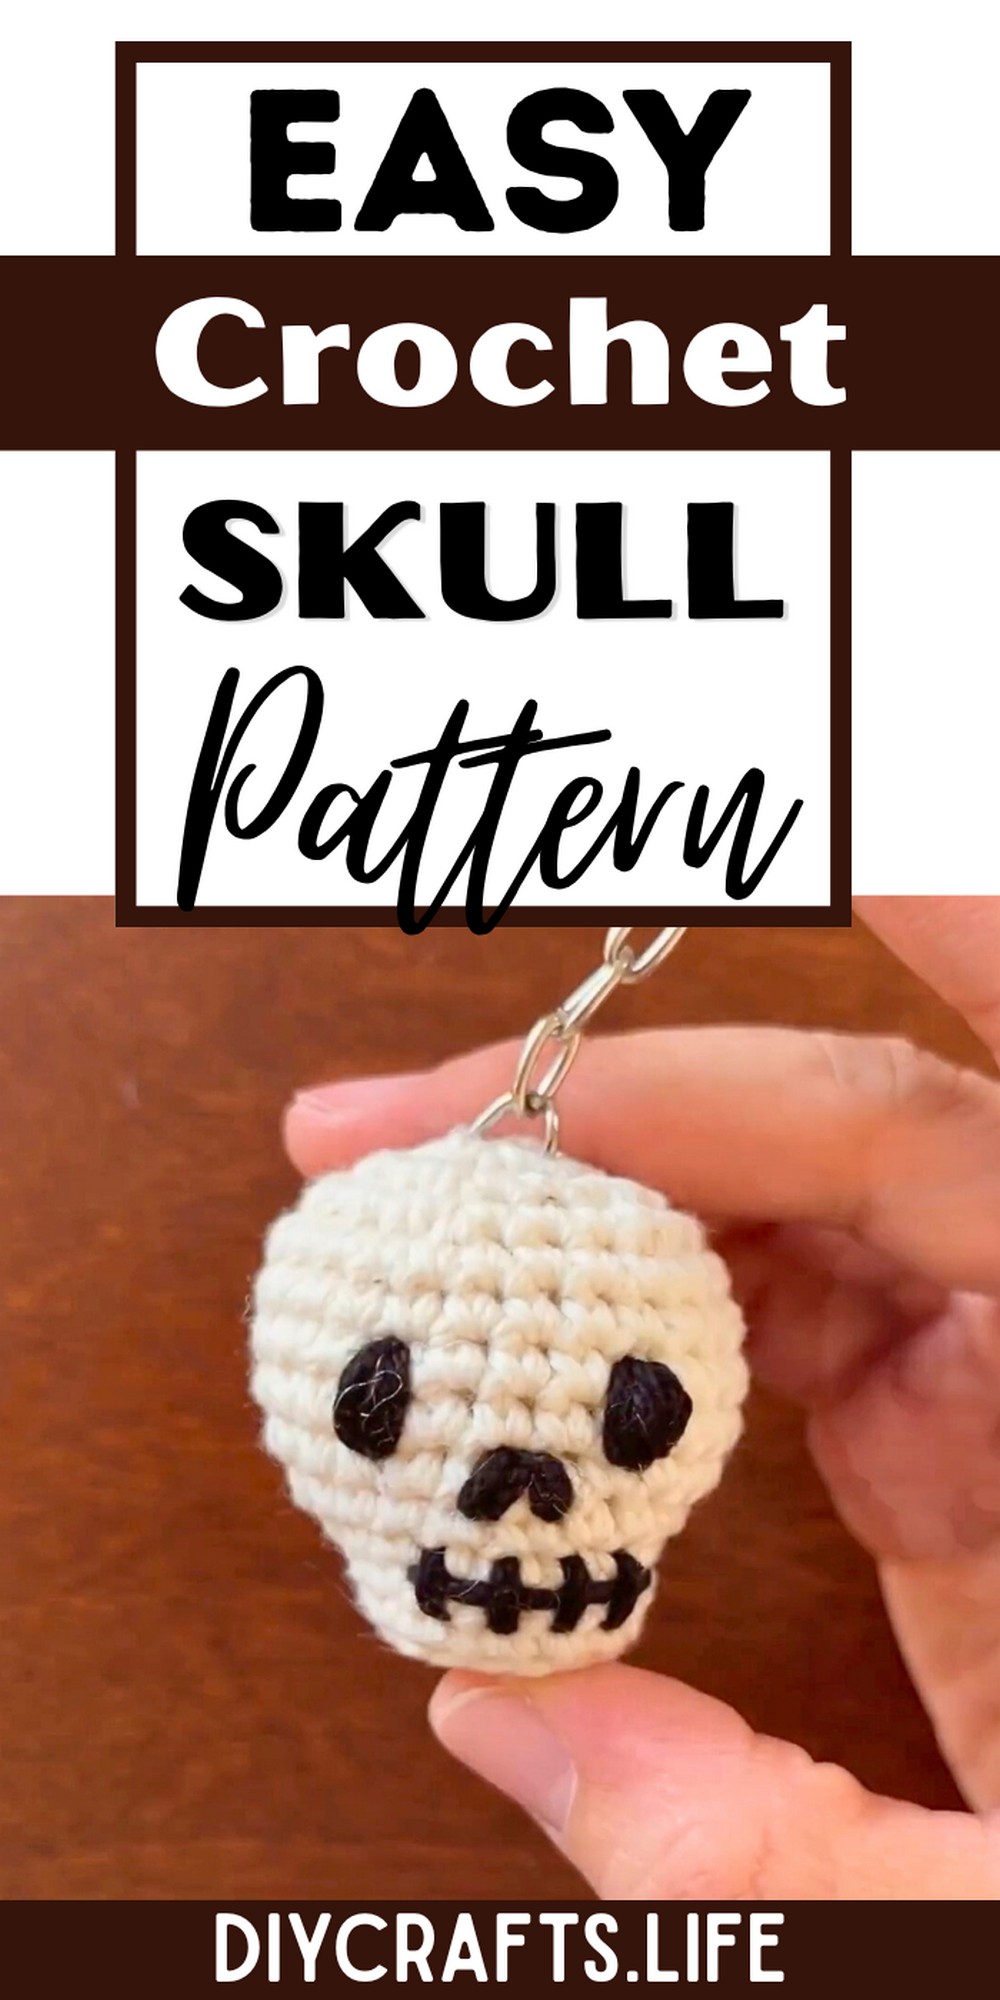
The crocheted skull is a delightful accessory, great for keychains, home decor, or gifts. Its compact design ensures durability while its detailed face embroidery adds character. Whether on your bag or as a festive ornament, it’s sure to grab attention and spark conversation.
Crocheted Skull Pattern
This project is beginner-friendly, with step-by-step instructions for creating the perfect crocheted skull. Using simple single crochet stitches and basic shaping techniques, it’s easy to customize with different colors or details. A rewarding craft that’s both fun and creative!
Materials and Preparation
To create this crocheted skull keychain, you’ll need the following materials:
Materials:
- Yarn: 100% cotton yarn
- Main color: White (for the skull)
- Accent color: Black (for face details such as eyes, nose, and mouth)
- Hook size: 2 mm crochet hook (or size recommended for your yarn)
- Other tools:
- Stuffing
- Yarn needle (for sewing and embroidery)
- Optional: Stitch markers (or contrasting pieces of thread)
- Keychain hardware (optional – to turn the skull into a keychain)
Abbreviations and Notes
Abbreviations:
- SC – Single Crochet
- INC – Increase (2 SC in the same stitch)
- DEC – Decrease (single crochet 2 stitches together)
- BLO – Back Loop Only
- MR – Magic Ring
Important Notes:
- The pattern is written for beginners and uses simple stitches.
- The skull is crocheted in the round. Use a stitch marker to mark the beginning of each round if needed.
- Always pull the magic ring tight to close the center completely.
- Stuff the skull firmly to give it shape before closing.
- The facial details are embroidered at the end.
Gauge, Approximate Size, and Pattern Notes
Gauge:
- Gauge is not crucial for this project, as precise sizing doesn’t affect the final design. However, use a consistent tension and the correct hook size for a tight, smooth fabric.
Approximate Size:
- Finished skull measures approximately 2-3 inches tall (depending on your yarn and hook).
Step-by-Step Pattern
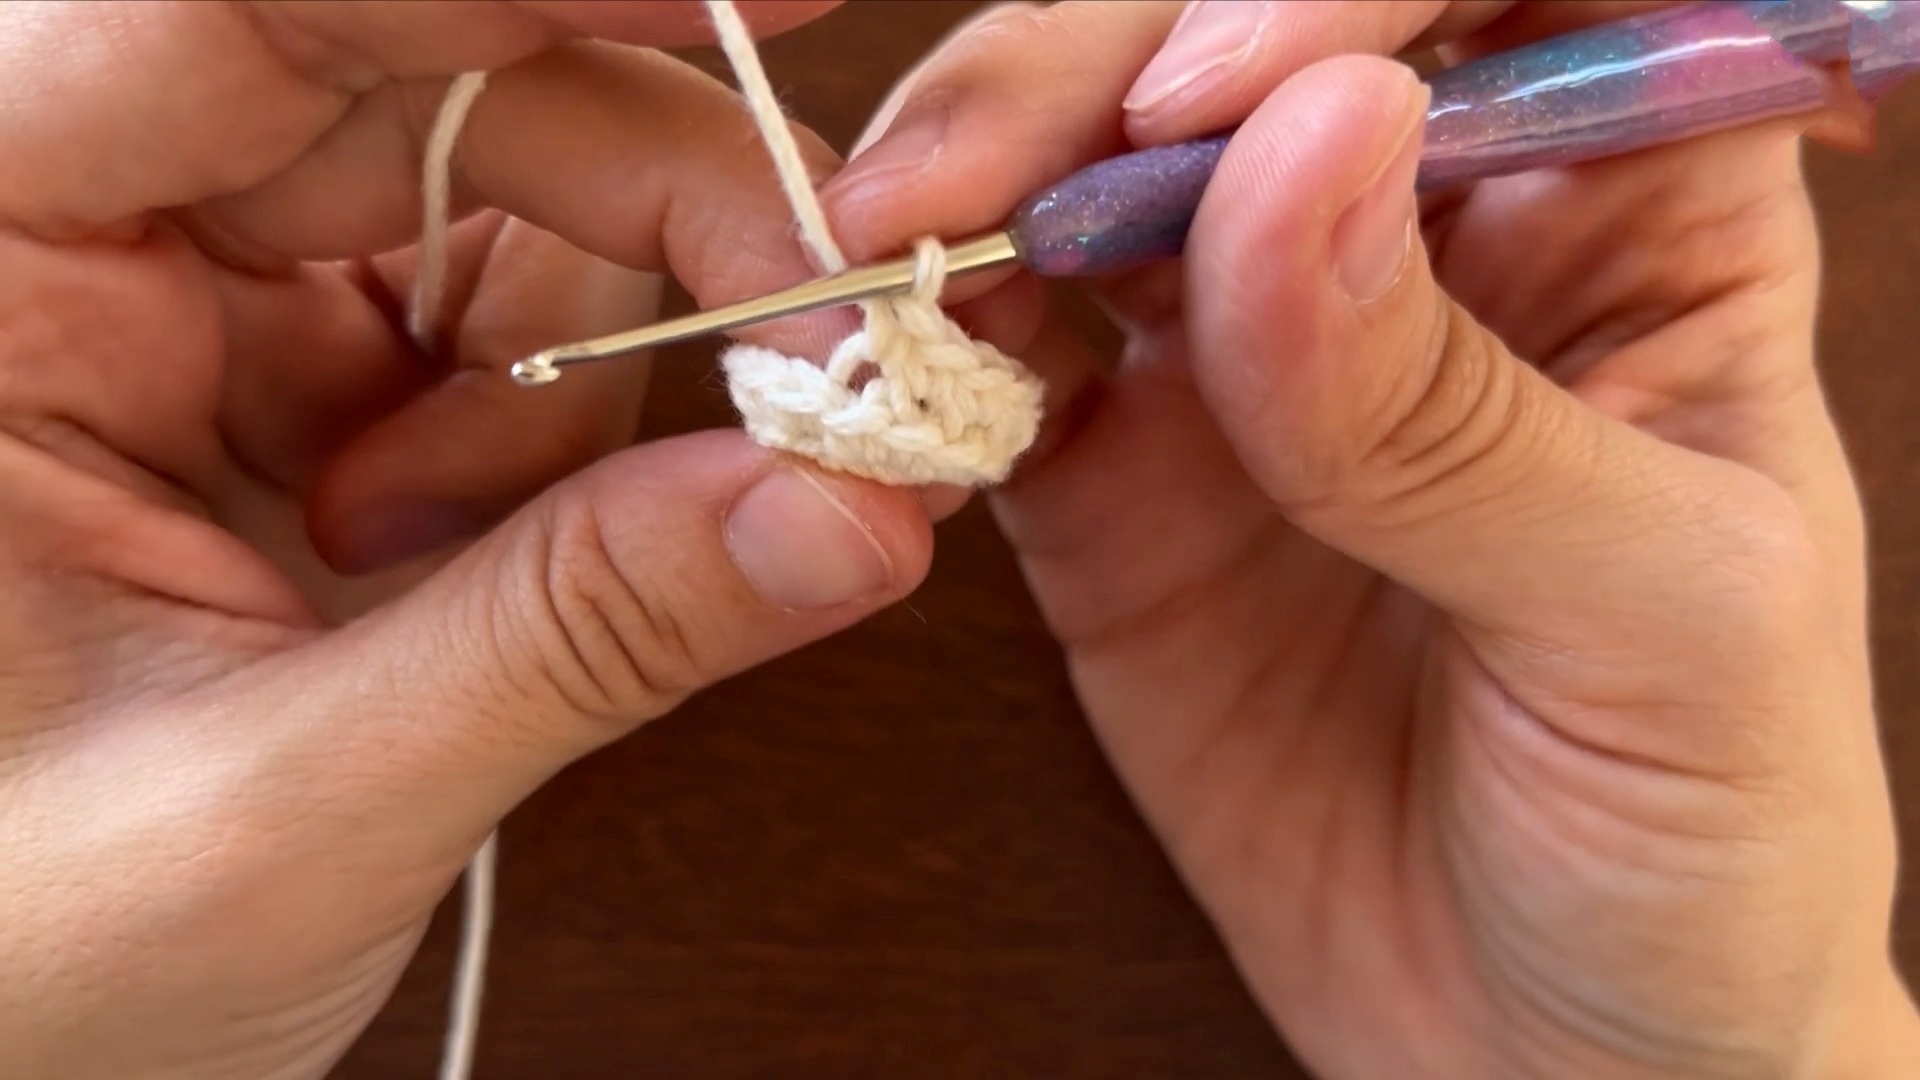
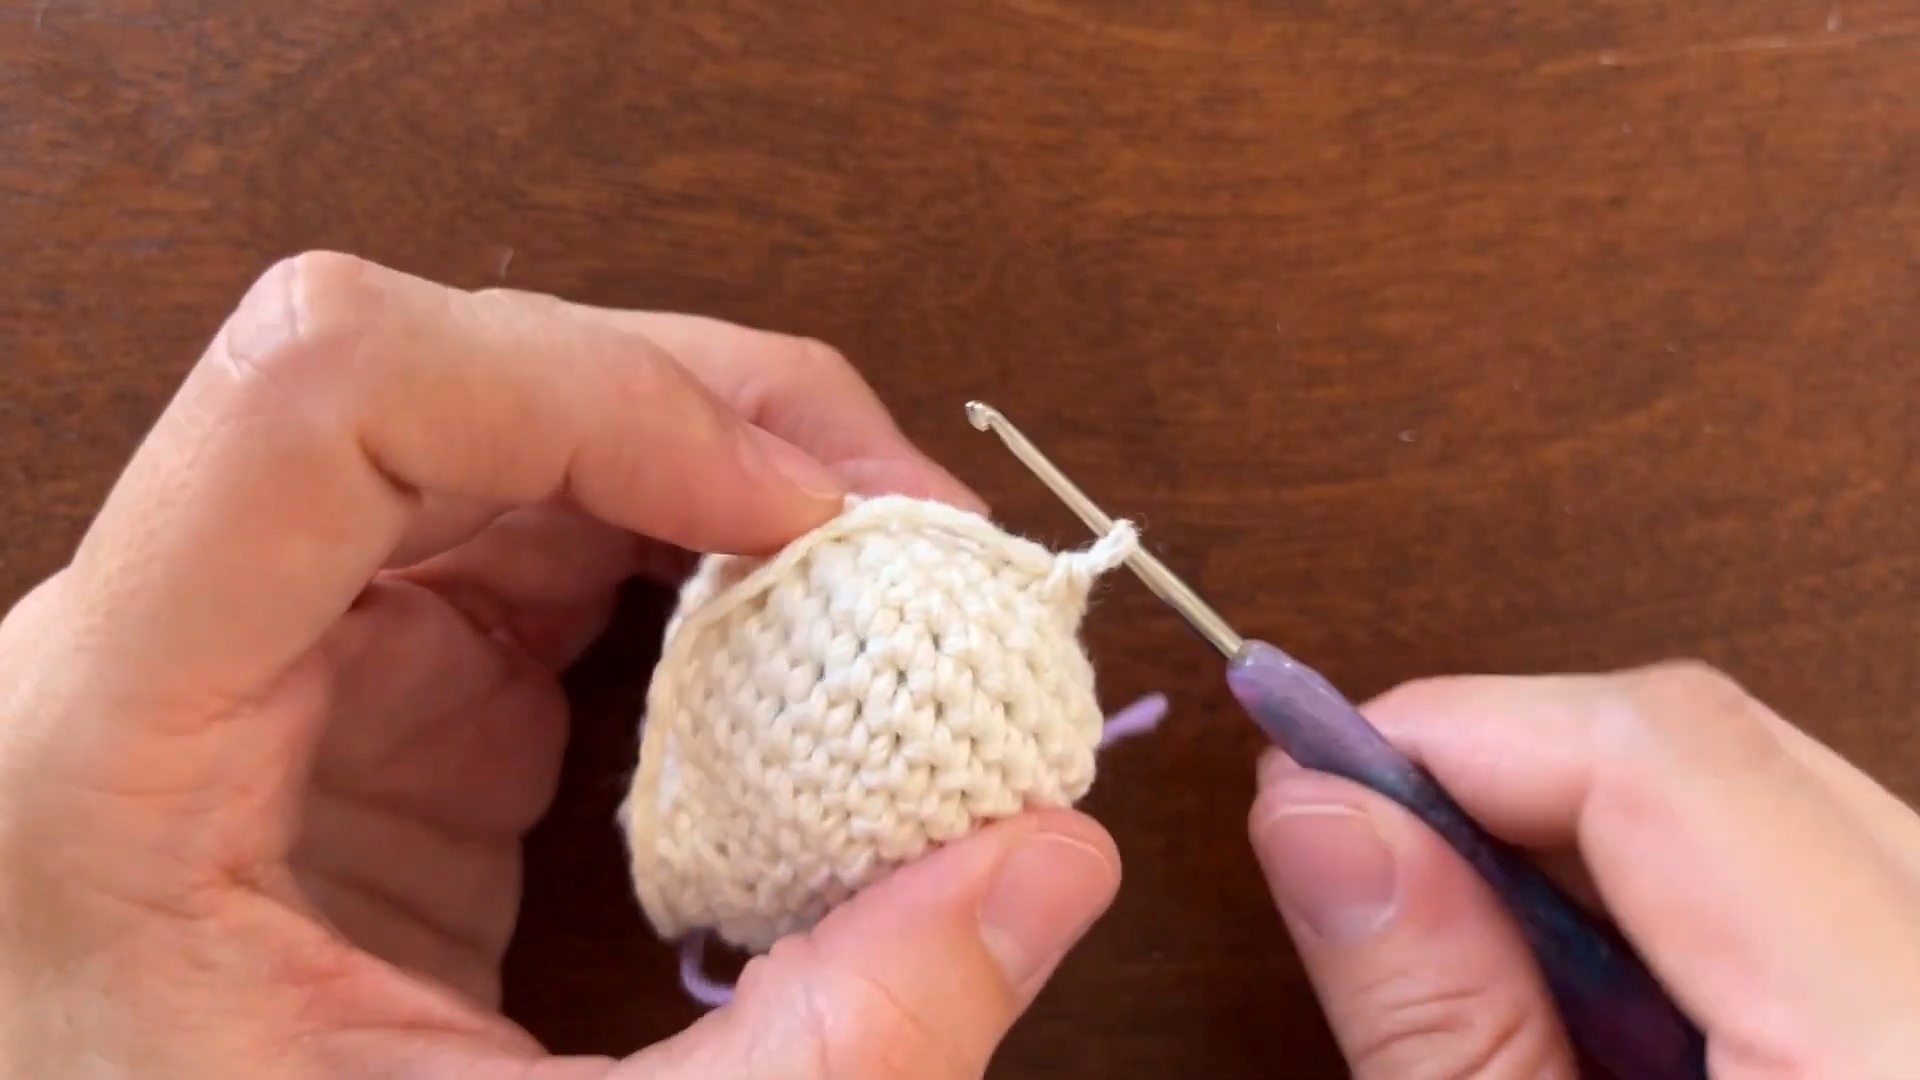
Step 1: Start with the Skull Base
Round 1:
- Create a magic ring (MR).
- Make 7 SC into the magic ring. Pull the loose thread from the magic ring to close the circle. (7 stitches total)
Round 2:
- Make 2 SC in each stitch around (INC x 7). You’ll end up with 14 stitches.
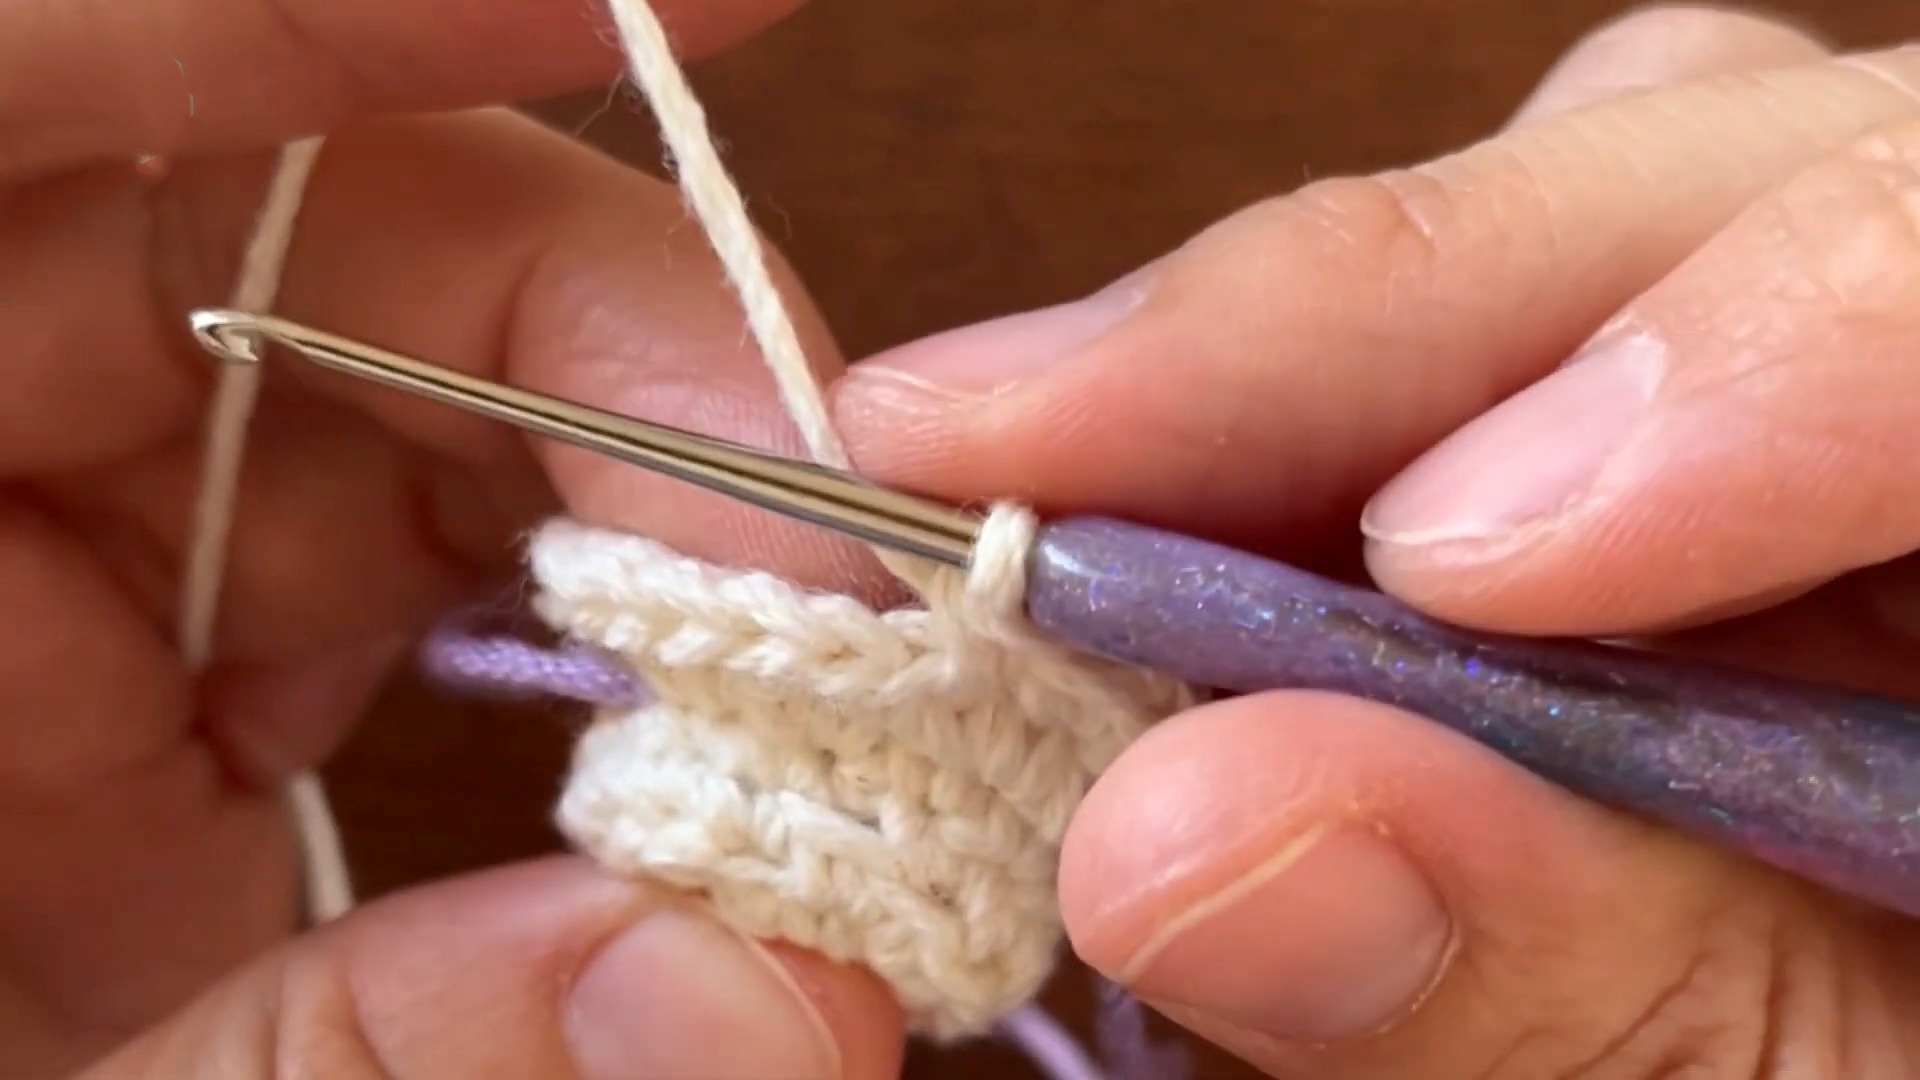
Round 3:
- Make 1 SC in each stitch around, working in BLO only. (14 stitches)
Round 4:
- Make 1 SC in each stitch around, grabbing both loops. (14 stitches)
Round 5:
- Make 3 INC (2 SC into the next stitch), 8 SC, then 3 INC again. Use a stitch marker to mark the beginning and end of your increases. (20 stitches)
Round 6:
- Repeat the following sequence 3 times: 1 SC, 1 INC. Then make 8 SC and repeat 1 INC, 1 SC 3 times. (26 stitches)
Rounds 7 to 11:
- Work 1 SC in each stitch around. Repeat this for 5 rounds. (26 stitches per round)
Step 2: Shape the Skull
Round 12:
- Repeat the following sequence 5 times: 1 SC, 1 DEC, 3 SC. (21 stitches)
Round 13:
- Repeat the following sequence 5 times: 1 SC, 1 DEC, 2 SC. (16 stitches)
- Begin stuffing the skull as the opening begins to narrow.
Round 14:
- Make 8 DEC (single crochet 2 stitches together for the entire round). (8 stitches remain)
Finishing the Skull:
- Cut the yarn, leaving a long tail.
- Use a needle to weave the tail through the front loop of the last 8 stitches and pull tight to close the hole. Knot to secure and weave in the ends.
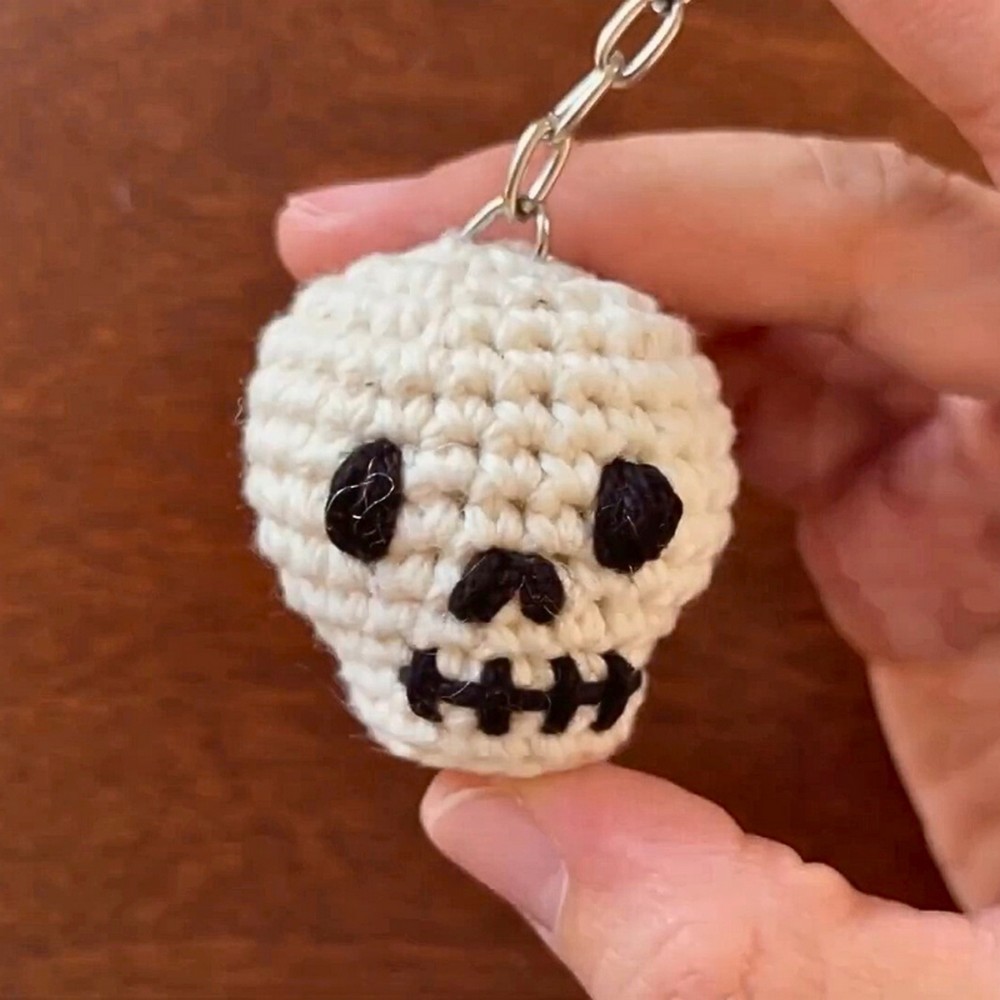
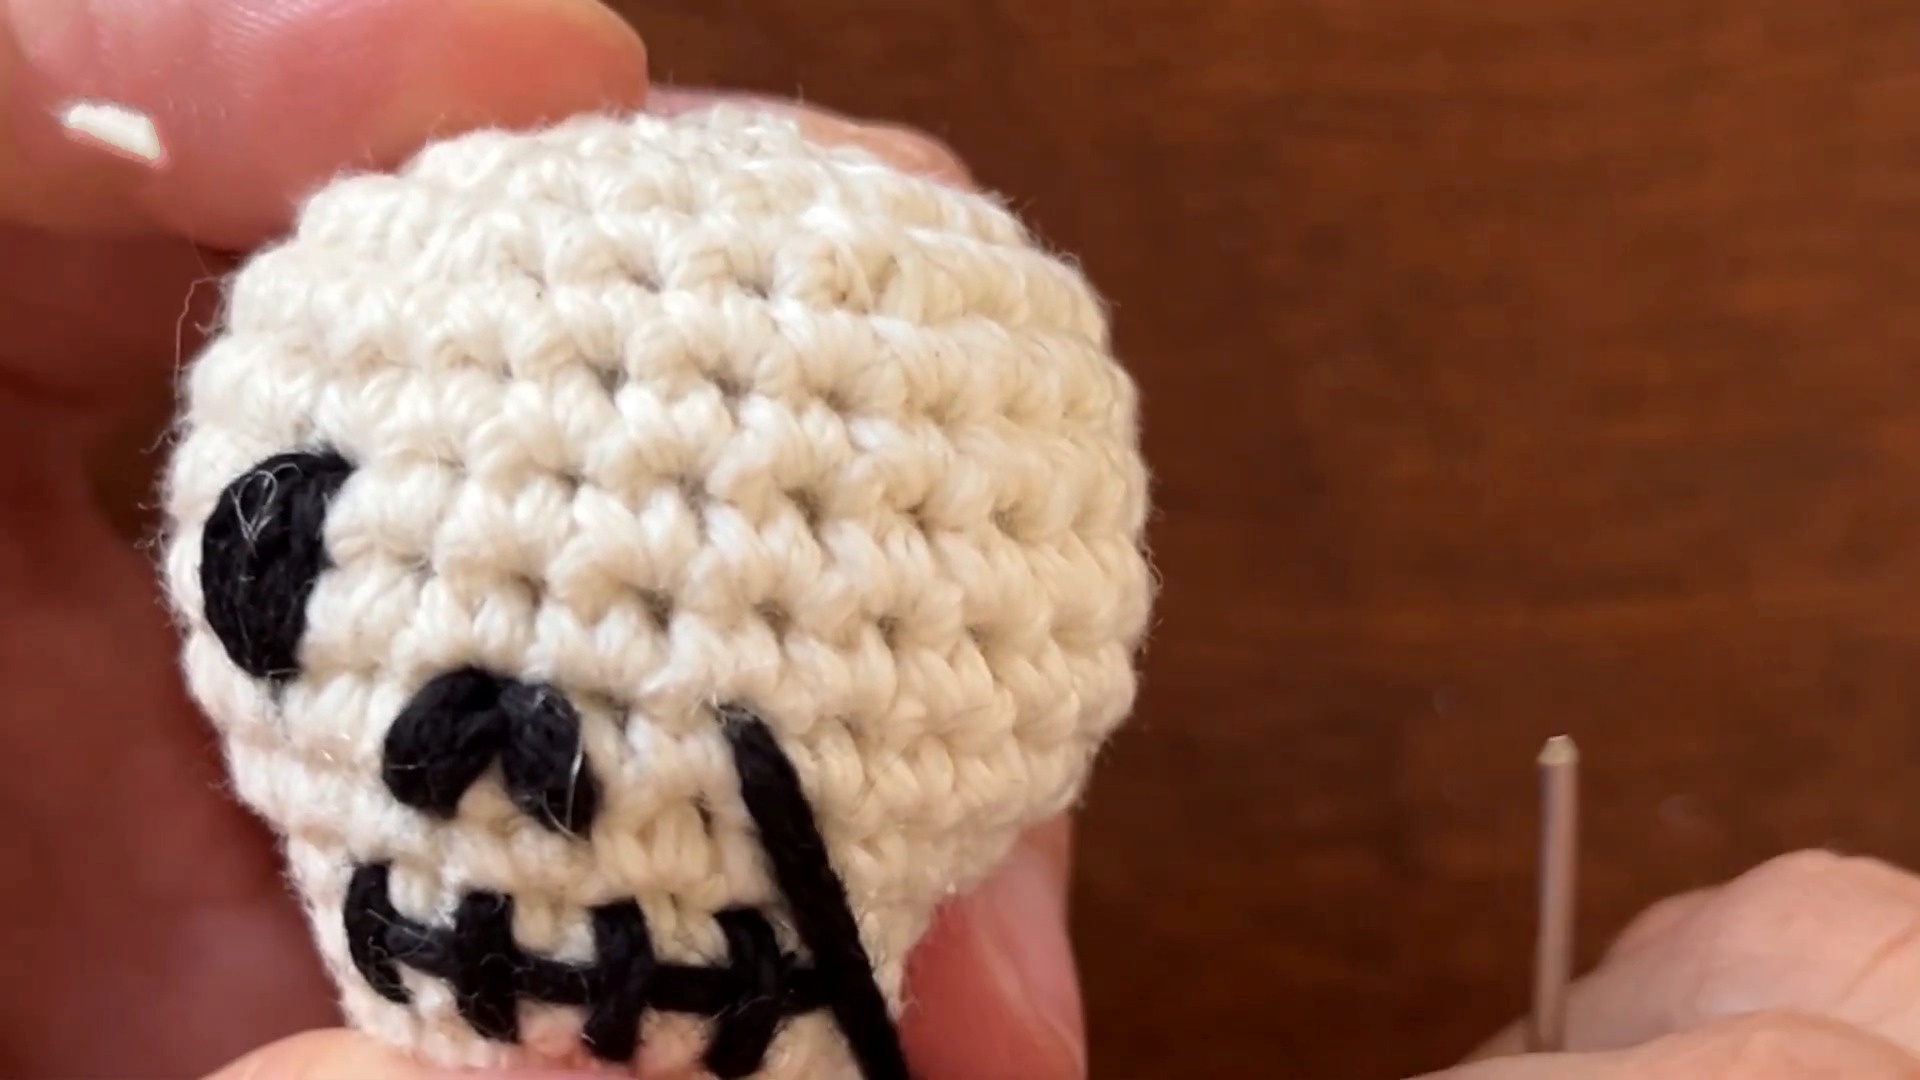
Step 3: Add Face Details
Using black cotton yarn and a yarn needle:
-
Mark the face area:
Use your stitch markers (or reference points) to locate the side of the skull with single crochets (opposite the side with increases). -
Eyes:
- Find the correct placement for the eyes, ensuring symmetry.
- Embroider small, circular eyes by stitching over 2 rows. Repeat on the other side.
-
Nose:
- Create a small triangle for the nose in the center of the face. Stitch over the area multiple times to make it bold.
-
Teeth (mouth):
- Embroider vertical lines for teeth, starting from the bottom of the nose and extending toward the chin area.
-
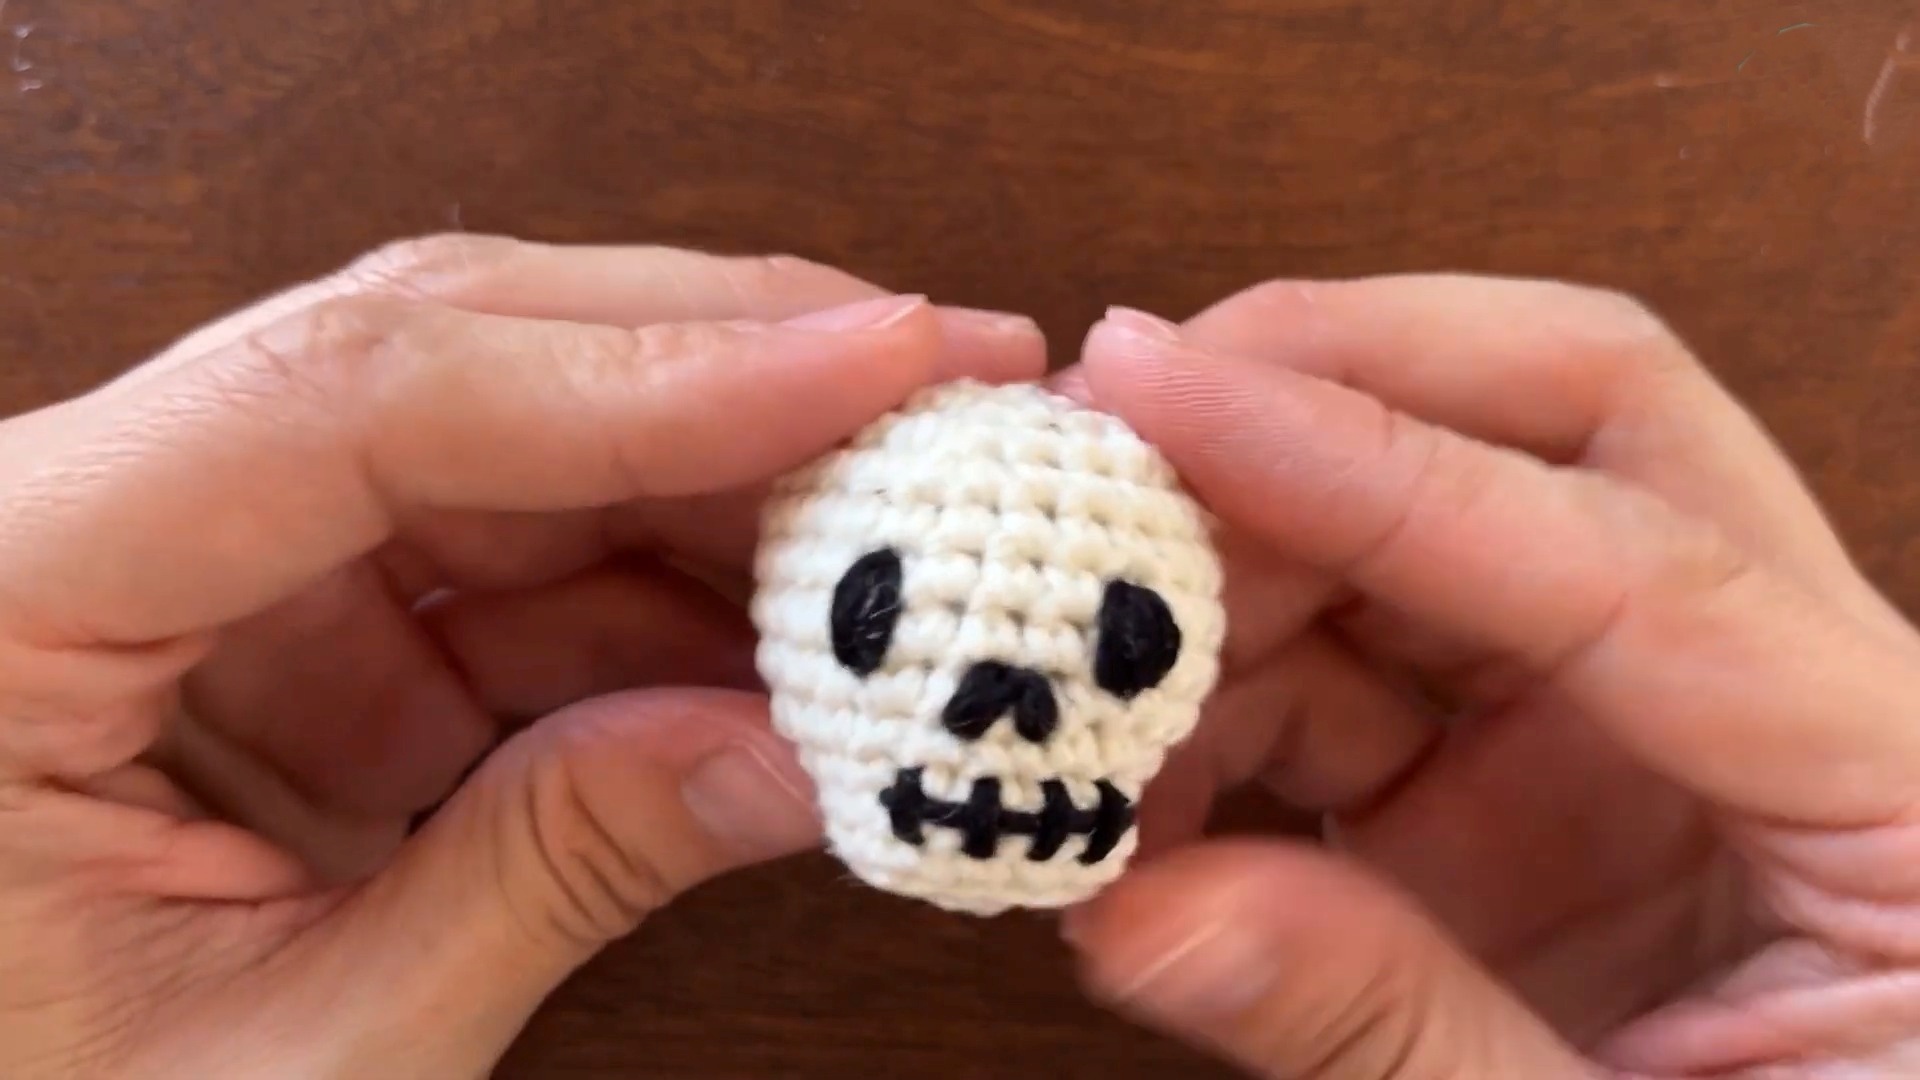
Hide and trim:
Once all details are finished, pull the thread ends through the skull, trim them, and hide any remaining thread inside.
Step 4: Attach Keychain (Optional)
- Attach the keychain hardware to the top of the skull. Use a needle or attach directly to the stitches at the top of the head.
Pattern Question
Q: Can I use a different type of yarn or hook size?
A: Yes, feel free to use any yarn or hook you prefer. Keep in mind that using different materials may change the size of the finished skull, so adjust accordingly.
Conclusion
The crocheted skull is a fun and creative project that blends functionality with charm. Its beginner-friendly design and versatility make it a must-try craft. Whether as a keychain, decoration, or gift, it’s a satisfying creation you'll be proud to show off!