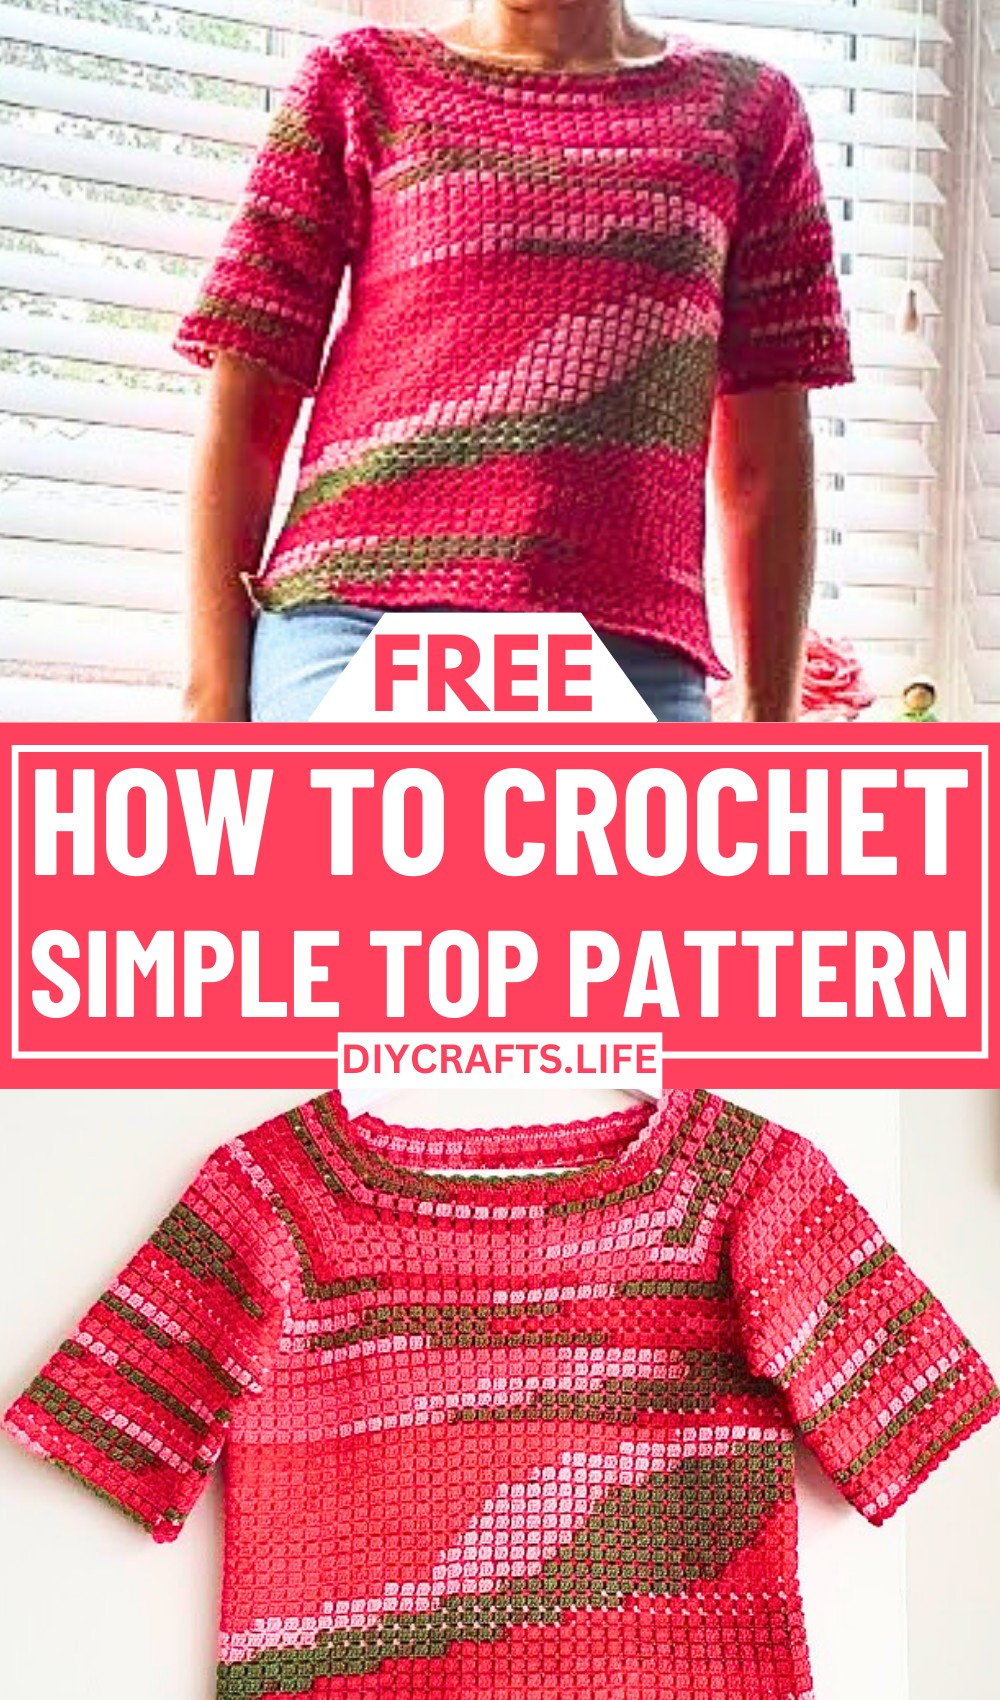
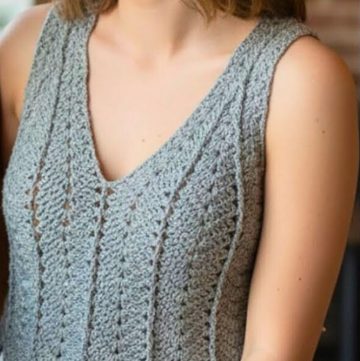
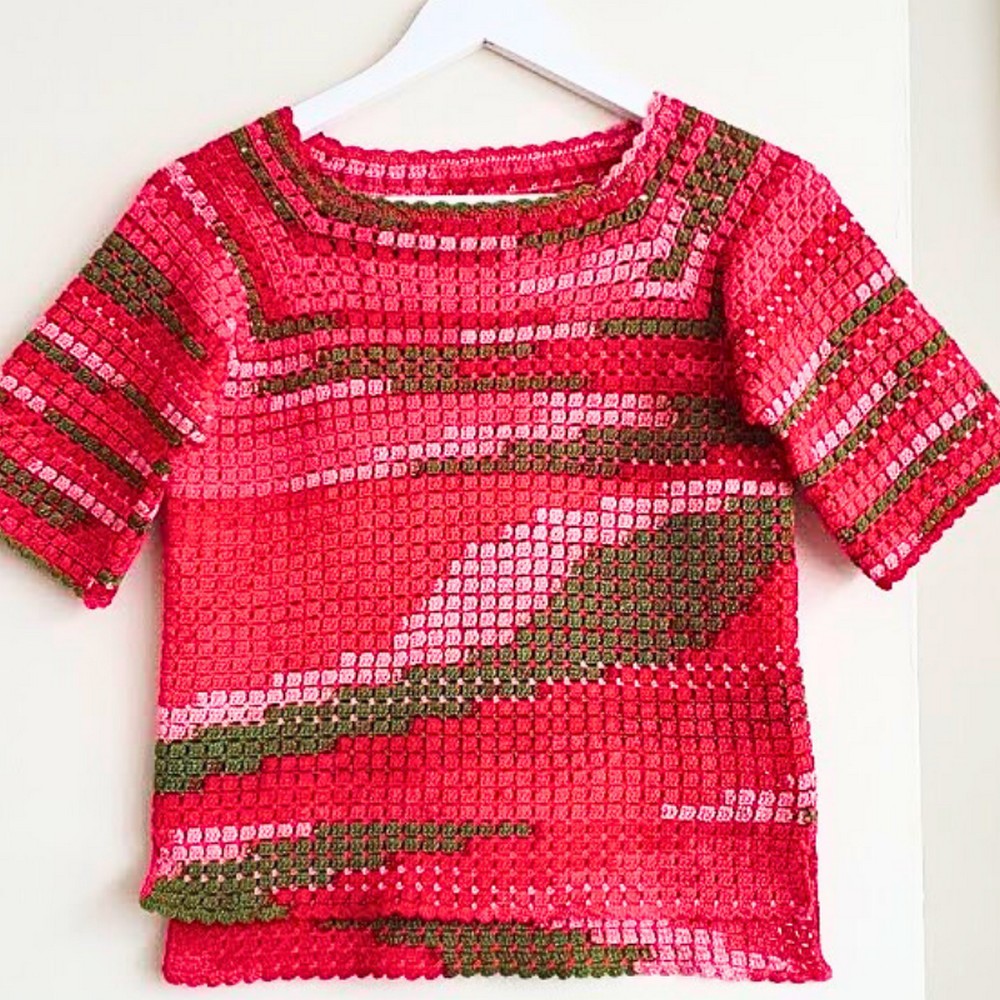
Elevate your wardrobe with a crochet masterpiece that effortlessly combines elegance and individuality. This stunning crochet top is designed to capture attention through its thoughtful structure, delicate patterns, and charming details. It's more than just a garment – it’s a way to express your personal style while embracing the art of handcrafting.
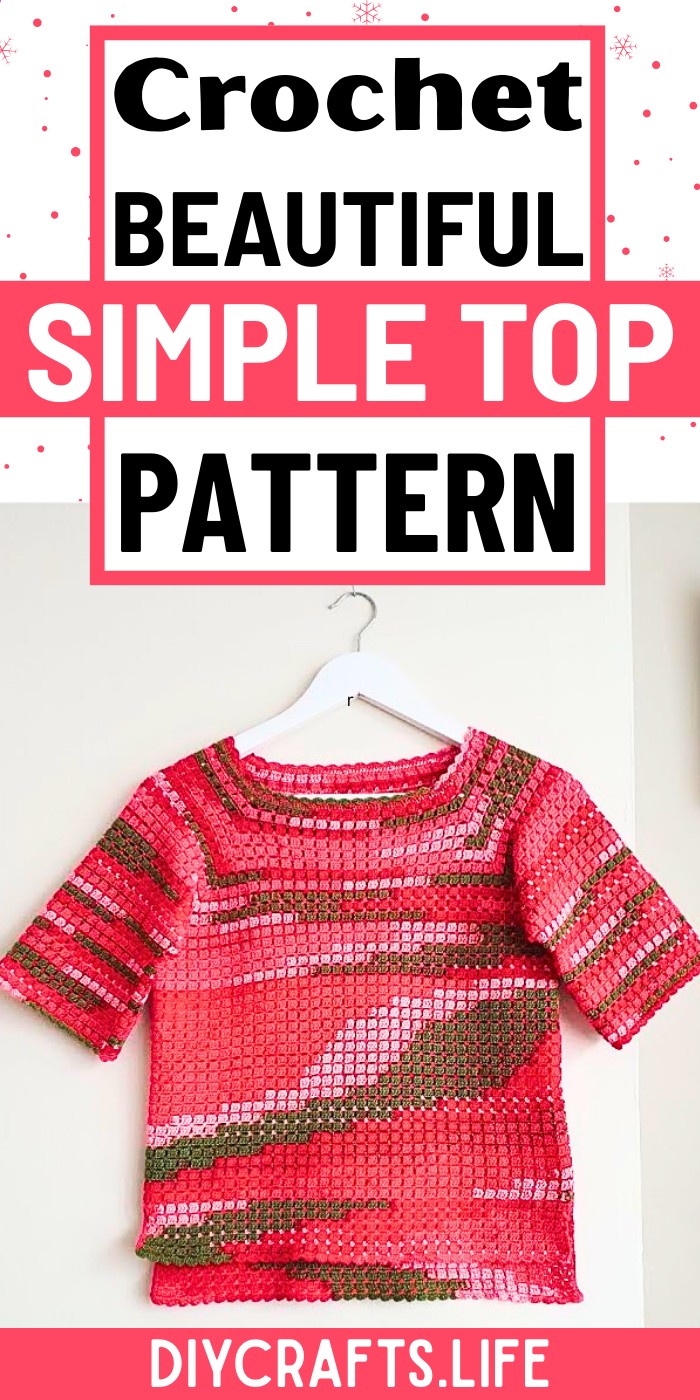
Crafted from the neckline down to the hem, this design offers a seamless combination of form and function. Its unique four-corner increases allow for perfect customization to fit your size, ensuring a flattering look for all body shapes. The carefully planned split sides and longer back add a touch of sophistication, while the graceful neckline and sleeve finishes tie the entire piece together beautifully. Lightweight yet detailed, this top pattern lets creativity flow freely, allowing you to adjust the length, fit, and finishes to suit your taste. Make it yours and crochet a timeless garment that blends practicality with artistry.
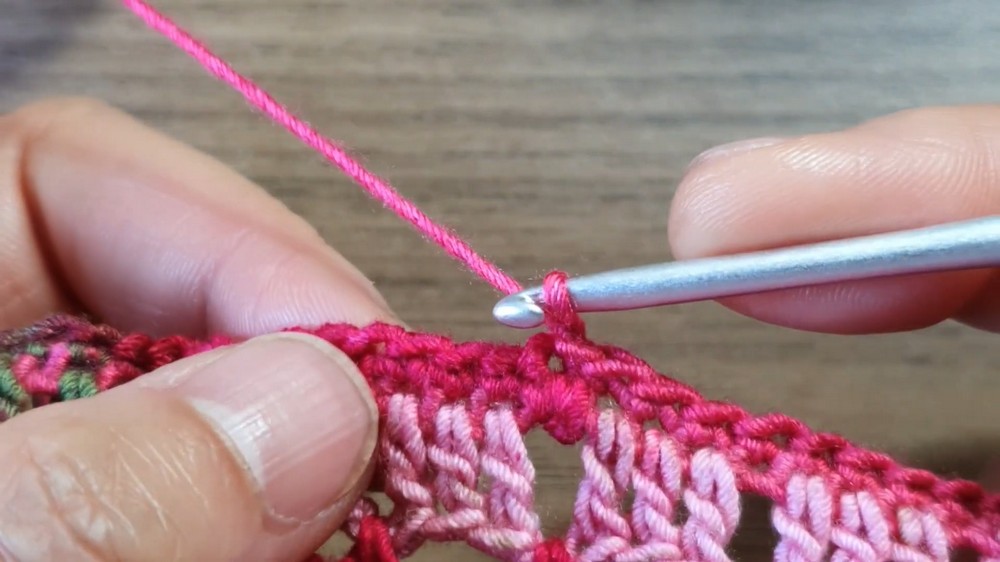
Credit KunitaHandmade
Materials & Tools Needed
- Yarn:
- Brand: Kinko Faux Pies (or a lightweight 4-ply yarn).
- Amount: Approximately 350 grams for the example size (adjust based on your size).
- Hook:
- 3mm crochet hook (adjust hook size for different yarn weights or tension).
- Additional Tools:
- Tape measure – to measure the neckline and body.
- Stitch markers – to mark corners, increases, or specific sections.
- Scissors – for cutting yarn.
Finished Size & Customization Ideas
- Finished Size:
- This example works for a standard medium size with a bust size of ~34-36 inches. Adjustments can be made for larger or smaller sizes by increasing the initial chain count and rows.
- Customization Tips:
- Adjusting the Neckline: Start with a foundation chain that fits ~1–2 inches larger than your head circumference for an easy fit. Adjust chains (in multiples of 4) for a more oversized or tighter neckline.
- Changing Yarn Weight or Hook Size:
- Use a larger hook (e.g., 4mm) and medium-weight yarn (size ¾) for a looser, chunkier look.
- Use a smaller hook (e.g., 2mm) for a tighter, more delicate finish.
- Length Adjustments:
- To lengthen the top, continue working rows before splitting the sides.
- Add or skip rows for either a crop-top style or a tunic-length top.
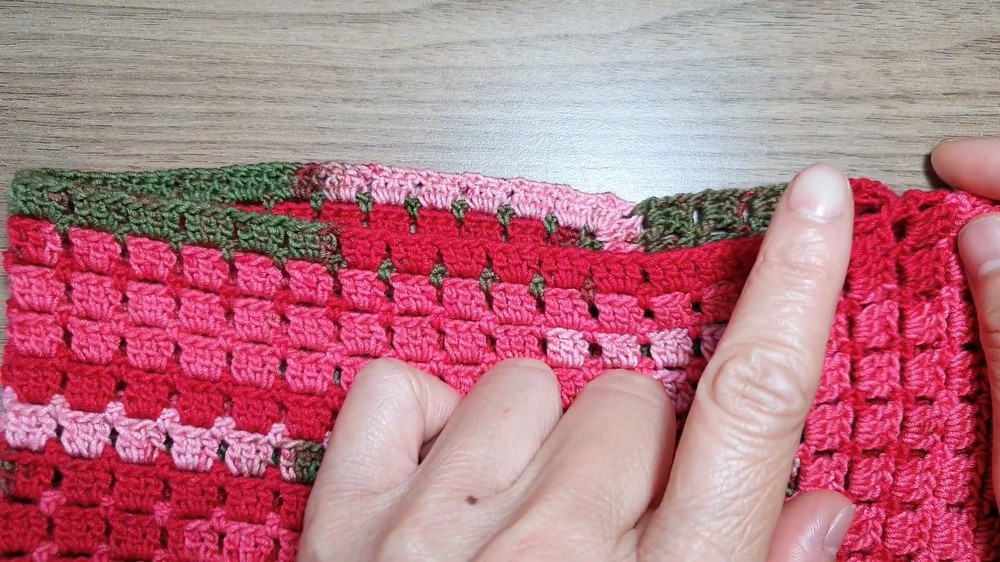
- Color Customization: Incorporate multiple colors for stripes or contrast edging.
- Back and Front Variation: The back of this top can be made longer by adding extra rows before joining the side seams.
Pattern Abbreviations & Terminology
Using US Terminology:
- CH: Chain
- SC: Single Crochet
- DC: Double Crochet
- SL ST: Slip Stitch
- Corner Stitch: 2 DC, CH 1, 2 DC in the same ST
- Multiple of Four: The base chain must be divisible by 4 to work the stitch pattern evenly.
Step-by-Step Detailed Crochet Instructions
This top is worked from the top-down, starting at the neckline, increasing for the yoke, and then working the body. The sleeves and the bottom edge are completed after the main body.
1. Foundation Chain (Starting at the Neckline):
- Make a slip knot and chain a length that fits over your head comfortably (approximately 1–2 inches larger than your head circumference).
- Example: Chain 192 (multiple of 4).
- Join to Form a Circle: SL ST into the first chain to create a loop. Ensure the chain is not twisted.
2. Row 1: Creating the Yoke (Granny Square Style)
- Start with CH 3 (counts as 1 DC) and work 48 DC evenly around the base (192 divided by 4 = 48 stitches per quadrant).
- Mark the Corners: Place stitch markers to divide the stitches into four equal sections (front, back, and two armholes).

3. Increase Rows for the Yoke
- Begin increasing the yoke as follows:
- Each corner stitch will have 2 DC, CH 1, 2 DC in the same space.
- Work CH 1 and 3 DC clusters evenly between the corners.
- Repeat these steps (increase at corners) for each row until the yoke reaches just under the armpit. Example: Front = 14 DC, Back = 14 DC, Armholes = 8 DC each. Adjust based on your size.
- Continue rows, repeating the increases at each marked corner, until it reaches your desired yoke depth (underarm measurement).
4. Adjusting for the Back & Front (Optional Low Front Neckline)
- Once the yoke reaches the required depth:
- Work 3 additional rows of DC only across the back section. This creates a lower front neckline.
- Cut and reattach yarn as needed to avoid working in the round during these rows.
- After finishing the neckline adjustments, join the front and back sides together at the armholes using SL ST or SC.
5. Body of the Top
- Work in rounds from under the armholes down to the desired length.
- Each round is: [CH 1, 3 DC clusters in CH spaces from the row below].
- Continue evenly around.
- For a longer back hem, add 5–10 extra rows to the back before completing the bottom.
6. Bottom Edge
- Once the body is the desired length, make a decorative edge:
- Option: Use a scalloped edge:
- SC, CH 2, 2 DC in the next stitch, SC in the next stitch. Repeat around.
- Alternatively, add a lace trim or a simple SC border.
- Option: Use a scalloped edge:
7. Adding Sleeves
- Attaching Yarn: Start at the base of the armhole on the wrong side.
- Work sleeves in the round, maintaining the existing stitch pattern.
- Optional Decrease: To taper the sleeve, decrease by 2 stitches under the arm every 5 rows until the desired size is reached.
- Finish the sleeve with the same decorative scallop edge as the bottom.
8. Neckline Finishing
- Create a single crochet border all the way around the neckline.
- To tighten the neckline for a rounder shape: Decrease evenly every 10-12 stitches by pulling through two loops together.
- Optional: Add a decorative scallop trim around the neckline for consistency.
9. Final Touches
- Ensure all threads are securely woven in with a yarn needle.
- Block your work to help the fabric relax and even out the stitches.
Tips for Success
- Take measurements frequently as you work to ensure the yoke is the right size before splitting for the body and sleeves.
- Place markers to clearly identify corners and key divisions.
- Adjust the number of rows and stitches based on your unique measurements.