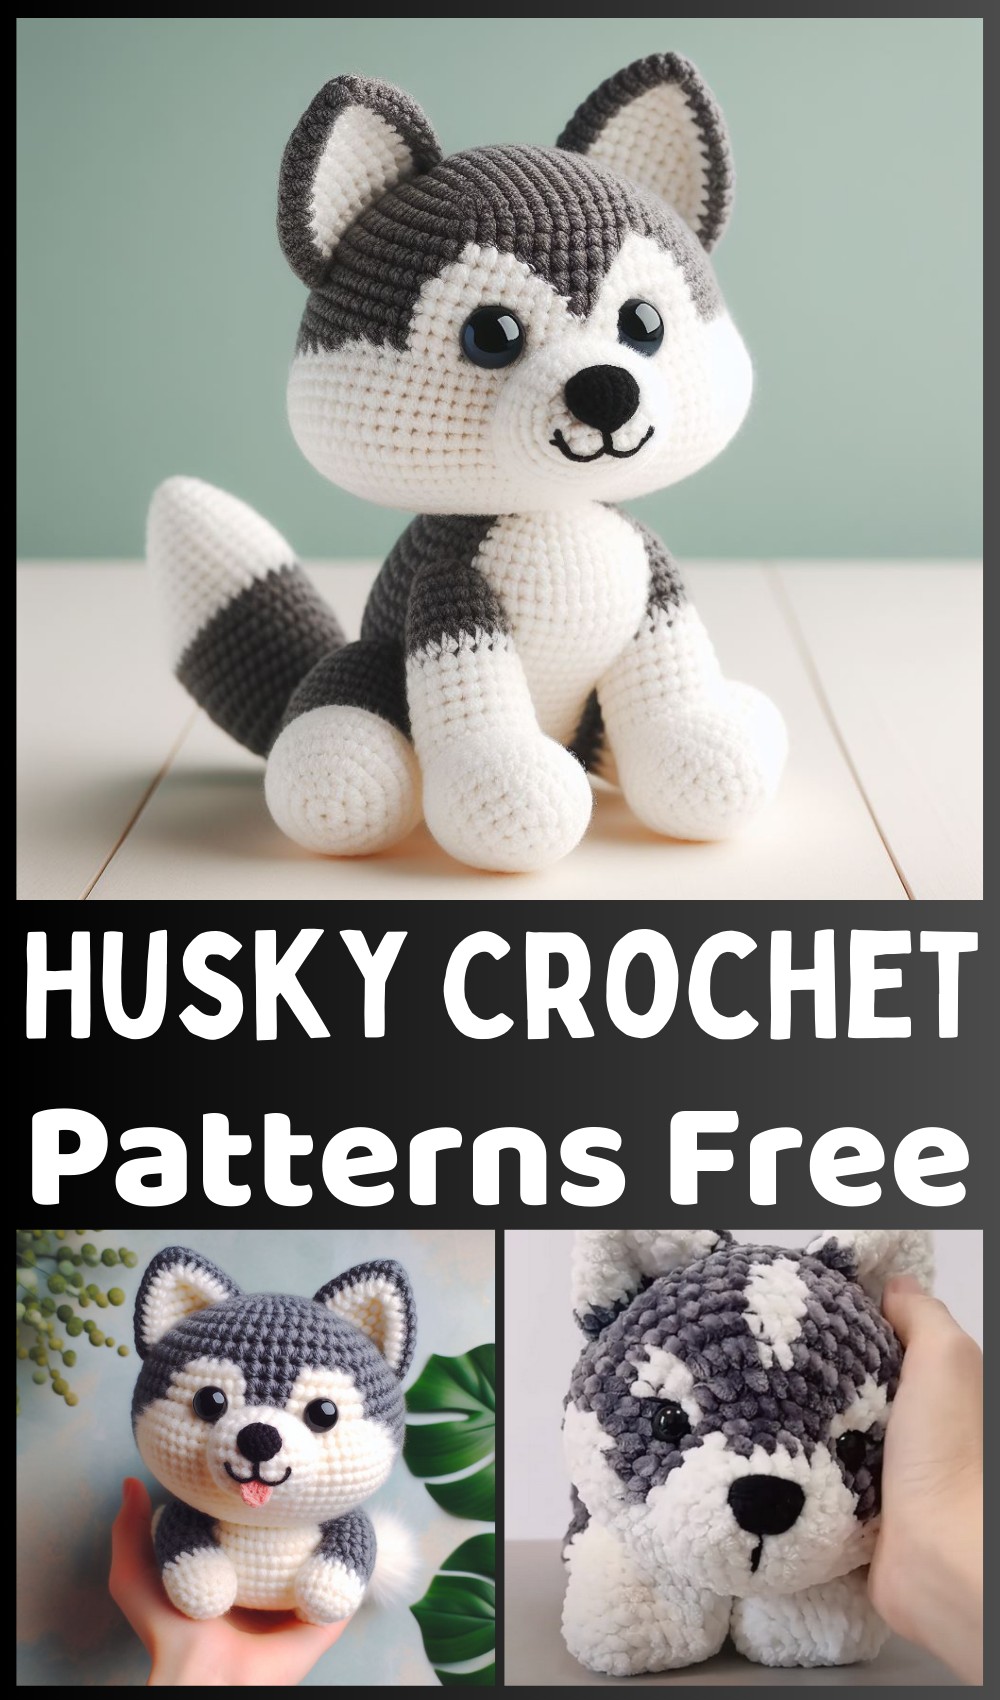
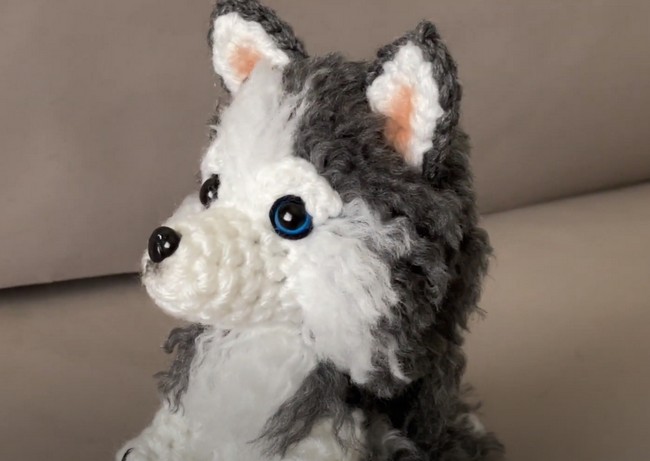
Express your creativity by making these cute husky crochet patterns. They are perfect for creating adorable and cuddly toys that captivate children's hearts. These patterns offer a delightful way to create plush companions that bring endless joy and make a perfect gift for any child. So follow this series and have fun crocheting these cute and friendly huskies!
Crochet Husky Patterns
As you create these adorable crochet husky patterns, you will capture the charm of these cute animals and offer functionality. Each piece is designed to bring a touch of whimsy into your daily life, combining cuteness with utility. From cozy bags to practical potholders, you can choose from various options to suit your needs.
Crochet Husky Body
Uses: This cuddly and versatile creation can be an amazing home decoration, a charming stuffed toy for kids, or a unique gift to spread joy among friends and family.
Materials:
- Grey and white yarn (preferably worsted weight)
- A crochet hook
Making: First, begin by crocheting the body with grey and white yarn to represent the Husky's coat. Continue making the limbs, tail, ears, and muzzle separately using a variety of crochet stitches and techniques, such as single crochet and increasing or decreasing to create the desired shapes. After completing all the individual elements, sew or crochet them together to create the final assembled Husky, ensuring that each piece is properly placed to bring the charming little canine to life.
Husky Crochet Pattern Free
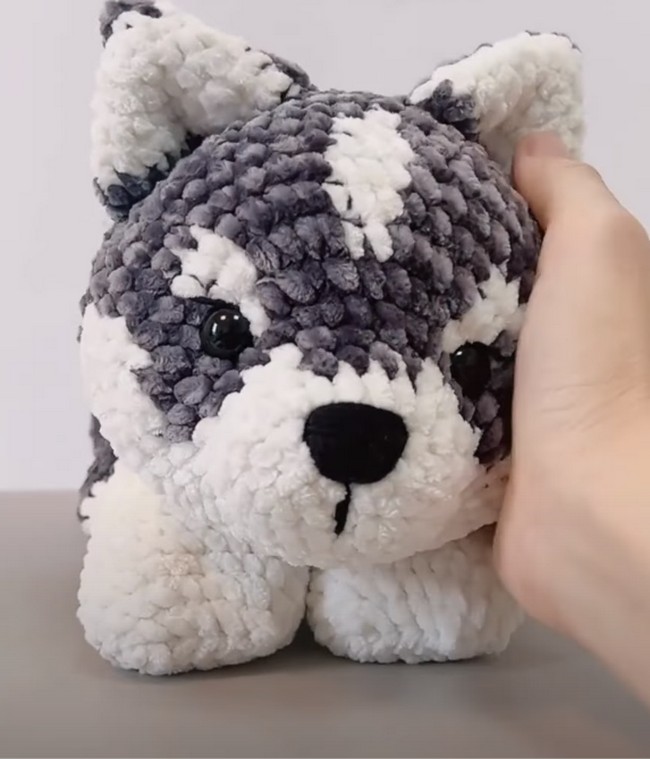
Uses: It stands out as a playful buddy for children or as a lovely piece on a dog lover's desk. Inspired by the friendly Husky breed, its plush form offers comfort and a touch of whimsy wherever it finds a home.
Materials:
- Loin brand yarn
- 4.25 crochet hook
To make this plush Husky, one starts by carefully creating its plump body and snug head, using loops and stitches that mimic a real Husky's fluffy fur.
Crochet Husky Dog Mini Pattern
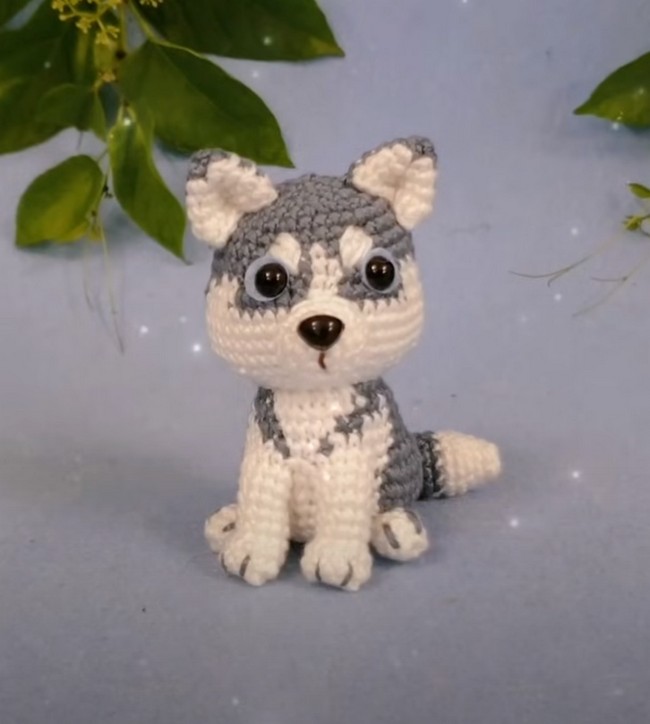
Uses: It's a marvelous adornment accessory that adds a touch of warmth and character to any space. Nestle it on a cozy couch or perch it on a bookshelf; the miniature crochet husky can bring joy to any corner.
Materials:
- Medium-weight yarn (in three shades: white, black and grey)
- F Hook (3.75 mm size)
Making: Making this adorable crocheted friend is a soothing journey through loops and stitches. Guided by an easy-to-follow video tutorial, beginners can watch soft yarn transform into a lovable, miniature husky with each twist of the crochet hook.
Siberian Husky Pot Holder
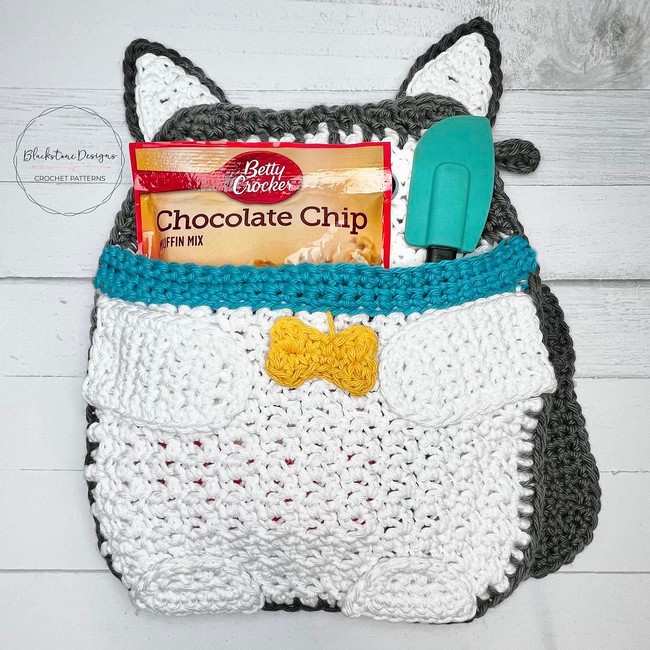
Uses: This unique pot holder features a functional front pocket, making it ideal for holding kitchen tools, bagged mixes, or even recipe cards. In the shape of an incredibly cute Siberian Husky, this pot holder keeps hands safe from hot pots and pans while adding a touch of whimsy to your space.
Materials:
- Aran Yarn
- 5.5mm crochet hook
Making: Start by creating two large panels, one for the back and one for the front, using the designated yarn colors. A front pocket panel is crocheted separately and attached later, giving the pot holder added functionality. Additional pieces include the ears, forehead stripes, muzzle, front and back paws, tail, and collar tag. Each piece is crocheted separately in the specified colors and then affixed to the front panel to create the Siberian Husky's face and body features. Once all parts are completed, they are attached according to the indicated instructions to shape the Siberian Husky's features.
Husky Crag Dog Chalk Bag
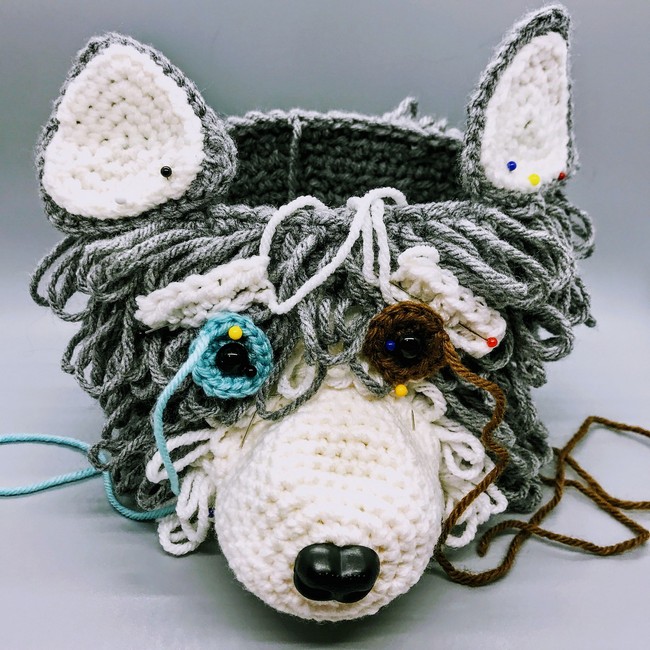
Uses: The Husky Crag Dog Chalk Bag is a beautiful accessory that adds a fun twist to your climbing activities. It is a cute and practical chalk holder, ensuring your hands always have a good grip. Additionally, it can be used for other purposes, such as a yarn ball cozy, plant pot cover, or even a child's purse.
Materials:
- Aran Yarn
- 5mm crochet hook
Making: The first step to making the stuffed animal is to crochet the body using grey yarn and then add the snout in white yarn. After that, the inner and outer ears are created and attached to the body. A tongue or an embroidered Y-shaped mouth is added under the nose to make the animal look more realistic. Finally, all the parts are sewn together, ensuring each element is properly positioned.


