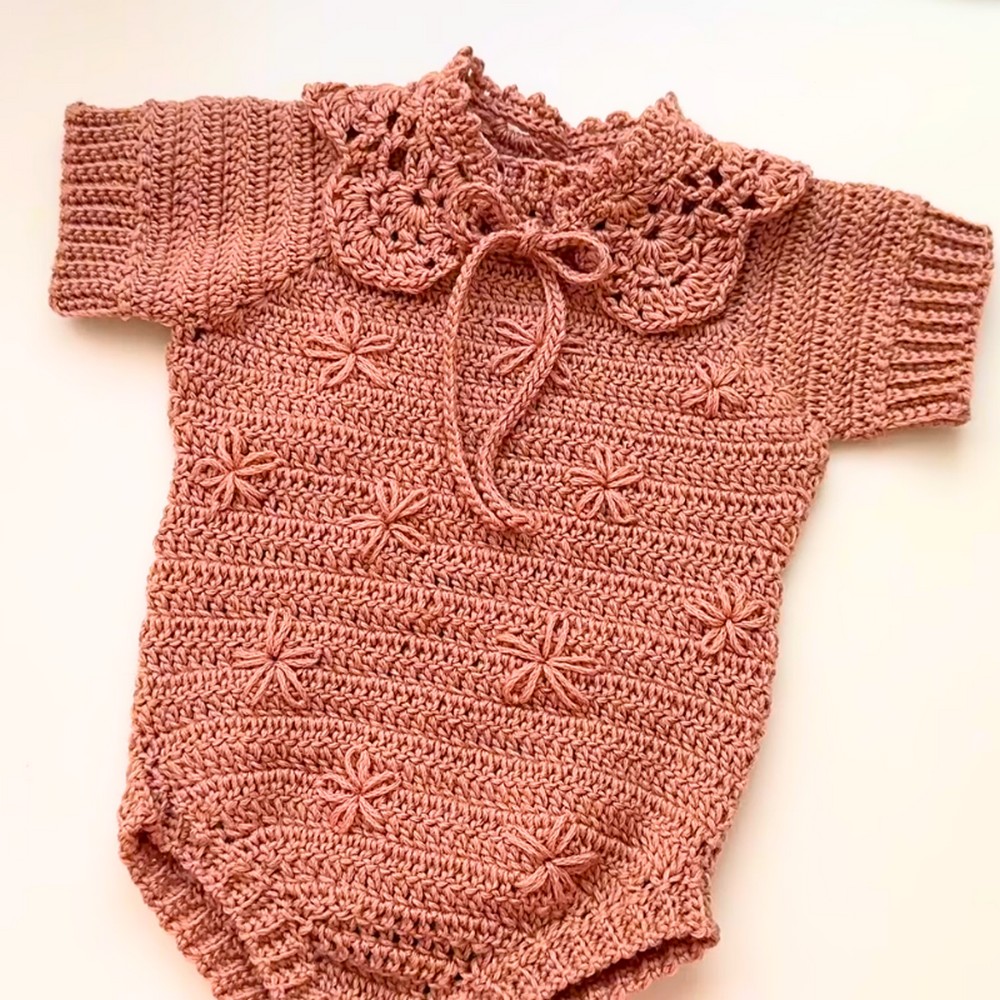
A baby romper is not just a piece of clothing—it’s a cute, cozy, and practical outfit for little ones. What makes it so special is how comfortable it is for babies to move, play, or nap in. Crochet baby rompers are even more wonderful because they bring a personal, handmade touch to the outfit. You can create one with soft and colorful yarn that feels gentle on a baby’s delicate skin, giving them something comfy and adorable to wear.
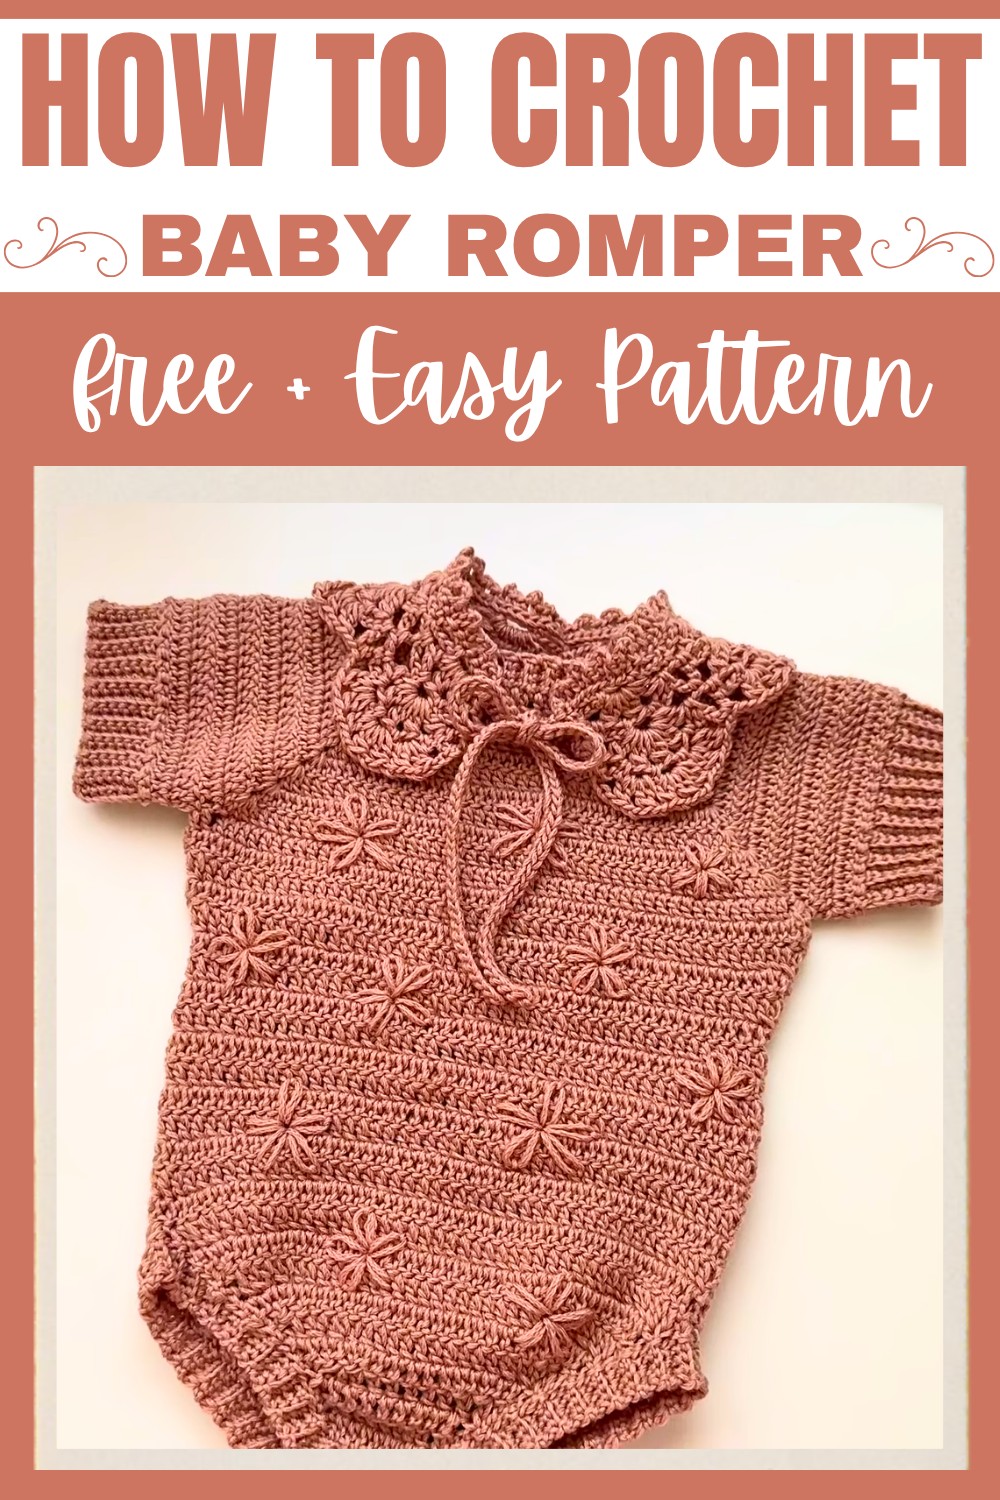
Crocheting a baby romper is simpler than it sounds. It involves basic crochet techniques and a bit of patience. Using a clear tutorial like the one in the link, you can learn how to make this charming outfit step by step. You’ll love how the finished piece looks—it’s stylish and practical, and can be easily adjusted to fit different sizes or added with fun details like buttons or bows. This is a thoughtful gift idea or a keepsake for your own baby that holds love in every stitch.
Credit WONDER NETTING
Materials & Tools Needed
- Yarn: 2 skeins of a soft wool yarn, such as "Marina DeK Bella Cocoa" from Hobby (50g, 165m per skein).
- Crochet Hook: 3.5 mm hook.
- Stitch Markers.
- Scissors.
Pattern Abbreviations & Terminology
The crochet instructions use US terms:
- Ch: Chain
- Sc: Single Crochet
- Dc: Double Crochet
- Sl St: Slip Stitch
- Blo: Back Loop Only
- Dc2tog: Double Crochet 2 Together (decrease)
Step-by-Step Instructions
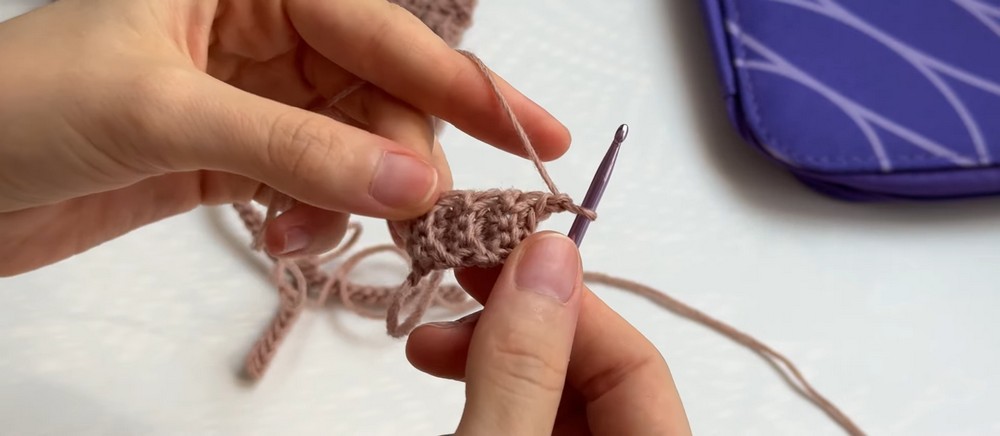
1. Create Knit-Look Ribbing (Neckline)
- Start with a chain:
- Ch 5 (or adjust depending on desired ribbing width).
- Ribbing foundation:
- Sc in the second ch from the hook and across (4 sc total).
- Ch 1, turn.
- Work ribbing rows:
- Sc in blo across (4 sc per row).
- Ch 1, turn.
- Repeat until ribbing measures 11 cm for a newborn (adjust length for larger sizes).
- Join ribbing:
- Fold ribbing in half and Sl St the starting row and final row together through both back loops to form a continuous loop.
- Do not cut yarn.
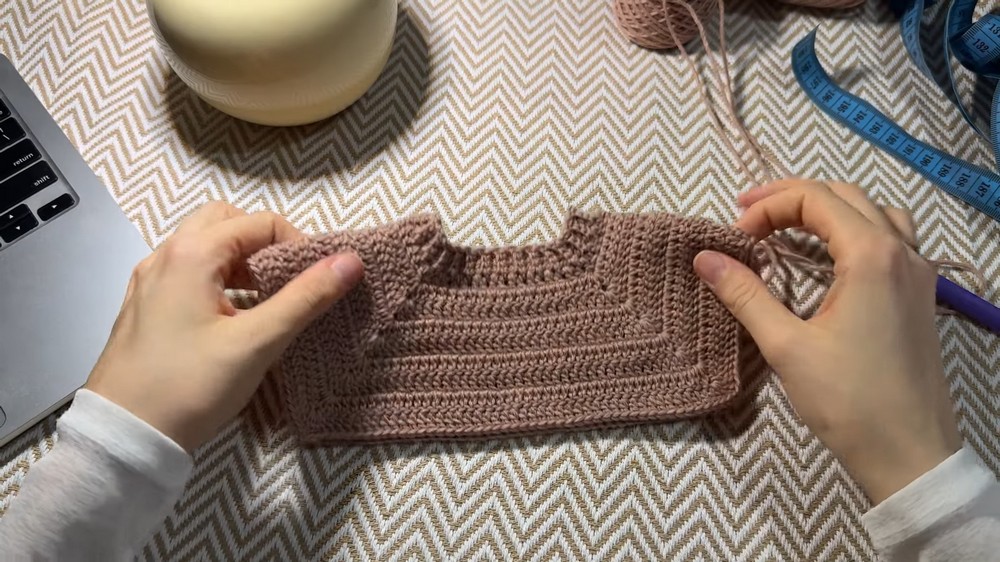
2. Start the Yoke
- Foundation row:
- Ch 3 (counts as the first Dc).
- Work 1 Dc into the edge of each ribbing row (total Dc = number of ribbing rows; for newborn: ~60 Dc).
- Divide for front, back, and sleeves:
- Use stitch markers to divide stitches into sections:
- 17 Dc for the front.
- 17 Dc for the back.
- 13 Dc for each sleeve.
- Use stitch markers to divide stitches into sections:
- Begin raglan increases:
- Ch 3, turn.
- Dc in each stitch until reaching the first marker.
- At each marker (corner stitch), work:
- (2 Dc, Ch 1, 2 Dc) in the same stitch (this creates raglan increases).
- Continue Dc in each stitch until the next marker and repeat the raglan increase.
- Repeat this pattern (adding rows) until the yoke depth reaches 9 cm or the desired fit.
3. Join for the Body
- Join underarm and form body:
- Once the yoke is the correct size for your baby, it’s time to join the piece into a single body section.
- Work Dc as usual until you reach the first sleeve section.
- Skip the entire sleeve section and join the front and back pieces together by Slip Stitching across the armpit.
- Repeat for the second sleeve, continuing Dc to close the round.
- From here, you will simply work Dc in spiral rounds to build the body of the romper.
- Body length:
- Continue working Dc rounds until the measurement from the underarm to the bottom is approximately 19-20 cm (adjust length for size).
- Shape the bottom:
- For the back:
- Start rows at the back side by decreasing 1 stitch at each edge (Dc2tog at the beginning and end of the row).
- Repeat this for several rows until the desired shaping is achieved.
- For the front:
- Start rows in the same manner but depress the front less than the back.
- Finish both sections with a clean edge and leave space for the bottom snap buttons.
- For the back:
4. Add Sleeves
- Reattach yarn (at the underarm):
- Ch 3 (counts as the first stitch).
- Work rows of Dc around the sleeve until it reaches the desired length.
- Add ribbing:
- At the end of the sleeve, create ribbing just as you did for the neckline:
- Ch 7 (adjust width to taste).
- Work Sc blo for each row, slip stitching into the main sleeve rounds.
- Join ribbing ends with Sl St when finished.
- At the end of the sleeve, create ribbing just as you did for the neckline:
5. Add Ribbing Around Bottom Edge
- Join yarn to the bottom edge of the romper.
- Work ribbing for the bottom edge just like in previous steps (neckline and sleeves).
- Close the ribbing with slip stitches and tie off the yarn.
6. Add Finishing Touches
- Buttons & Snaps:
- Sew snap buttons or regular buttons to the bottom edge of the romper for easy access.
- Add decorative buttons to the front, if desired.
- Embroidery (optional):
- If desired, add embroidery in the same color thread for a fun detail. Use floral designs for a charming look.
- Weave in ends:
- Use a darning needle to weave in all loose ends neatly.
Tips for Sizing Adjustments
- Refer to a sizing chart for baby measurements (provided in the video tutorial) for older babies or toddlers.
- For larger sizes, increase the ribbing rows and yoke circumference as needed.
- Test the length of the body and adjust based on the baby’s height.