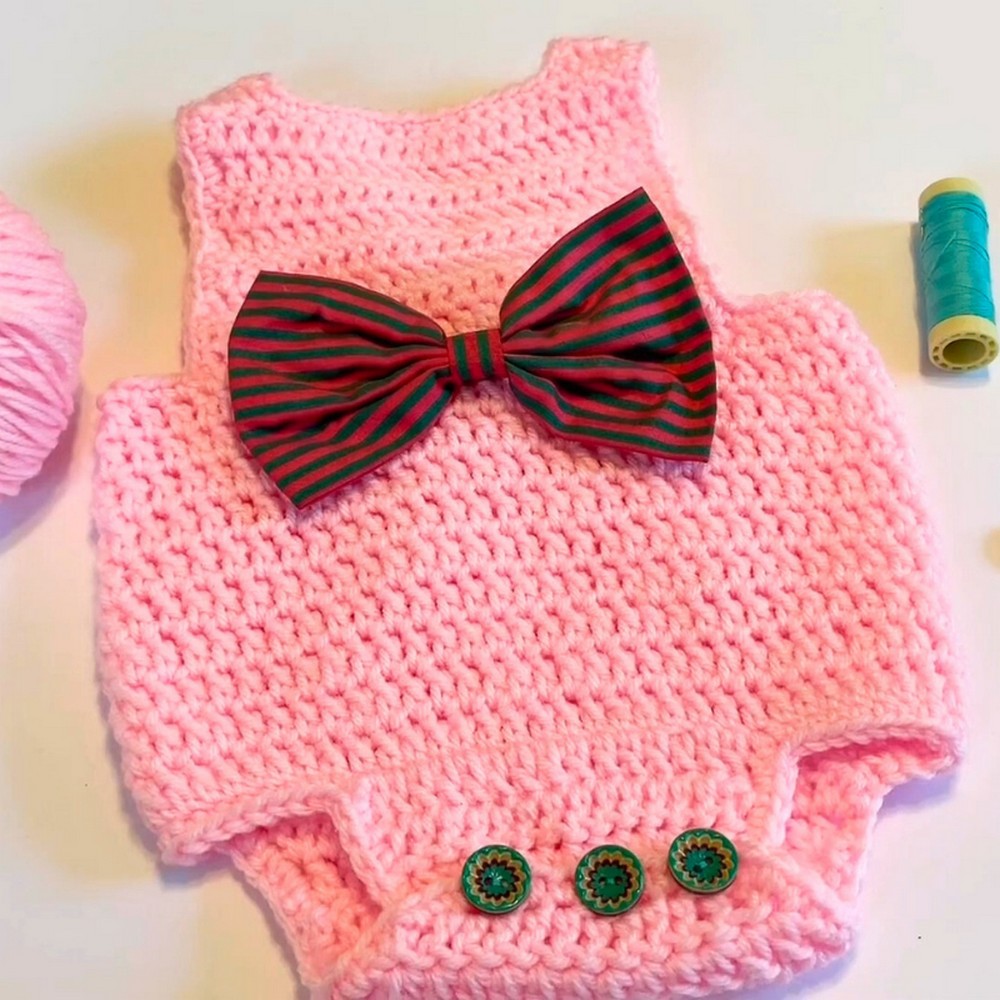
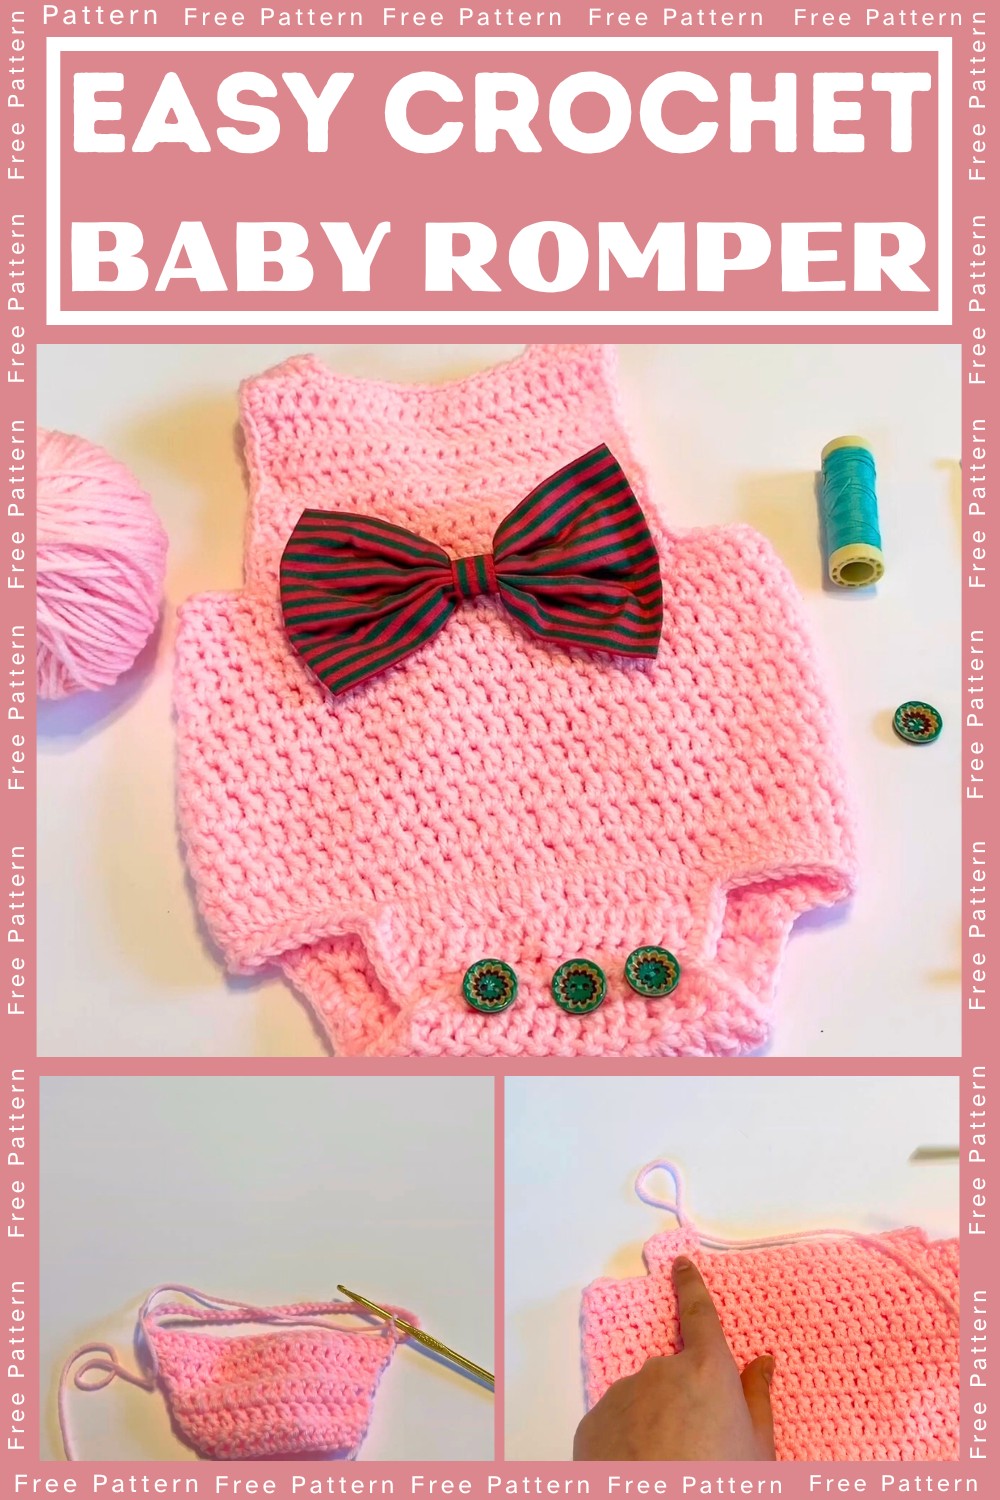
Craft a delightful baby romper with this versatile crochet pattern! Perfect for little ones, this project blends beauty and function effortlessly. Stylish, cozy, and endlessly customizable, it's an excellent way to create a unique yet practical piece for your baby wardrobe or a thoughtful handmade gift.
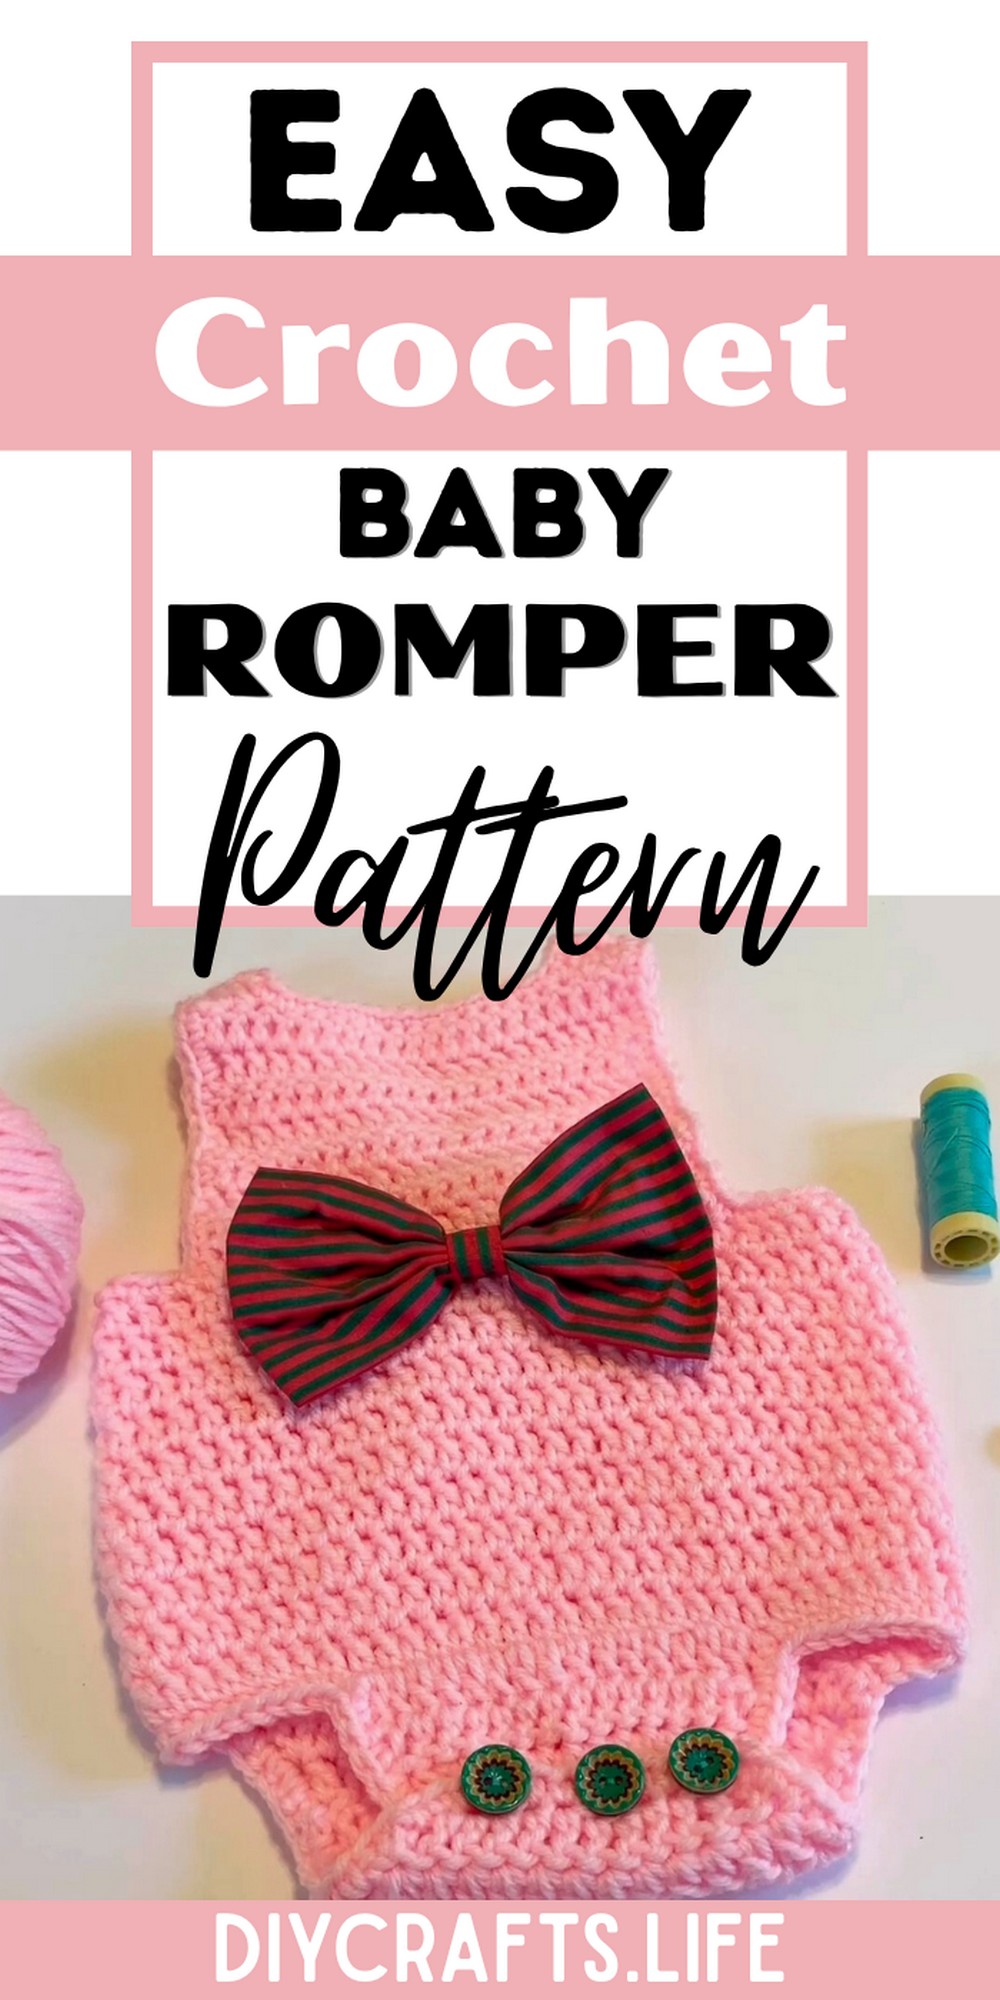
The crochet baby romper is durable and easy to wear, making it ideal for active infants. Its standout textures and adorable design add charm to any photoshoot or outing. Beyond style, it offers warmth and comfort, ensuring your little one feels snug while looking absolutely charming.
Crochet Baby Romper Pattern
This baby romper pattern is beginner-friendly yet customizable for advanced crocheters. With options to tweak colors, sizes, and embellishments, this project encourages creativity and guarantees a personalized touch. The process is fun, allowing crafters to experiment while crafting a perfectly functional item.
Materials and Preparation
Here’s a list of what you’ll need to create this crochet baby romper:
- Yarn: Lightweight (Category 3/Baby Yarn)
- Hook: 3.5mm crochet hook
- Tools: Stitch markers, measuring tape, scissors, and a yarn needle
- Optional: Buttons (2–4 for closures)
Abbreviations and Notes
Familiarize yourself with these crochet abbreviations for the pattern:
- CH: Chain
- SC: Single Crochet
- DC: Double Crochet
- HDC: Half Double Crochet
- SL ST: Slip Stitch
Important Notes:
- Maintain consistent tension while working.
- Mark the beginning of rounds with a stitch marker for accuracy.
- Create a gauge swatch beforehand to ensure proper sizing.
Gauge, Approximate Size, and Pattern Notes
Gauge: 22 stitches x 24 rows = 4” in Single Crochet (SC).
Finished Dimensions: Designed to fit newborns up to 6 months (approximately 16” chest circumference); adjust row counts for larger sizes.
Special Techniques: Focus on seamless joins for a professional look. Gauge swatch is recommended to match pattern sizing.
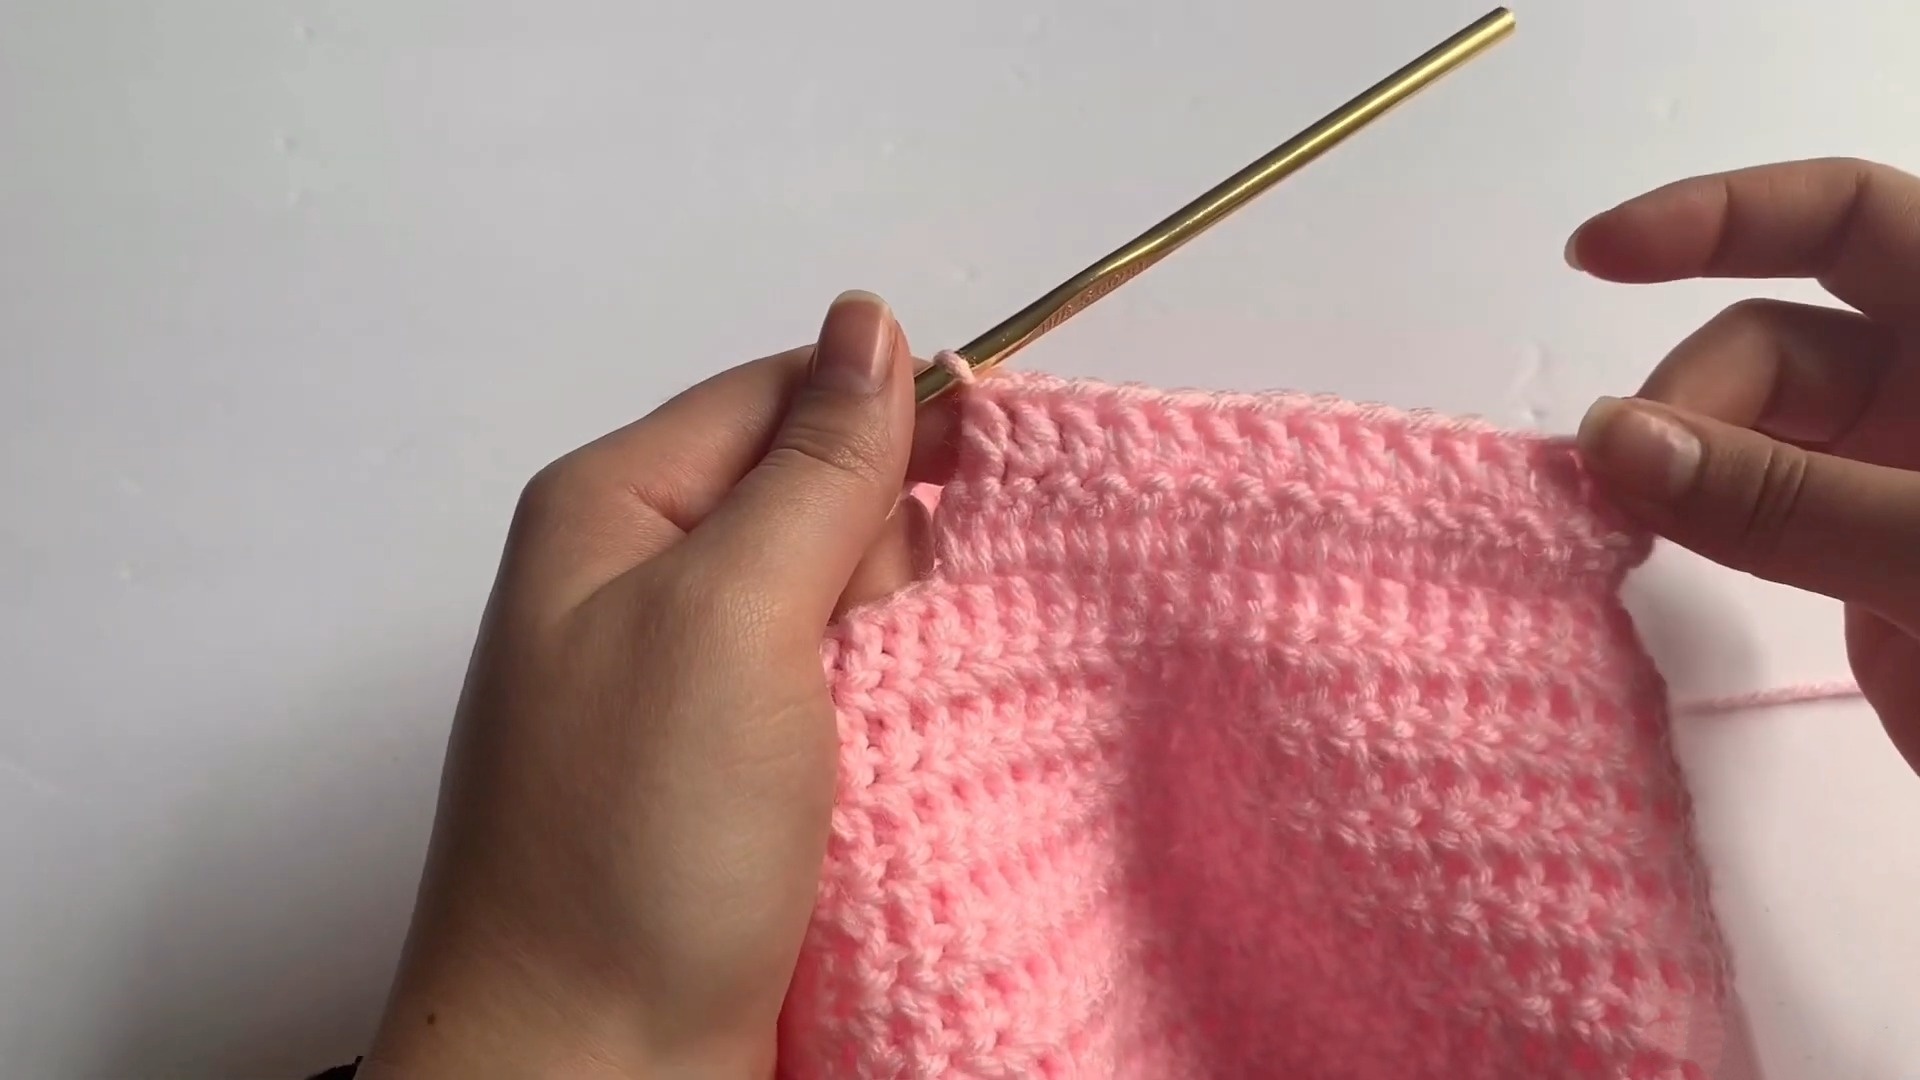
Step-by-Step Pattern
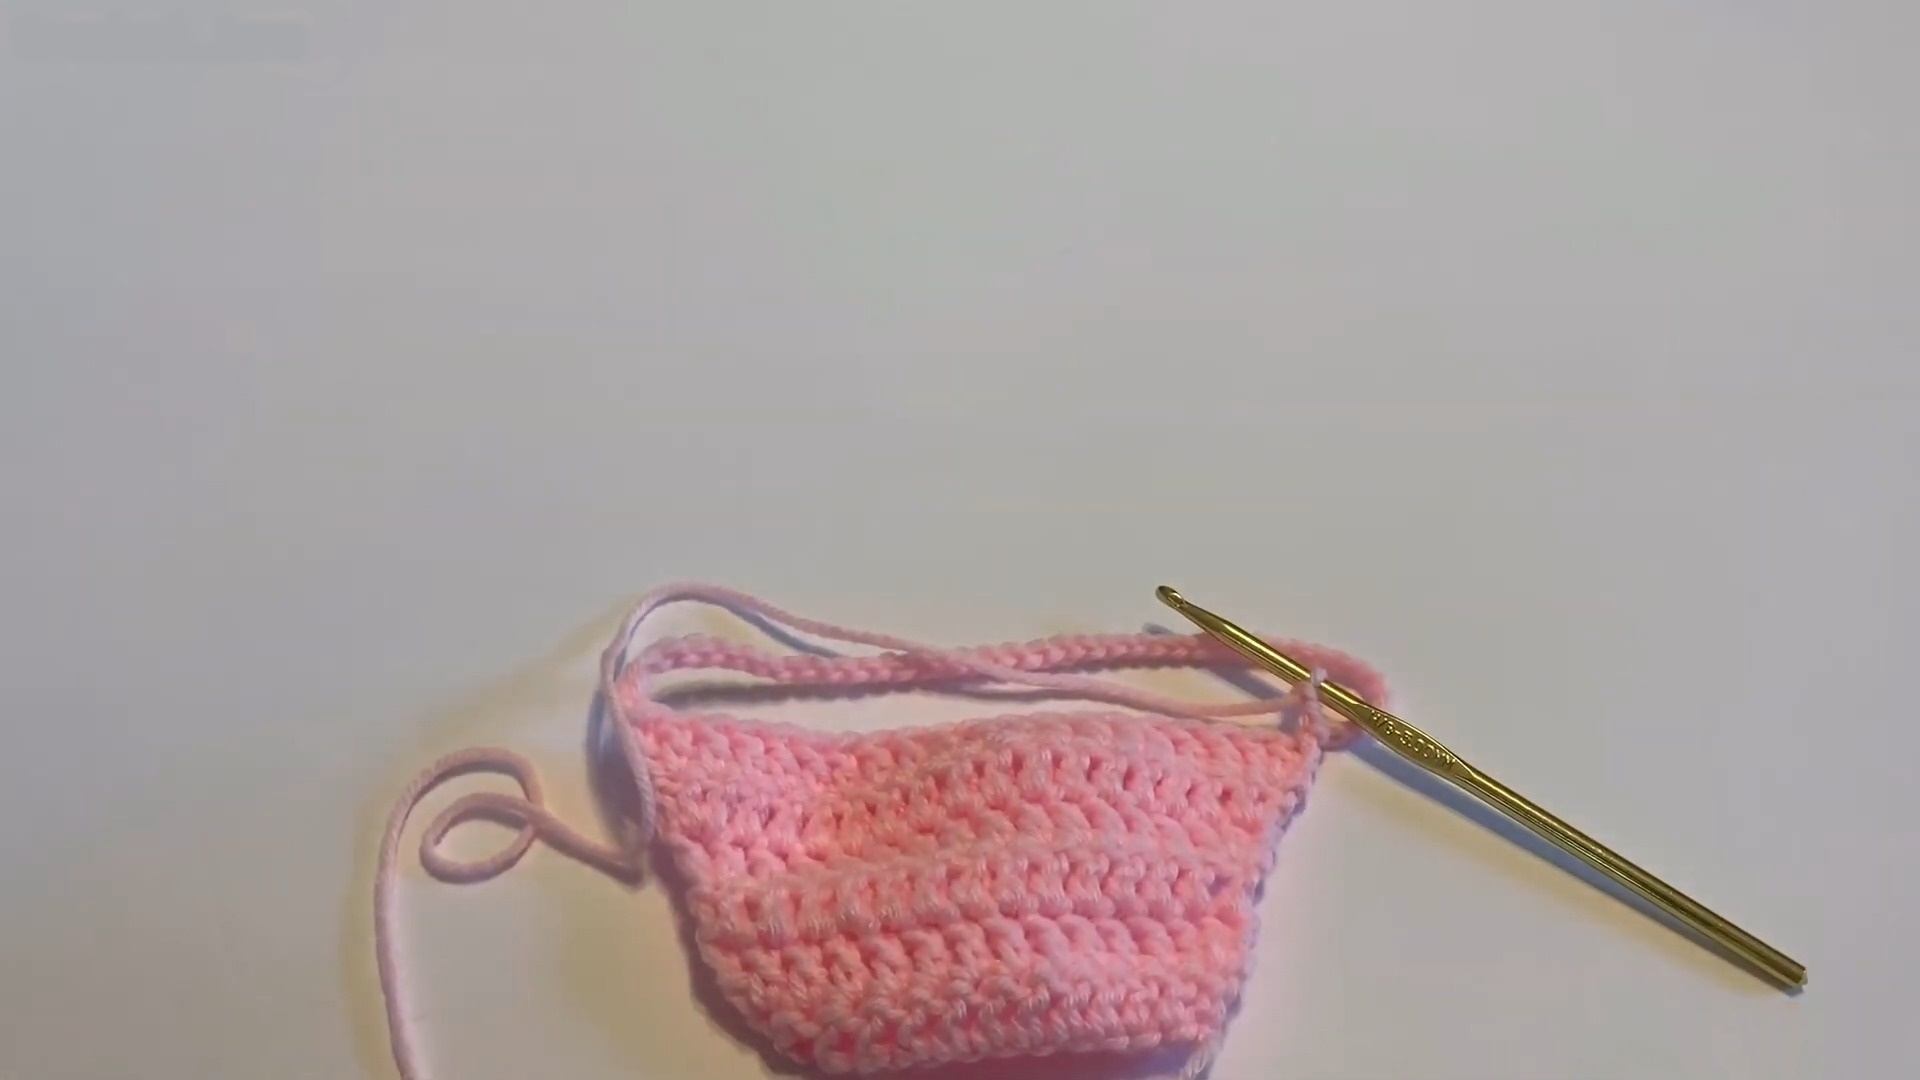
Part 1: Romper Base
- Foundation Row:
- CH 50 (adjust to fit chest circumference).
- Work SC across foundation chain.
- Body Section:
- Rows 2–16: Work SC across with turning after each row.
- For texture, alternate rows of HDC and SC starting from Row 17.
- Leg Openings:
- Divide your work in half and mark each side.
- For each leg, SC around the opening to create a clean edge.
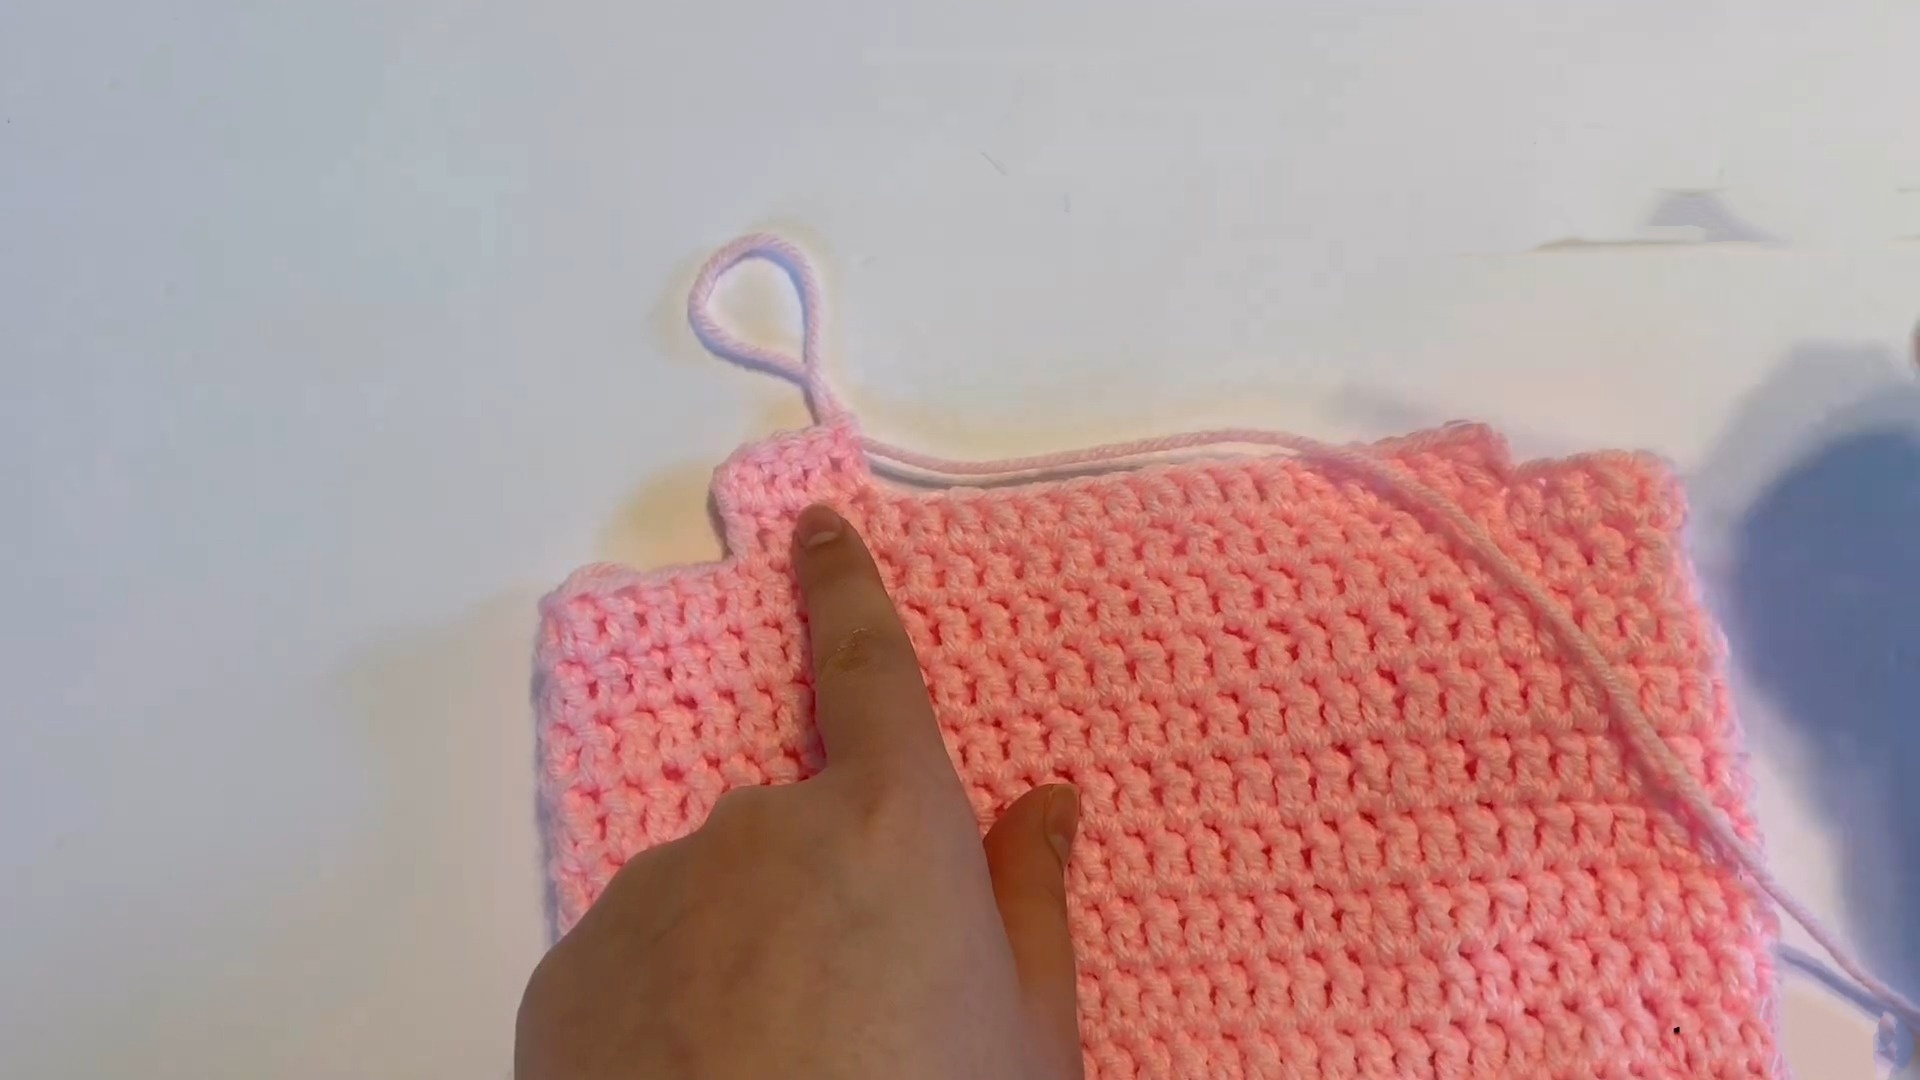
Part 2: Top Sleeveless Section
- Front Panel:
- Attach yarn to top edge, CH 1.
- Row 1: Work SC evenly across.
- Continue for 6 rows, shaping neck by decreasing 1 stitch at the start of every row.
- Back Panel:
- Repeat same steps as front panel without neck shaping.
Part 3: Straps and Finishing Touches
- Shoulder Straps:
- CH 30 for each strap.
- Attach to back panel with SL ST.
- Button Closure:
- Sew buttons to front panel straps; adjust button positions for tightness.
- Edging:
- Work SL ST around all edges for a polished look.
Final Touches:
- Weave in loose ends using a yarn needle.
- Steam block the romper for perfect structure and neatness.
Pattern Question
Q: Can the pattern be adjusted for different baby sizes?
A: Yes! The pattern accommodates various sizing adjustments, allowing you to tweak aspects like width and length. Instructions are typically adaptable, ensuring the romper fits newborns up to toddlers.
Conclusion
Crocheting a baby romper is a fulfilling project that blends style and practical utility. It’s a chance to create something cozy and adorable while exploring your creativity. Whether you’re an experienced crocheter or a novice, this pattern is an enjoyable and rewarding craft you’ll love!


