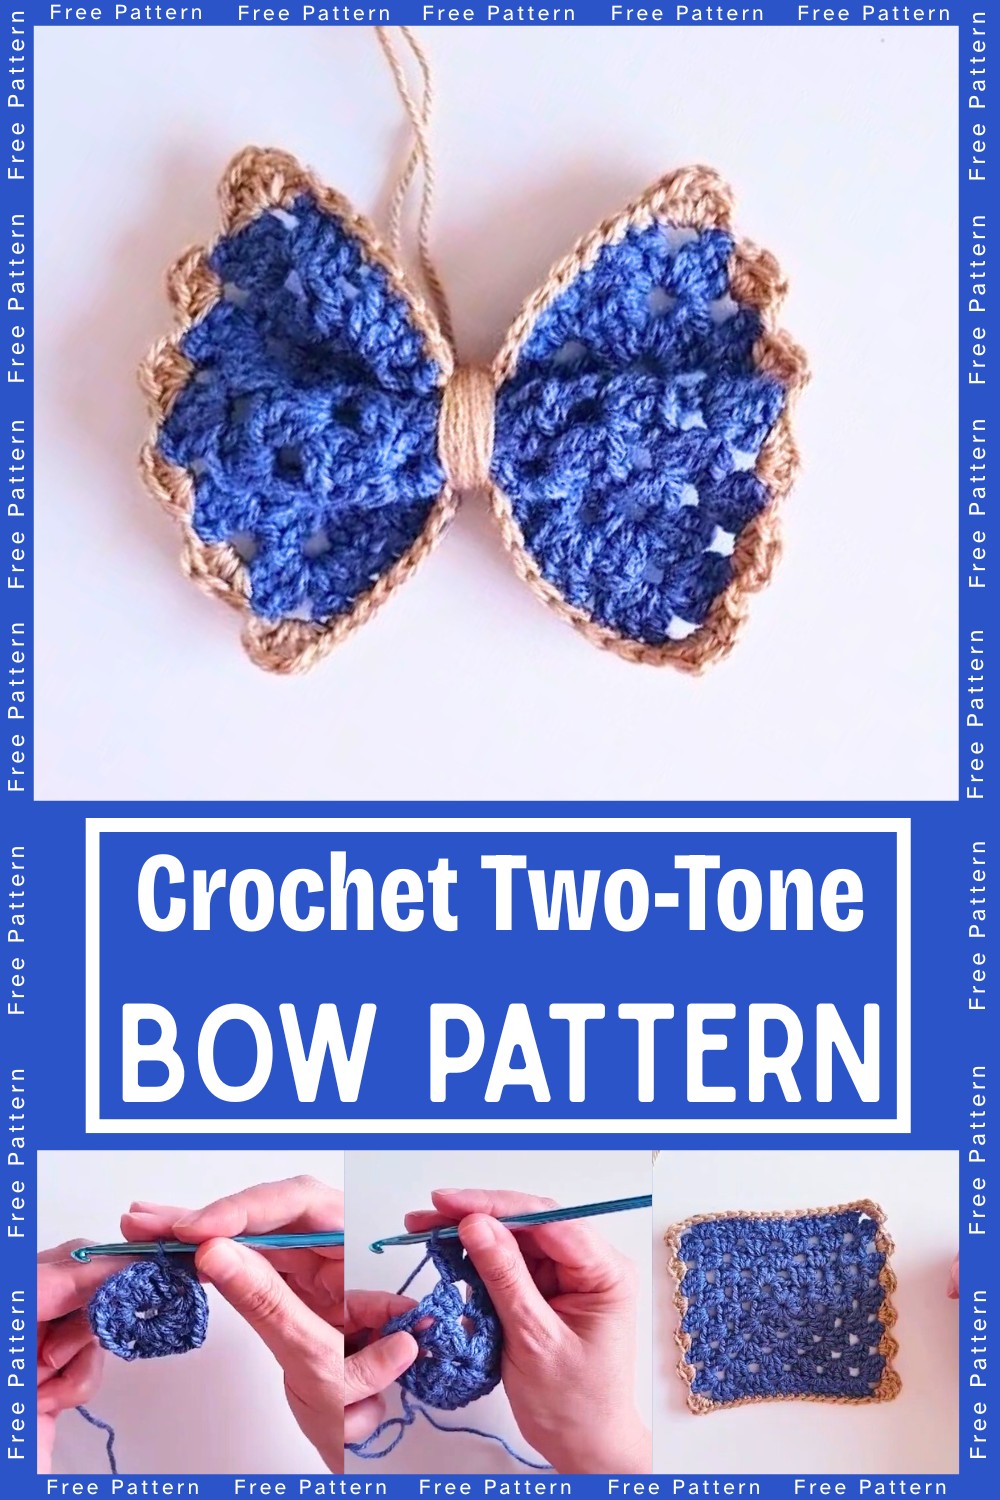
Create a charming, versatile two-tone crochet bow using scrap yarn! This quick and easy project is perfect for all skill levels and adds a delightful touch to everything from gifts and crafts to home decor and fashion accessories.
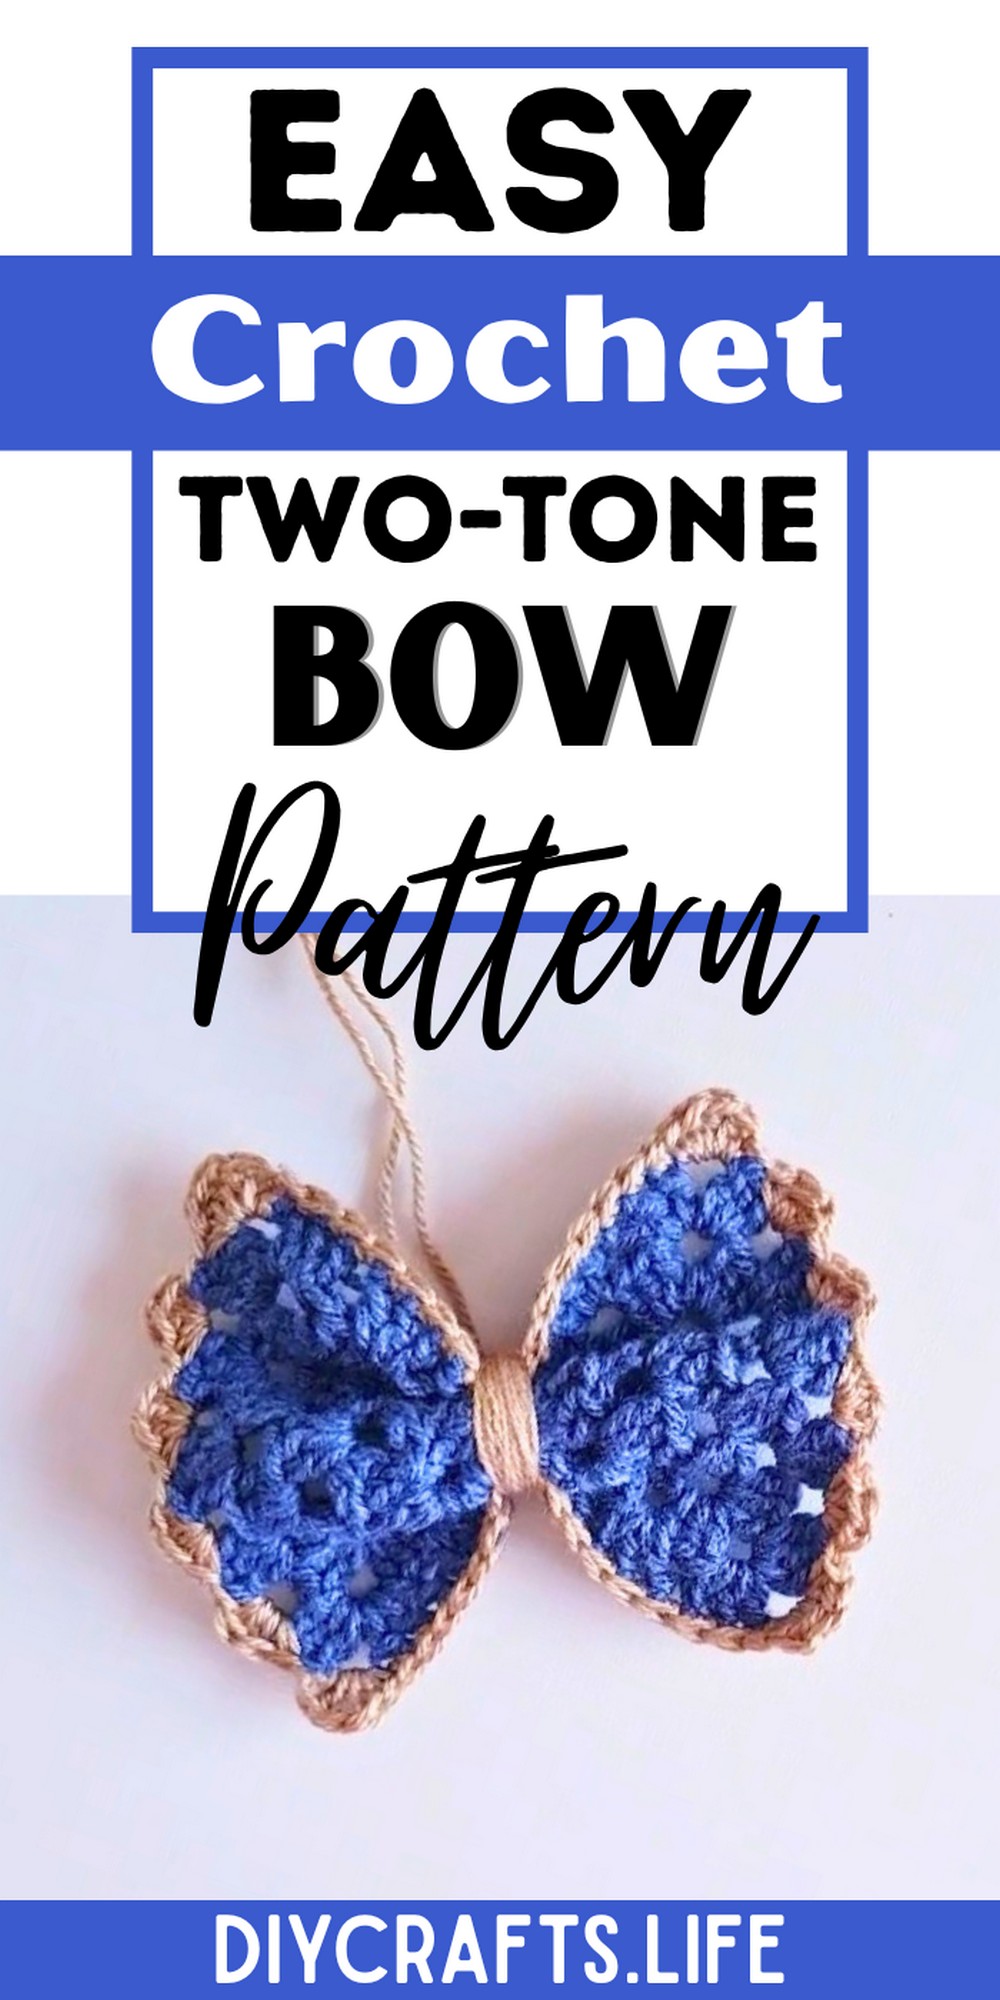
This crochet bow is lightweight yet durable, making it a stylish embellishment for garments, hair accessories, or gift wrapping. Its two-tone design adds an extra layer of visual appeal, and you can customize it with your favorite yarn colors for a personal touch.
Two-Tone Crochet Bow Pattern
This straightforward project is beginner-friendly, involving simple double crochets and chaining techniques. With just five pattern rounds and an elegant border, it's customizable and creative, offering endless possibilities to suit your preferences.
Materials and Preparation
Required Materials:
- Yarn: Acrylic yarn (any scrap yarn is suitable).
- Yarn Weight Recommendation: Medium weight (Double Knit or Worsted).
- Crochet Hook: 5 mm crochet hook (though the yarn suggests a 4 mm hook, opting for a slightly larger hook provides flexibility).
- Additional Tools:
- Yarn needle for weaving in ends.
- Scissors.
Abbreviations and Notes
Abbreviations:
- CH: Chain
- SC: Single Crochet
- DC: Double Crochet
- SL ST: Slip Stitch
Pattern Notes:
- General Tips:
- The bow is made using a variation of the traditional granny square pattern but without chaining between clusters.
- Corners are always created using “3 DC, CH 2, 3 DC” in the same space.
- Remember to keep your tension consistent, especially when wrapping the center of the bow.
- Special Techniques:
- No chain between clusters: This ensures the bow doesn’t turn floppy or misshapen during assembly.
- Folding and wrapping correctly for the finished bow shape.
Gauge, Approximate Size, and Pattern Notes
Gauge:
Gauge is not critical for this pattern, but using a slightly larger hook provides a softer finish to the bow.
Approximate Dimensions:
- Completed bow size: Approximately 7 inches across (can vary based on yarn and tension).
Pattern Notes:
- This project uses a traditional granny square design but omits chains between clusters to prevent floppiness.
- The square is folded into a bow once the crochet work is complete.
- No gauge swatch is necessary.
Step-by-Step Pattern
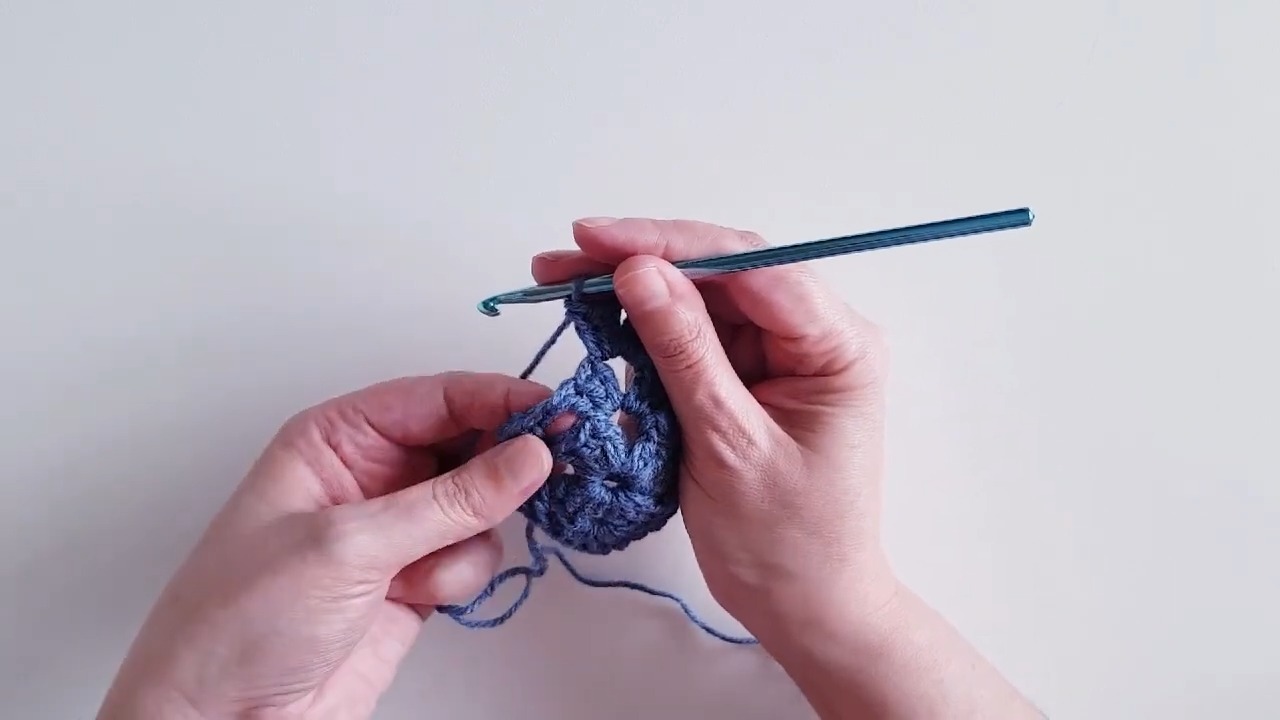
Start with the Base:
- Create a Slip Knot: Place a slip knot on your hook.
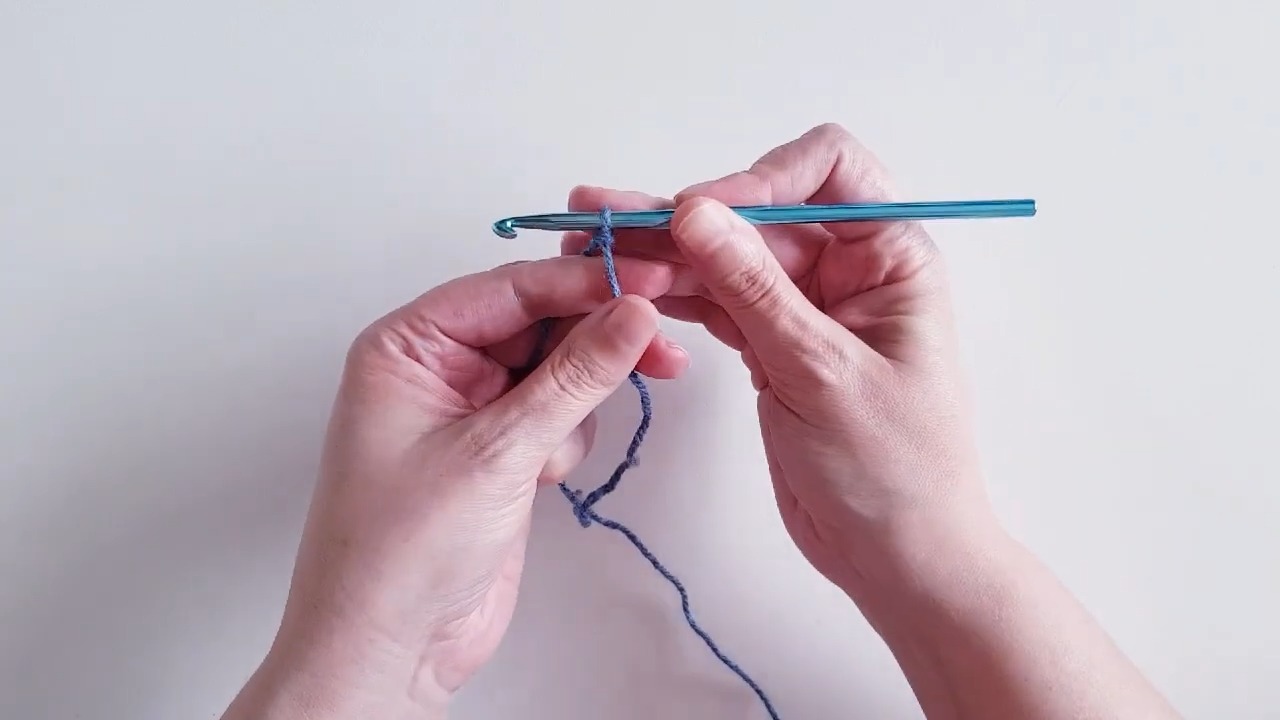
- CH 5: Chain 5.
- Form a Ring: SL ST into the first chain to form a ring.
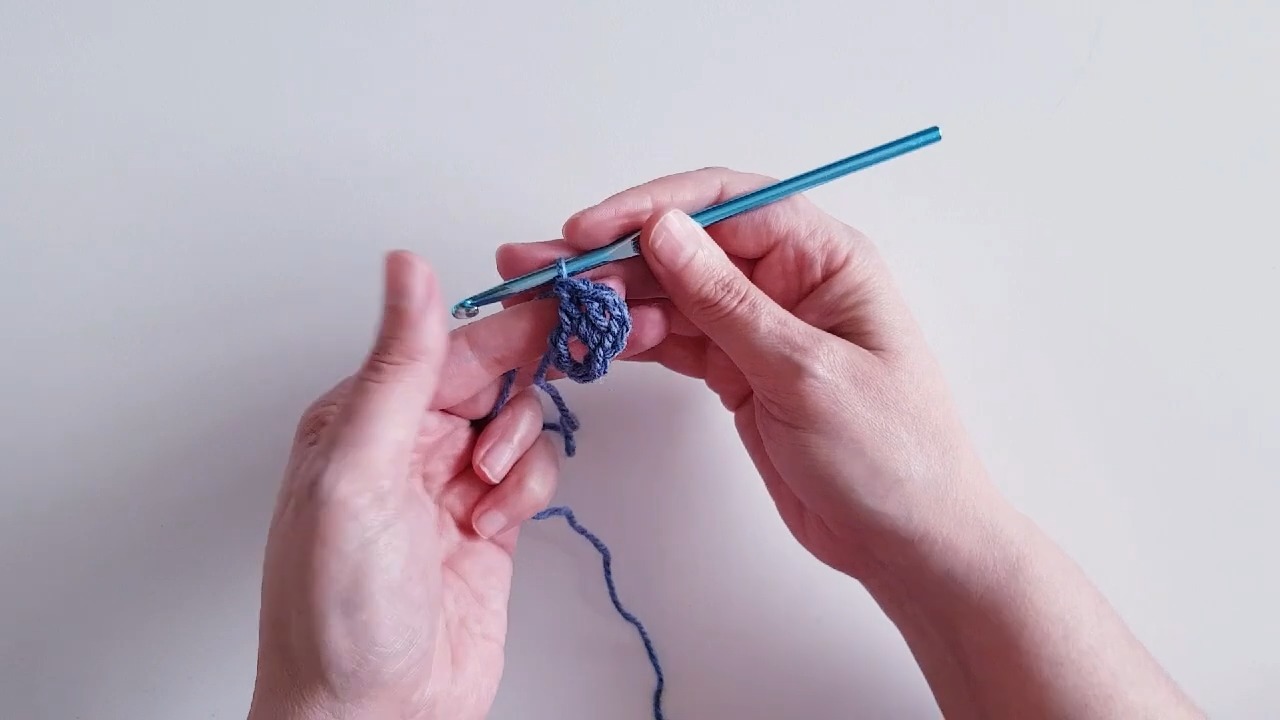
Round 1: Create the Granny Square Base
- CH 3: Representing your first DC in the round.
- Into the Ring: Work 2 DC into the ring (counts as “3 DC” with the CH 3).

- CH 2: Create the corner space.
- Repeat: Work 3 DC, CH 2 into the ring three more times for a total of 4 clusters.
- Join: SL ST into the top of the initial CH 3 to close the round. Adjust work if needed to ensure stitches fit snugly.
Round 2: Build the Granny Square
- Move to the Corner:
- SL ST into the next stitch and then SL ST into the CH 2 corner space to position your hook.
- Corner Pattern:
- CH 3 (first DC).
- Work 2 DC into the same corner space.
- CH 2, then work another cluster of 3 DC into the same corner space.
- Move to Next Corner:
- Skip directly to the next corner CH 2 space and repeat 3 DC, CH 2, 3 DC.

- Continue and Complete:
- Repeat the corner pattern for the remaining CH 2 spaces.
- SL ST into the top of the CH 3 to close the round.
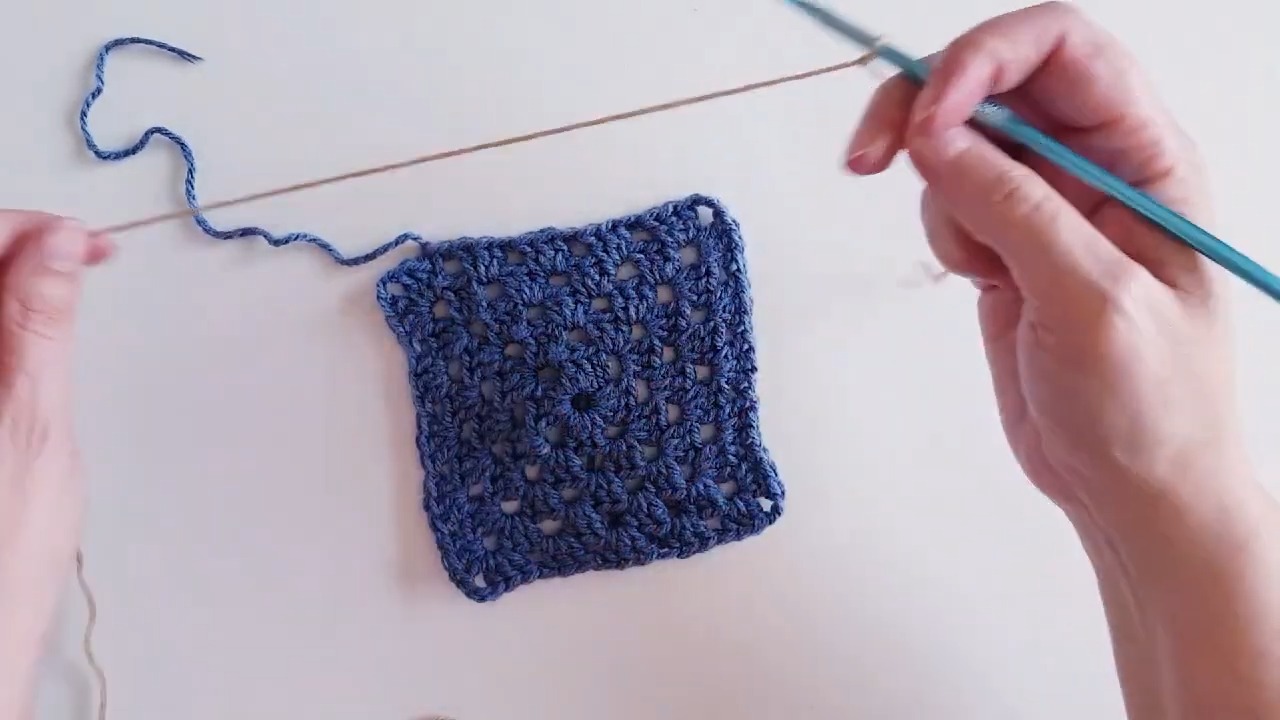
Rounds 3–5: Continue Granny Square Pattern
- Repeat the same corner pattern (3 DC, CH 2, 3 DC) for each corner and work 3 DC into each cluster space between the corners.
- Finish: Complete your granny square after 5 rounds.
Last Round: Edging
- Switch to Edging:
- Attach yarn with a slip knot into any corner CH 2 space.
- CH 1, work SC, 3 DC, SC into the corner space.
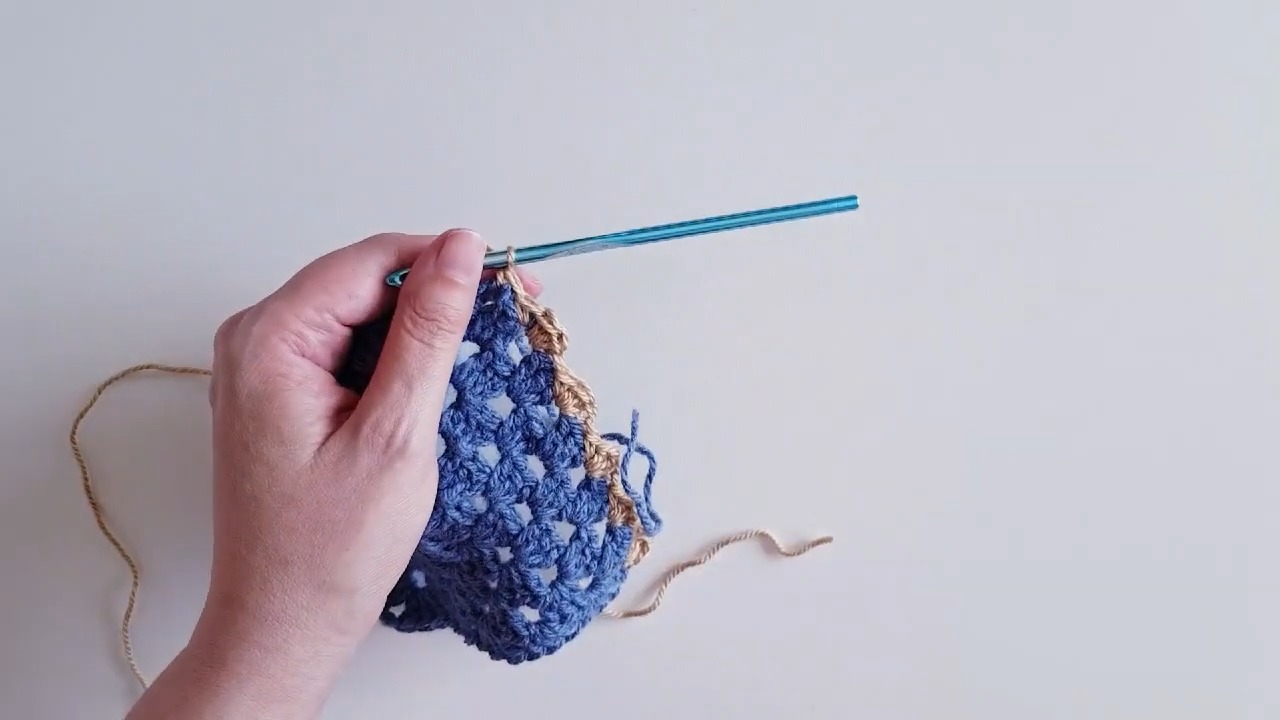
- Fill Spaces Between Clusters:
- In each space between clusters, work SC, 2 DC, SC.
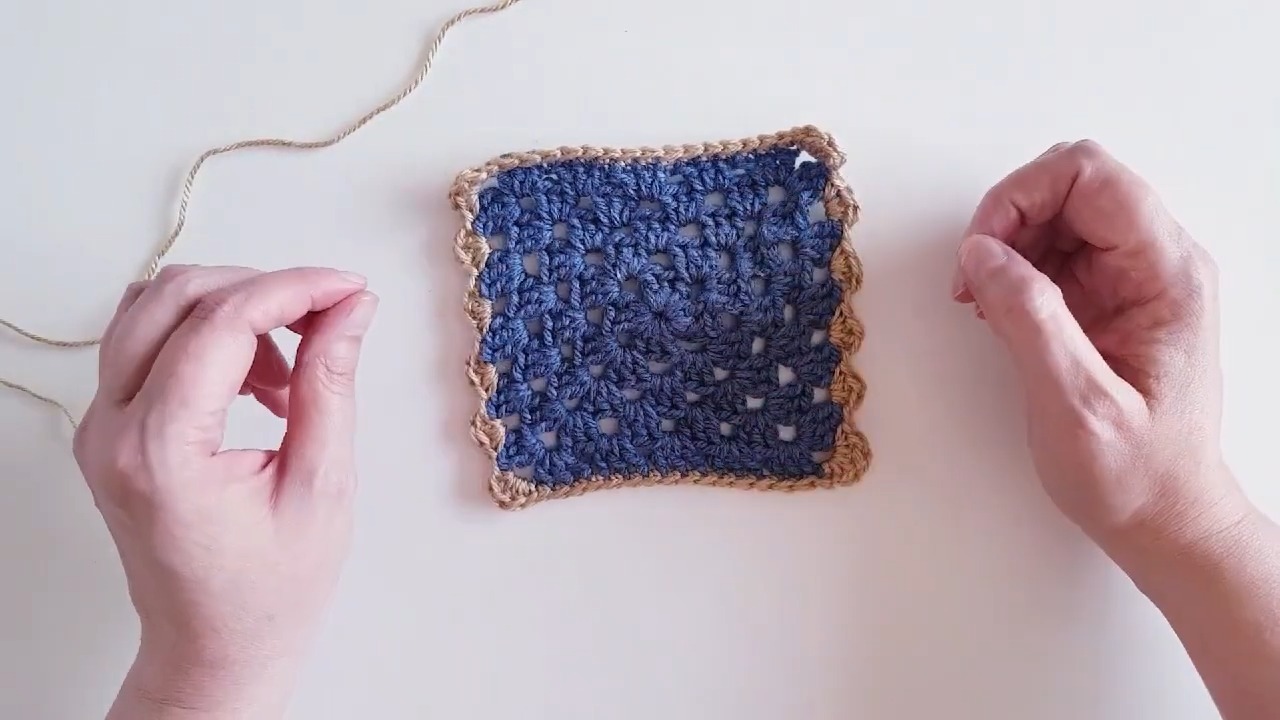
- Continue Around Square:
- Repeat this pattern around the square, ensuring corners remain consistent (SC, 3 DC, SC).
- Work SC stitches into any double crochets from the previous round for a flat edge.
- Finish: Once completed, SL ST into the first SC, CH 1, and cut the yarn.
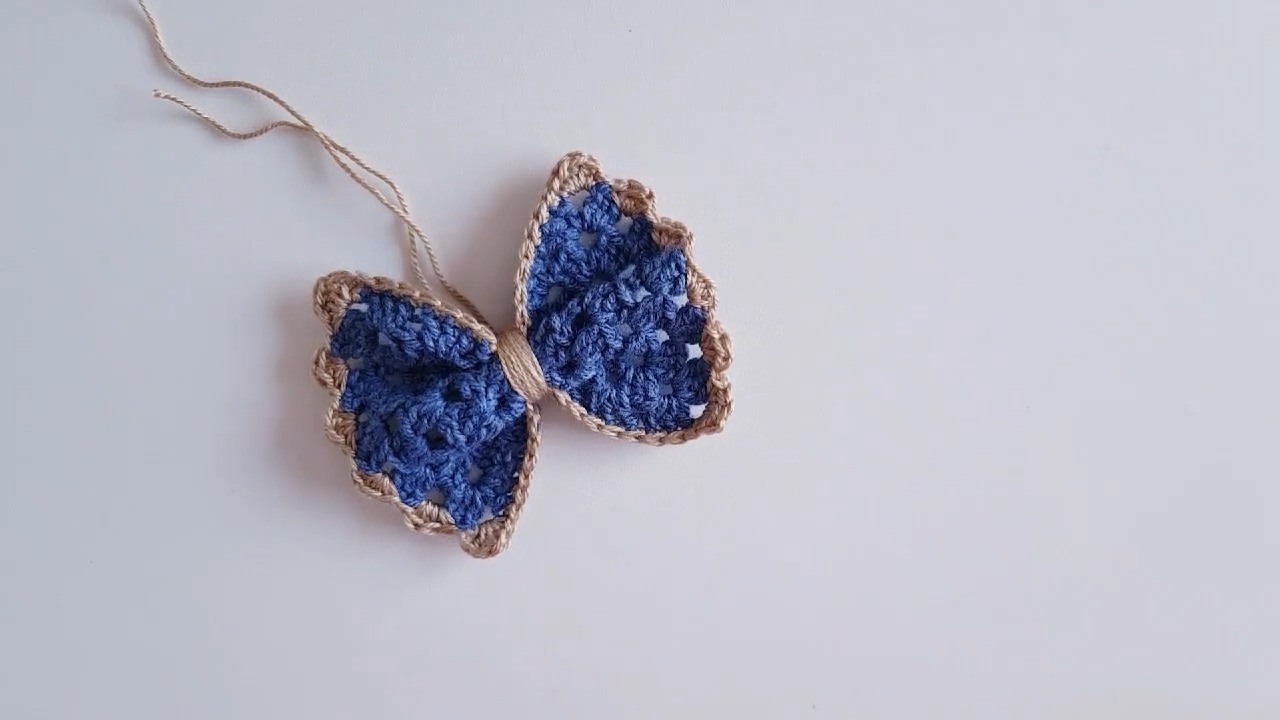
Assembly: Transform the Square into a Bow
- Fold the Square:
- Fold the square in half horizontally, bringing the top edge to the center.
- Next, fold the bottom edge toward the center to form a bow shape.

- Secure the Bow:
- Flip the bow to the back and tie the folds securely with a yarn tail.
- Double-knot to ensure the shape holds.
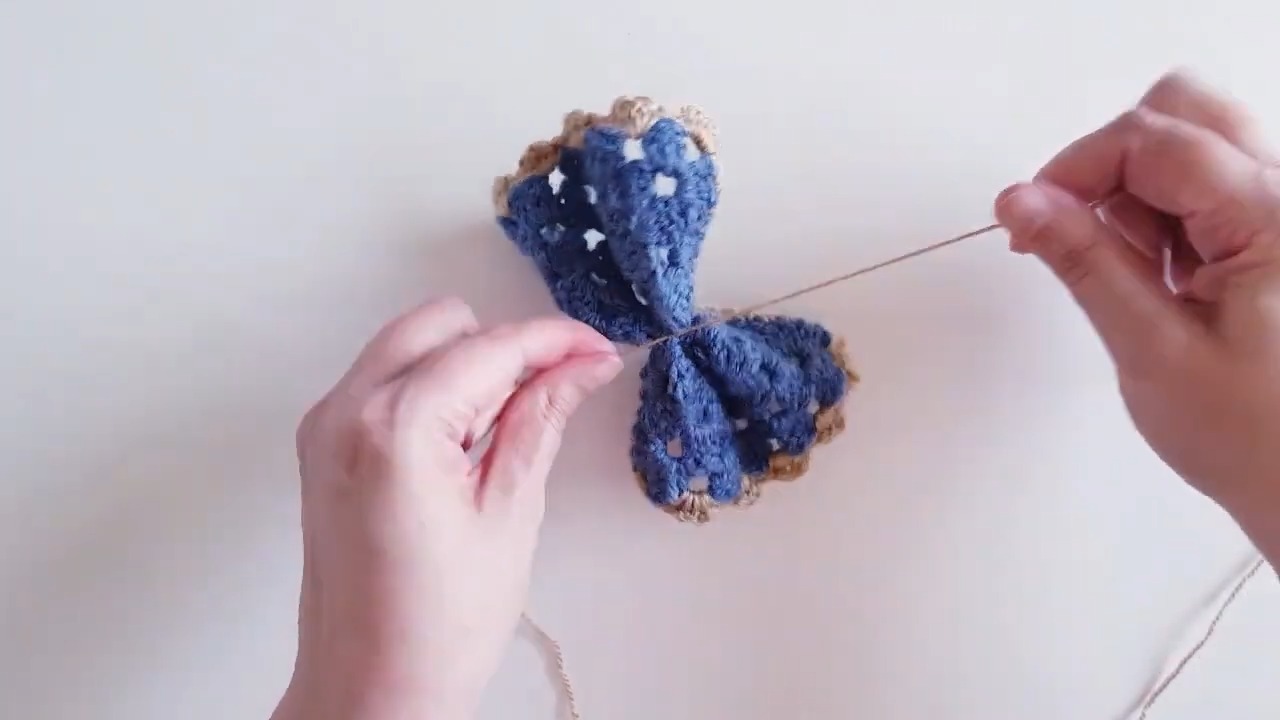
- Wrap the Center:
- Take a long yarn tail and wrap it tightly around the center of the bow to create the “knot.”
- Keep wrapping until you’re satisfied with the width of the center.
- Secure the Wrap:
- Tie a double-knot at the back using the yarn tails to secure the wrap.
- You can use the tails to attach the bow to a hairband, clip, or other accessory.
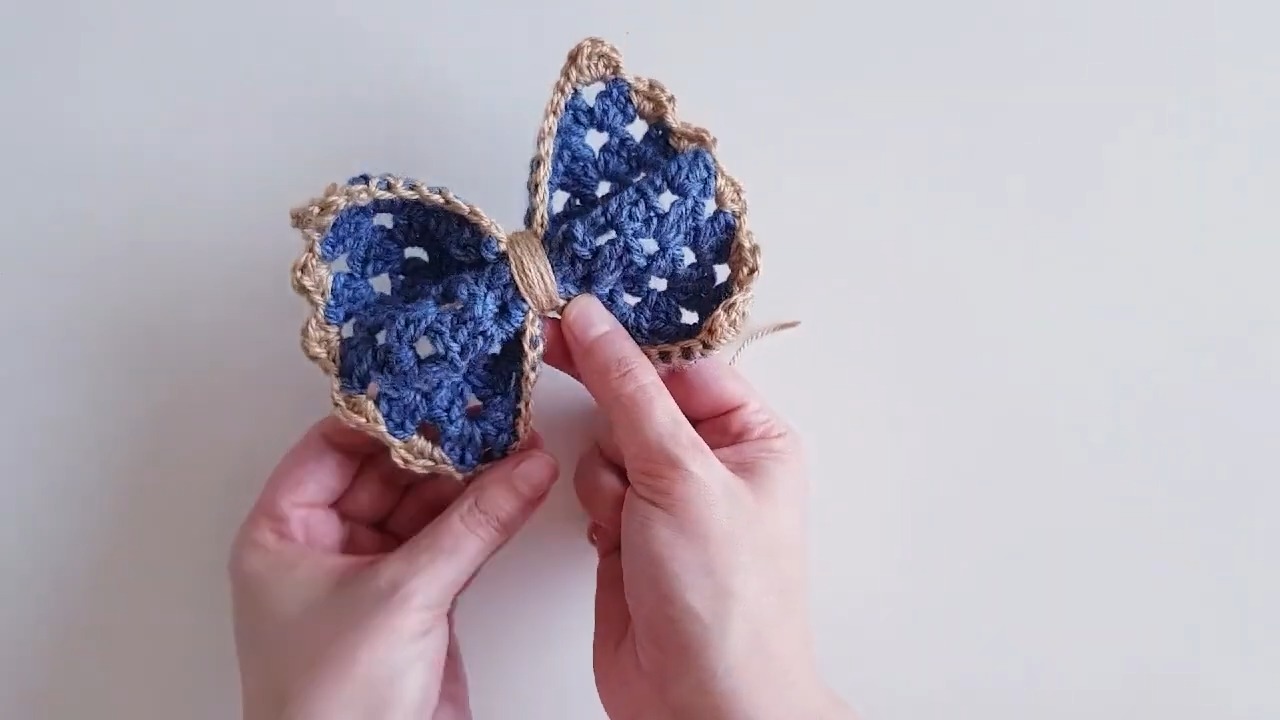
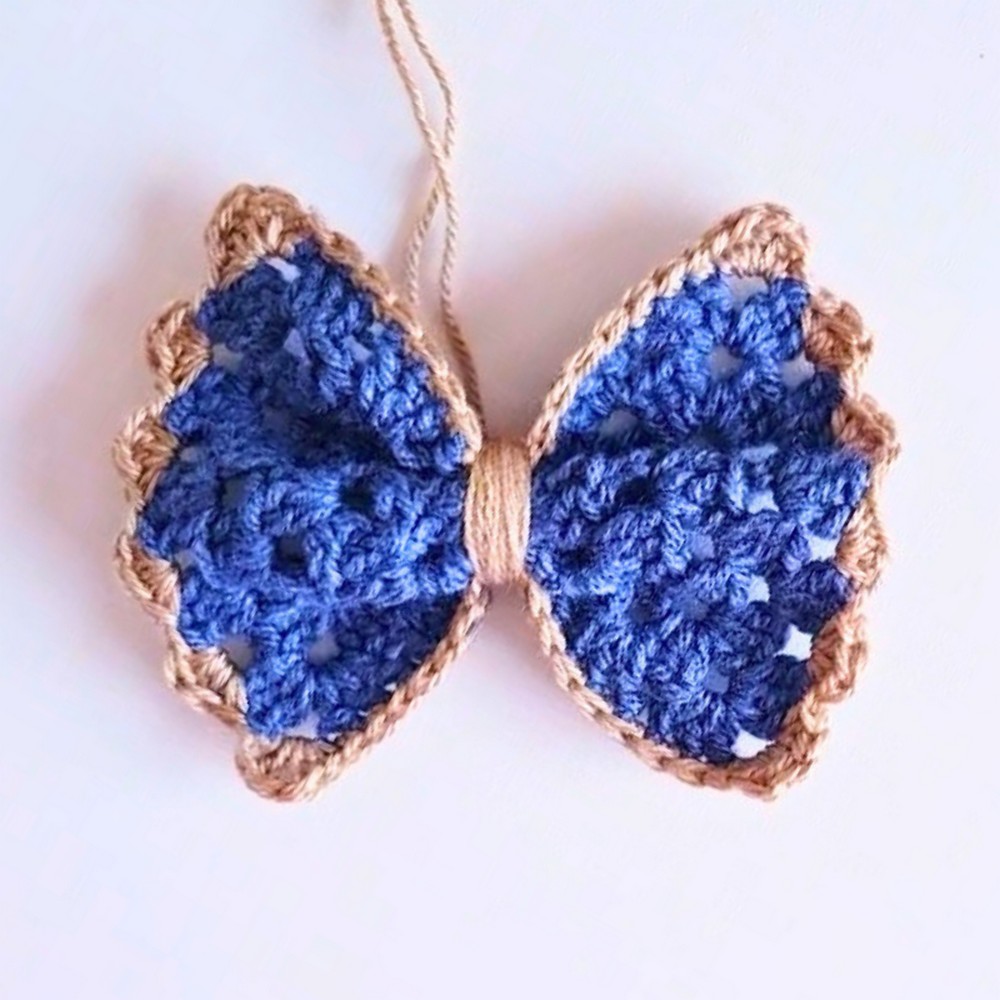
Finished Product
- Position the bow for final adjustments.
- Ensure edges and folds are aligned nicely.
- Enjoy your handmade crochet bow, perfect as a decorative piece or accessory!
Pattern Question
Q: Can I use a different hook size or yarn type?
A: Absolutely! Using a different hook size or yarn weight will alter the bow's dimensions and texture, letting you tailor it to your specific needs.
Conclusion
The two-tone crochet bow is a fun and easy project to craft, personalize, and enjoy. Whether enhancing a gift, a child’s headband, or a home craft project, this bow blends creativity and utility in one adorable design. Try it today!


