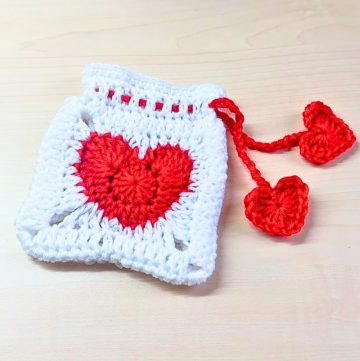
Transform your crochet creations into something extraordinary with the Hanging Tulip Bow design. Capturing the essence of delicate tulip flowers, this pattern bridges the beauty of blooms with timeless elegance. Whether you hang it for decor or style it into a unique accessory, its graceful and charming details leave a lasting impression.

Crochet Hanging Tulip Bow
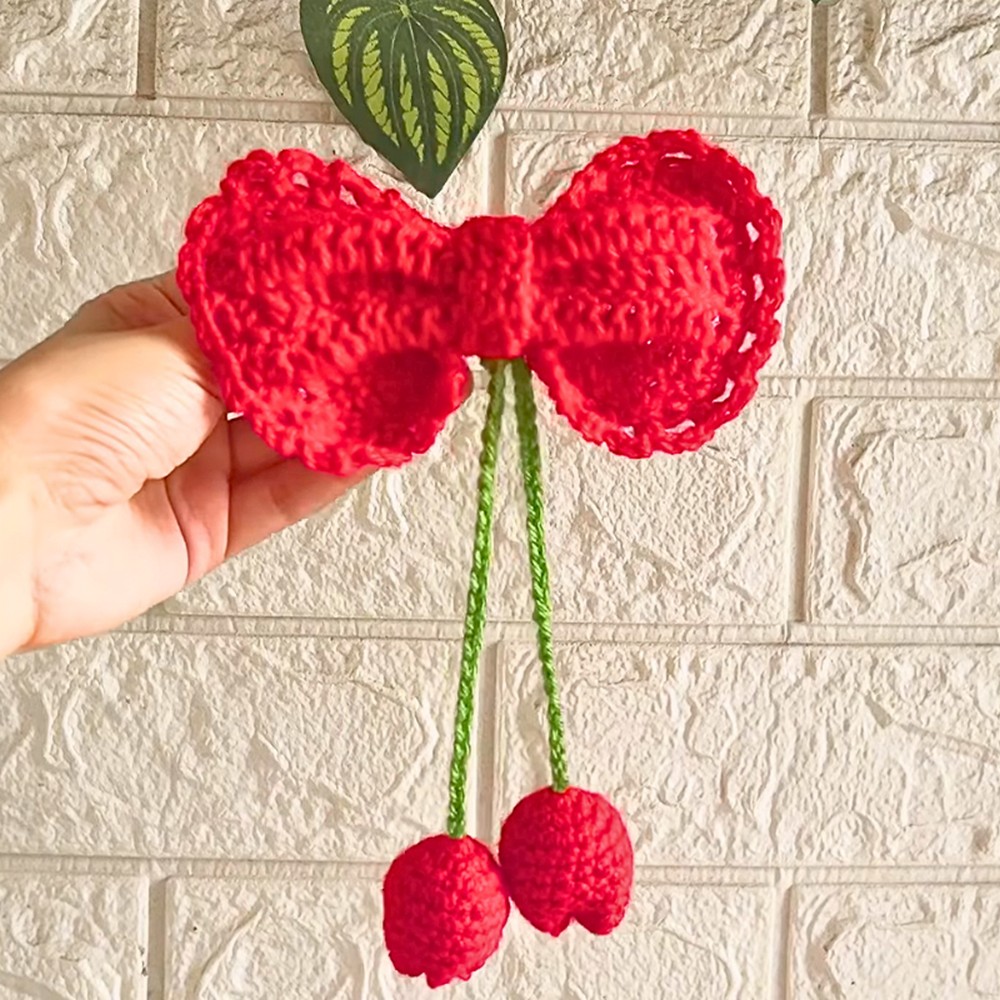
This crochet pattern stands out with its intricate tulip accents, suspended within a beautifully shaped bow design. The balance of floral motifs and structural elements makes it both playful and refined. Perfect for adding a touch of whimsy to your home or wardrobe, this hanging design blends creativity with practical artistry. The gentle curves and striking floral details ensure every stitch feels meaningful. With endless customization potential, the Hanging Tulip Bow is suited for personalization that resonates with your style.
Credit Plakshi Jain | Crochet
Materials & Tools Needed
- Yarn:
- Type: 3-ply acrylic yarn (used for the tutorial).
- Colors: Red for the tulip, green for the stem, yellow or contrasting color for the bow clip lining.
- Feel free to experiment with different textures or fiber types (e.g., cotton, wool).
- Hook:
- 3 mm crochet hook.
- Filling Material:
- Lightweight stuffing for the tulips.
- Needle:
- A sewing or yarn needle for finishing and attaching components.
- Clip:
- Tic-tac pin or any clip for attaching to the bow.
Finished Size & Customization Ideas
Approximate Size:
- Tulip Body Size: Varies depending on filling, approximately 2-3 inches in height.
- Bow Width: 3-4 inches across, depending on the number of rows made in the bow.
- Hanging Strings: Typically 25-30 chains or adjustable based on preference.
Customization Ideas:
- Adjust Size:
- Use thicker yarn and larger hooks for a bigger, chunkier tulip and bow.
- Use thinner yarn for a more delicate design.
- Style Changes:
- Vary color combinations for seasonal themes (e.g., pastel tulips for spring, deeper hues for autumn).
- Use metallic or multi-colored yarn for added texture.
- Lengthen or shorten the hanging strings for decor versatility.
- Design Adjustments:
- Experiment with different strap counts for unique hanging lengths.
- Add beads or flowers along the strings for embellishment.
Pattern Abbreviations & Terminology
Crochet Abbreviations:
- ch: Chain.
- sc: Single crochet.
- dc: Double crochet.
- sl st: Slip stitch.
- inc: Increase (two stitches in the same stitch).
Terminology:
- Magic Ring: Used as a starting loop to crochet inside, securing the center tightly.
- Rounds vs Rows: Rounds are stitches worked in a circle; rows are linear stitches.
- Slip knot, starting chains, and finishing techniques are common across projects.
Step-by-Step Detailed Crochet Instructions
1. Tulip: Flower Body
Step 1: Create the Magic Ring.
- Make a slip knot as follows:
- Cross the yarn over two fingers to create a loop.
- Insert the hook, pull through the front loop, and tighten.
- Adjust the loop to begin crocheting.
- Hold the knot with your right hand and pass it to your left hand for stability.
Step 2: Round 1.
- Insert 6 sc into the magic ring.
- Pull the yarn tail to close the ring tightly.
Step 3: Round 2 (Increases).
- Work 6 increases (meaning 2 sc in each stitch).
- You now have 12 stitches.
Step 4: Round 3 (Increase Pattern).
- Work the following pattern:
- 1 sc in the first stitch, 2 sc in the next stitch (increase).
- Repeat this pattern around. You should now have 18 stitches.
Step 5: Rounds 4-9.
- Work 1 sc in each stitch for rounds 4 through 9.
- By this stage, your tulip body is complete.
Step 6: Finishing.
- Slip stitch to close, leave a long tail for sewing, and cut off extra yarn.
- Make a second tulip following the same steps.

2. Stem Strings
Step 1: Create Chains.
- Take green yarn and leave a yarn tail.
- Make 30 chains for one string and 25 chains for the second string.
Step 2: Attach Strings to Tulips.
- Insert the chains into the center of the tulips.
- Tie a knot securely with the yarn ends to fix the tulip to the string.
- Cut excess yarn.
Step 3: Stuffing and Closing.
- Insert filling material to shape the tulip.
- Pull the top tight and knot to seal the tulip body.

3. Bow Body
Step 1: Base Rows.
- Start with a slip knot.
- Create 22 chains.
Step 2: First Row of DC.
- Skip the first two chains and begin in the third chain.
- Work 1 dc into each chain across (total of 20 dc stitches).
- Chain 2 to start the next row and flip your work.
Step 3: Continue Rows of DC.
- Work 20 dc in each row for a total of 6 rows.
- Chain 2 at the start of each row.

Step 4: Border.
- Chain 1.
- Work sc across the border until you return to the starting point.
- Slip stitch to finish.
Step 5: Decorative Loop Edges.
- Make 3 chains, then skip one stitch.
- Work sc into the next stitch.
- Repeat this looping pattern across.
- Slip stitch to finish and cut the yarn.
4. Bow Center Lining
- Start with a slip knot and chain 5.
- Skip the first two chains and work dc in the next three chains.
- Chain 2, flip, and repeat dc rows; continue until the lining fits your bow width.
- Typically, 6 rows of dc will suffice.
- Leave a tail and sew the lining across the center of the bow to secure.

5. Final Assembly
Attach the Tulips to the Bow:
- Fold the bow into shape and secure by sewing.
- Sew the tulip strings onto the bow’s base with a needle.
Attach the Clip:
- Place the tic-tac pin on the bow’s back side.
- Sew or glue it into place securely.
Finishing Touches
- Check for loose ends and weave in any extra yarn.
- Fluff the tulips and bow to ensure all elements sit flush.