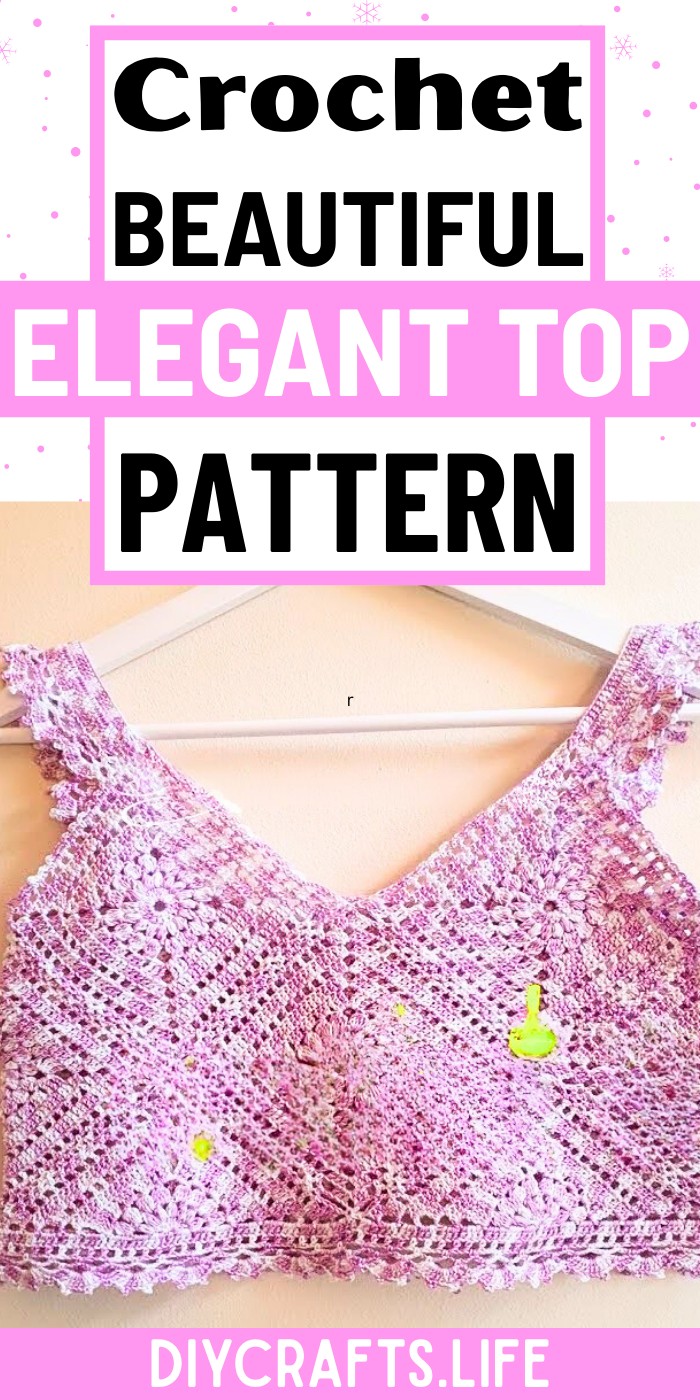
Bring your wardrobe to life with a crochet top that exudes charm and personality. This captivating design is perfect for anyone looking to create something simple yet stylish. It’s not just a piece of clothing—it’s a reflection of your creativity, crafted with care and thought, offering a blend of comfort and elegance.
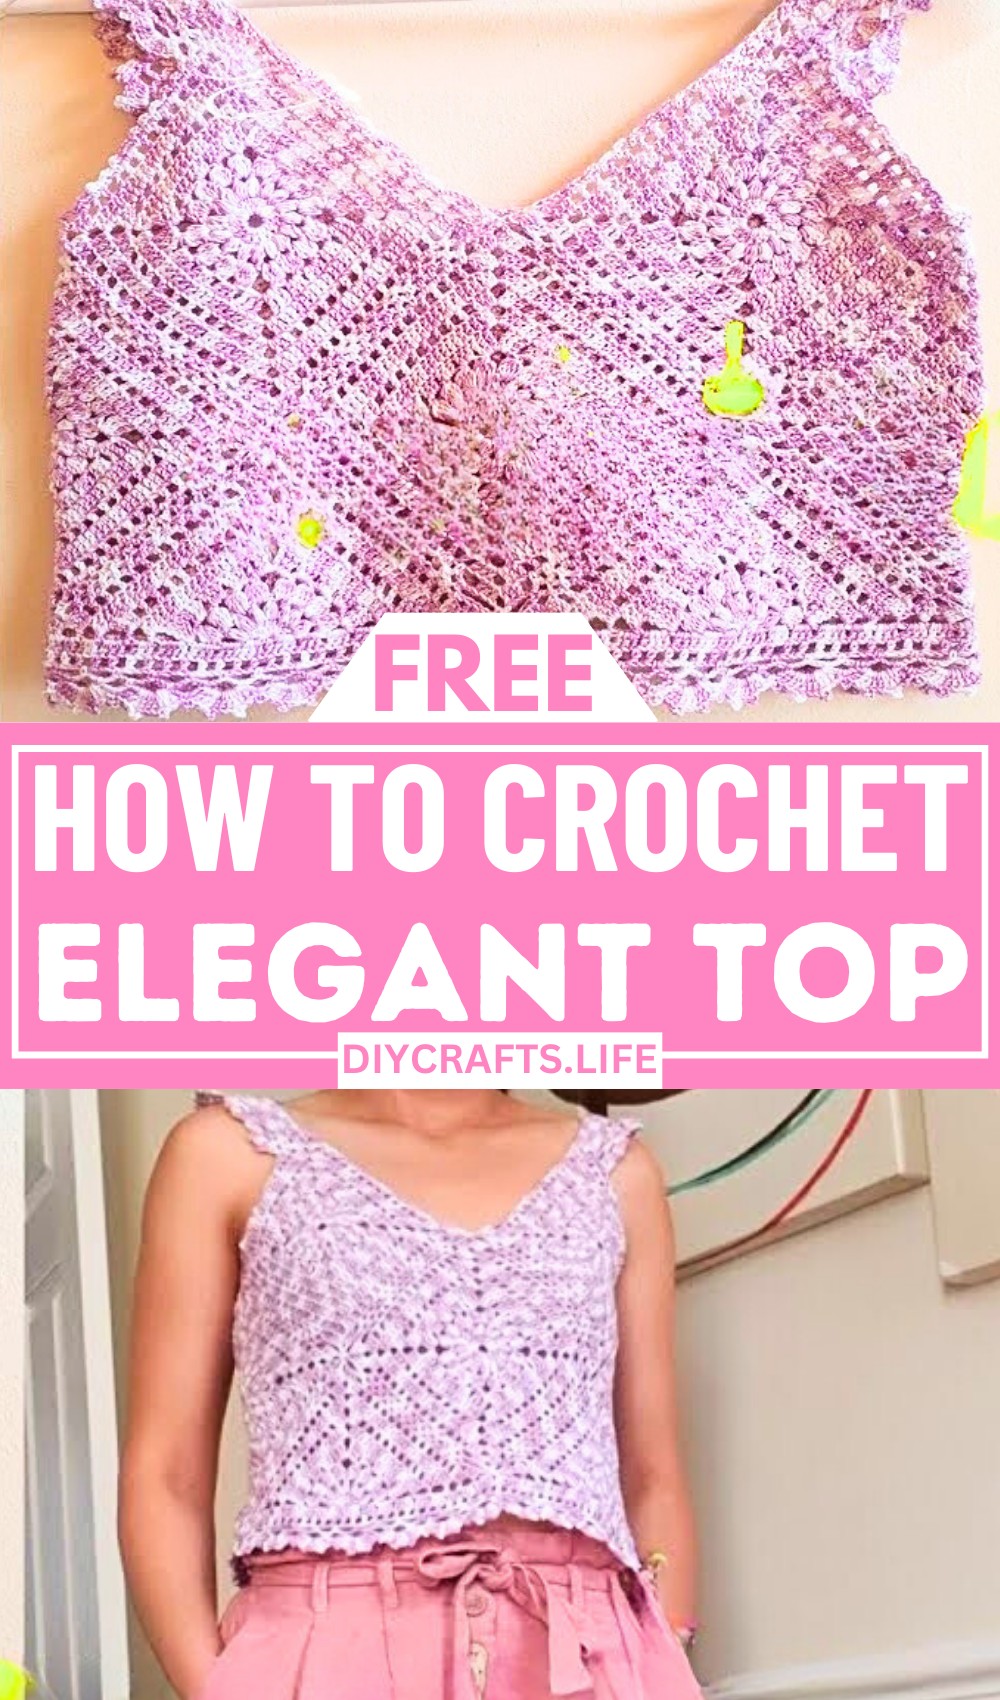
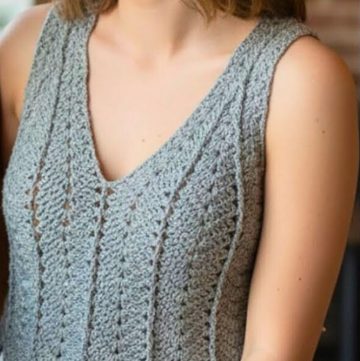
Elegant Crochet Top
This crochet top incorporates a timeless design with unique textures and patterns, making it both trendy and classic. Its lightweight feel and intricate details create a versatile piece that suits any occasion—whether casual or special. You'll love how the design flows, pairing effortlessly with jeans, skirts, or layered outfits. Create your own look by choosing your favorite shades, and make this top a one-of-a-kind addition to your style.
Credit KunitaHandmade
Materials & Tools Needed
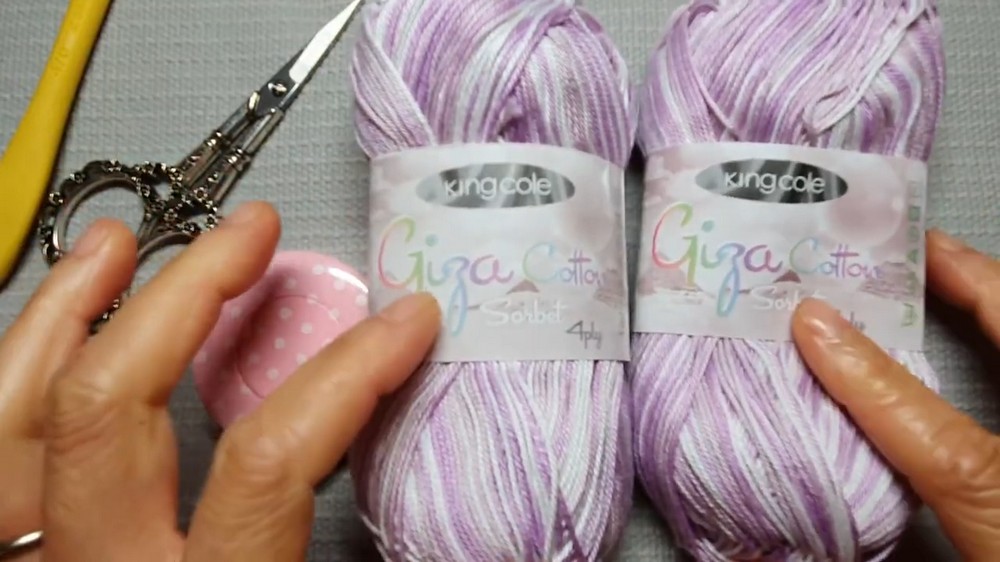
- Yarn:
- Kinkos Giza Cotton (or similar cotton yarn, 4-ply).
- 50g skein in mustard (or your preferred color).
- Hook:
- 2.5mm crochet hook.
- Additional Tools:
- Scissors.
- Tape measure.
- Optional:
- Extra yarn for customization (color changes, accents).
Finished Size & Customization Ideas
- Approximate Finished Size:
- The example top fits a 32-inch bust and uses 6 full granny squares. Each square measures approximately 15 inches across, and additional rows or half squares can be added for a better fit.
- Customization Tips:
- Adjusting Size:
- Add extra rows to the granny squares or half squares.
- Use larger yarn weights or a larger hook size for bigger dimensions.
- Strap Length & Width:
- Adjust the number of chains for the strap to achieve your desired length.
- Add extra rows of double crochet for wider straps.
- Color Choices:
- Use multiple colors within the granny squares or create a striped effect.
- Style Variations:
- Add decorative edges or lace trims to the top or straps.
- For more coverage, repeat rows 5 and 6 on the granny squares or extend the base.
- Adjusting Size:
Pattern Abbreviations & Terminology
The tutorial uses US Terminology:
- CH: Chain.
- DC: Double crochet.
- TC: Treble crochet (yarn over twice).
- SC: Single crochet.
- SL ST: Slip stitch.
- ST: Stitch.
- Puff Stitch: Yarn over, pull through several loops to form a puff.

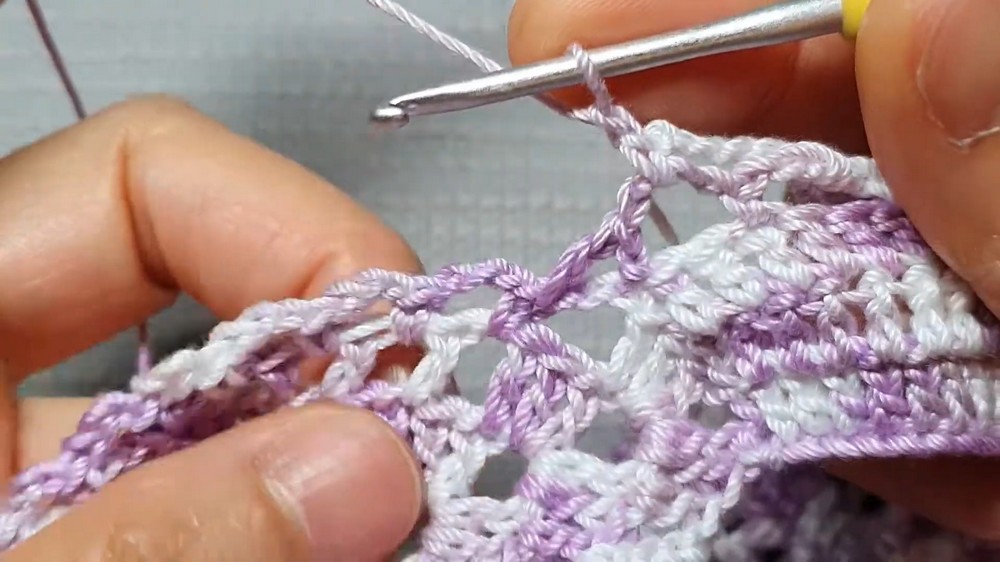
Step-by-Step Detailed Crochet Instructions
1. Crochet a Granny Square
Repeat the following steps to make 6 full squares using the base pattern.
- Foundation Row (Start Center Circle):
- Start with a slip knot.
- CH 8, SL ST to the first CH to form a ring.
- CH 3 (counts as DC), create 16 DC into the ring, SL ST to first DC to close the round.
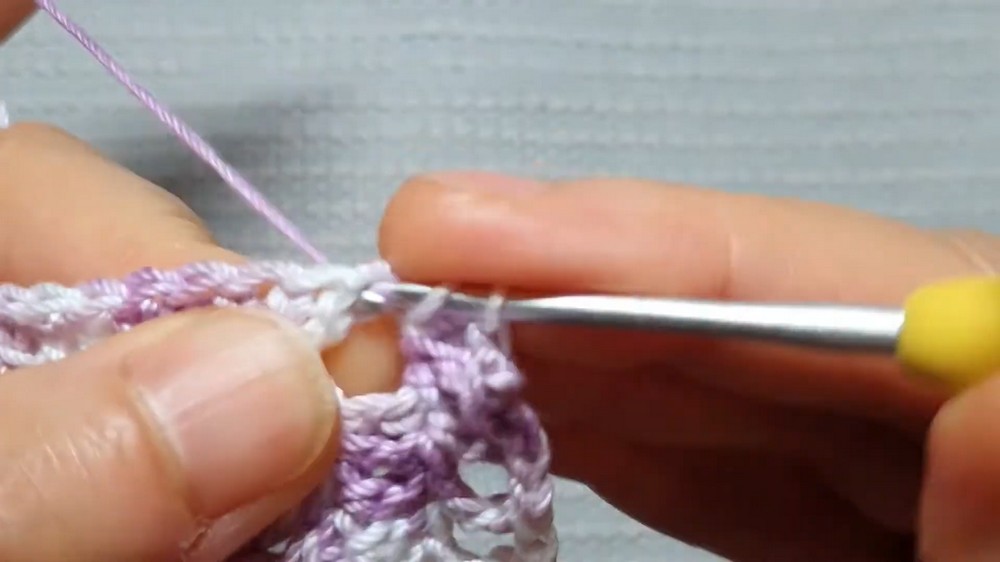
- Row 2 (Puff Stitch Row):
- CH 3, make a puff stitch in the same ST:
- Yarn over, insert hook, and pull through 3 times. Yarn over and finish the puff.
- CH 2, repeat puff stitch + CH 2 into each DC.
- At the end of the row, SL ST into the first CH 3.
- CH 3, make a puff stitch in the same ST:
- Row 3 (Forming Corners):
- Start in the middle of a CH-2 space.
- CH 3, make 4 puff stitches with CH 3 in between to form a corner.
- Corners: CH 5 after the 4 puff stitches to form the next corner.
- Continue creating puff clusters with CH 5 for corners and CH 3 for sides.
- Row 4 - Adding Double Crochet (Base Shape):
- Start in the corner space (CH 5).
- CH 4, work TC for corner sides, add DC clusters for flat edges.
- Each corner comprises 3 TC with CH 3 between clusters.
- SL ST at the end to finish the row.
- Row 5 (Creating Mesh Border):
- Create CH 1 skip mesh with SCs along the row and CH 2 in corners.
- SL ST to close the row.
- Row 6 (Final Mesh Row):
- Repeat the chain mesh structure.
- Increasing Square Size (Optional):
- Continue alternating row 5 and 6 to enlarge your square if needed.
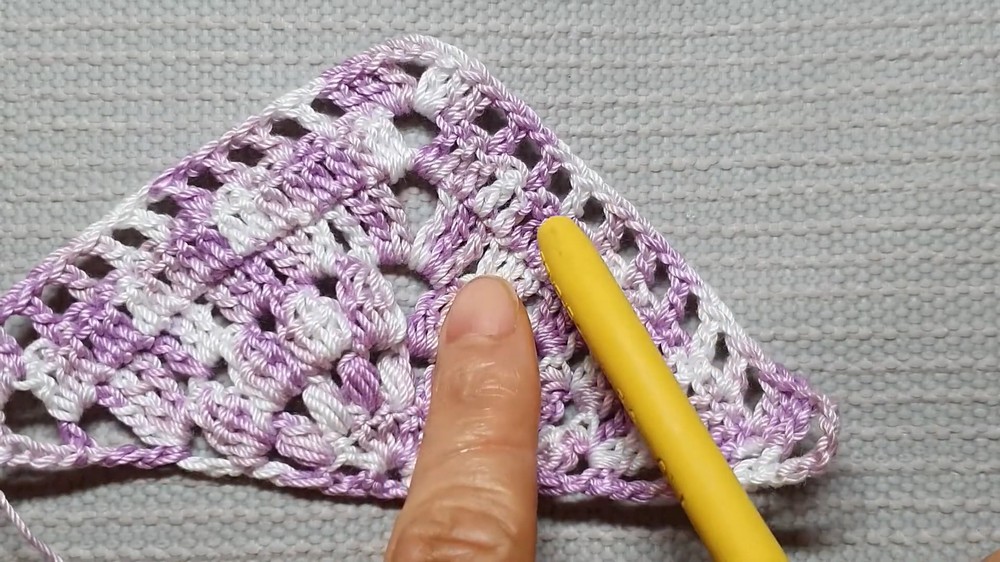
2. Making Half-Squares
Follow a similar method but work only half the rows to create triangle-shaped half squares (useful for side adjustments).
- Start:
- CH 5, SL ST to form a small ring.
- Make all stitches (DCs and puffs) in half the circle. For corners, use CH 5 on the edges.
- Rows:
- Work similar rows to the full square with half-circle shaping.
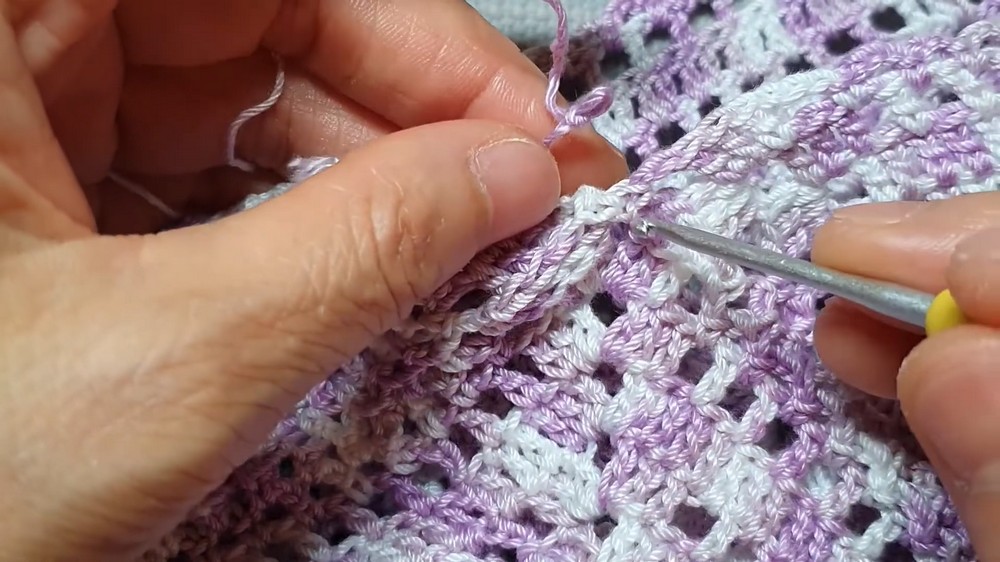
3. Joining Granny Squares
- Setup: Take two squares or half squares and place them together (wrong sides facing).
- Joining Method:
- SC into one square to the corner of the corresponding square, joining with CH 1.
- Repeat SC or SL ST alternately for a seamless join.
4. Creating the Bottom Edge
- Row 1 (Base Border):
- Attach yarn to the bottom of the joined squares. Work DC clusters along the bottom edge.
- Add 3 DC into chain spaces and 1 DC into smaller gaps.
- Row 2 (Lattice Pattern):
- Chain one, skip one ST, then DC into the next stitch.
- Row 3-4 (Chain 5 Clusters):
- Add texture by working SC into chain spaces and chain 5 clusters repeatedly.
- Finish: Bind off and cut the yarn.
5. Adding Straps
- Start with Foundation Chains:
- For a medium size, CH 64. Adjust length based on fit.
- Attach to Front:
- Attach to the corners of the front granny squares with SC.
- Add Row Detailing:
- Work rows of DC back and forth (3 rows total for width).
- For decorative edges, add chain-loop borders (CH 5 clusters).
6. Final Assembly and Finishing Touches
- Secure Joins: Ensure all joined areas are reinforced with SC.
- Weave Ends: Tuck in loose threads using a needle.
- Block the Top: Block the top to align the squares and edges evenly.
- Optional Changes: Personalize further with color trims, beads, or lace additions.
Tips for Success
- Ensure squares are joined tightly to avoid loose gaps.
- Experiment with puff stitch density for textural effects.
- Block the completed top for a polished look.