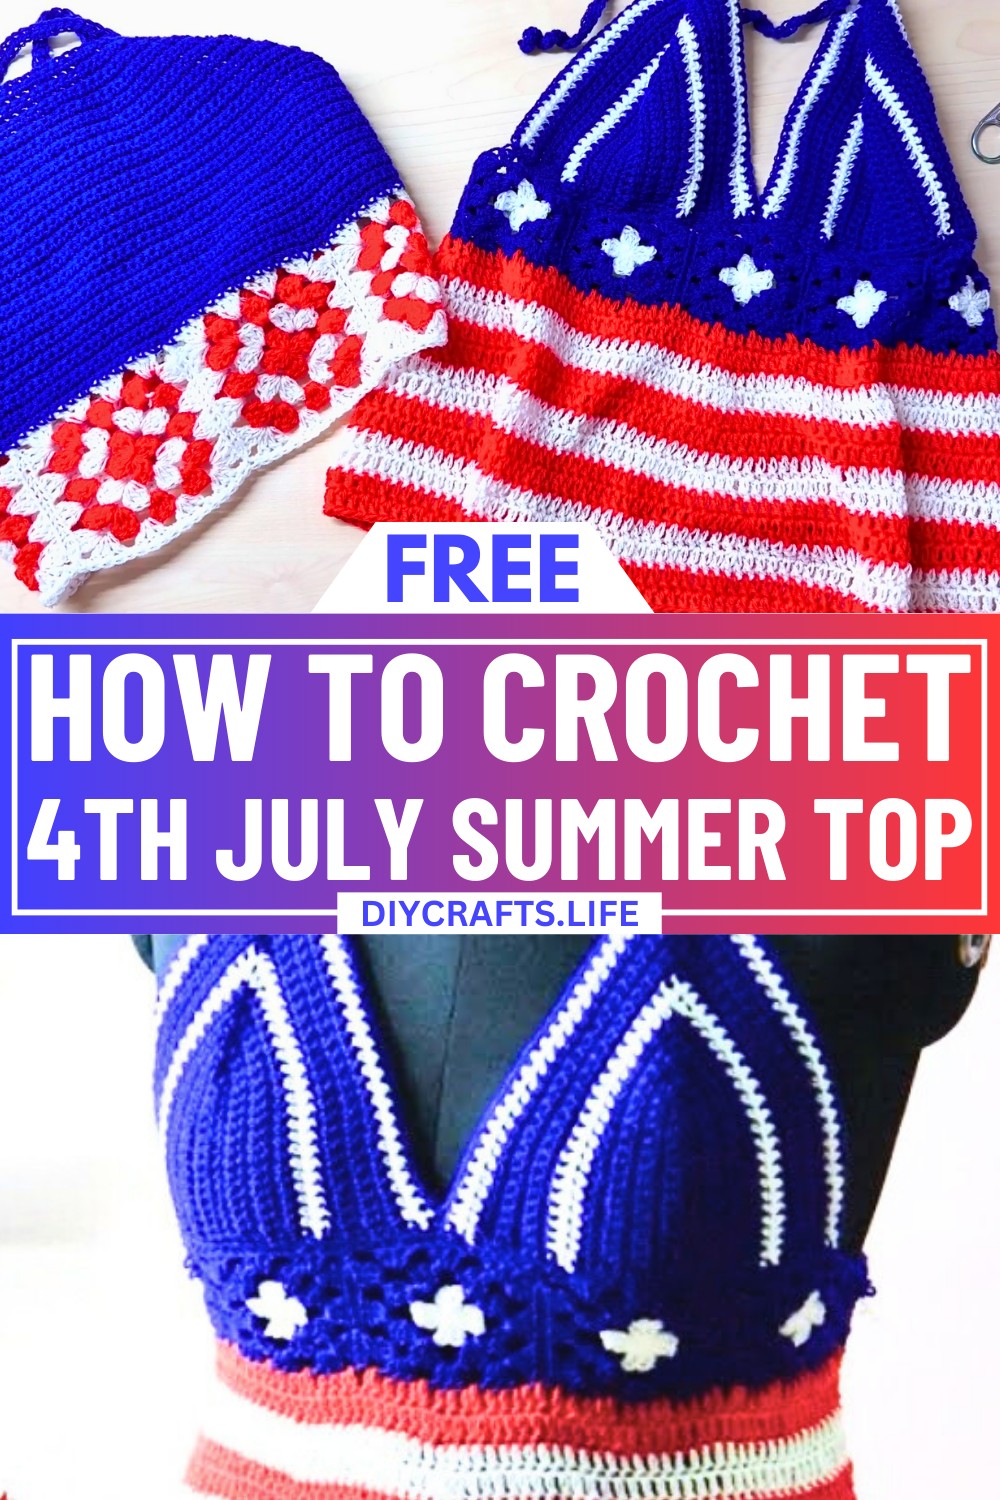
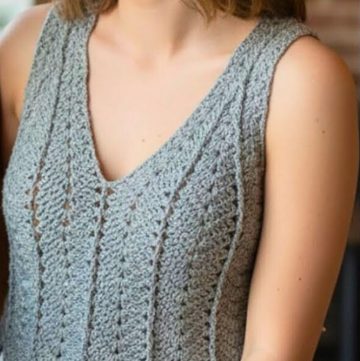
Capture the spirit of summer and celebrate in style with a crochet design that radiates character and charm. Imagine wearing a handcrafted masterpiece that not only makes heads turn but also tells a story of detail, warmth, and a festive vibe perfect for the 4th of July. This crochet top is more than just a piece of clothing—it's a statement of elegance mixed with creativity.
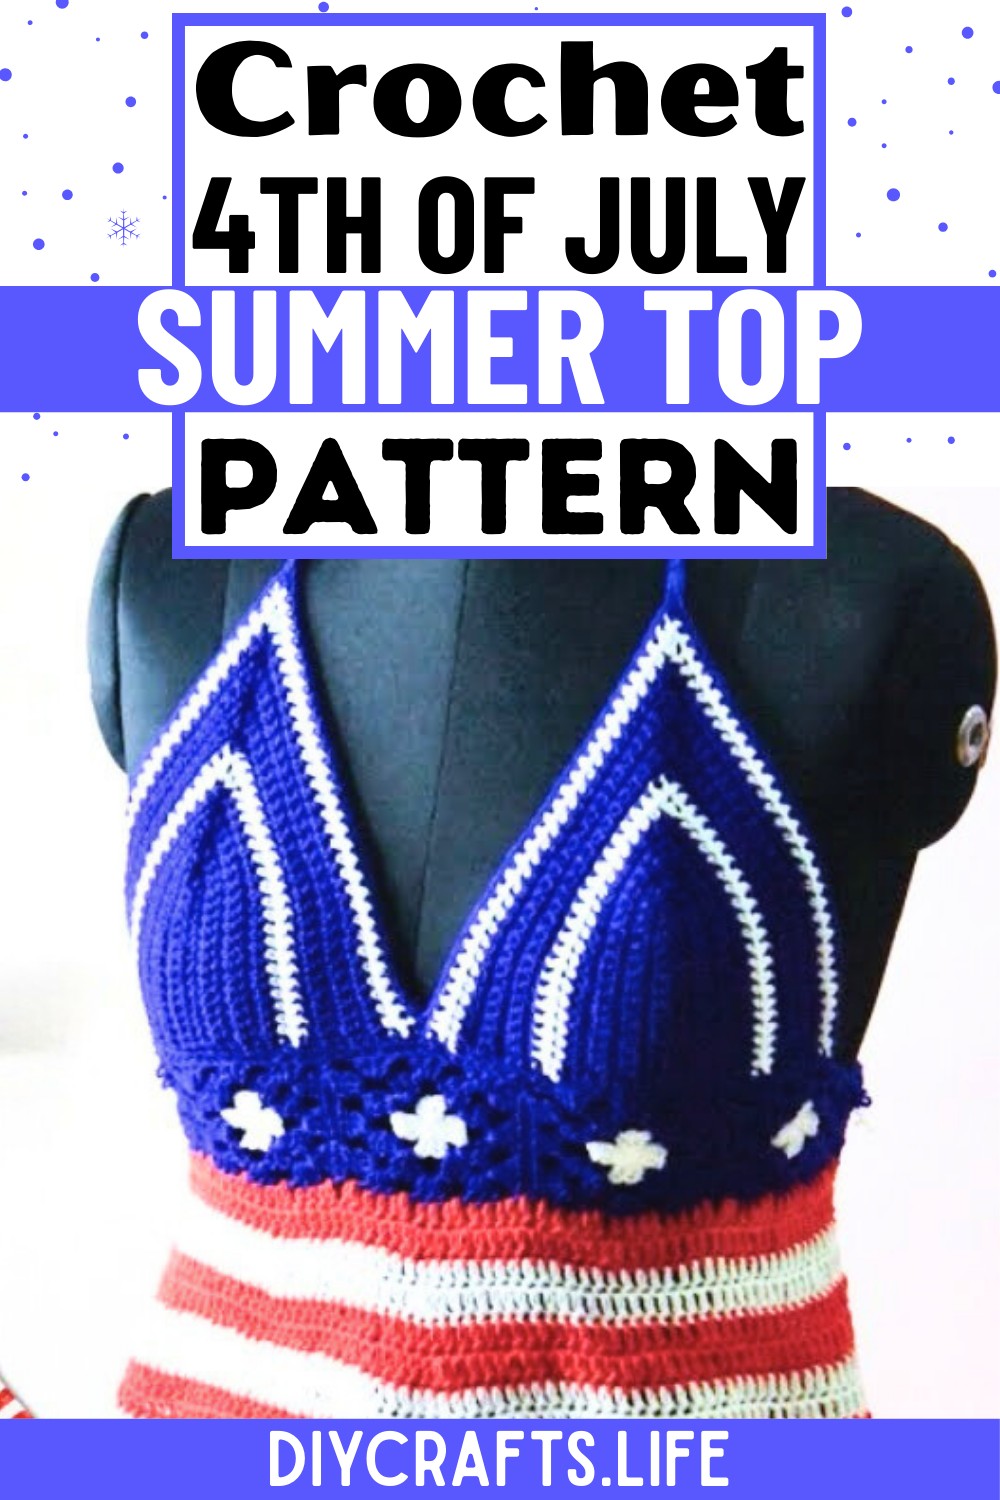
This 4th of July summer top pattern stands out for its intricate detailing, airy design, and a perfect balance of breezy comfort and bold fashion. Its unique blend of light stitches and celebratory flair makes it ideal for barbecues, fireworks outings, or any summer gathering. Whether you choose classic patriotic shades or your own favorite colors, this pattern allows you to express yourself while staying cool and stylish.
Credit Handmade by Appy
Materials & Tools Needed
- Yarn:
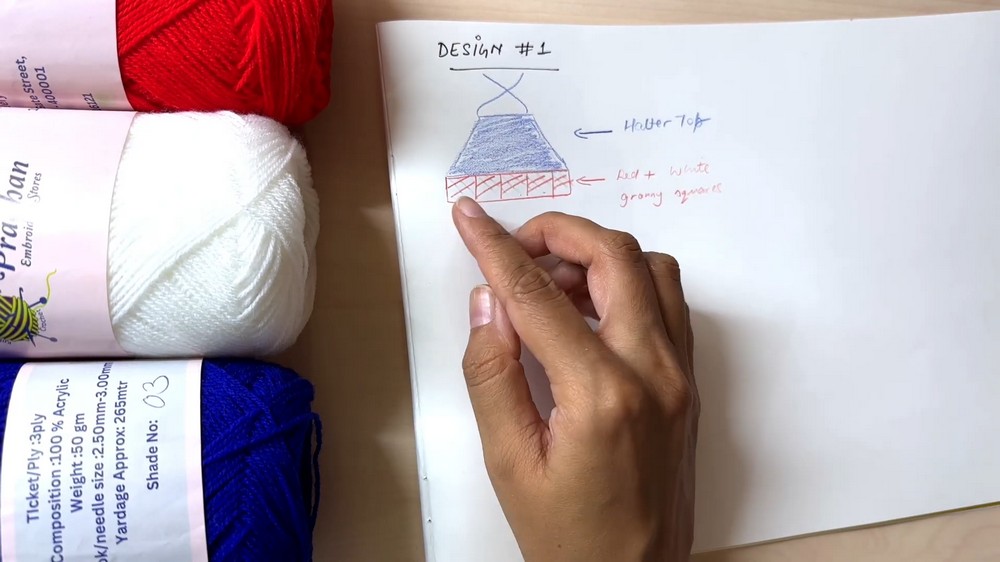
- 3-ply 100% Acrylic Yarn in three colors:
- Blue (top section & finishing details)
- Red (granny squares - primary color)
- White (granny squares & edging)
- 3-ply 100% Acrylic Yarn in three colors:
- Crochet Hook:
- Size 3.5 mm (or other size suited for your chosen yarn and tension).
- Note: The tutorial suggests using the recommended hook size on the yarn label or experimenting for comfort.
- Additional Tools:
- Yarn needle: For weaving in ends and joining squares.
- Scissors: For trimming yarn.
- Measuring tape: To create customized sizing.
- Optional: Stitch markers (optional for exact placement during assembly or color changes).
Finished Size & Customization Ideas
Approximate Sizes:
- Each granny square in the project measures approximately 3.5 inches across (may vary based on yarn thickness and hook size).
- Waistband of the top is equal to the combined length of joined granny squares. For instance:
- For a 26-inch waist, use 6 granny squares, which measures around 21 inches (allowing for the back tie-ups to adjust the fit).
Customizing Size:
- Adjust Waistband Size:
- To increase or decrease the waistband, make more or fewer granny squares.
- Measure your waist and ensure your connected granny square strip wraps adequately with room for tie-ups.
- Style Customizations:
- Yarn Weight: Use thicker yarn for a chunkier look or finer yarn for a more delicate design. Adjust hook size accordingly.
- Tie-Up Length: Add extra length to the tie-ups for a more versatile look, especially for corset-style back adjustments.
- Longer Top: Extend the halterneck rows or add more edging rows for additional length.
- Color Variations: Experiment with different themes (e.g., pastel colors) for an adaptable summer top.
- Add More Granny Square Rows: Consider additional vertical or horizontal rows to achieve a different silhouette, like a tank top.
Pattern Abbreviations & Terminology
- Pattern Terminology: U.S. Crochet Terms.
- Abbreviations:
- Ch: Chain
- Sl St: Slip Stitch
- SC: Single Crochet
- DC: Double Crochet
Step-by-Step Detailed Crochet Instructions
1. Create the Granny Squares
- Granny Squares (Red & White):
- Start with red yarn.
- Option 1: Begin with a magic circle.
- Option 2: Chain 4, join with a slip stitch, forming a circle.
- Round 1:
- Chain 2 (counts as DC).
- Make 3 sets of 3 DC clusters, each followed by Chain 2 in between.
- Close the circle by pulling the starting yarn tail and join with a Sl St in the first chain.
- Cut yarn and tuck ends.
- Start with red yarn.
- Attach white yarn for Round 2:
- Chain 3 (counts as DC). Turn your work for a neater look.
- In each corner (chain 2 spaces): Work 3 DC, Ch 2, 3 DC.
- In side spaces, work 3 DC, Ch 1.
- Join with a Sl St at the first Ch 3. Cut yarn and fasten off.
- Attach red yarn again (or repeat colors per your style):
- Repeat as above but turn after each round. Continue for three rounds total or until preferred size is reached.
- Make 6 granny squares (or more/less depending on your size).
- Weave in ends and leave a long tail on one corner (to whipstitch squares together).

2. Join Granny Squares
- Lay the finished granny squares in a single line, all right-side up.
- Using a yarn needle and long tails, join granny squares together with a whipstitch, only stitching through the top loops for a neat seam.
- Once joined, the total strip should form a snug fit around your waist with room for a back tie. Join the first and last squares to form a loop.

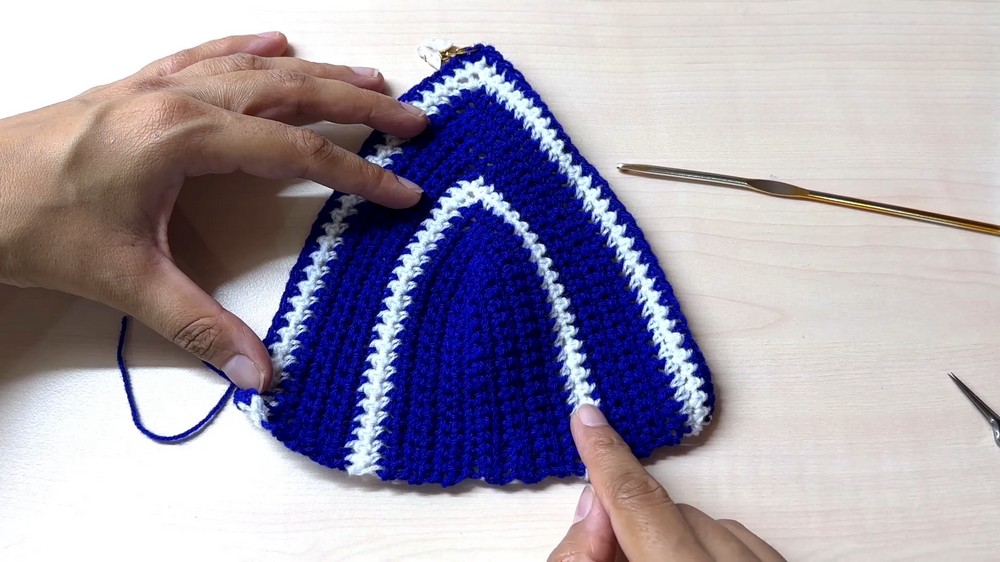
3. Create the Halterneck Top
- Attach blue yarn to the band of joined granny squares. Begin working single crochet stitches across the top of the strip.
- Work 1 SC per stitch and 1 SC into each chain space.
- To shape the top: Start decreasing rows to create the halterneck triangle shape.
- Row 1: Chain 1, SC in first stitch, skip 1, SC across to the last 2 stitches, skip 1, SC in the last stitch.
- Row 2 and onward: Repeat Row 1 until the triangle's apex is complete.
- Length: Stop once the middle portion of the halter measures 6 inches at the shortest edge. Cut yarn and fasten off.
4. Add Edging and Tie-Ups
- Attach White Yarn to Edges: Work single crochets all around the top edges of the triangle and granny square band.
- At corners, work 2 SC in the same stitch to maintain clean edges.
- Neck Tie-Ups: Crochet long chains (~172 chains) from the points of the triangles. SC back along the chain length. Attach to the base.
- Back Tie Cross-Straps: Cross the completed tie straps through opposite granny squares for a snug and adjustable fit.
5. Final Details: Add Optional Fringe or Extra Edging
- Customize further with a fringe, extra rows, or decorative edging around the granny squares or bottom of the halter.
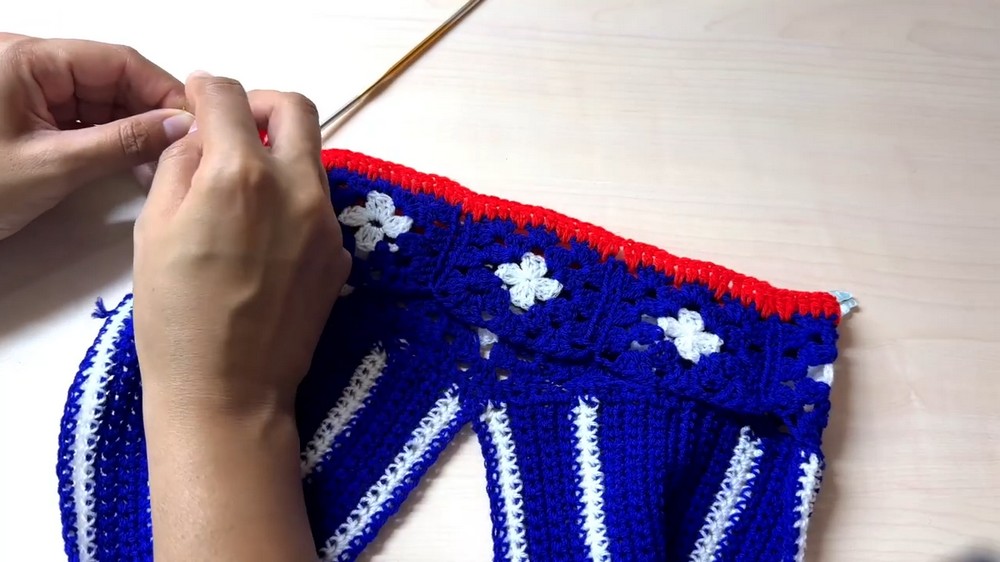
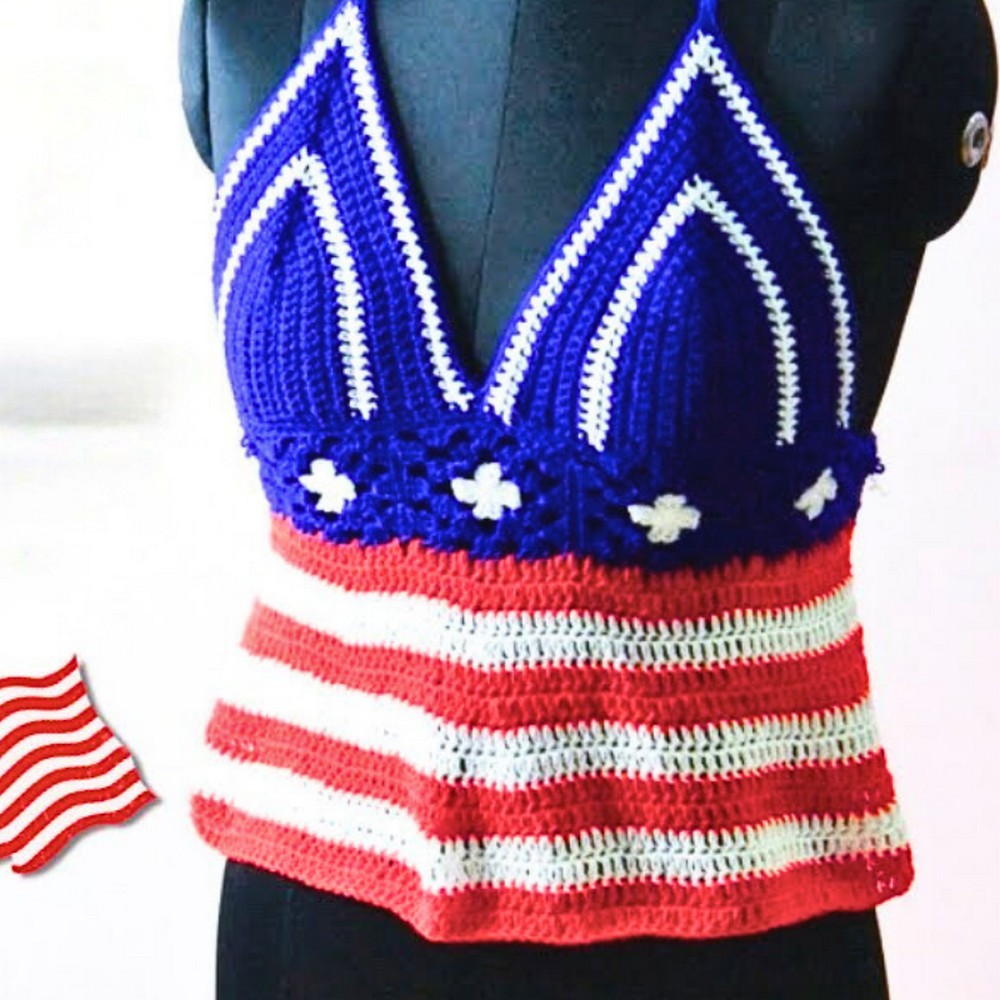
Additional Design Variation: Bralette with Granny Squares
If you'd like to experiment further, the tutorial also includes instructions for a bralette-style top with granny squares at the base, blue bra cups, and alternating red/white stripes for the bodice. Customize using similar techniques outlined above!