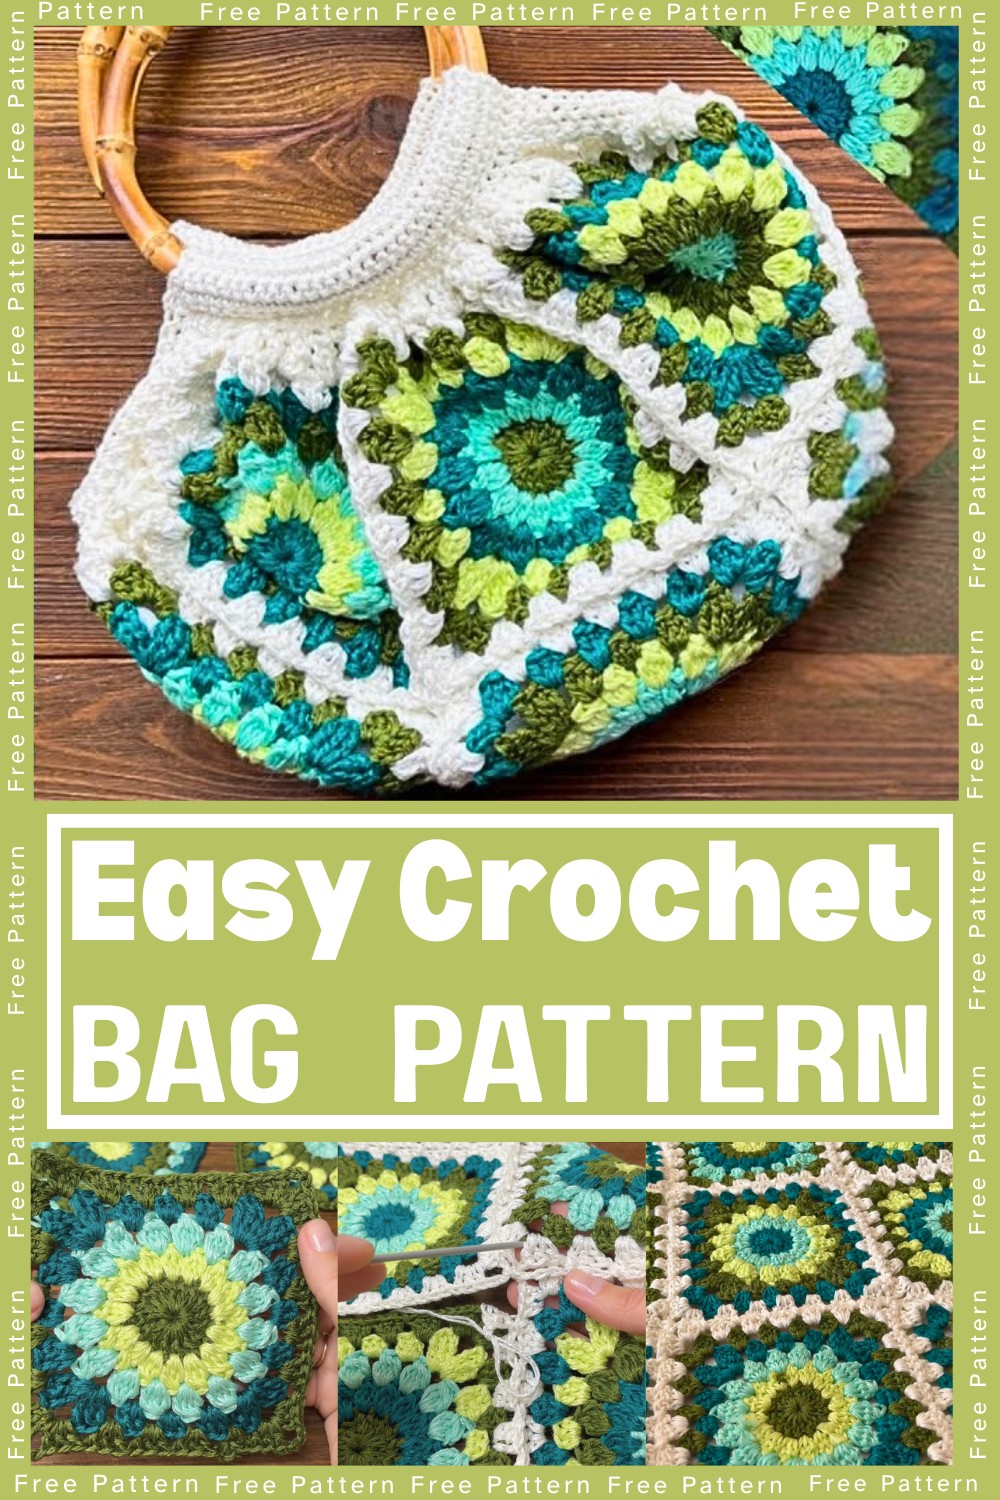
Create a stylish and functional crochet bag with round handles perfect for any occasion! This beautiful and durable accessory is both fashionable and versatile, making it an ideal addition to your wardrobe. With this project, you'll have a chic bag that's ready for any adventure.
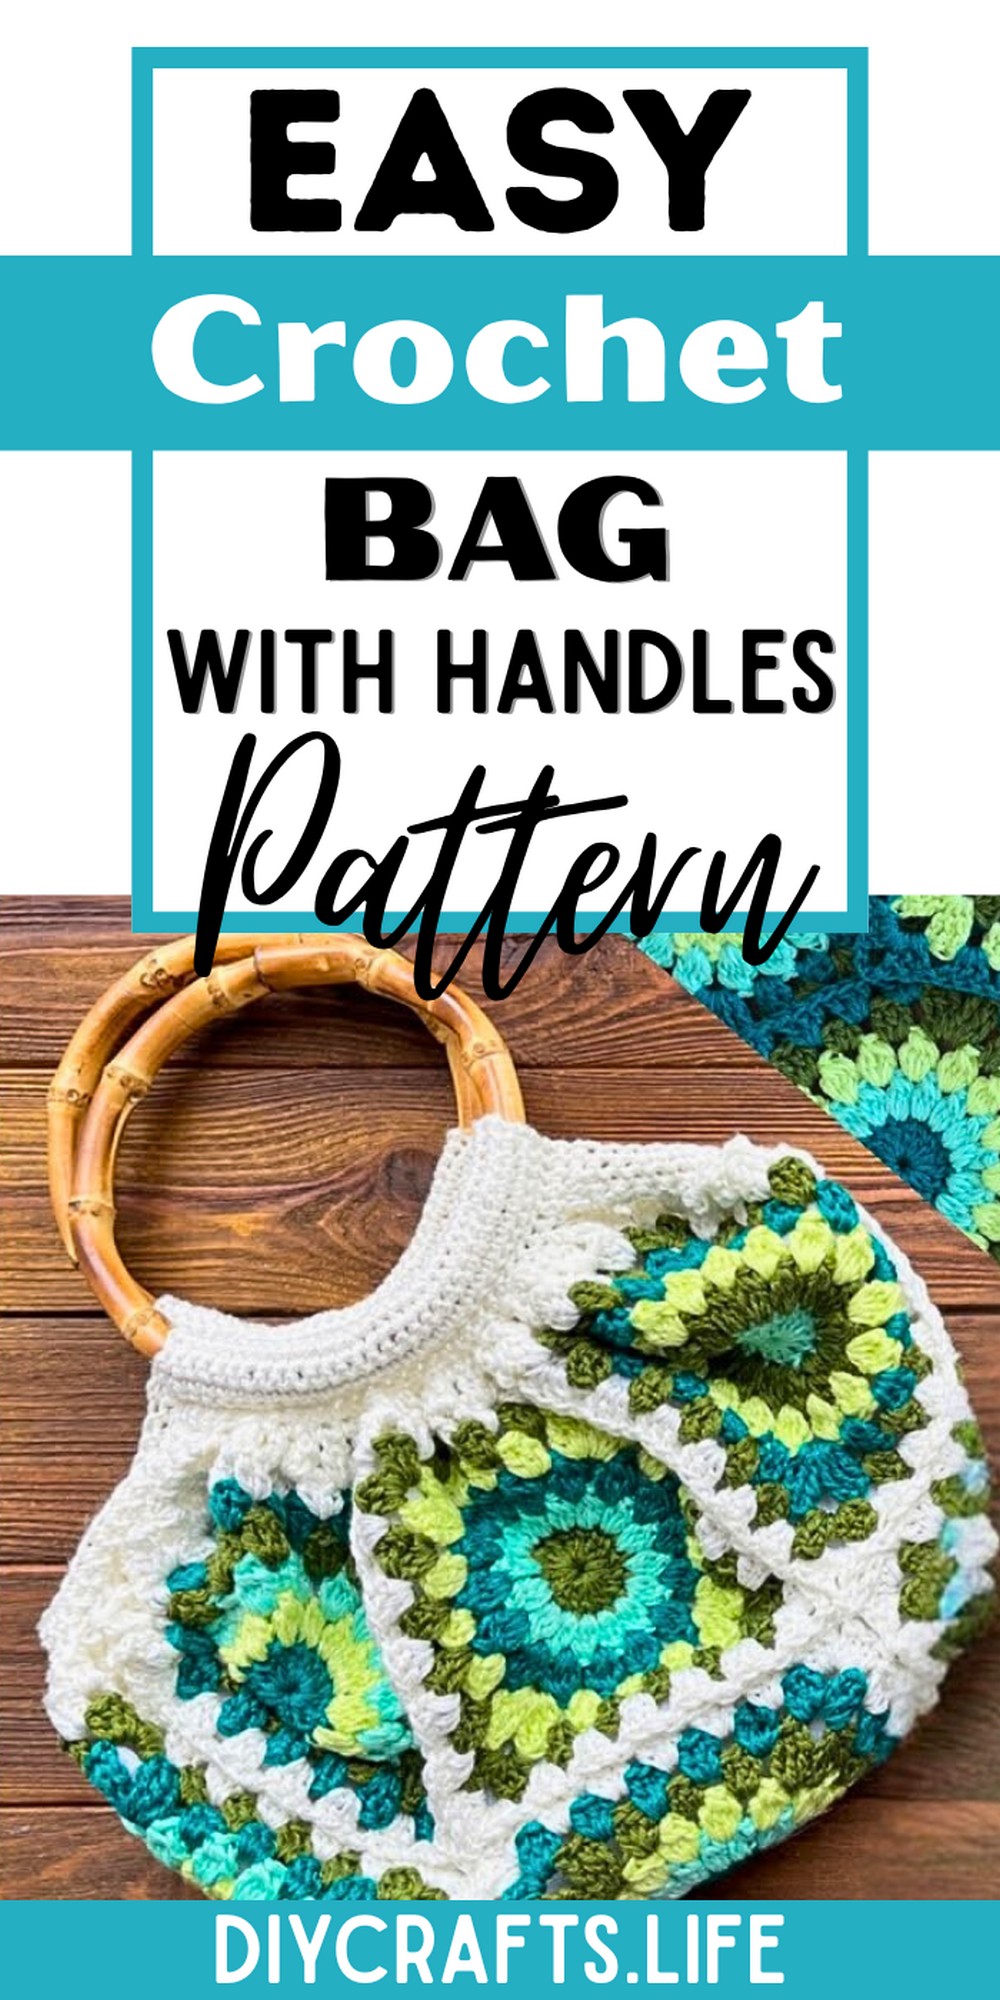
The crochet bag with round handles is perfect for daily use, thanks to its sturdy construction and ample space. Its unique, eye-catching design adds a touch of elegance to any outfit. Ideal for carrying essentials, the bag is also customizable to suit your style preference.
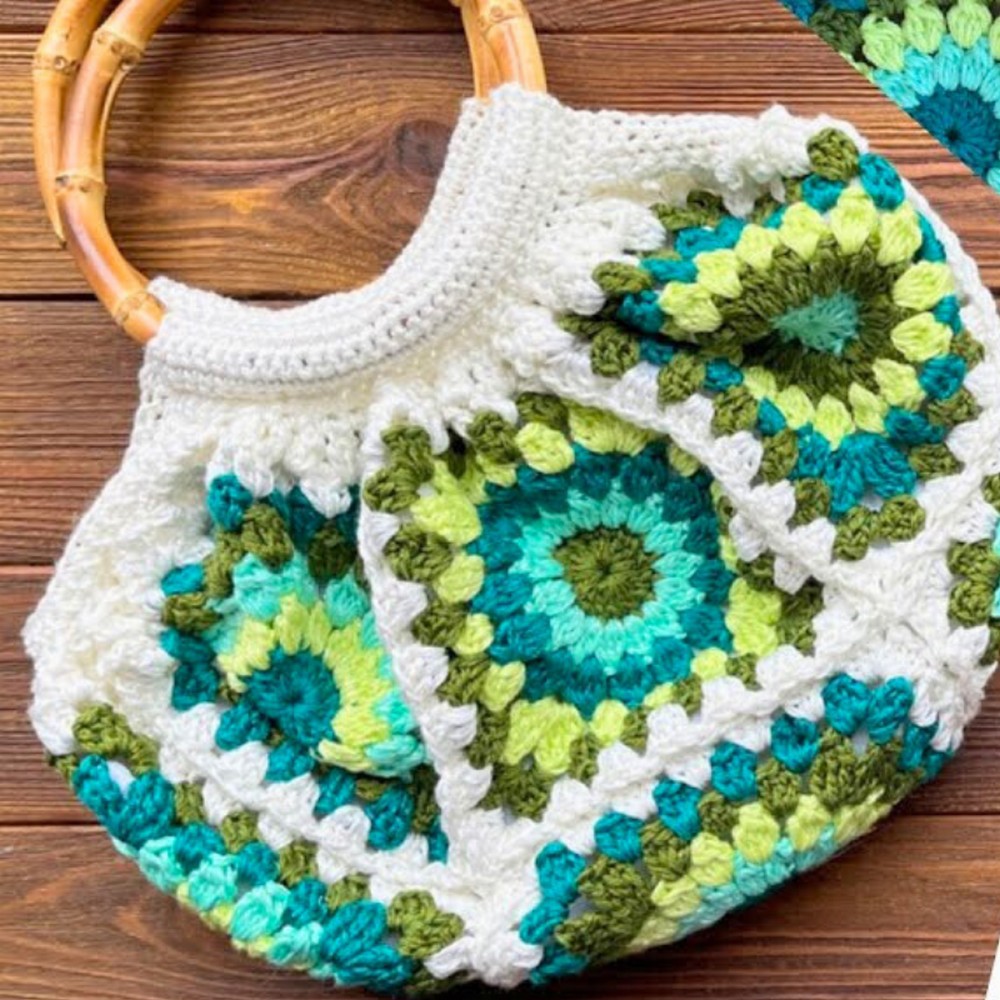
Handmade Crochet Bag
Don't worry if you're new to crochet – this project is suitable for all skill levels! The bag is made from simple squares which can be customized in size and color. The creative potential is limitless, making it a perfect way to showcase your individuality and enjoy the process of crafting.
Materials and Preparation
To make your crochet bag with round handles, gather the following materials:
- Yarn: Medium-weight yarn (2 threads used simultaneously as per the tutorial).
- Hook: 4 mm crochet hook.
- Additional Tools: Yarn needle, scissors.
- Optional: Fabric for lining (dependent on preference), thread and needle for sewing.
Ensure your yarn is of a type compatible with your hook size. Combining two threads will provide the required thickness and durability.
Abbreviations and Notes
Below are the abbreviations used in this pattern:
- CH: Chain
- SL ST: Slip Stitch
- SC: Single Crochet
- DC: Double Crochet
- TR: Treble Crochet
Notes for Clarity:
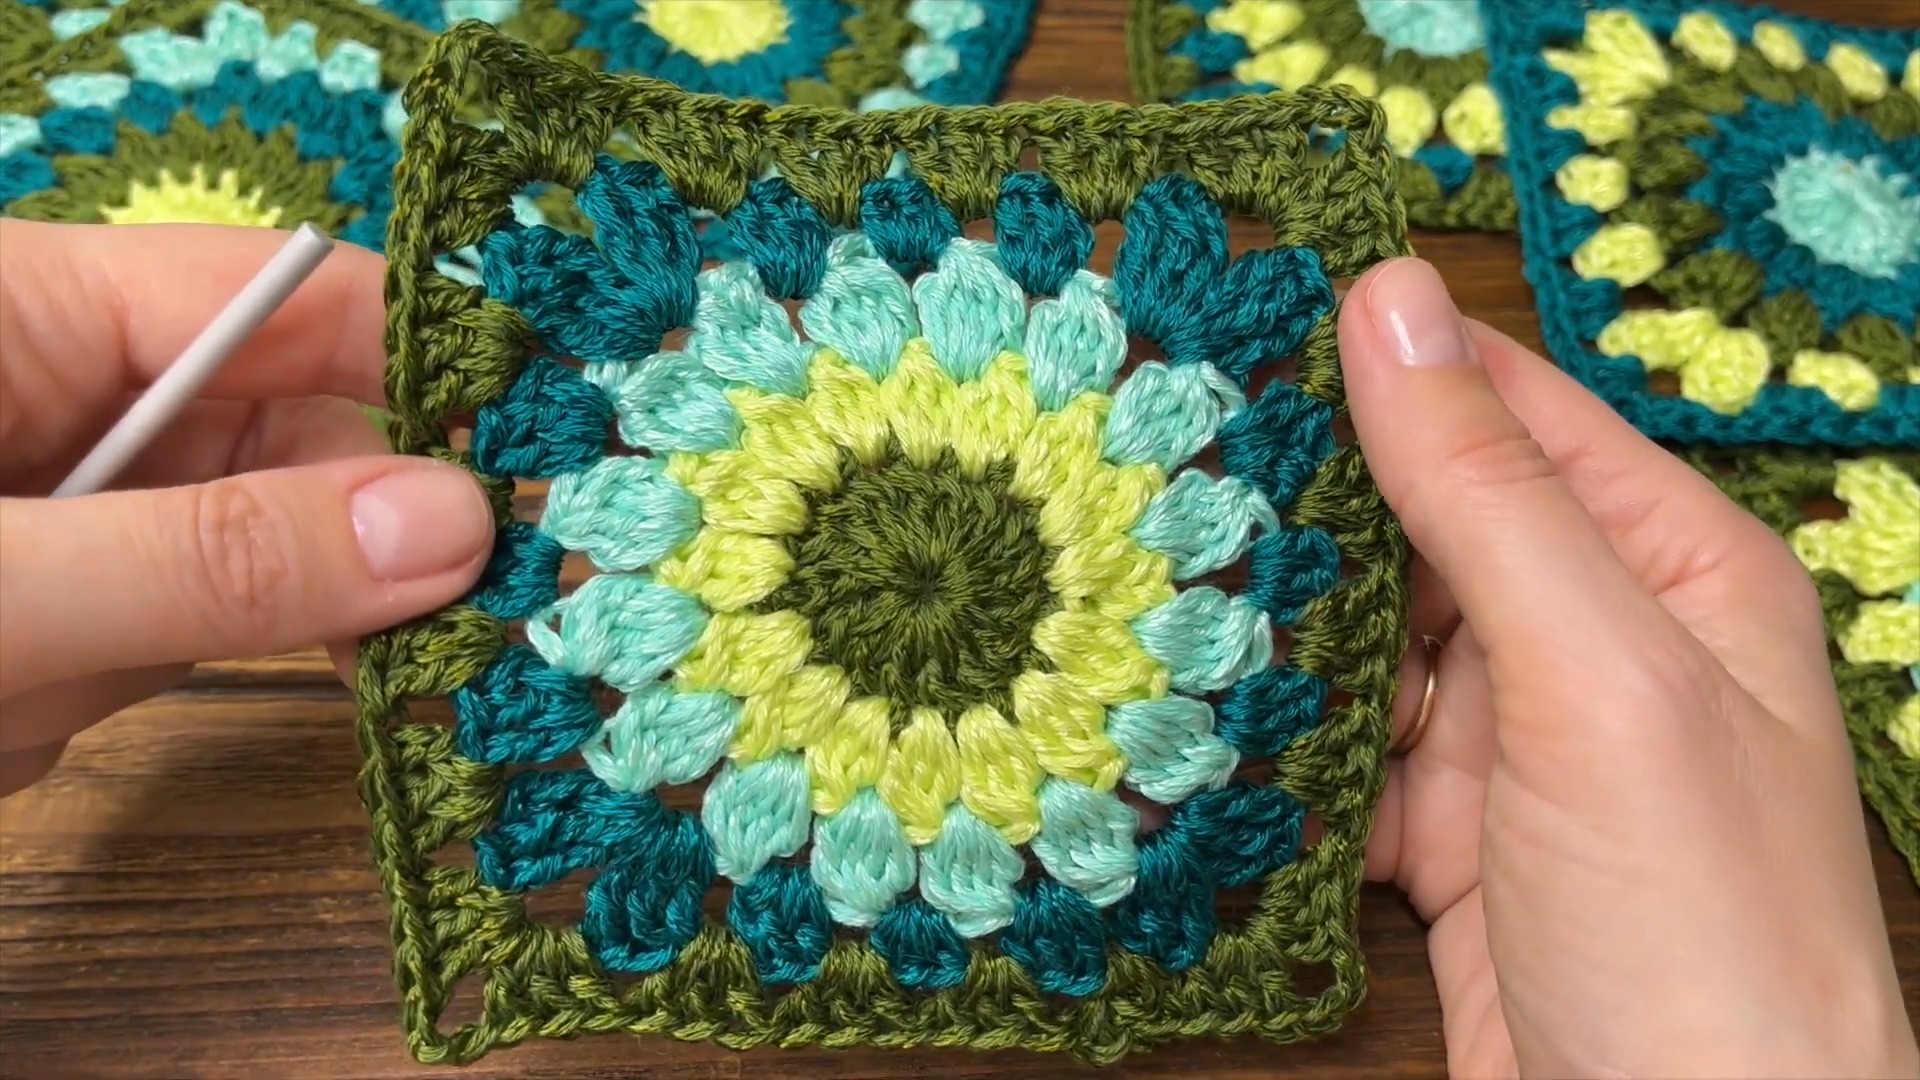
- This bag consists of nine square motifs joined together. You have the option to crochet one large square by adding rounds until the desired size is achieved or crocheting multiple squares and joining them.
- Pay attention to the corners while joining squares to ensure a clean, well-aligned pattern.
- You can choose to attach a lining or leave the bag unlined based on preference.
Gauge, Approximate Size, and Pattern Notes
- Gauge: Not specified, but consistency is key for joining squares evenly. A gauge swatch may not be necessary for this pattern.
- Finished Dimensions: Each side of the bag will measure approximately 47 cm. The number of rows for the handle sections will vary depending on the width of your handles (11 rows are used in the tutorial).
Special Techniques:
- Joining squares with SC or SL ST instead of traditional sewing ensures a clean and sturdy seam.
- Decreasing stitches for the sides creates a neat outline for the bag's shape.
Step-by-Step Pattern
Creating Each Square:
- Begin with CH 3, then SL ST into the first loop to form a ring.
- Work 16 DC into the ring.
- Start with CH 3 (counts as one DC), then make 15 additional DC into the ring.
- SL ST into the top of the 3rd stitch.
- CH 1, then cut the thread.
- Insert hook into a random stitch and add new yarn.
- Pattern: 3 DC together, CH 1, SL ST into the top of the group.
- CH 1, cut yarn, and repeat the process for the next round.
- Insert hook between DC groups and add new yarn.
- Pattern: 4 DC together, CH 2, SL ST into the top of the first group.
- CH 1, cut yarn, and repeat.
- For the last motif round, form a square out of the circle:
- Add new yarn and work as follows: 3 DC, 3 TR under the next chain, CH 3, 3 TR under the same chain (this forms the corner).
- Continue this pattern:
- 3 DC, 3 HDC, 3 DC, followed by the corner: 3 TR, CH 3, 3 TR.
- To enlarge the square, add an additional round in the same fashion as a granny square pattern.
Joining Squares:
- Crochet 3 DC in every space and 3 DC, CH 3, 3 DC in every corner.
- When joining squares:
- At the corner, crochet 3 DC, then instead of CH 3, make CH 1, thread behind hook, and align the squares.
- Insert the hook through the corresponding chain in the opposite square and make an SC or SL ST (either method works).
- CH 1, then continue with 3 DC and SL ST into the next space of the first square.
- Repeat this process for joining subsequent squares.

Decreasing for Bag Sides:
- Start at a corner.
- CH 1, then make 4 SC.
- Work 1 SC into each space, finishing the row with 4 SC as in the beginning.
- CH 1, turn work, and repeat for 4 rows. Cut yarn.
- Repeat decreasing on the opposite side.
- Decrease the remaining two sides similarly, ensuring both left and right sides have 4 rows, while sides for handles contain more rows (based on handle width).
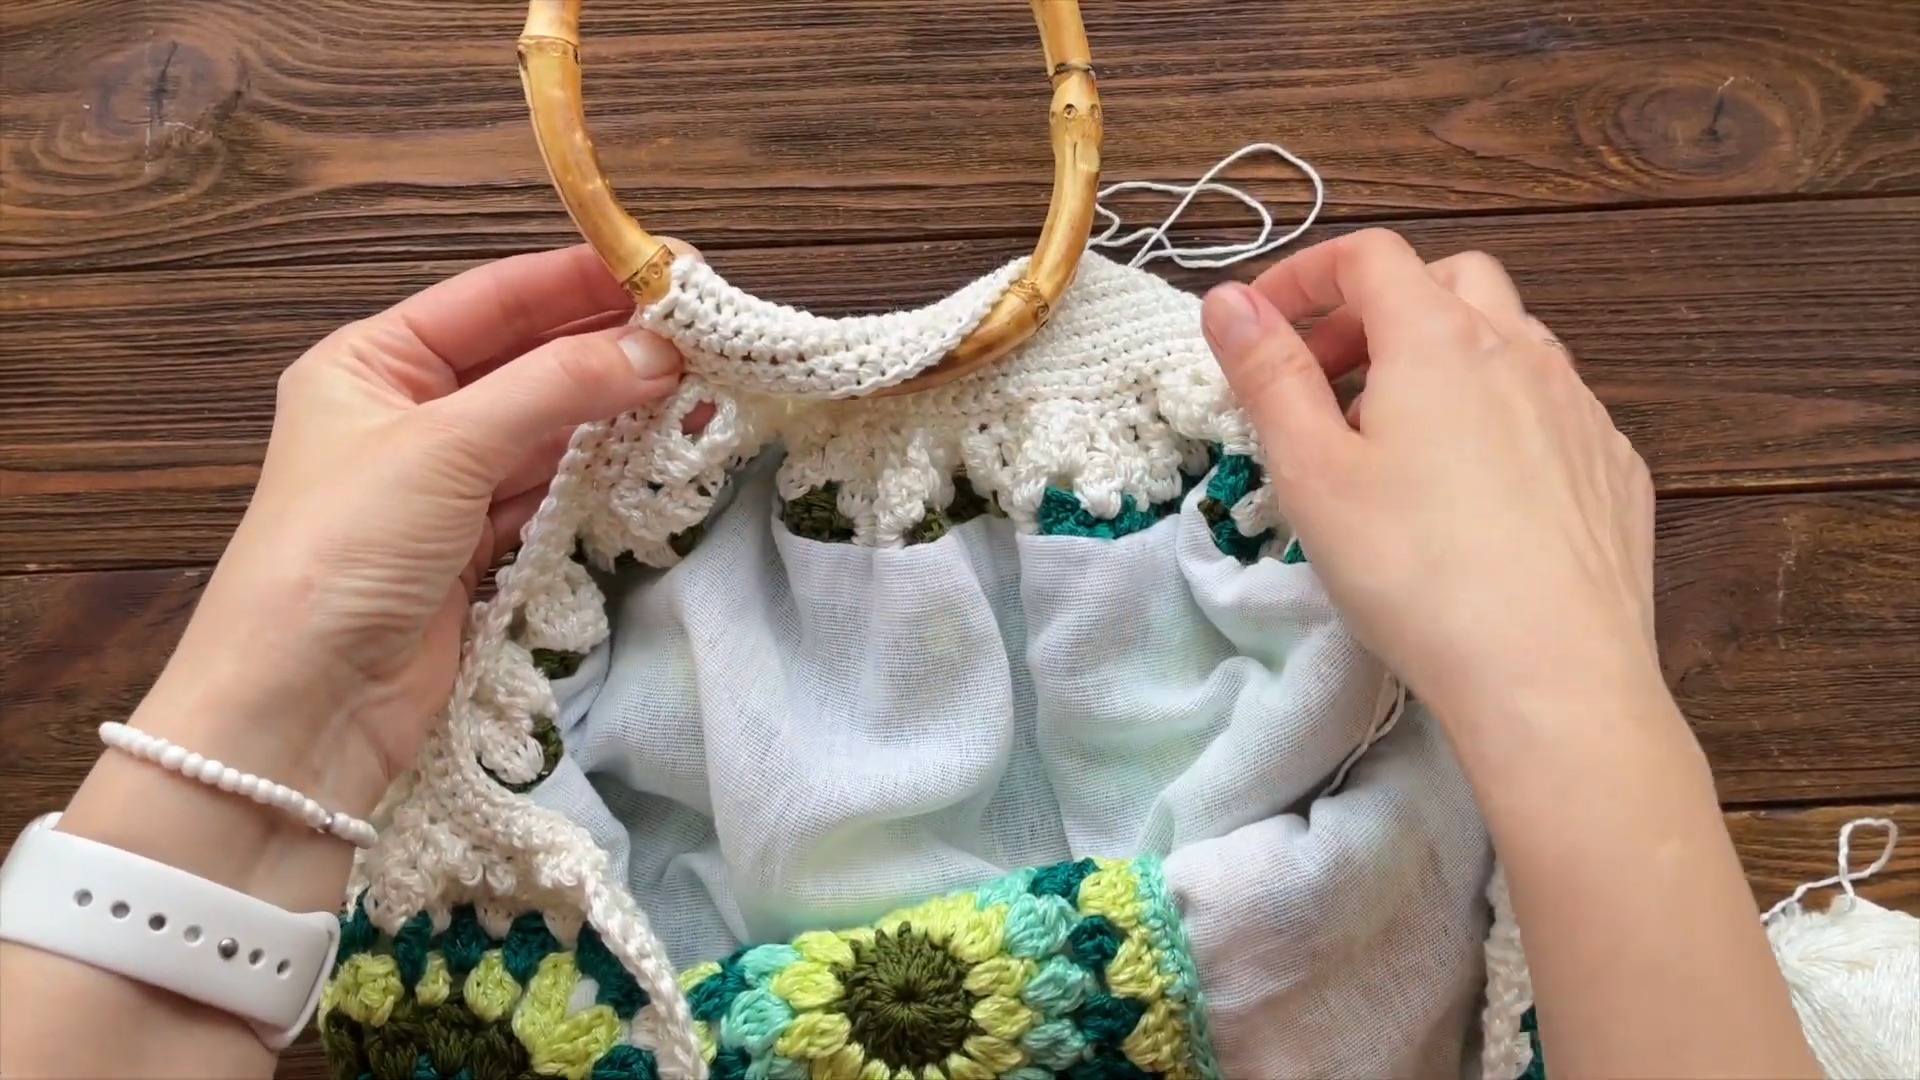
Adding Handles:
- Crochet additional rows for the side sections where handles will be attached (e.g., 11 rows as per the tutorial).
- Fold the finished canvas around the round handles and securely sew with a needle using a convenient seam.
Optional Steps
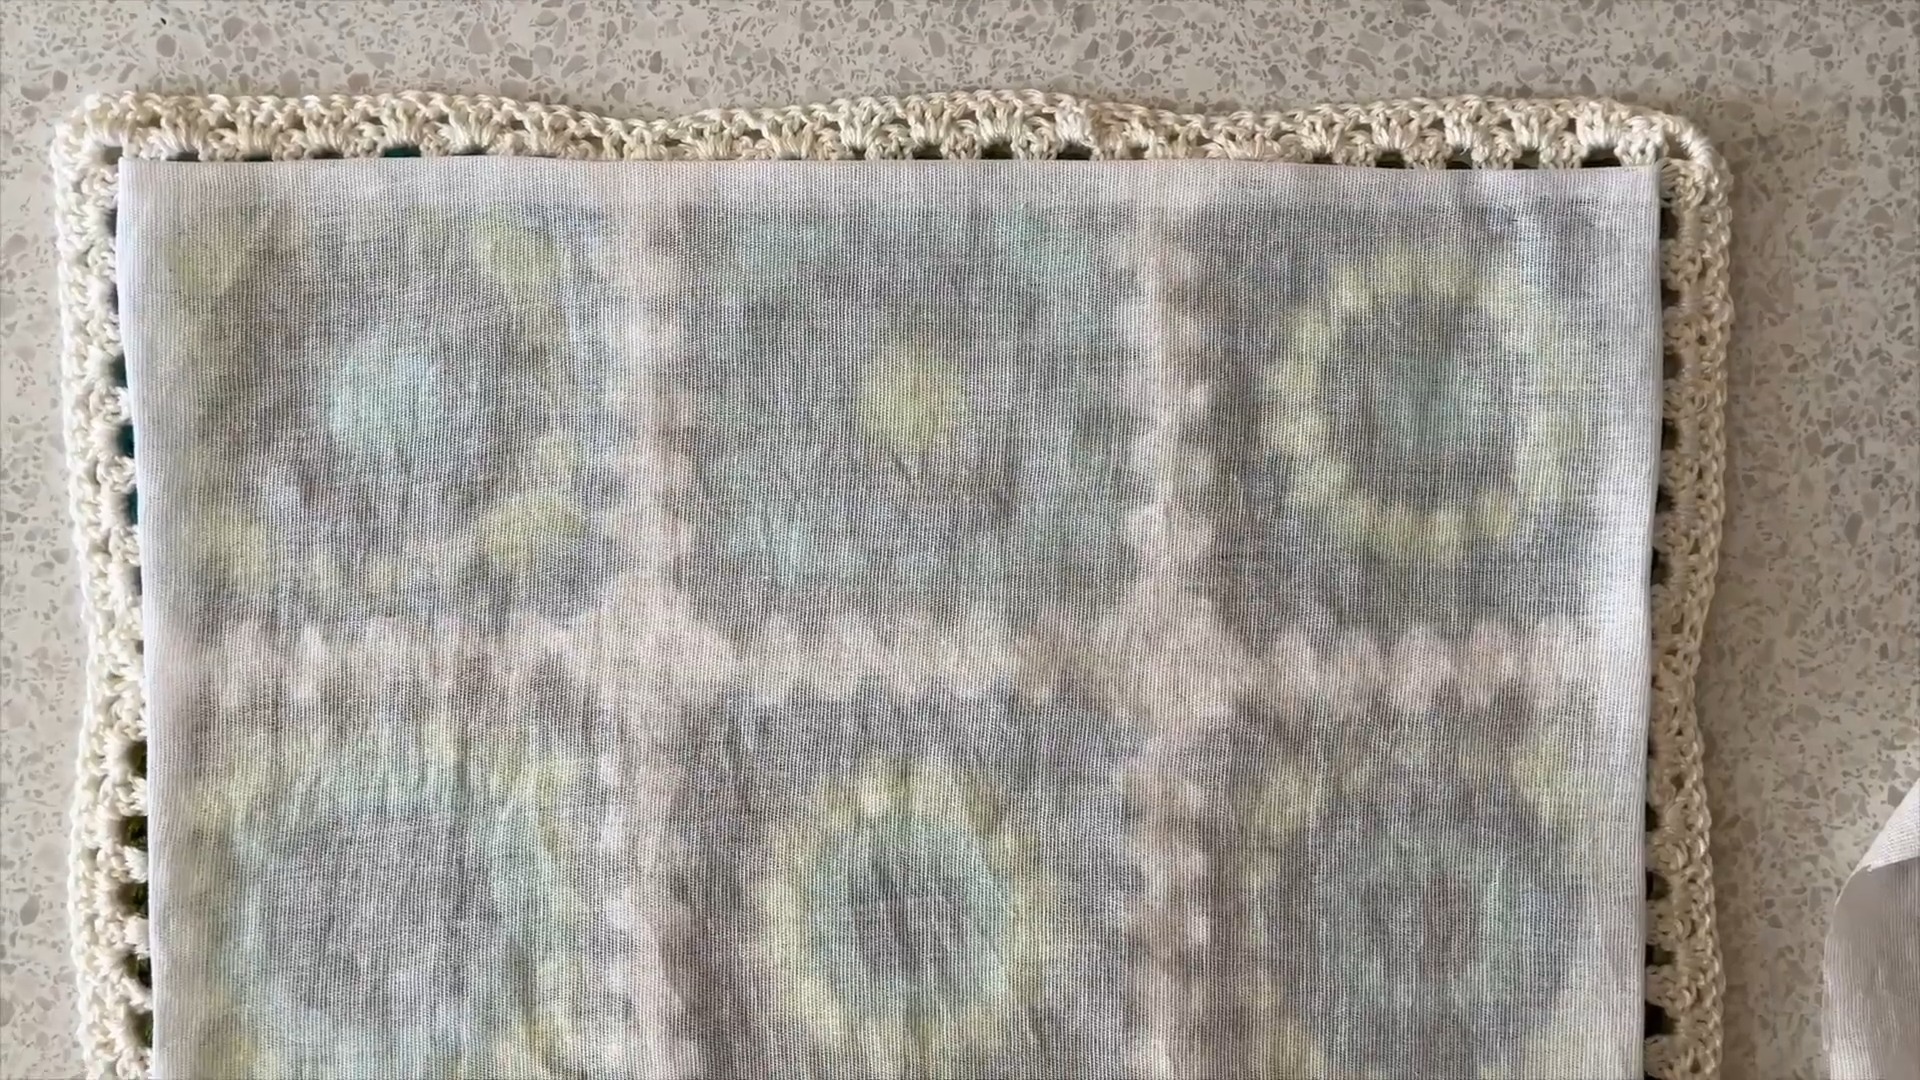
Lining the Bag:
- Cut fabric for the lining to match the square size.
- Fold edges by 1 cm all around and sew with a blind seam.
- Add lining securely to the bag if desired.
- Add a pocket inside the lining, if needed, for smaller items such as keys.
Finishing the Bag
Ensure that all loose threads are secured using a yarn needle and trim excess yarn. Double-check the joins between squares for durability. If lining is included, verify it is properly attached before adding finishing touches.
Pattern Question:
Question: How do I join the squares together to form the bag?
Answer: You can join the squares by crocheting them together. After crocheting 3 double crochets in the corner, instead of chaining 3, chain 1, then make a slip stitch through the corresponding stitch on the adjacent square to join them. Continue with 3 double crochets in the next space and repeat the process.
Conclusion
Crocheting this bag is both enjoyable and rewarding. With its striking design and sturdy construction, it's sure to be a favorite accessory. Dive into this project to create a unique, stylish bag and enjoy the satisfaction that comes with crafting something beautiful and practical.