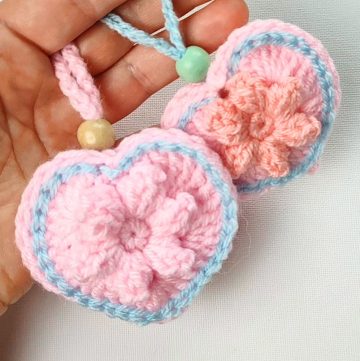
Bring love and creativity into your craft projects with this heart-shaped crochet jewelry box design. This piece isn’t just a functional object—it’s a heartfelt expression of art. Whether you want to organize your small treasures or gift something meaningful, this delicate heart-shaped box adds a touch of charm and emotion to any setting. Its design speaks of care, making it perfect for storing jewelry, trinkets, or love notes.
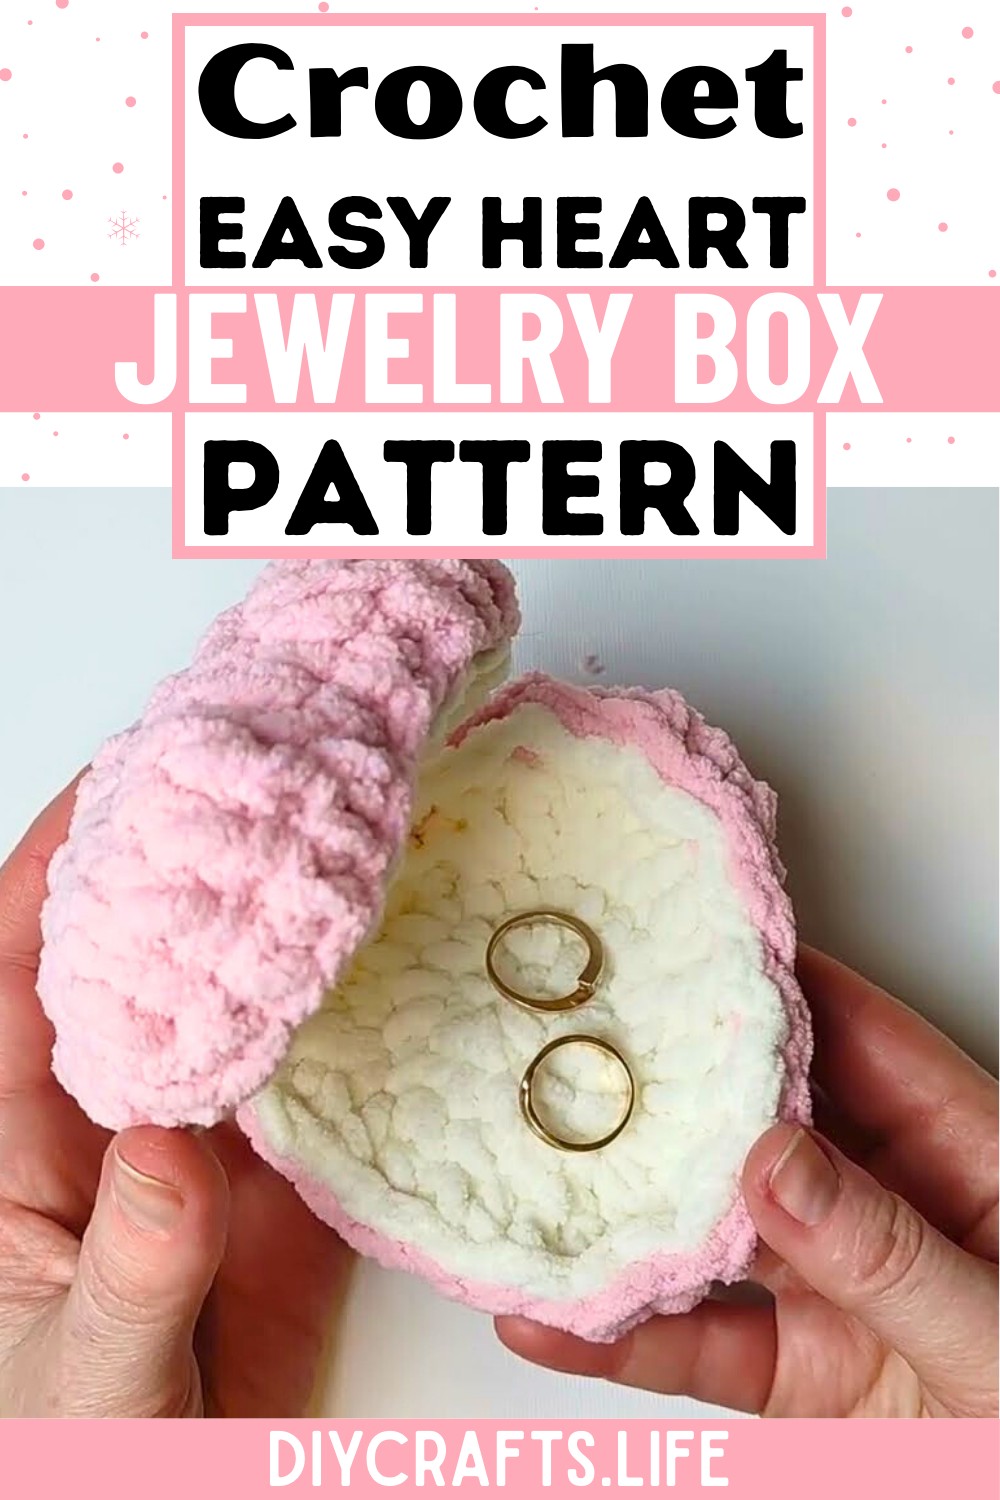
Crochet Heart Jewelry Box
This pattern combines thoughtful detailing with functionality. The snug-fitting lid, beautiful stitched edges, and smooth finishing give this box its unique character. The dual-color combination, featuring soft and vibrant tones, enhances its visual appeal. Whether used as a keepsake box, a holder for your favorite accessories, or a handmade gift, this crochet piece transforms your craft into both an artistic and practical masterpiece.
Credit Hobbi CROCHET
Step-by-Step Pattern
Materials Needed:
- Yarn in white and pink (or any two colors of your choice)
- Crochet hook (appropriate size for your yarn)
- Sewing needle
- Scissors

Instructions:
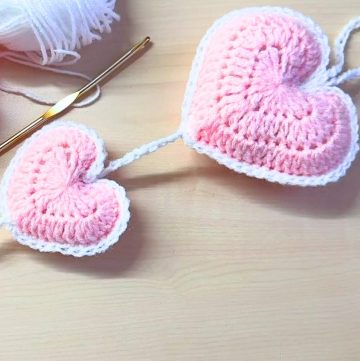
Step 1: Prepare the Love Hearts
- If you haven't already, first create your crochet love hearts. (This may have been covered in part one of the tutorial. You can refer to the referenced "previous video.")
- The hearts will be the main base for the project.
Step 2: Add a Single Crochet Border
- Using the white-colored yarn:
- Attach it to your heart and begin working single crochet (sc) stitches evenly around the entire edge of the heart.
- In the corners (the most curved or pointy sections), work 2 single crochet stitches in one stitch to keep the shape even and prevent it from curling.
- Continue making single crochets evenly around the entire heart.
- If the shape curls a little, that's okay—it’s intentional and will work for the next step.
Step 3: Finish the Border
- Complete your final single crochet stitch at the end of the round.
- Fasten off the yarn:
- Make a slip stitch, chain one, and cut the yarn, leaving a small tail.
- (Optional) Make adjustments to any irregular stitches if needed to keep the border neat.
Step 4: Fold and Position the Hearts
- Fold the pink hearts into the desired shape for your project:
- For example, fold heart edges to align the sides to form part of the container.
- Position the white heart piece (bordered with single crochet) so it fits neatly inside or outside the pink heart.

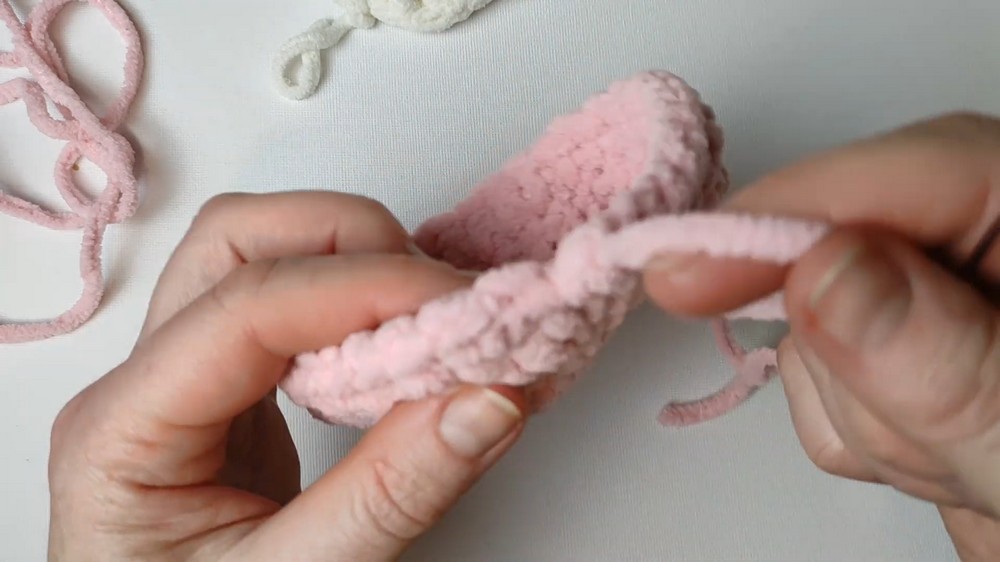
Step 5: Sew the Hearts Together
- Using a needle, connect the pink and white pieces along the edges with simple stitches.
- Ensure the stitches are loose enough that the shape retains its structure without puckering.
- Align “stitch to stitch” to keep the shape consistent and neat.
- Sew carefully across one side (or both sides, depending on how you fold them), leaving portions open where necessary to form the box or lid.
Step 6: Shape and Seam
- Check how large the seam needs to be before fully connecting the pieces (depends on how wide/open the box you want).
- Knot the yarn when finished stitching, and trim any excess yarn.
- If applicable, ensure the seam still allows for opening/closing if making a jewelry box.

Ideas for Use:
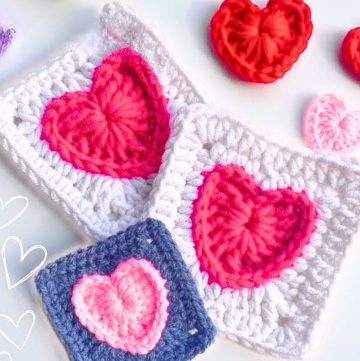
- Heart Bowl/Tray: Leave the heart open to create a cute tray to store small items.
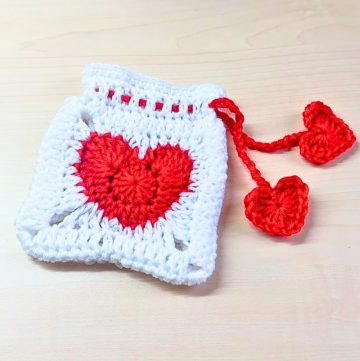
- Love Heart Box: Combine two folded pieces to form a hinged love heart box for storing jewelry or trinkets. This makes for a lovely handmade gift!
Final Touches:
- Adjust the fit if necessary.
- Add decorative details or embellishments as you like.
- Enjoy your finished crochet love heart!