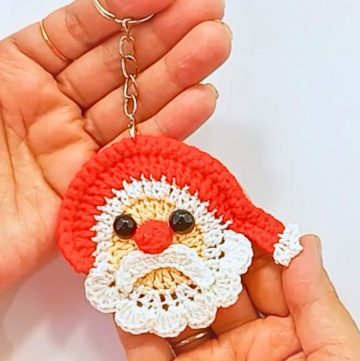
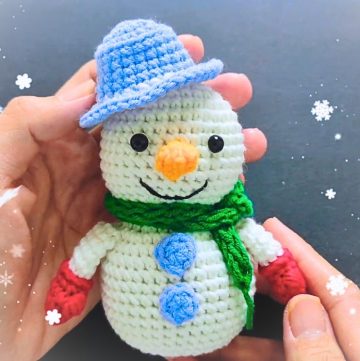
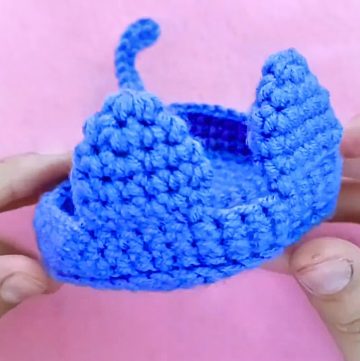
This festive crochet bell pairs cheerful yellow stitches with green holly leaves and tiny red berries for a miniature Christmas ornament you can make by hand.

Bright yellow yarn gives this Christmas bell amigurumi its cheerful holiday look, while the green holly leaves and two red berries create a classic festive accent. Its rounded bell shape and colorful details make this tiny crochet design a charming addition to Christmas tree decorations, seasonal displays, or holiday accessories.
Creating this miniature ornament involves shaping the yellow bell, crocheting the decorative holly leaves, and making two small red berries to finish the top. This step-by-step guide walks you through the required stitches, each separate crochet piece, and the final assembly, including how to add a hanging loop for displaying your finished bell.
Credit AnDesign_Craft
Materials & Tools Needed
- Yellow yarn: For the bell body.
- Green yarn: For the holly leaves.
- Red yarn: For the two berries and hanging loop.
- Crochet hook: 2.0 mm.
- Tools: Yarn needle and scissors.
Optional additions: Use metallic gold or silver thread for a different festive finish. You can also place a tiny jingle bell or small bead inside the crochet bell before closing it, provided it fits securely and suits the intended use.
Finished Size & Customization
This pattern creates a miniature charm or ornament suitable for Christmas tree decorations, keychains, and bag charms. The supplied instructions do not specify an exact finished measurement, so the final size will depend on your yarn and tension.
To personalize your bell:
- Keep the yellow body and traditional green-and-red decoration for a classic Christmas palette.
- Try metallic thread alongside the yarn for a subtle festive shimmer.
- Add a small jingle bell inside before finishing if you want a sound effect.
- Use the red yarn hanging loop to display the ornament on a tree or attach it to a suitable accessory.
Crochet Abbreviations
- ch: Chain
- sc: Single crochet
- inc: Increase - work 2 sc in the same stitch
- tr: Treble crochet
- dc-dec: Double crochet decrease
- slst: Slip stitch
- FLO: Front loop only
- rnd(s): Round(s)
- F.O.: Fasten off

Step-by-Step Crochet Christmas Bell Pattern
Part 1: Crochet the Yellow Bell
The bell begins with a small circle and gradually widens into its rounded shape. Use yellow yarn and work in continuous rounds unless the instructions specify a slip stitch or chain.
Start: Make a magic ring and work 6 sc into it. (6 sts)
- Rnd 1: Work 2 sc in every stitch around. (12 sts)
- Rnd 2: Repeat (1 sc, 1 inc) 6 times. (18 sts)
- Rnd 3-7: Work 1 sc in every stitch around. (18 sts per round)
After Round 2, the stitch count should remain at 18 throughout Rounds 3-7. These even rounds build the height of the bell without increasing its width.

Shape the lower edge
- Rnd 8 (FLO): Work a slst, ch 1, then repeat (1 inc, 2 sc) 6 times, working in the front loops only as specified. (24 sts)
- Rnd 9-10: Work 1 sc in every stitch around. (24 sts per round)
Working in the front loop only creates a ridge that helps define the bell’s flared lower edge. Keep your stitches even so the opening maintains a neat, rounded shape.
Finish the bell body
Cut the yarn and fasten off with your yarn needle. Tidy the inside of the bell and weave in loose ends before moving on to the decorative pieces.
If you plan to add a tiny jingle bell or bead inside, place it securely inside the body before completing any step that would make the opening difficult to access. Make sure it cannot escape through the stitches.

Part 2: Crochet the Green Holly Leaves
The green holly decoration is worked from a short chain, with the leaf shape built on each side of the starting section.
Create the starting section
- Start: Chain 4.
- Rnd 1: Slip stitch into the first chain, ch 1, and work 9 sc in the round. (9 sts)
The supplied instructions describe this as a round, followed by turning and shaping the two leaf halves. Follow the original tutorial’s placement closely because the written sequence does not fully explain how all nine stitches are distributed around the starting chain.
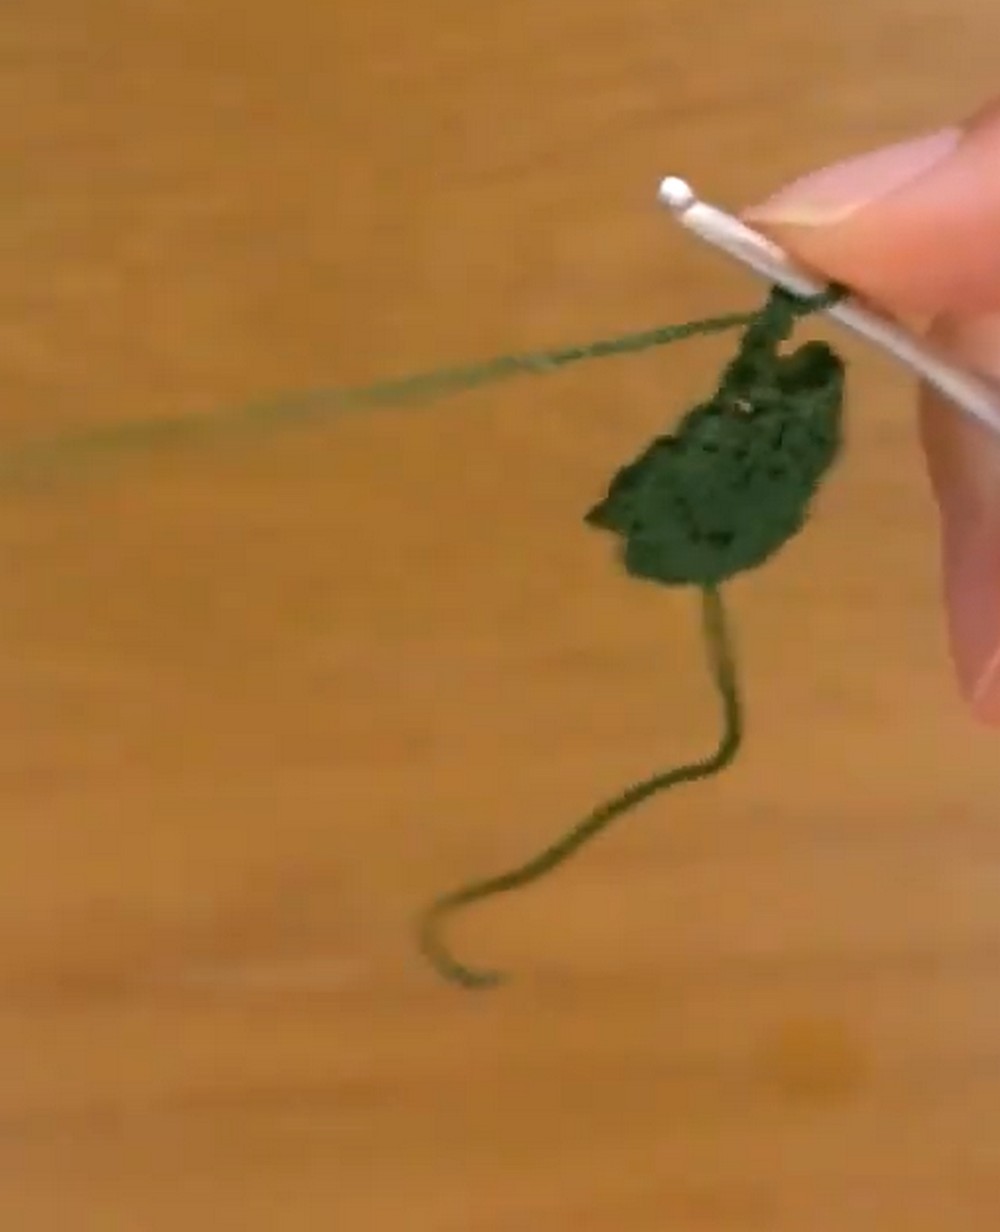
Shape the first half
- Rnd 2: Ch 3, work 2 tr in the first stitch, then 1 tr and 3 tr as specified in the source instructions.
- Rnd 3: Turn, work 3 slst, ch 3, then work 2 tr in the third stitch, followed by 1 tr and 3 tr.
- Rnd 4: Turn, work 3 slst, ch 2, and work 2 dc-dec.
These steps form the first side of the leaf. The turning chains and taller treble crochet stitches help create its pointed, decorative outline.
Complete the opposite half
Cut the yarn, then repeat the same structure from Rounds 2–4 on the opposite side to create the second half of the leaf. Fasten off and weave in the loose green ends.
Helpful check: Before attaching the leaf to the bell, lay it flat and compare both halves. They should look balanced enough to sit neatly above the yellow body.
Pattern note: The supplied leaf instructions include shorthand stitch placements, such as “1 tr, 3 tr,” without fully specifying the number of stitches worked into each location. Check these placements against the original video before treating the written directions as a complete standalone pattern.

Part 3: Make Two Red Berries
Use red yarn to crochet two small berries for the top of the bell.
- Start: Make a magic ring and work 5 sc into it. (5 sts)
- Rnd 1: Work 1 sc in every stitch around. (5 sts)
Cut the yarn and use a yarn needle to pull the tail tight, forming a compact, rounded berry. Fasten off securely and repeat the same steps to make the second berry.
Keep both berries similar in size so they sit together neatly on the holly leaves.

Part 4: Assemble the Christmas Bell
Arrange the finished pieces before sewing them together. This helps you check the position of the decoration while it is still easy to adjust.
1. Attach the holly leaves
Center the green holly leaves on top of the yellow bell. Use the yarn tail and a yarn needle to stitch them securely in place.
2. Position the red berries
Place the two red berries side by side at the center of the green leaves. Check that both are visible from the front and sit evenly before stitching them down.
3. Secure the decoration
Use the remaining yarn tails to sew the berries firmly onto the leaves. Weave in loose ends and check that the decorative pieces do not shift when handled gently.
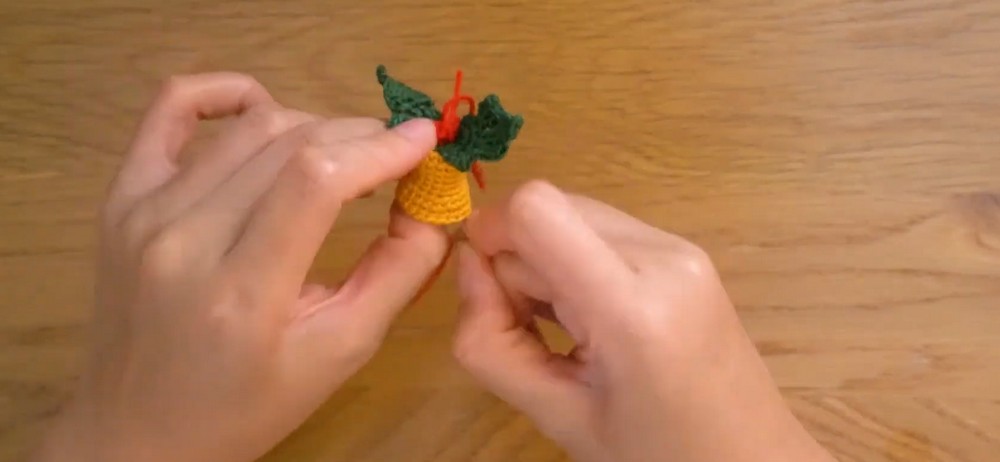
4. Add the hanging loop
Using red yarn, make a loop through the top center of the ornament. Knot it securely, then weave in or trim the remaining ends. Check that the loop is strong enough for the intended display before hanging the bell.
Display Your Finished Crochet Christmas Bell
Your miniature bell is ready to join your Christmas decorations. Hang it on the tree, use it as a seasonal bag charm, or add it to a handmade holiday gift. For a coordinated set, make several bells with matching yellow bodies and holly details, then experiment with metallic yarn or different hanging-loop colors.
For a child’s toy or an accessory that will be handled frequently, avoid loose beads and other small detachable parts. If adding a real jingle bell inside, ensure it is securely enclosed and appropriate for the intended use.