

Crochet a stunning puff daisy keychain that’s equal parts charming and practical! Featuring delightful puff stitches and intricately crafted leaves, this daisy design adds a cheerful touch to your keys, bags, or cardigans. With customizable yarn options, it’s versatile for any style and occasion.

The puff daisy keychain is not just decorative but also functional. Its durable construction ensures it won’t fray or lose shape with everyday use. You can attach it to bags or car keys, or use it as a cute cardigan embellishment. Lightweight yet sturdy, it suits both personal and gift-worthy needs.
Crochet a Puff Daisy Keychain
This project involves creating vibrant puff stitches, seamless circles, and structured leaves, all guided step-by-step in the tutorial. Using medium-thickness yarn and basic tools, you'll quickly assemble this project by adjusting loops and stitches for precision. Easy and fun for every skill level!
Credit elisi sevdası
Materials and Preparation
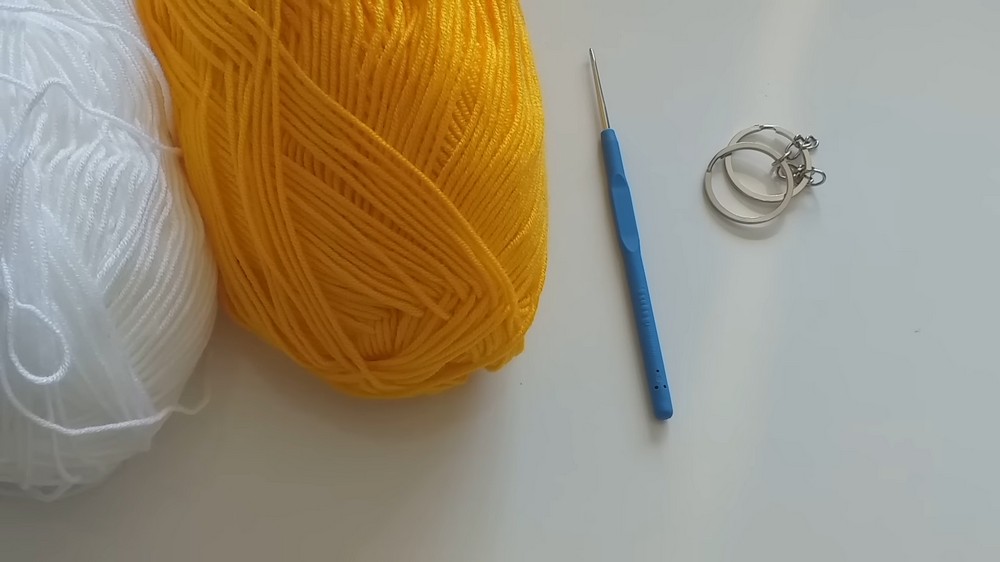
To make this Crochet Puff Daisy Keychain, you’ll need the following materials:
- Yarn Type: Medium-thickness yarn (adjust the stitch count if using a thicker or thinner yarn).
- Yarn Weight: Light or medium-weight yarn (recommended: Size 3 or 4).
- Hook Size: 1.75 mm crochet hook (use hook size suitable for your yarn weight).
- Additional Tools:
- Keychain ring/handle.
- Scissors.
- Tapestry needle for weaving in ends.
For best results, choose contrasting colors for the petals, leaves, and the flower's center.
Abbreviations and Notes
The following abbreviations are used in this pattern:
- MR - Magic Ring.
- CH - Chain.
- SC - Single Crochet.
- SS - Slip Stitch.
- PS - Puff Stitch (explained below).
Special Stitch:
Puff Stitch (PS):
- Yarn over, insert the hook into the designated stitch, pull up a loop.
- Repeat this step 4 times (you should have 9 loops on your hook).
- Yarn over and pull through all loops on the hook.
Important Notes:
- Adjust the size and tension of your puff stitches depending on the yarn thickness.
- The puff daisy involves creating two magic ring circles (front and back) joined together.
- Watch your tension to ensure uniform puff stitches; practice a few puffs before starting if this is your first time.

Gauge, Approximate Size, and Pattern Notes
Gauge: Not crucial for this project. The size may vary slightly depending on your tension and yarn choice.
Finished Size:
The daisy will be approximately 2-3 inches in diameter, depending on your materials.
Special Techniques/Steps:
This pattern focuses on:
- Crocheting puff stitches for creating textured flower petals.
- Joining two magic ring circles to form a dimensional flower with leaves.
- Attaching a keychain ring for functionality.
A gauge swatch is unnecessary for this project. Focus instead on keeping stitches consistent.
Step-by-Step Pattern
Step 1: Create the First Magic Ring (Front Circle)
- Start with a Magic Ring (MR).
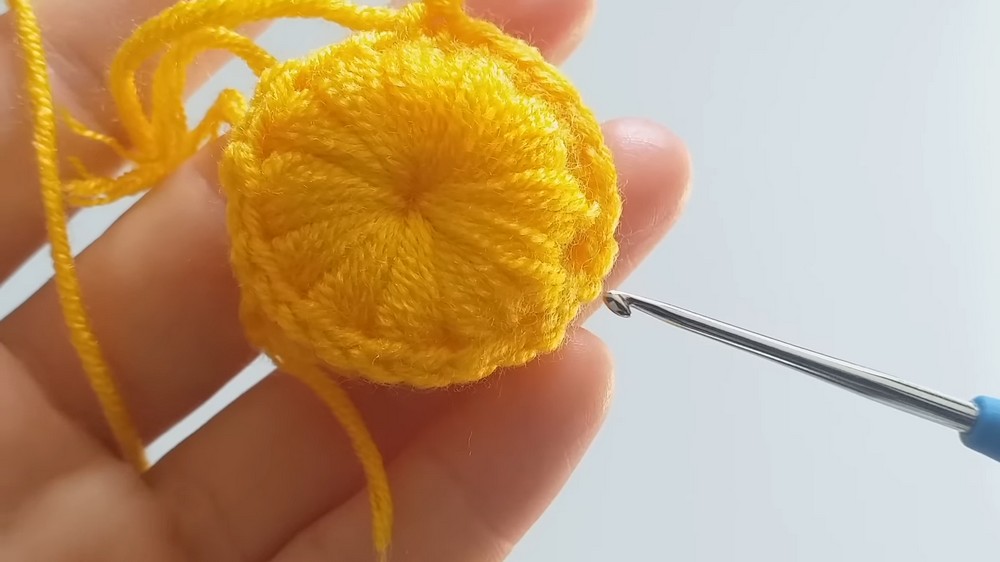
- Work 12 Puff Stitches (PS) into the MR. Remember to tighten the ring after completing the stitches.
- Close the round with a Slip Stitch (SS).
Step 2: Create the Second Magic Ring (Back Circle)
- Repeat the instructions in Step 1 to make another circle with 12 Puff Stitches.
- Tighten the magic ring and close the circle with a Slip Stitch (SS).
Step 3: Join the Two Circles
- Place the two magic ring circles back-to-back, aligning the puff stitches.
- Insert your hook through a puff stitch from both circles, and work a Single Crochet (SC) stitch to join them.
- Repeat this around the edge of the circles to join them entirely.
- End with a Slip Stitch (SS) and fasten off.
Step 4: Create the Daisy’s Leaves
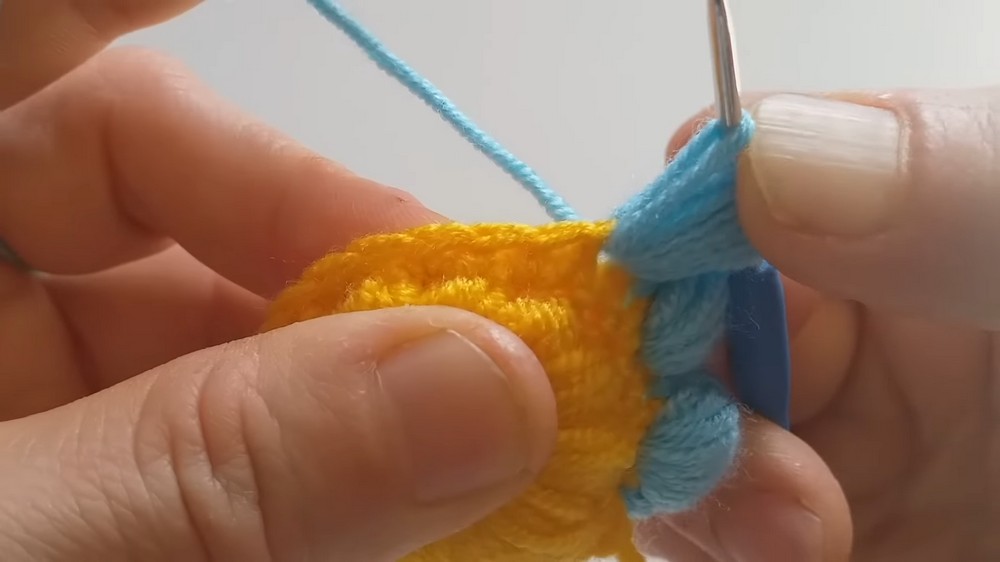
- Attach your green yarn to the side of the joined circles.
- Chain 3, then work:
- 1 SC into the first space between two puff stitches.
- 3 Puff Stitches in the next space, followed by 8 Single Crochets (SC).
- Continue this pattern around the flower to form leaves.
- Slip stitch into the starting chain to finish. Repeat as needed to make all the leaves.
Step 5: Add the Keychain Handle
- Attach the keychain ring to the daisy by working a series of chains around the last leaf (or any desired point).
- Tighten and secure with a Slip Stitch.
Optional: Add Embellishments
- Add a small yarn bow or tiny beads to the flower center for decoration.
Final Thoughts
Congratulations! You’ve completed your Crochet Puff Daisy Keychain. This project is perfect as a gift, accessory, or decorative item. You can also make multiple daisies and attach them to other items like bags, cardigans, or key-rings for a fun floral touch.

Pattern Question
Question: How do I determine the number of loops needed for the puff stitches?
Answer: Adjust the number of loops based on the thickness of your yarn. Using medium-thickness yarn, the tutorial recommends starting with 4 loops to achieve consistent puff-stitch shaping.
Conclusion
Crafting this puff daisy keychain is rewarding and straightforward, with clear steps for assembling puff stitches and detailed leaf structures. Whether for decoration or utility, this project is simple, fun, and yields an eye-catching accessory you’ll enjoy gifting or keeping.


