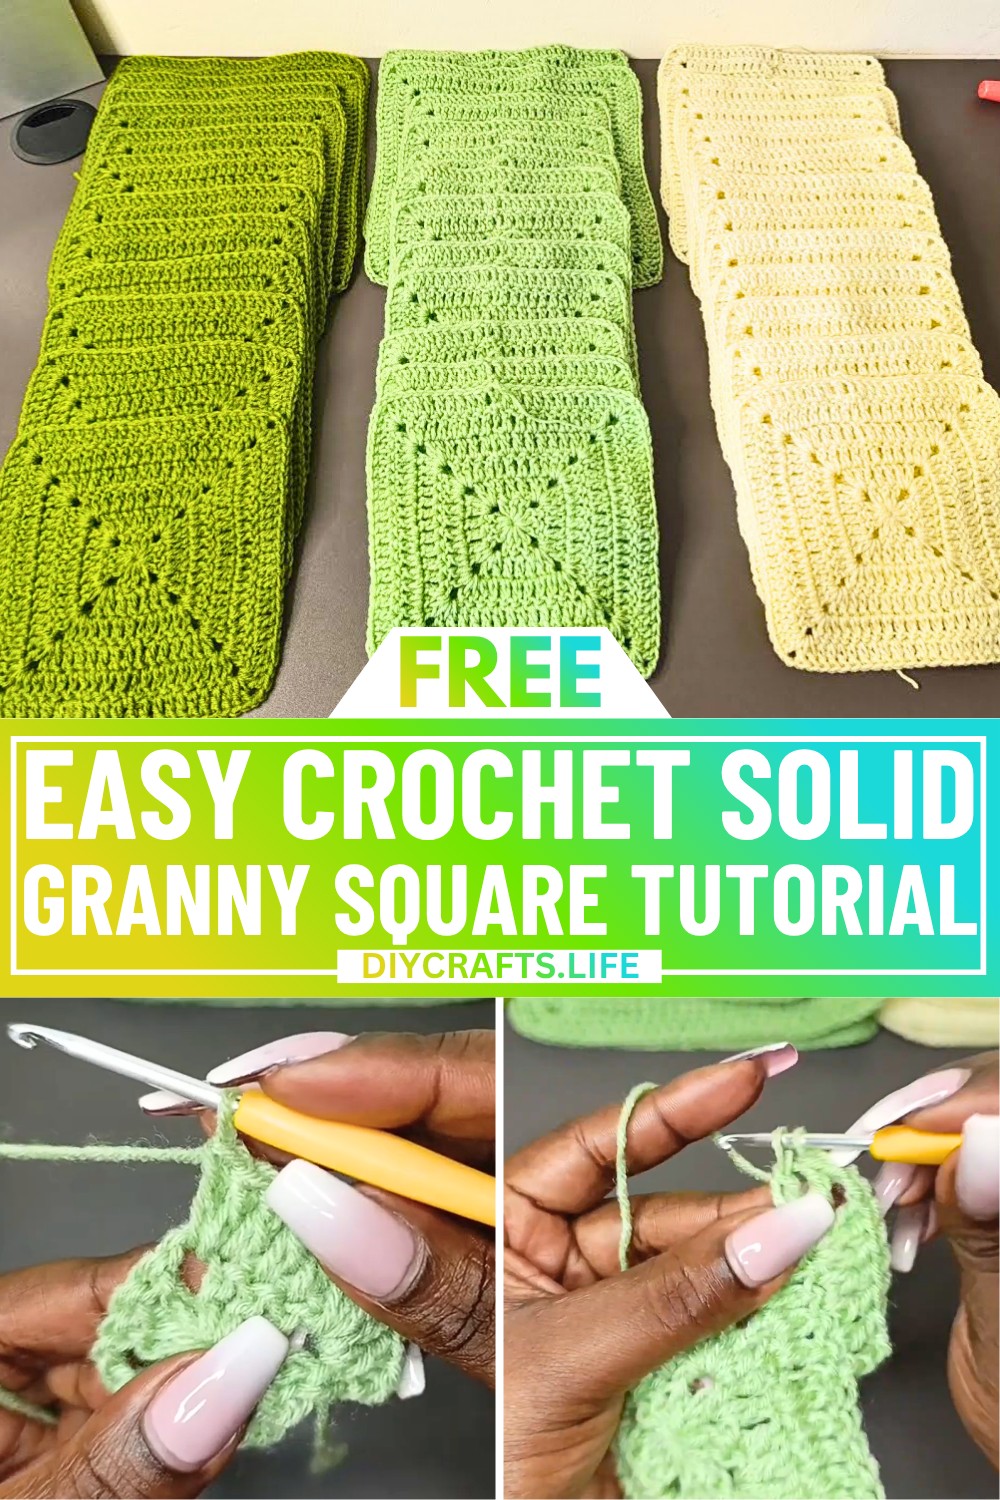
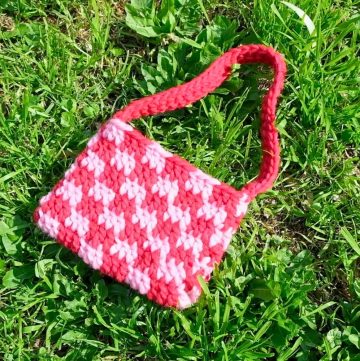
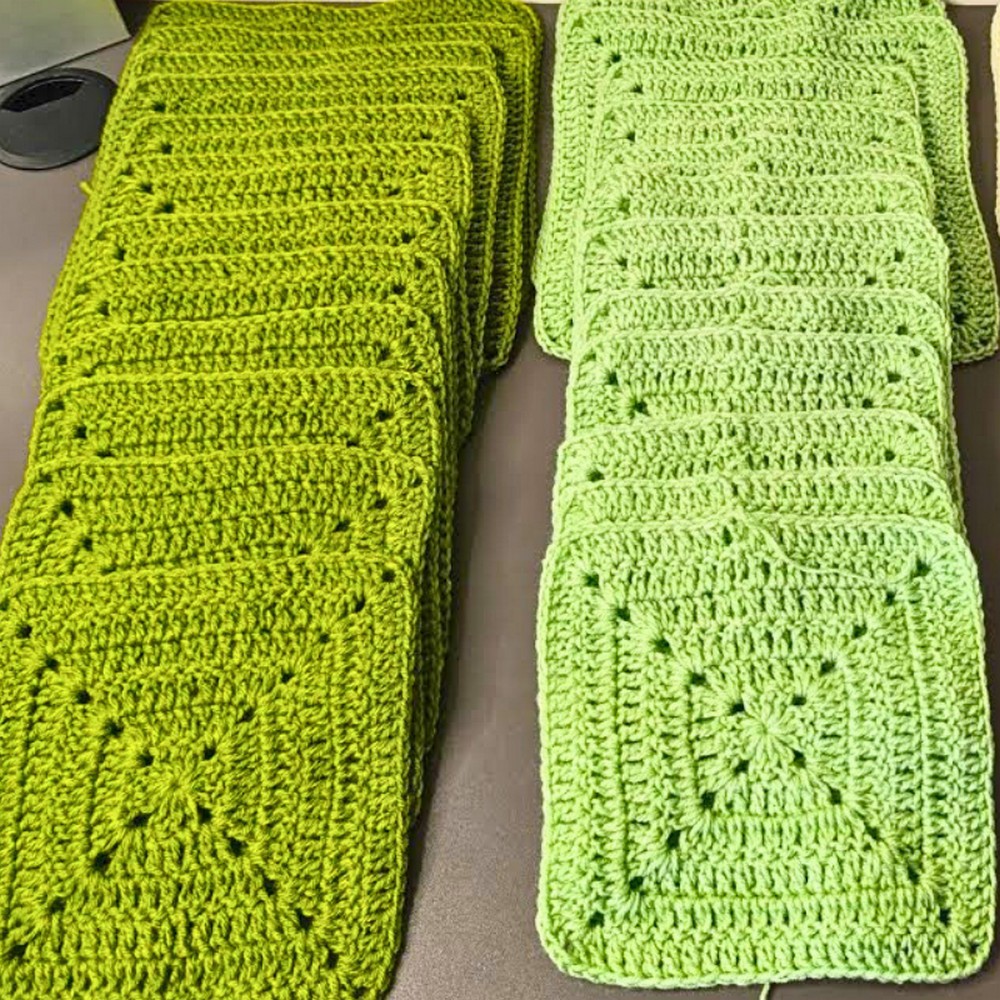
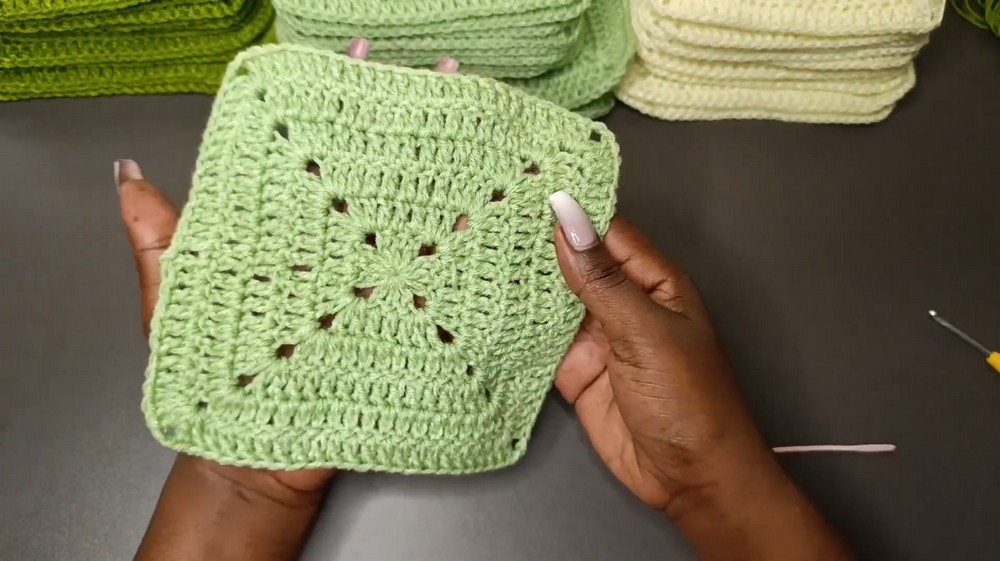
A solid granny square is a charming and versatile crochet pattern that can be used in countless ways. It’s different from the traditional granny square as it has a denser appearance, making it perfect for cozy sweaters, blankets, bags, or even cushion covers. Whether you’re crocheting to craft a warm sweater or creating something special for your home, this square provides a sturdy and neat finish.
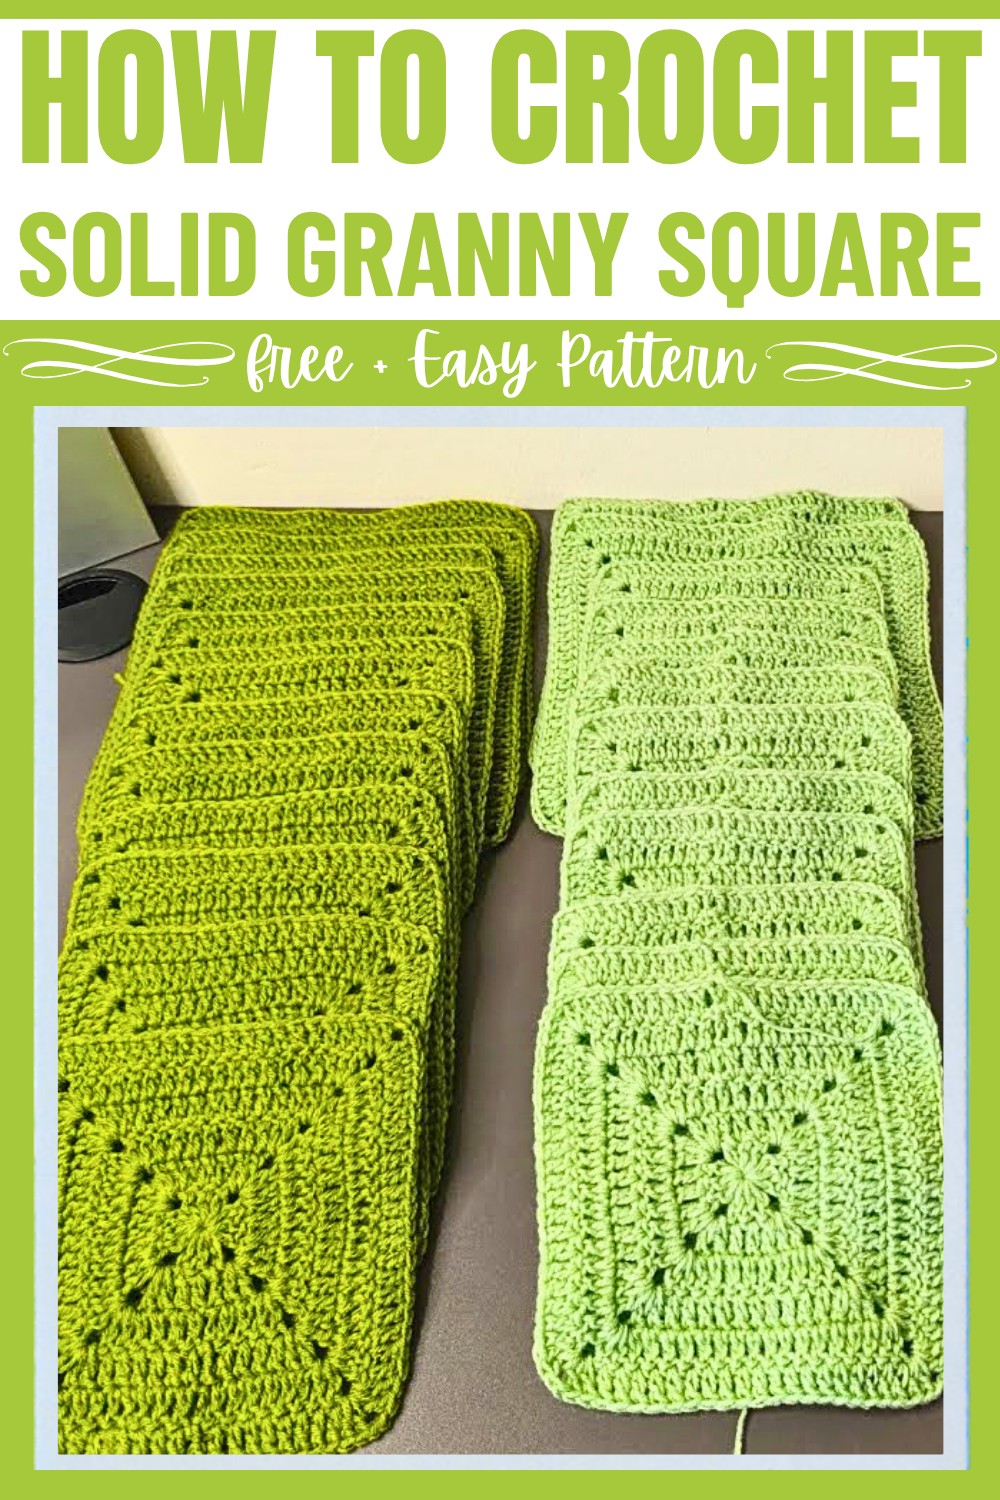
Making a solid granny square is simple! You start by forming clusters of stitches and build the square row by row. Each corner features clusters and chains, giving it that perfect square shape. You can customize it easily by changing the yarn type and color, from lightweight cotton to chunky acrylic, depending on your desired look and feel. These squares are a great way to practice your crochet skills while working on something fun and functional!
Credit LaDenser Crochets
Materials & Tools Needed
- Yarn: Medium-weight acrylic yarn (or cotton yarn); alternatively, you may use chunky yarn if you want a heavier square for larger projects.
- Crochet Hook: 3.5 mm
- Scissors: For cutting the yarn
- Darning Needle: For weaving in ends
- Optional Tools: Stitch markers (to keep track of rounds) and a measuring tape (for verifying square size)
Finished Size & Customization Ideas
- The tutorial square with 6 rounds is suitable for a size large sweater.
- Rows/rounds guide:
- 5 rounds: Size small/medium granny square
- 6 rounds: Size large granny square
- 7 or more rounds: Size XL or larger
- To customize: Adjust the yarn weight, hook size, or number of rows to create squares of various sizes!
Pattern Abbreviations & Terminology
(Note: Tutorial uses US terms)
- ch: Chain
- dc: Double Crochet
- sl st: Slip Stitch
- st(s): Stitch(es)
- sp: Space
- YO: Yarn Over
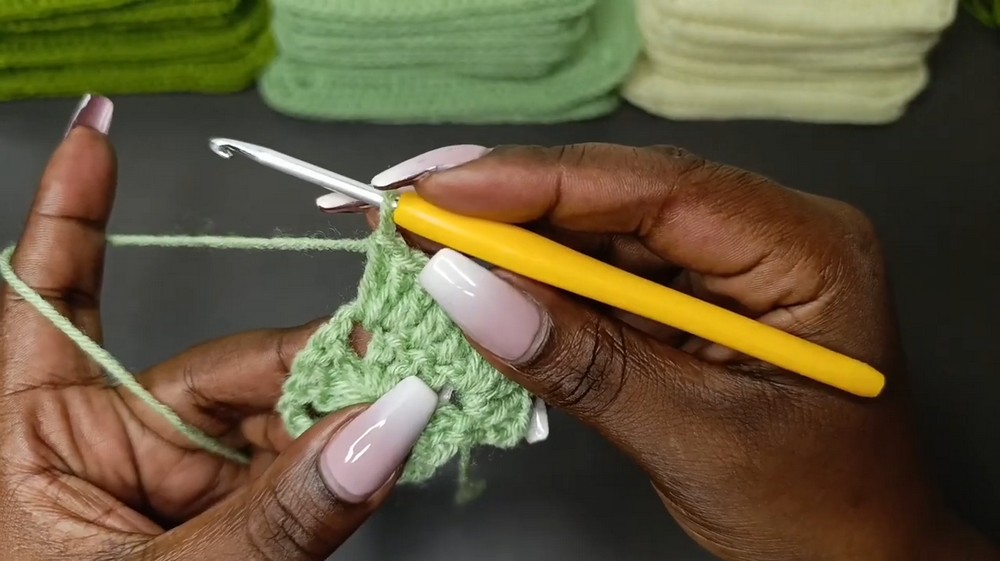
Step-by-Step Crochet Instructions
Notes:
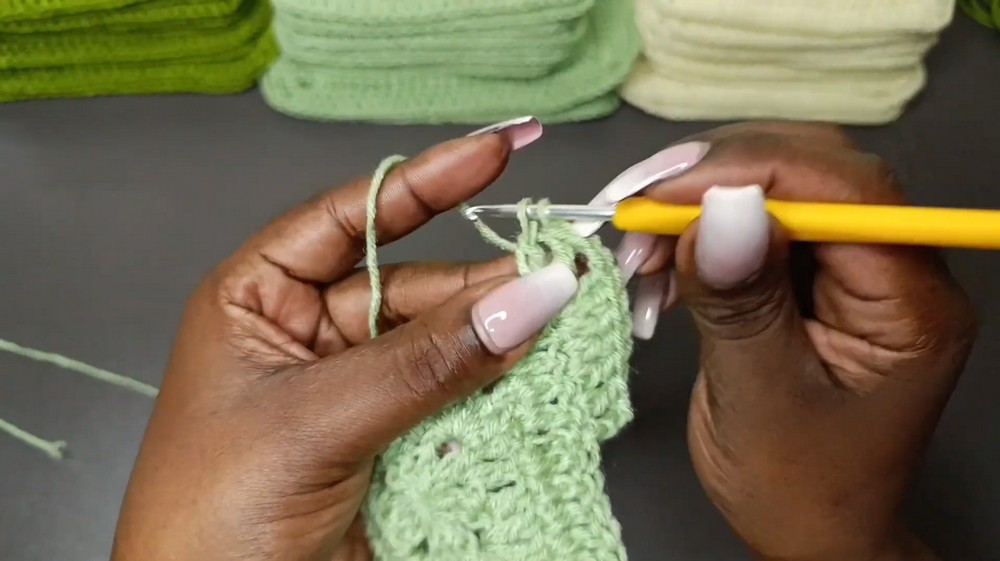
- The pattern involves turning the work after each round to improve stitch visibility.
- Corners are made up of two double crochets (dc), a chain-2, and two more double crochets in the same space.
Foundation Round - Magic Circle
- Form the magic circle: Wrap the yarn around your fingers and pull up the longer side to form a loop. Insert the hook through the loop, YO, pull through, and secure it.
- Chain 3 (ch 3): Acts as the first double crochet (dc).
- Work into the magic circle:
- Make 2 dc (3 dc total including starting ch 3).
- Chain 2 (forms the corner).
- Repeat: 3 dc, ch 2 three more times (you’ll have 4 clusters of 3 dc with ch-2 separating them).
- Close the circle:
- Pull the shorter yarn tail to tighten and close the center of the magic circle.
- Slip stitch (sl st) into the top of the starting ch-3 to join the round.
- Result: A 4-sided square with 4 clusters of 3 double crochets and 4 corner chain-2 spaces.
Round 2
- Start the round: Chain 3 (acts as first dc), turn your work.
- Work into the nearest corner (chain-2 space):
- 2 dc, ch 2, 2 dc (forms the new corner).
- Work across the sides:
- Place 1 dc into each of the 3 dc from the previous round.
- In the next corner (chain-2 space):
- Make 2 dc, ch 2, 2 dc.
- Repeat Steps 3 and 4: Continue working 1 dc into each dc along the sides and 2 dc, ch 2, 2 dc into each corner.
- Close the round: Sl st into the top of the starting ch-3.
Round 3
- Start round by chaining 3 and turn.
- Work across the side stitches:
- Place 1 dc into each dc along the side.
- In each corner (chain-2 space):
- Work 2 dc, ch 2, 2 dc.
- Continue around: Repeat Steps 2–3 for all sides.
- Close the round: Sl st to the top of the ch-3.
Rounds 4–6 (or Desired Size)
- Repeat the same pattern for additional rounds:
- Work 1 dc into each dc along the side.
- For each corner, work 2 dc, ch 2, 2 dc into the chain-2 space.
- Sl st to join; chain 3 at the beginning of each round and turn.
Tip: Continue working as many rounds as needed to achieve the desired square size.
Finishing the Solid Granny Square
- After completing your final round:
- Sl st into the top of the starting ch-3.
- Chain 1, cut the yarn, and pull through the loop to fasten off.
- Weave in ends:
- Use the darning needle to weave the yarn ends into the stitches securely. Make sure the ends are hidden within the fabric to keep the square neat.
Joining & Using the Granny Squares
- If you’re using the square for a sweater (as shown in the tutorial), you’ll need 28 granny squares of identical size.
- Set them aside and wait for the next tutorial on joining and assembling the squares into a hoodie!
Key Details from the Tutorial
- Turning after each round: Ensures stitches are evenly visible and maintains consistency.
- Corners in every round remain the same: 2 dc, ch 2, 2 dc.
- Customization: Add or subtract rounds based on project preferences like size or yarn weight.