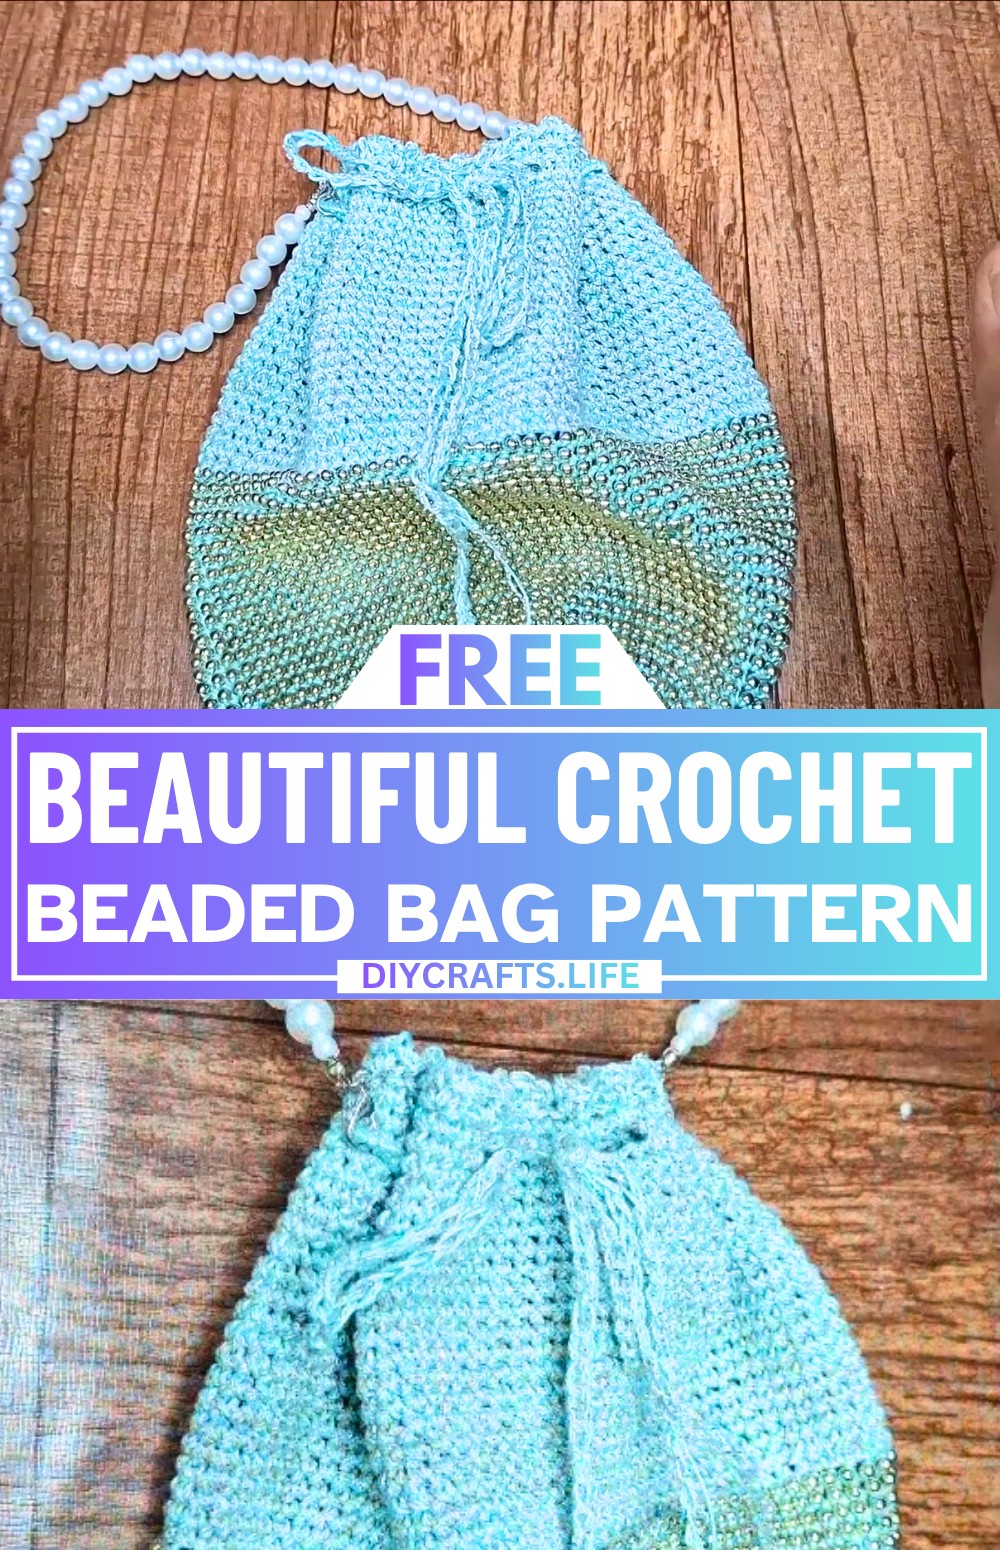
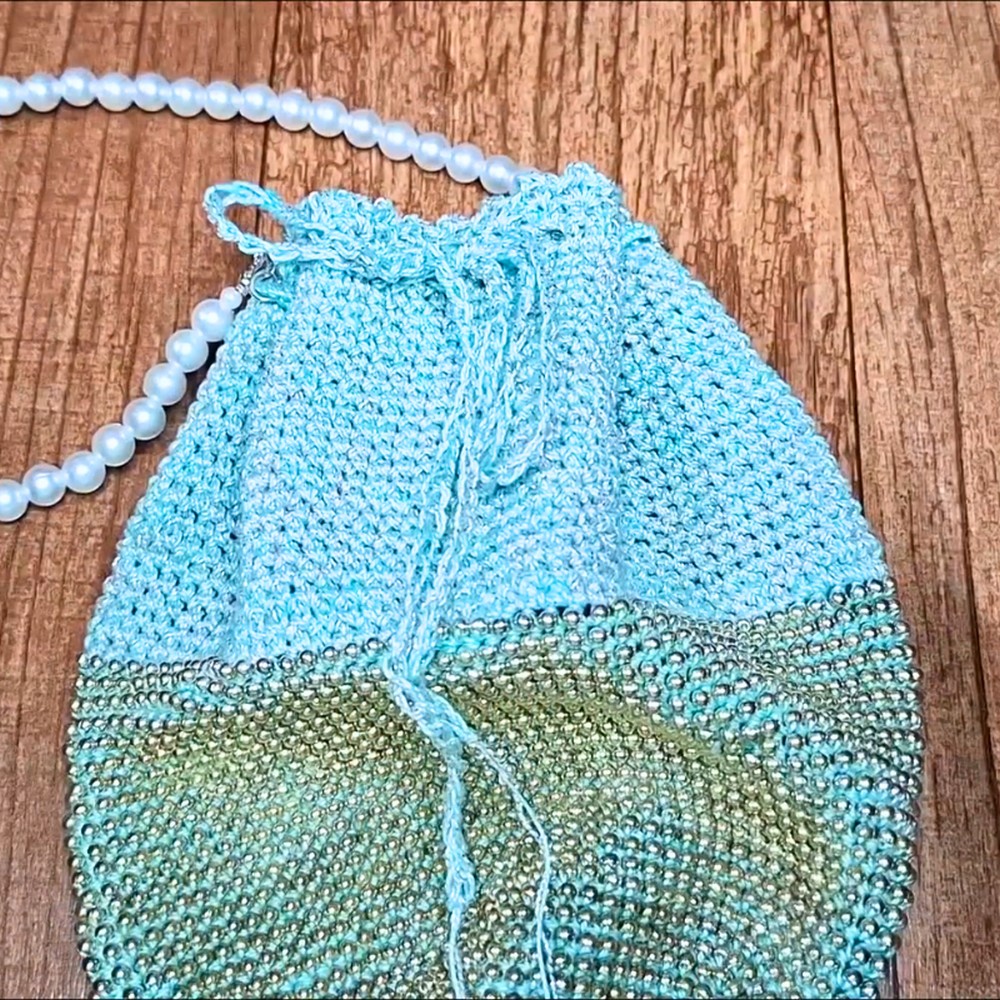
A beaded crochet bag is an eye-catching accessory that combines elegance with practicality. This handmade bag is perfect for carrying small essentials like keys, wallets, or cosmetics. Its delicate bead detailing adds a sparkle that makes it stand out, whether you’re heading to lunch with friends or attending a special event. What makes it unique is the shimmering combination of yarn and beads, giving it both texture and personality. You can choose colors and bead styles to match your taste and outfit.
Crochet Beaded Bag Tutorial
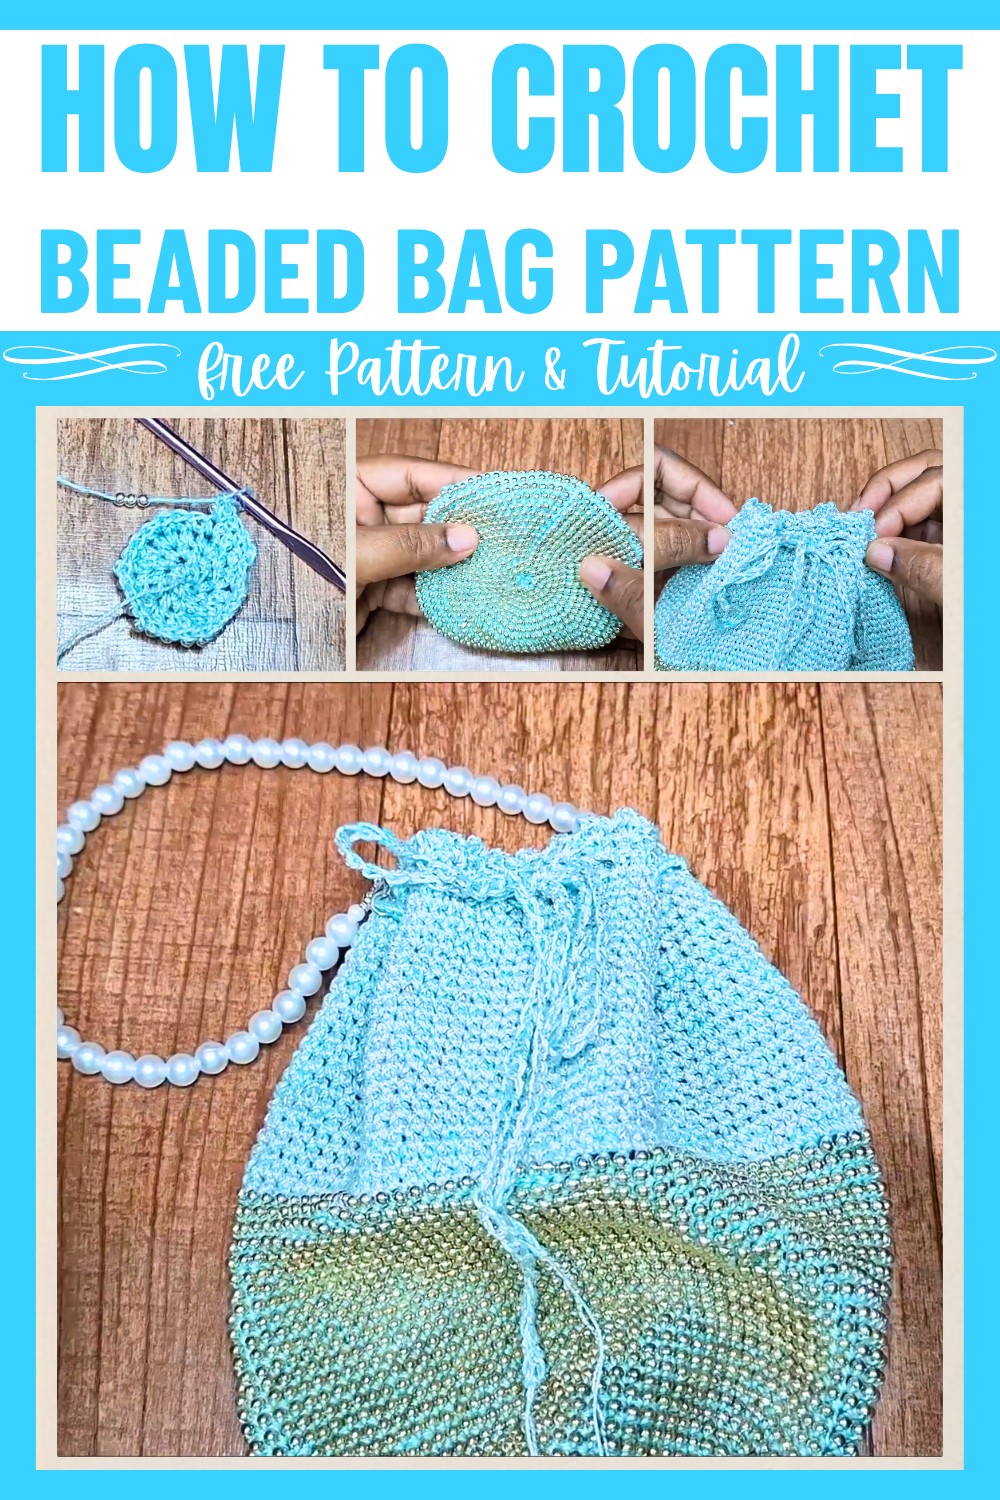
Making this crochet bag is simple and enjoyable, even for beginners. By threading beads onto yarn and carefully shaping the body, the bag gradually comes to life. You’ll also learn to attach a beautiful handle, whether you prefer a beaded one or a crocheted strap. The finishing touch is the drawstring closure, which keeps everything inside secure while adding to the charm. Once completed, the bag is durable, lightweight, and visually stunning, perfect for gifting or personal use.
Credit Vima's Crochet
Materials & Tools Needed
- Yarn:
- One strand of cotton yarn (e.g., Merriiz yarn or any thin cotton yarn).
- Optional: Metallic yarn (adds stability and a shimmering texture).
- Hook:
- 3 mm crochet hook.
- Beads:
- Approximately 200–300 small glass beads (or more, depending on desired size).
- Use beads that match or contrast with your yarn color.
- Other Tools:
- Yarn needle.
- Stitch markers.
- Measuring tape.
- Scissors.
- Thin wire (for threading beads onto the yarn).
- Optional:
- Pre-made or crochet handles and clasps for attaching the bag straps.
Finished Size & Customization Ideas
- Finished size depends on the rounds completed for the base and the height you choose. The tutorial creates a 4-inch circular base and approximately 20 rows for the body.
- Customization Ideas:
- Use beads of different colors for a gradient or striped effect.
- Adjust the size by increasing or decreasing base rounds and height.
- Add a lining inside the bag for durability.
- Use both yarn and metallic thread for a shimmer effect.
Pattern Abbreviations & Terminology
- US Terminology:
- ch = chain
- sc = single crochet
- sl st = slip stitch
- st(s) = stitch(es)
- inc = increase (2 sc in the same stitch)
- rnd = round
- YO = yarn over
- rep = repeat
- [] = repeat instructions within brackets as indicated.
Step-by-Step Detailed Instructions
Preparations:
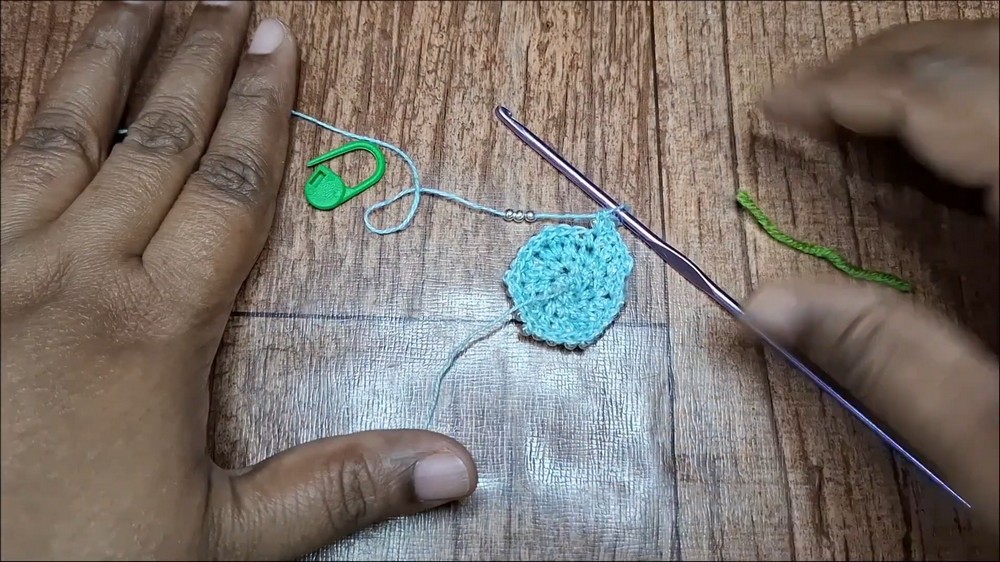
- Thread the Beads:
- Take a small piece of wire. Fold the wire in half and twist it to create a small loop at the end (resembling a hook).
- Place the yarn between the twisted wire loop, slightly folding the yarn.
- Pass the beads onto the wire and slide them down onto the yarn.
- Thread approximately 200–300 beads onto the yarn to begin.
Base Section:
- Make a slip knot and place it on your hook.
- Rnd 1: Chain 4 (ch 4), join the first chain with a slip stitch (sl st) to form a ring.
- Rnd 2: Chain 1 (ch 1), make 6 single crochets (sc) into the ring. [6 sts total]. Sl st to the first sc to join the round.
- Tip: Tighten the center of the ring by pulling the starting tail to secure it.
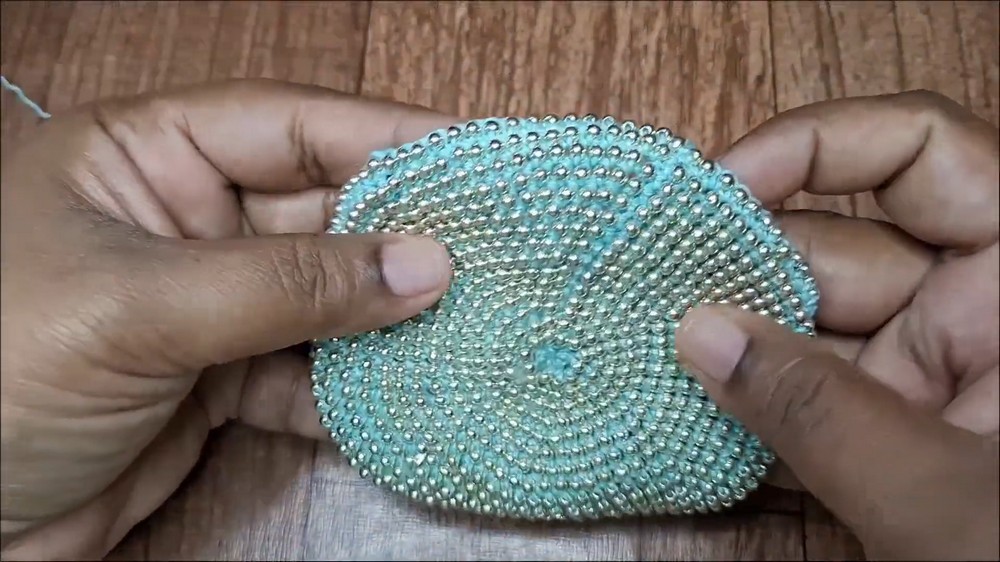
- Rnd 3: Chain 1 (ch 1). Work (1 sc, sliding 1 bead down before completing the sc) in each stitch around. [6 beads total]. Sl st to the first sc to join.
- Mark the first stitch with a stitch marker to keep track of rounds.
Increasing the Circular Base:
Use the standard increase pattern, while sliding one bead down during every stitch. Follow this pattern:
- Rnd 4: Chain 1. Work 2 sc (with beads) into each stitch around. [12 sts and beads]. Sl st to join.
- Rnd 5: Chain 1. Work (1 sc with bead in first st, 2 sc with beads in next st) around. [18 sts and beads]. Sl st to join.
- Rnd 6: Chain 1. Work (1 sc with bead in the next 2 sts, 2 sc with beads in next st) around. [24 sts and beads]. Sl st to join.
- Rnd 7: Chain 1. Work (1 sc with bead in the next 3 sts, 2 sc with beads in the next st) around. [30 sts and beads]. Sl st to join.
Continue increasing the base until it measures approximately 4 inches in diameter or your preferred size.
Body of the Bag:
- Once the base is completed, stop increasing and continue with one sc stitch in each stitch without increases.
- Work in joined rounds by finishing each round with a slip stitch and starting the next round with a ch 1.
- Slide one bead into place during each sc stitch.
- Continue until you reach the desired height of the bag. The tutorial uses approximately 20 rounds for the body section.
Adding the Metallic Yarn (Optional):
- Once the body height is complete, attach metallic yarn to the working yarn.
- Combine them and treat them as one strand.
- Slip knot the metallic yarn to the working stitch and pull it through.
- Work 3–4 rounds of single crochet (with both yarns combined). This section adds some stability to the top of the bag.
Drawstring Section:
- Create Spaces for the String:
- After completing the metallic yarn section:
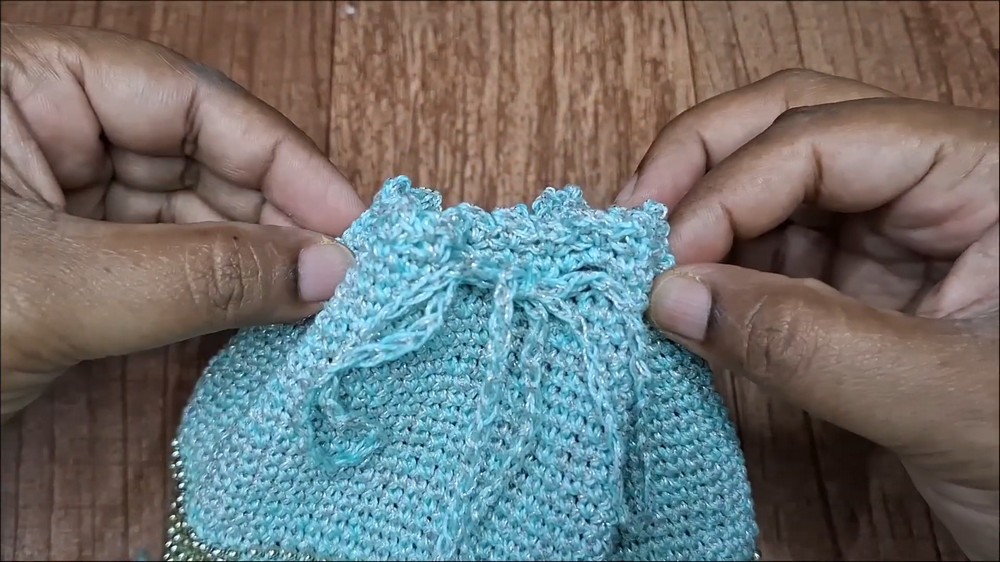
- Rnd 1: (Chain 3, skip 2 sts, sc in the next stitch) around. This creates loops for the drawstring.
- Slip stitch to the first sc to join the round.
- After completing the metallic yarn section:
- Reinforce the Loops:
- Rnd 2: Work (2 sc into each ch-3 space, 1 sc in each sc) around. Sl st to join.
- Final Decorative Round (Picot Round):
- Chain 1. Work (1 sc, chain 2, 1 sc) in every alternate stitch to create small points (picots) on the top edge.
Making the Drawstring:
- Chain 120–130 stitches (or any length sufficient for the bag opening).
- Pull the chain through the skipped-chain loops of the bag (weaving in and out).
- Tie the ends and trim excess. Optionally, add tassels or charms to the ends.
Handles (Optional):
- Use pre-made handles with clasps or crochet a handle.
- Attach them securely to the bag using the stitches near the top.
Finishing:
- Weave in all loose ends with a yarn needle.
- Tighten and secure any knots to ensure durability.
- Adjust the drawstring for closure. The beads will beautifully accentuate the bag design.
Notes and Tips:
- Adding More Beads: If you run out of beads, thread more onto the yarn following the preparation step.
- Custom Handles: You can attach metal, fabric, or crochet handles, depending on availability and preference.
- Care: Hand wash and air dry for optimal care of your crochet bag.