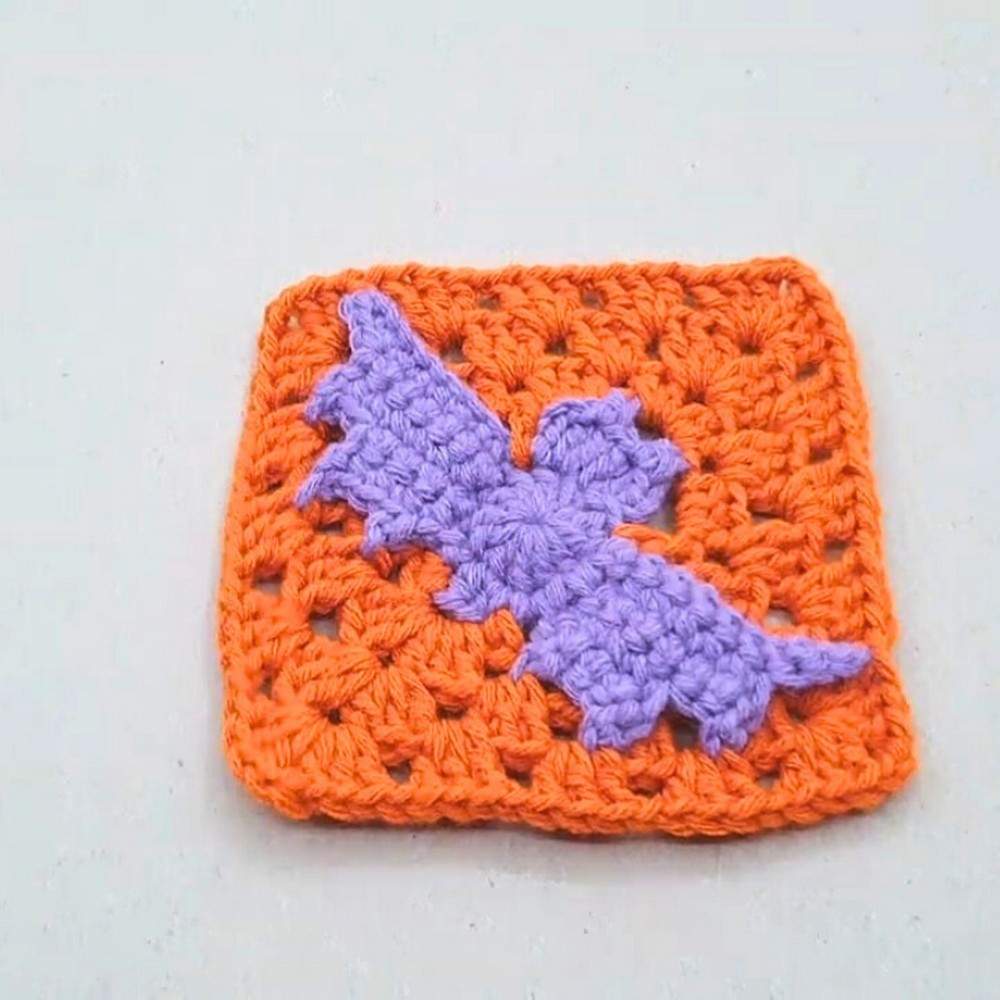
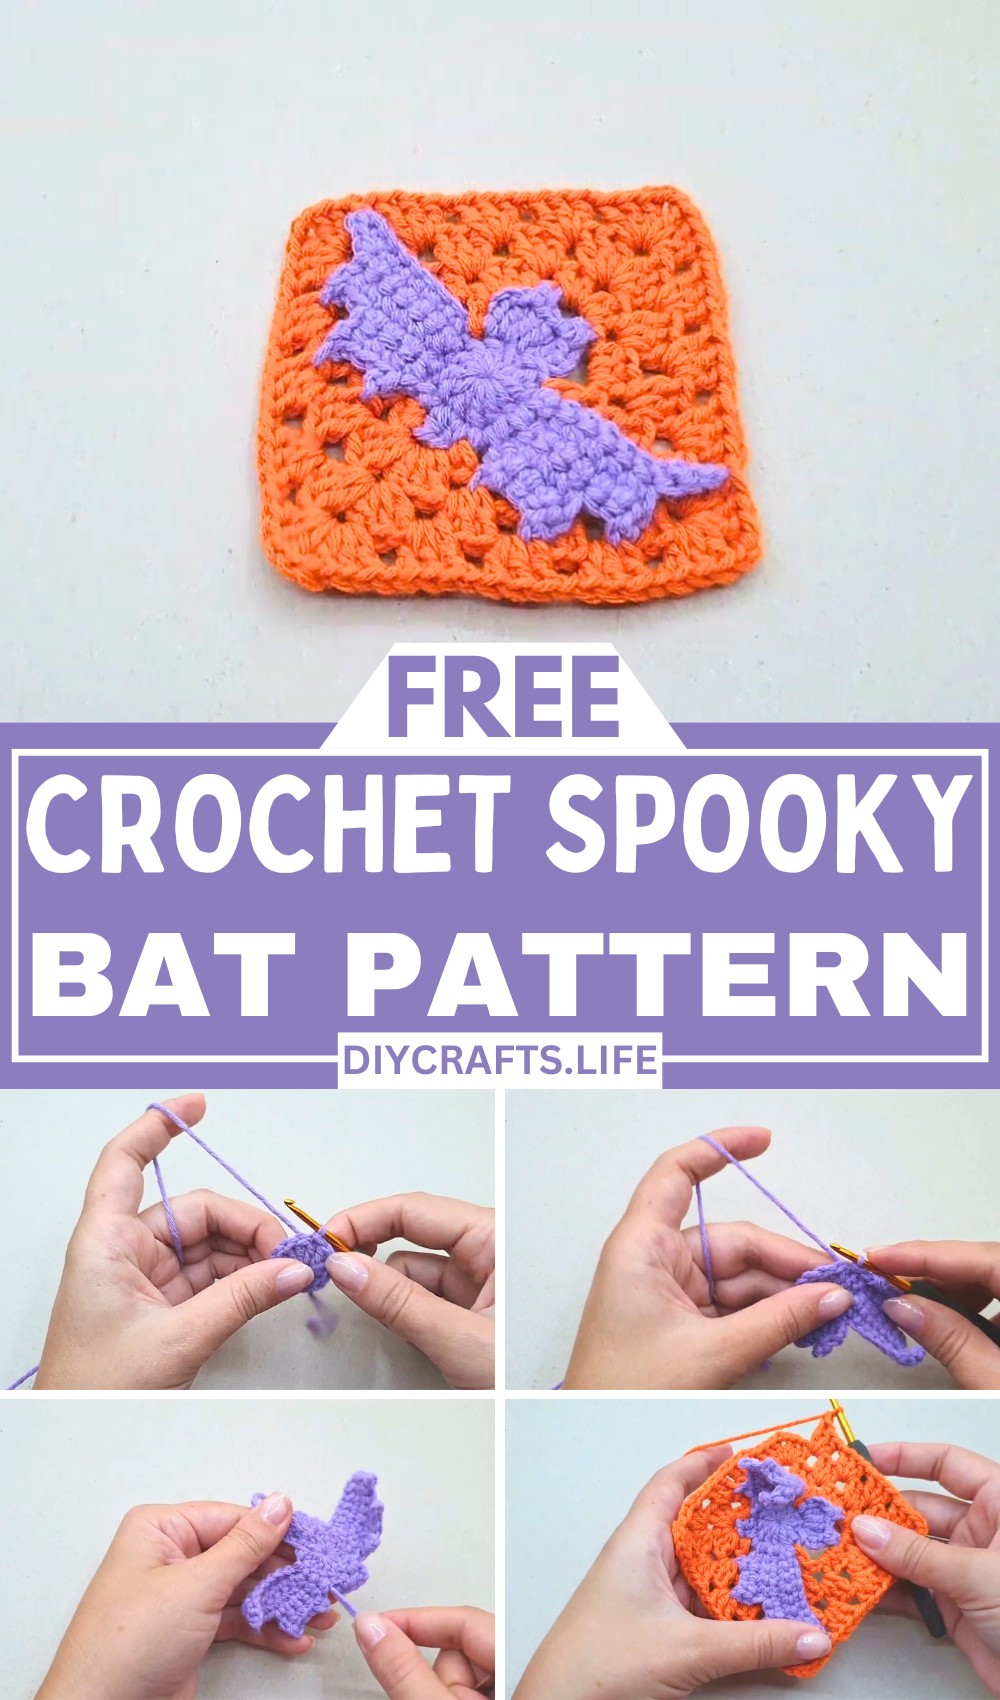
Create your very own charming crochet Halloween bat that’s perfect for spooky décor or as a thoughtful handmade gift. This easy-to-follow project adds a playful touch to festive decorations and offers endless possibilities for customization while showcasing your creativity.
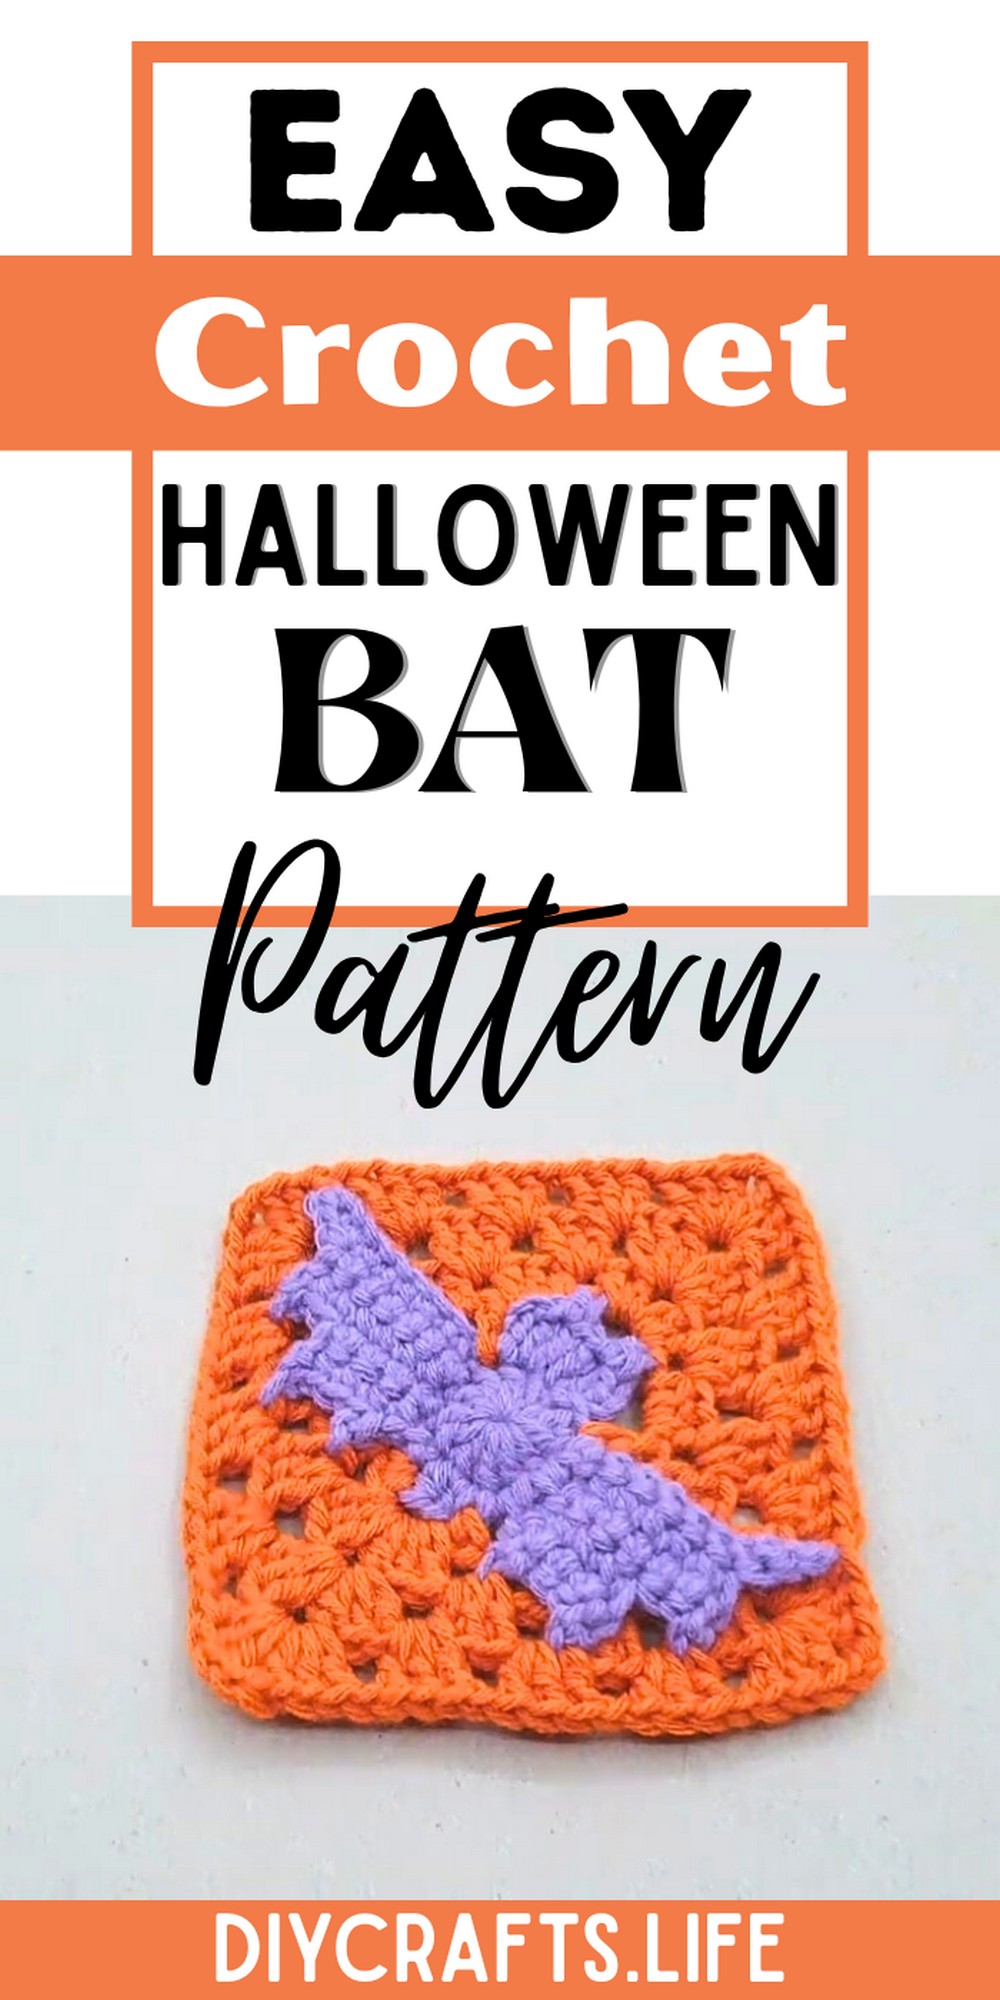
This crochet bat is not only adorable but also durable, making it a great Halloween decoration for years to come. Use it as a hanging ornament, gift topper, or even as a playful toy. Its standout features include portability, whimsical charm, and its ability to complement any Halloween setup.
Crochet an Adorable Halloween Bat
Crafting this crochet bat is fun and beginner-friendly, making it adaptable for all skill levels. The pattern allows for personalization with different yarns and colors, letting your creativity shine. Whether you're new to crochet or experienced, this project is quick and rewarding.
Materials and Preparation
To crochet this adorable Halloween bat, you'll need the following materials:
- Yarn: Medium-weight (Size 4) yarn in black or dark gray for the bat’s body and optional accent colors for details.
- Hook Size: A 3.5mm crochet hook (adjust based on your yarn's weight or desired size).
- Additional Tools:
- Stitch markers
- Fiberfill stuffing for the body
- Safety eyes or small black buttons for the bat’s eyes
- Sewing needle for attaching parts
- Scissors
- Optional: Fine white yarn for decorative cobweb details.
Make sure to gather all tools and prepare your workspace before beginning.
Abbreviations and Notes
Here are the common crochet abbreviations you'll encounter in this pattern:
- CH: Chain
- SC: Single Crochet
- INC: Increase (two stitches in one stitch)
- DEC: Decrease (combine two stitches into one)
- HDC: Half Double Crochet
- SL ST: Slip Stitch
Notes:
- Always work in a tight tension to create firm stitches for the bat’s structure.
- Use stitch markers to keep track of rounds.
- This pattern uses basic amigurumi techniques like working in continuous rounds.
Gauge, Approximate Size, and Pattern Notes
Gauge:
Gauge is not essential for this project, but using the recommended yarn and hook size will yield an approximate bat size of 4–6 inches tall when finished.
Techniques:
This pattern involves amigurumi techniques (working in the round) and basic shaping to create the body and wings. No gauge swatch is needed, but consistent stitching ensures uniformity.
Step-by-Step Pattern
This easy Halloween bat is worked in sections: Body, Wings, and Head. Follow the steps below to assemble your bat.
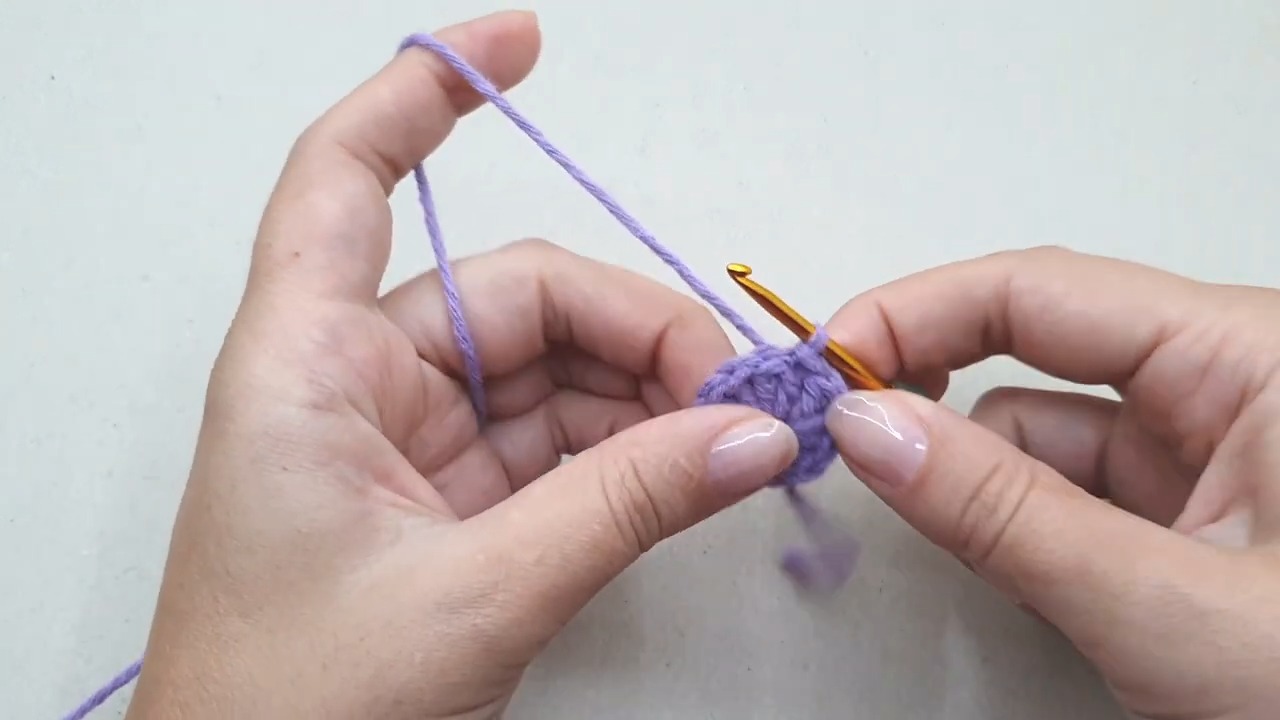
1. Body of the Bat
- Foundation Ring: Create a magic circle and CH 1.
- Round 1: Work 6 SC into the magic circle. Pull tight to close the ring. (6 stitches total)
- Round 2: INC in each stitch around. (12 stitches total)
- Rounds 3–6: SC in each stitch around to build up the body.
Add fiberfill stuffing as needed during the later rounds to maintain shaping.
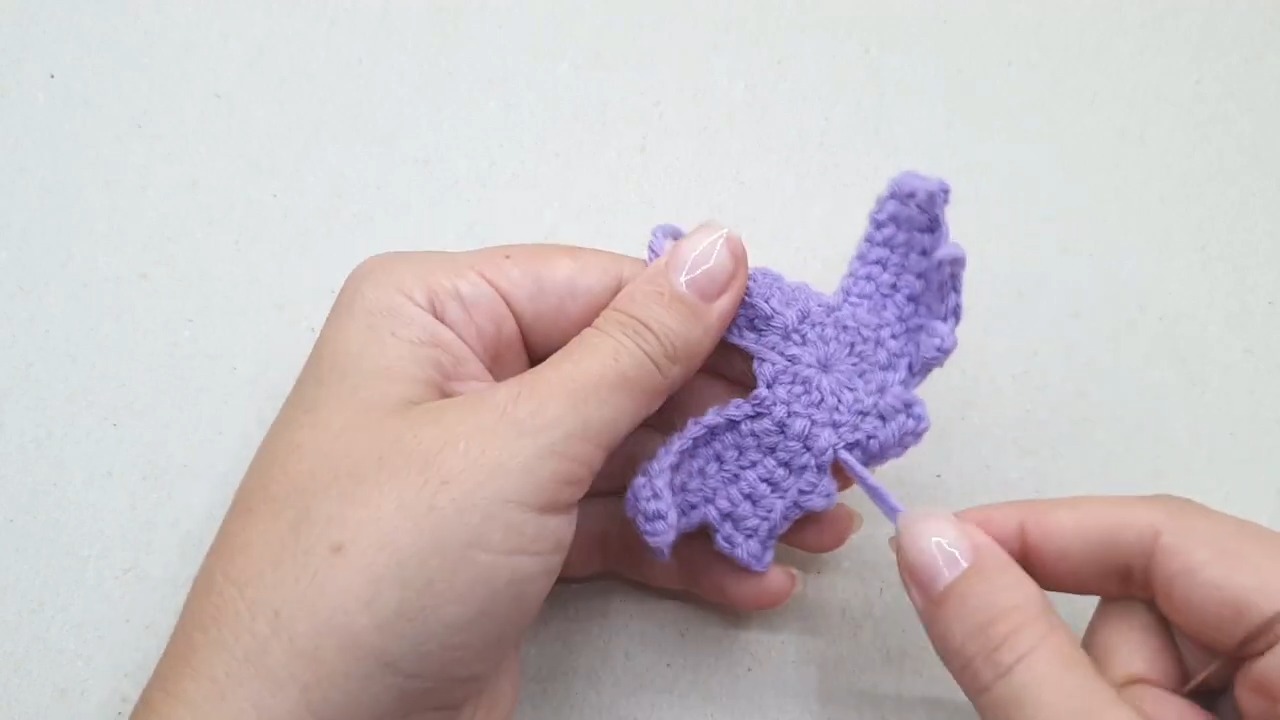
2. Wings
- Foundation Chain: CH 18 for a medium-sized wing.
- Work evenly back along the chain with HDC in the first 16 stitches, then add 2 SC to taper off at the end.
- Repeat this for the second wing.
Be sure to adjust wing size by increasing or decreasing chains depending on how large you want the bat's wings.
3. Head
- Foundation Ring: Create a magic circle with black yarn.
- Work in continuous rounds using SC and INC to form a rounded sphere. Stuff with fiberfill to maintain shape.
- Attach safety eyes or buttons.
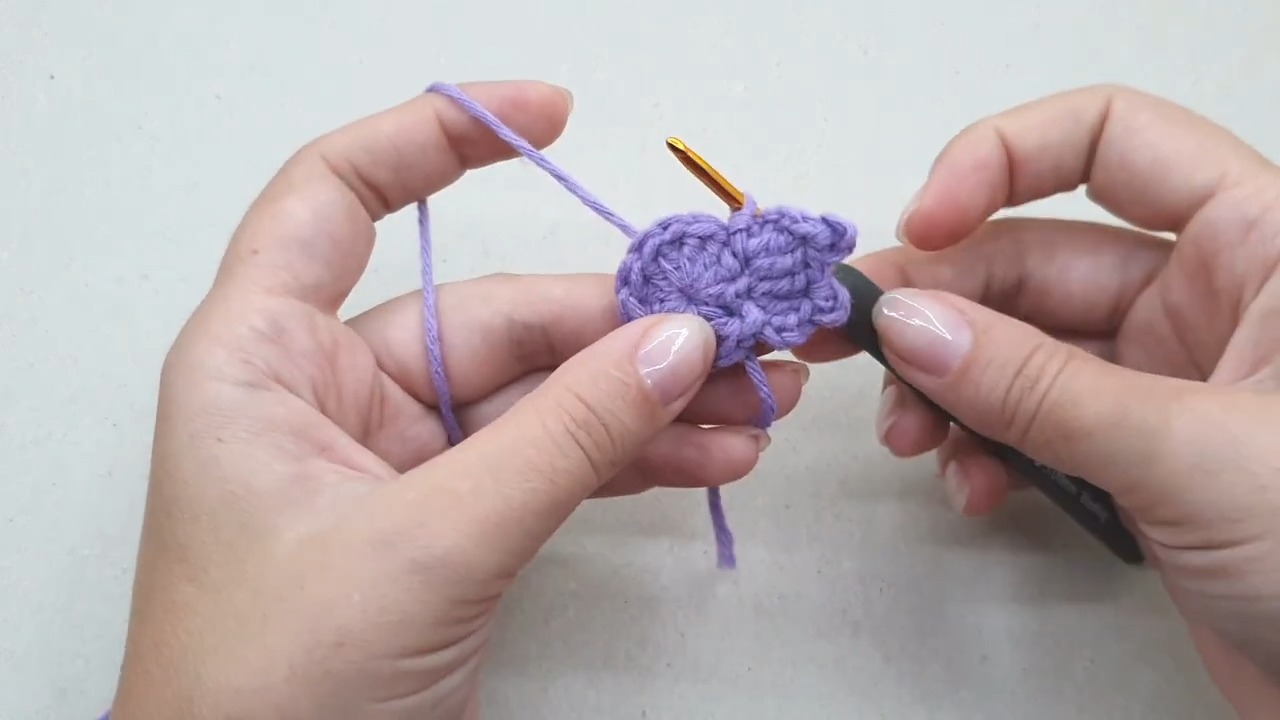
4. Assembly and Finishing Touches
- Sew the wings to each side of the body using black yarn and a darning needle.
- Attach the head securely to the top of the body, sewing slowly to maintain alignment.
- OPTIONAL: Add decorative cobweb details or tiny fangs using white yarn.
Pattern Question:
Question: Can I change the yarn type for this pattern?
Answer: Yes, you can use any yarn type or color to suit your style. Just adjust your hook size to match the selected yarn’s thickness for the best results.
Conclusion:
Crocheting a Halloween bat is a fun way to prepare for the season while expressing your creativity. This project is versatile, easy to make, and an enjoyable addition to Halloween décor. Try it out and create something truly unique and festive.