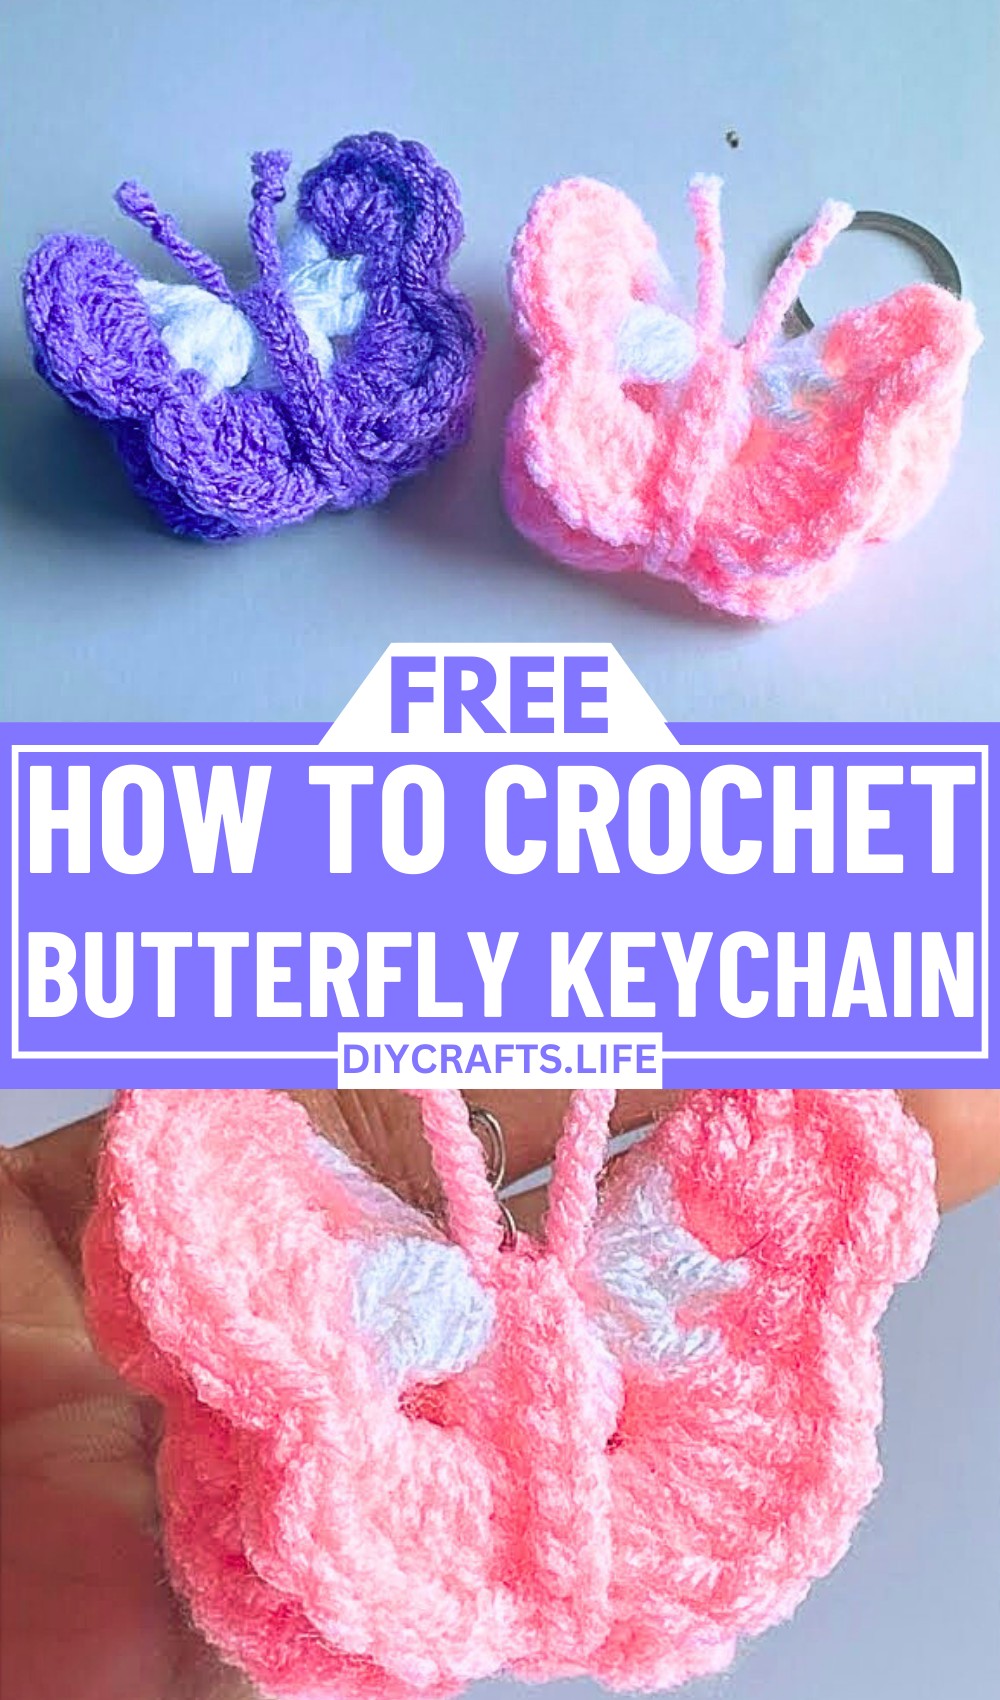
Learn how to create these adorable butterfly keychains that combine elegance and practicality. Perfect for beginners, this crochet pattern offers versatility in color choices, turning simple materials into a vibrant accessory that doubles as a handmade gift or charming decoration.
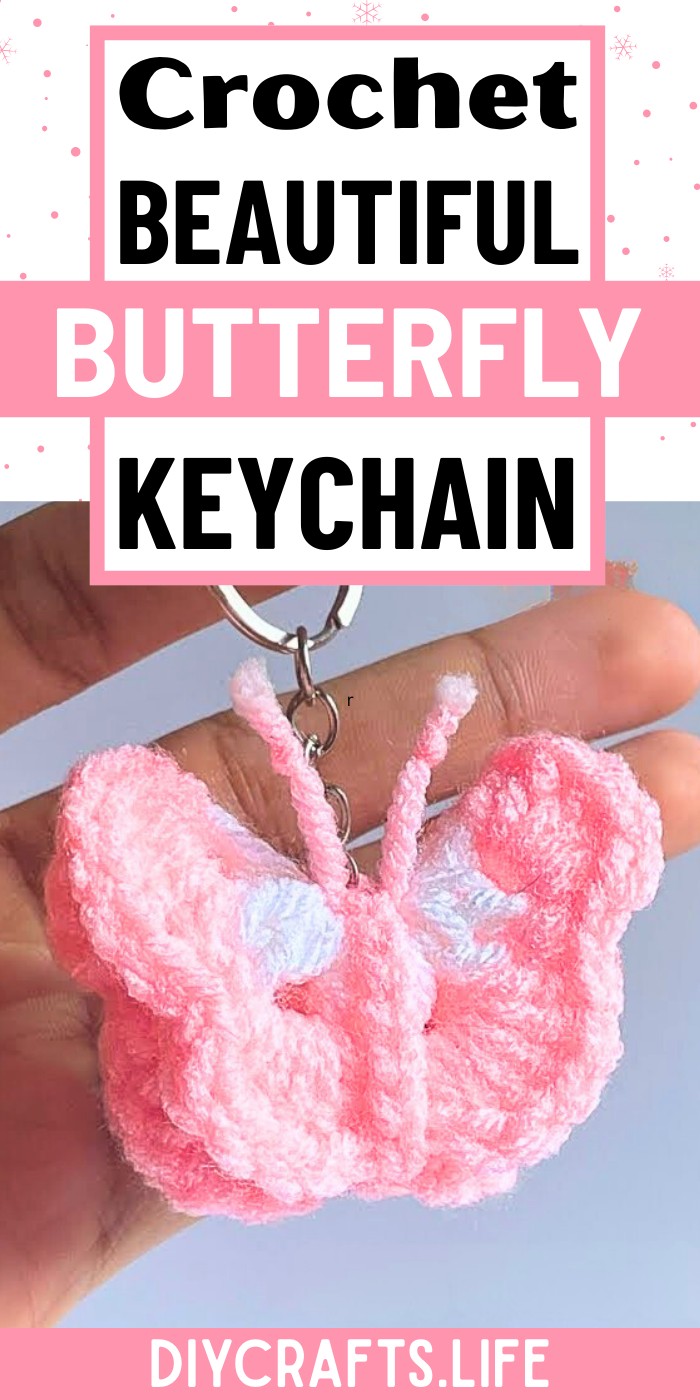
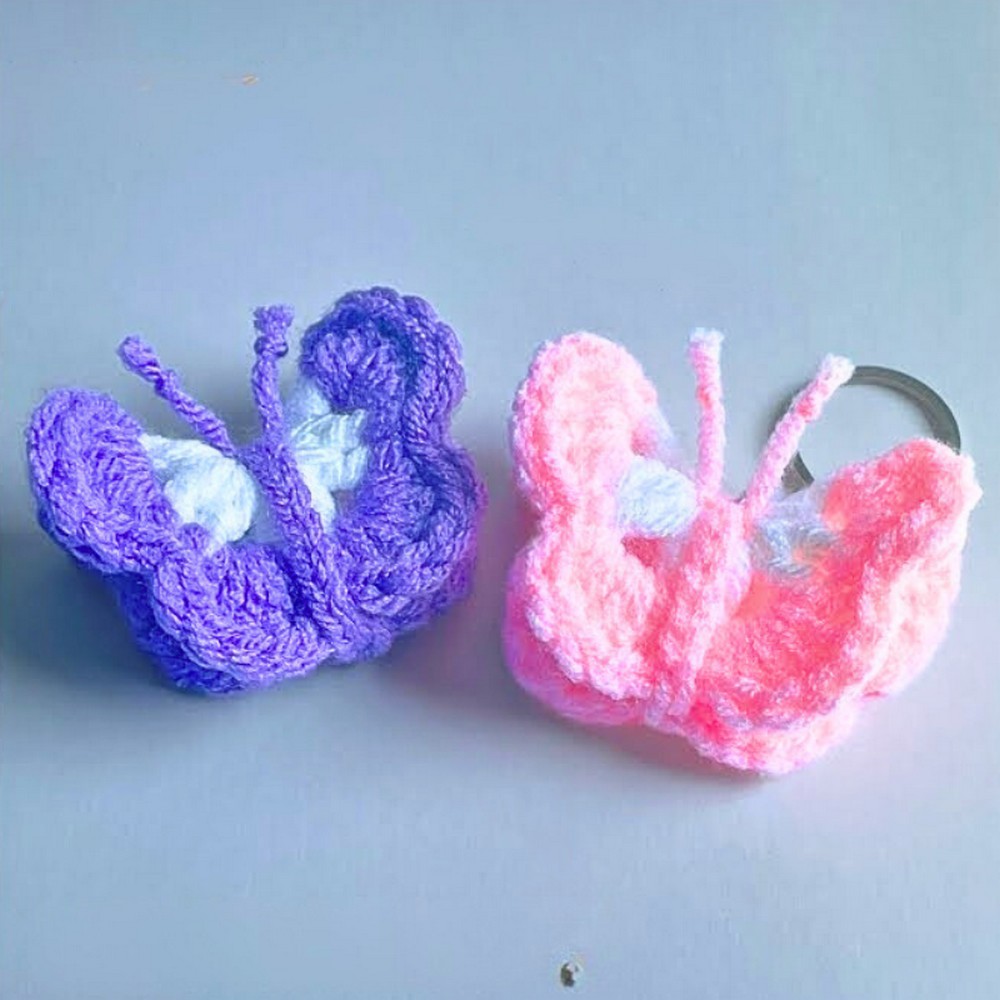
This butterfly keychain is more than just pretty—it's lightweight, durable, and designed to last. Its pleasing shape complements a variety of color combinations, making it highly customizable. Whether decorating your bag or keys, its sturdy design ensures functional appeal with creative flair.
Crochet Butterfly Keychain
Crafting this butterfly keychain is a rewarding process, starting with a beginner-friendly magic ring and progressing through neat stitching details. With step-by-step instructions, it’s designed for crocheters of all skill levels to complete easily and enjoy the final, polished result.
Credit Divine Crochets
Materials and Preparation
To create this adorable and beginner-friendly crochet butterfly keychain, you’ll need the following materials:
- Yarn: Weight 4 yarn (medium) in two colors (e.g., pink for the wings and another color for the body).
- Crochet Hook: 3 mm.
- Additional tools:
- Scissors
- Stitch marker
- Yarn needle
- Key ring
Abbreviations and Notes
Here are the crochet abbreviations used within this pattern:
- CH: Chain
- SL ST: Slip Stitch
- SC: Single Crochet
- DC: Double Crochet
Pattern Notes/Tips
- The tutorial uses two different colors: one for the butterfly wings and the other for the body. You can choose your favorite colors to customize your project.
- Use a stitch marker to keep track of the first stitch of each round for accuracy.
- When chaining for the butterfly’s body and wings, keep the tension consistent throughout.
- A gauge swatch is not necessary for this project.
Gauge, Approximate Size, and Pattern Notes
- Gauge: Not critical for this project, but keep your stitches snug to retain the butterfly shape.
- Finished Size: The completed butterfly measures approximately 3 inches tall (size may vary slightly based on your yarn and tension).
- Special Techniques:
- Magic Ring: This pattern uses a beginner-friendly magic ring made with CH stitches.
- Color Changes: The body of the butterfly involves switching colors. Keep the working yarn tails secured for neatness.
Step-by-Step Pattern
This butterfly keychain is created in two rounds, followed by the body, antenna, and keychain attachment. Grab your materials and let's get started!
Step 1: Wings – Round 1
- Start by making a slip knot, then insert your hook into the loop and pull tight.
- Chain (CH) 10.
- Make a SL ST into the first chain to form a ring. This serves as your "magic ring" for working the butterfly wings.
Round 1:
- Chain 2 (CH 2).
- Work 2 DC (Double Crochet) into the ring and CH 2.
- Repeat this pattern of [2 DC, CH 2] 8 times total inside the magic ring. You should have 8 clusters of 2 DC separated by CH 2.
- Use your stitch marker to mark the first DC of the round. This will help you keep track.
End Round 1:
- Once you’ve completed all 8 clusters, count them to verify there are 8 sets of 2 DC.
- Remove the stitch marker. Slip stitch into the first DC of your starting cluster, then SL ST into the next stitch (this will help you transition into the next round).
- Insert your hook into the nearest CH-2 space, getting ready to change colors.
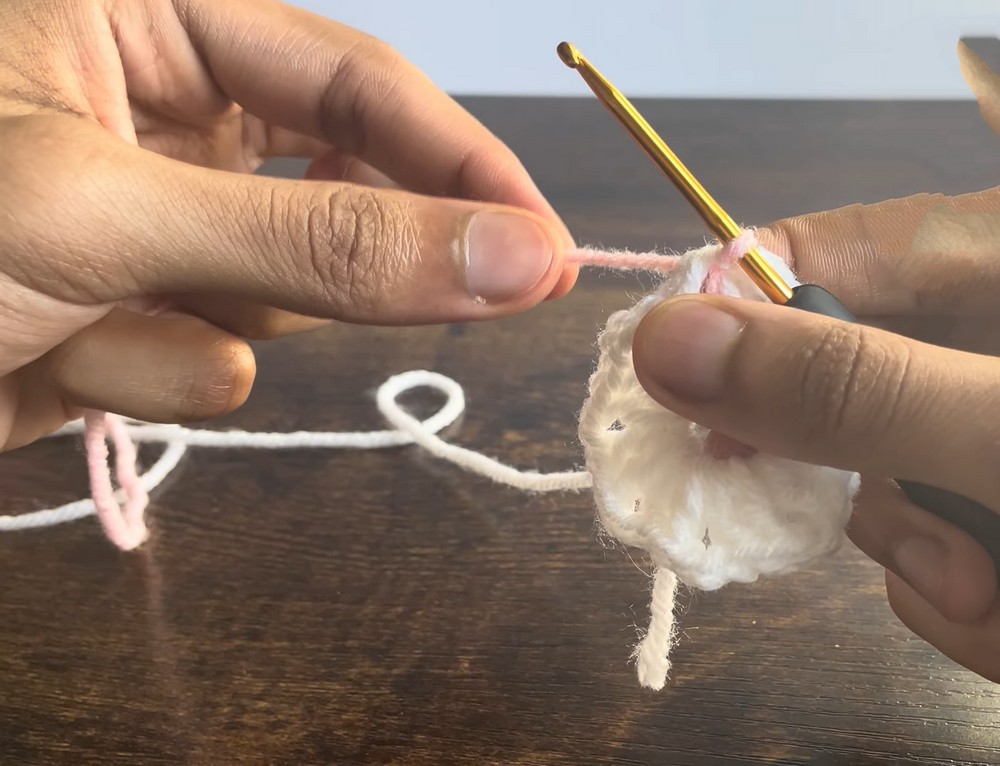
Step 2: Wings – Round 2 (Color Change)
- Attach the second color to your hook, then pull it through the current loop. Tighten both your working yarn and the yarn tail of the new color to secure.
- Cut the old color yarn and hold its tail against the working piece as you crochet (to weave it in).
Round 2:
- CH 2 with your new color.
- Into each CH-2 space around, work 5 DC (this forms the larger wings) followed by 2 SC (Single Crochet).
- Continue the pattern: In the next CH-2 space, work 5 DC, and follow with 2 SC in the next 2 single stitches in between the clusters.
- Repeat this pattern for all CH-2 spaces around: [5 DC, 2 SC].
- Push your stitches together as needed to make space in each CH-2 cluster.
- Once you make your last 5 DC and 2 SC, SL ST into the first stitch of the round to close.
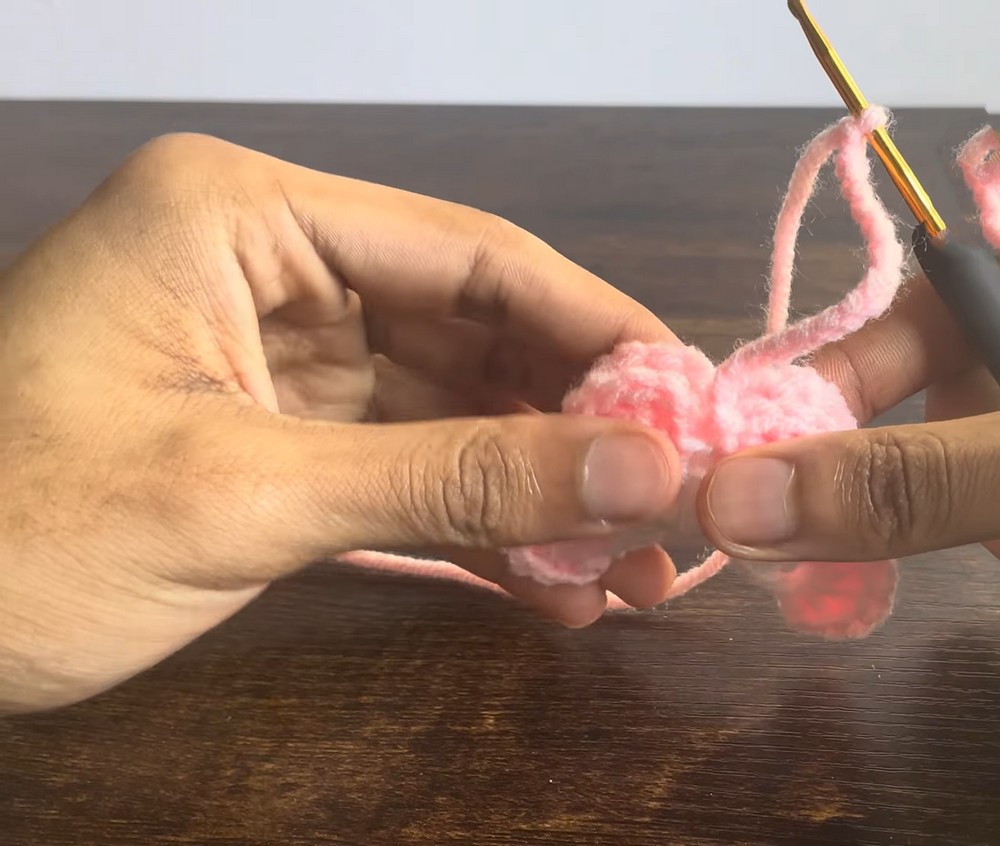
Step 3: Body
- CH 15 using the same color as your body yarn.
- Fold the butterfly in half. This chain will be wrapped around the center of the folded wings to create the butterfly’s body.
Shaping the Body:
- Wrap the chain around the center of the folded butterfly to bring the top wings together tightly.
- Insert your hook from the bottom of the butterfly to the CH stitches near the single crochets at the middle back.
- Insert your hook into the middle top of the butterfly and SL ST to secure the chain around the body. Finally, cut off the remaining yarn and fasten securely.
Step 4: Antenna
- Take a small piece of the leftover yarn in the body color (around 3 inches long).
- Tie two knots on the piece of yarn, leaving a 1-inch gap between the knots.
- Use the yarn needle to thread the knotted yarn through the top of the butterfly near the folded chain. Once the yarn is attached, trim any excess to shape the antenna.
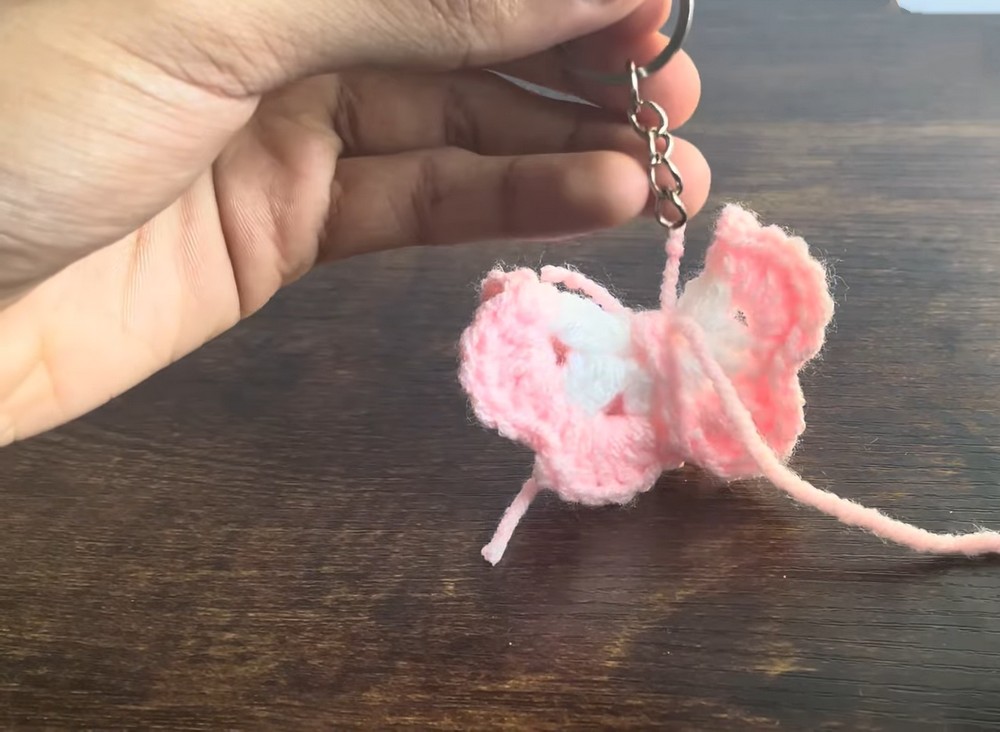
Step 5: Key Ring Attachment
- Grab your key ring and matching wing yarn color.
- Use your yarn needle to thread the yarn through the base of the chain on the butterfly’s body.
- Loop the yarn through the key ring and pull it back through the butterfly’s base. Pull tightly to secure the key ring in place.
- Repeat the threading and knotting process through the ring and butterfly base until it feels secure.
Final Touches
- Use scissors to carefully trim off any loose ends or excess yarn for a clean finish.
- Your Crochet Butterfly Keychain is now complete!
Pattern Question:
Q: How do I ensure my butterfly wings hold their shape long-term?
A: To keep the wings sturdy, make consistent stitches and tightly secure the yarn tails when weaving them into the design.
Conclusion:
This tutorial guides you through crocheting a stunning butterfly keychain that’s practical, fun, and beginner-friendly. With detailed steps, you’ll gain both skills and a lovely handmade accessory to cherish or gift.