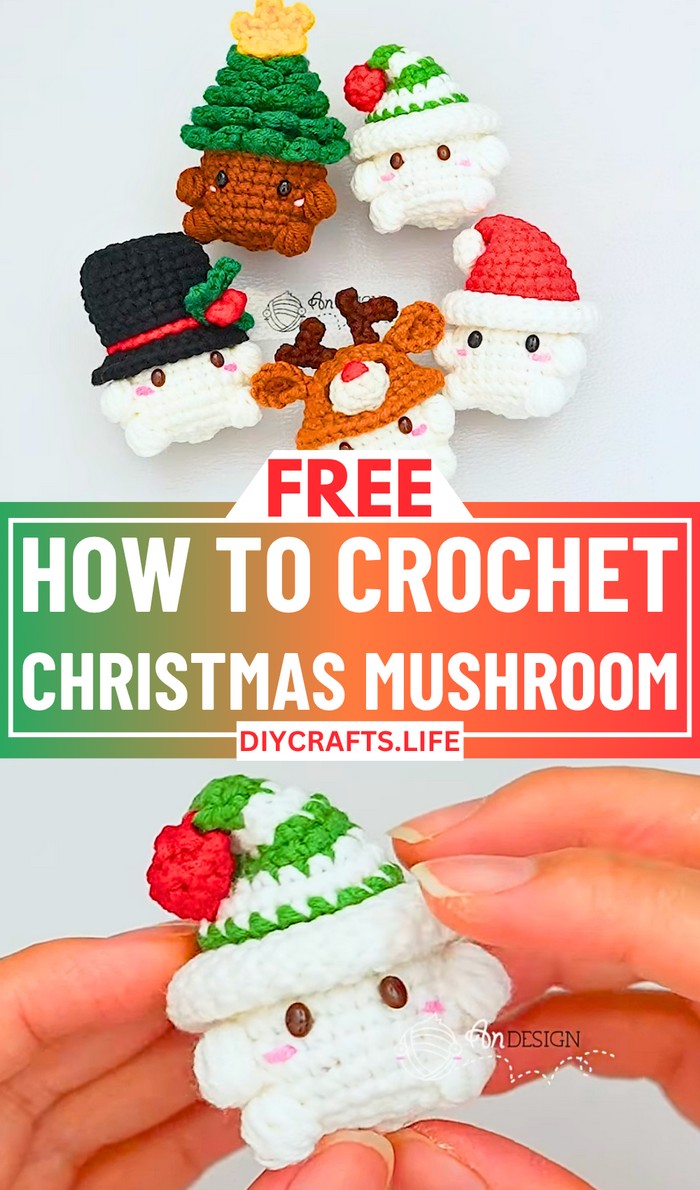
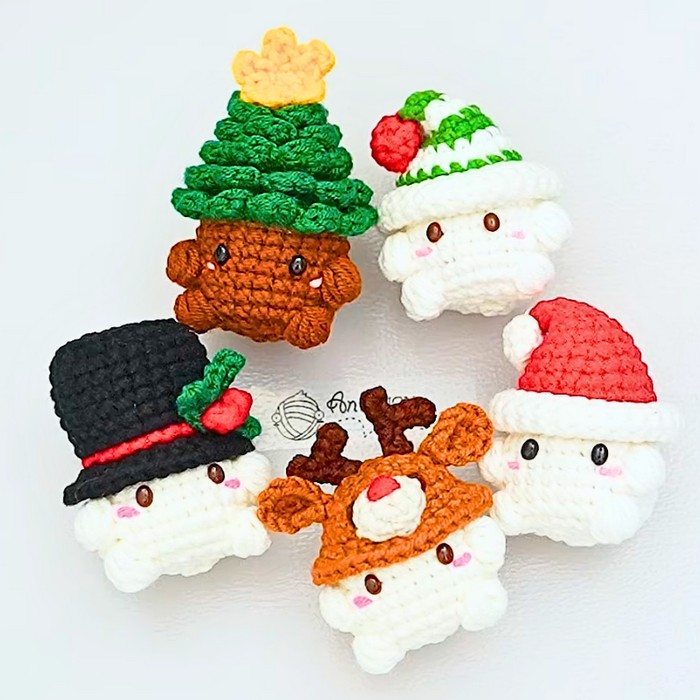
Bring holiday magic to life with a Crochet Christmas Mushroom! This festive pattern includes four adorable designs: Santa mushroom, reindeer mushroom, Christmas tree mushroom, and a cheerful snowman mushroom. Perfect for gifting or decorating, these handmade creations are sure to add charm to your holiday celebrations.
These durable crochet mushrooms are ideal for brightening up any holiday setting. Use them as tree ornaments, desk decor, or heartfelt handmade gifts for loved ones. With their vibrant colors, intricate designs, and long-lasting appeal, these mushrooms bring functionality and festive joy to every corner of your home.
Crochet Christmas Mushroom
Making these crochet mushrooms is an enjoyable and simple process. The tutorial guides you through techniques such as puff stitching and color changes, helping you craft each design with precision. From Santa’s hat to the reindeer’s antlers, the step-by-step instructions ensure a fun and festive crafting experience for everyone.
Credit AnDesign_Craft
Materials and Preparation
For this festive crochet pattern, you will need the following materials:
- Yarn: 4-ply cotton yarn
- Hook: 3 mm crochet hook
- Additional Tools:
- Scissors
- Needle
- Forceps (for stuffing)
- Other: A pair of 5 mm oval shaped eyes
Abbreviations and Notes
Abbreviations:
- SC: Single Crochet
- DC: Double Crochet
- HDC: Half Double Crochet
- Inc: Increase (2 SC in one stitch)
- Sl st: Slip Stitch
- Ch: Chain
Notes:
- Always slip stitch to end the round and chain one to begin the next round.
- Remember to switch yarn colors as specified to create stripe patterns.
- Special puff stitch instruction: Yarn over, insert hook into the stitch, yarn under and pull through, repeat 5 times, yarn over and pull through all loops on the hook, chain one to secure the puff stitch.
Gauge, Approximate Size, and Pattern Notes
- Gauge: Not critical for this pattern.
- Approximate Size: The finished mushroom is about 10 cm tall.
- Pattern Notes: Ensure to pull stitches tight when changing colors to maintain a neat stripe pattern. No gauge swatch is needed.
Step-by-Step Pattern
Hat:
- Use green yarn, create a magic ring.
- Round 1: 6 SC in the ring. Pull yarn tail tight and sl st to the first SC to close the round.
- Round 2: Chain 1, 1 Inc (2 SC in one stitch), 2 SC, repeat around. End with sl st. (8 stitches)
- Round 3: Switch to white yarn, Chain 1, 3 SC, 1 Inc, repeat around. End with sl st. (10 stitches)
- Round 4: Continue with white yarn, Chain 1, 1 Inc, 4 SC, repeat around. End with sl st. (12 stitches)
- Round 5: Switch back to green, Chain 1, 5 SC, 1 Inc, repeat around. End with sl st. (14 stitches)
- Continue alternating colors every two rounds, increasing evenly until you reach round 9 with green yarn.
Hat Flip Edge:
- Round 10a: Switch to white yarn, work in front loop only, Chain 1, 1 Inc, 11 SC, repeat around. End with sl st. (26 stitches)
- Round 11a-14a: Continue in same pattern, slip stitch to finish each round, and cut yarn leaving a tail to weave in.

Body:
- Attach white yarn to back loop of round 9.
- Round 10: SC in each stitch around. (24 stitches)
- Rounds 11-12: Continue in SC around.
- Round 13: Chain 1, 7 SC, 5 HDC puff stitch, 8 SC, another puff stitch, 7 SC, skip chain used to secure puff stitch. End with sl st. (24 stitches)
- Rounds 14-15: Continue SC around, skip chain securing puff stitch.
- Round 16: Chain 1, 8 SC, puff stitch, 6 SC, puff stitch, 8 SC. End with sl st. (24 stitches)
- Secure eyes between rounds 12 and 13, 3-4 stitches apart.
- Round 17: Begin shaping: Chain 1, 1 decrease (front loop of next two stitches), 2 SC. Repeat around. (18 stitches)
- Fill with polyester fiber as you go.
- Rounds 18-19: Continue decreasing until top is almost closed. Weave end to close hole.
Pom Pom:
- Create magic ring, 6 SC in the ring.
- Rounds 1-2: SC around, 6 stitches in each round.
- Finish and leave tail to sew onto the hat.
Final Assembly:
- Sew pom pom to the tip of the hat.
- Shape hat into a cute floppy style by bending the tip.
Pattern Question
Question: How do you ensure smooth yarn transitions for striped patterns?
Answer: To achieve clean stripe transitions, pull the previous yarn tightly while switching to the next color and secure it by yarning over properly to prevent gaps or loose ends.
Conclusion
This Crochet Christmas Mushroom tutorial brings festive cheer to life with its delightful designs. Whether you’re creating Santa, a reindeer, a snowman, or a Christmas tree mushroom, these hand-crafted pieces will enhance holiday memories for years to come.