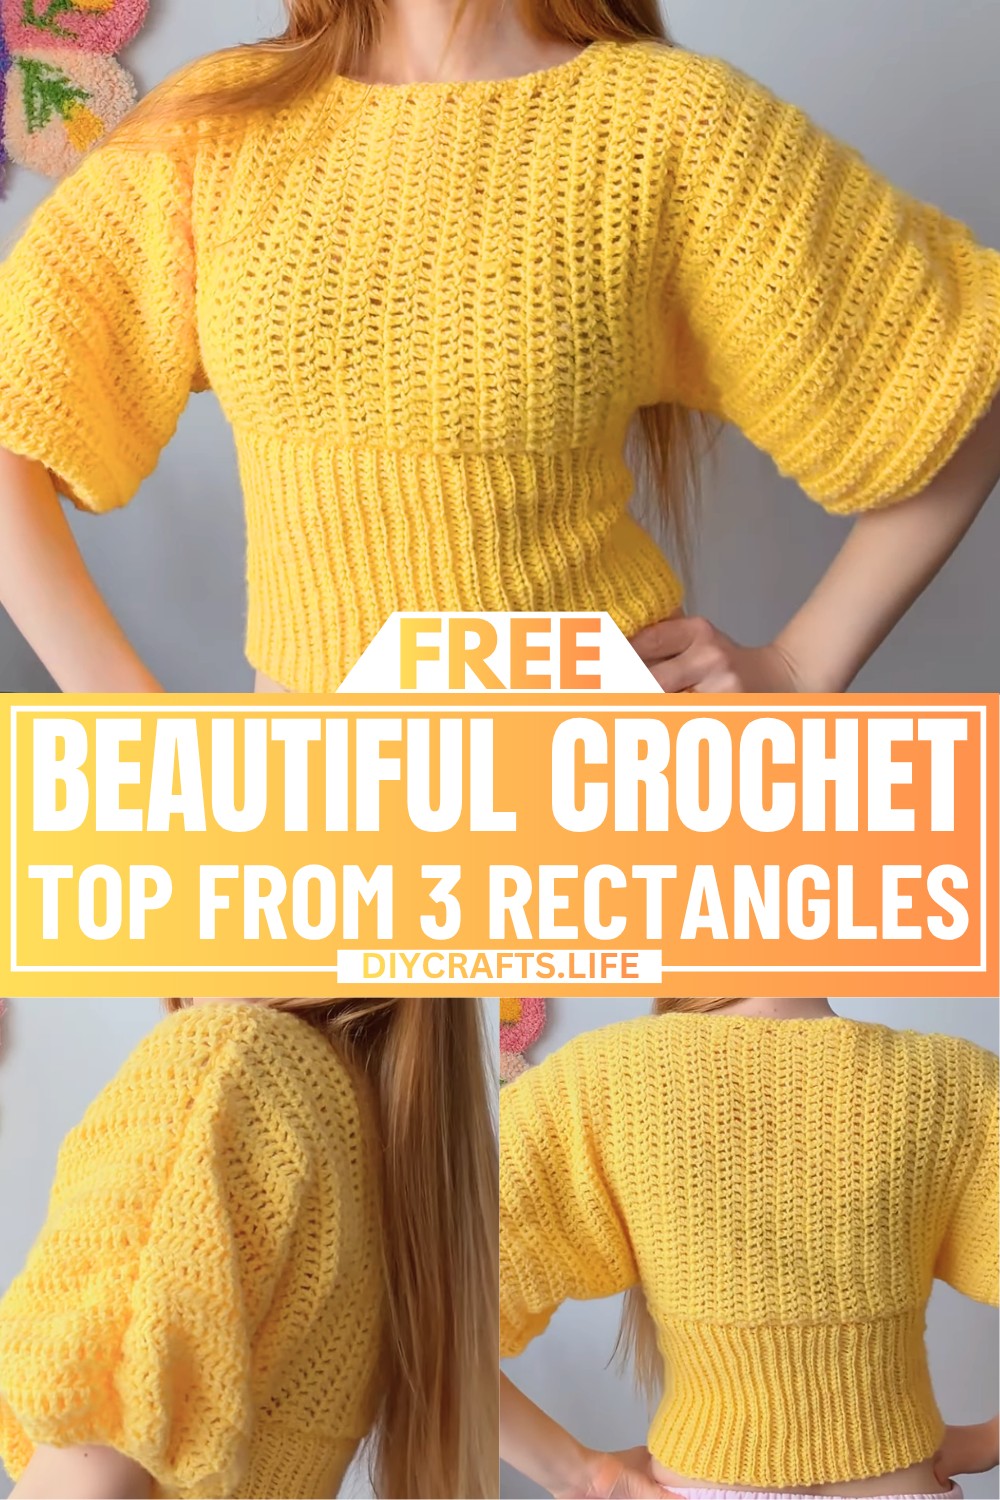
This crochet top is simple, stylish, and easy to create! What makes it special is that it’s made entirely from three rectangles, making it perfect for beginners or anyone who loves straightforward designs. It’s a flexible piece of clothing that’s both trendy and comfortable, whether you’re wearing it for a casual day out or layering it for cooler weather.
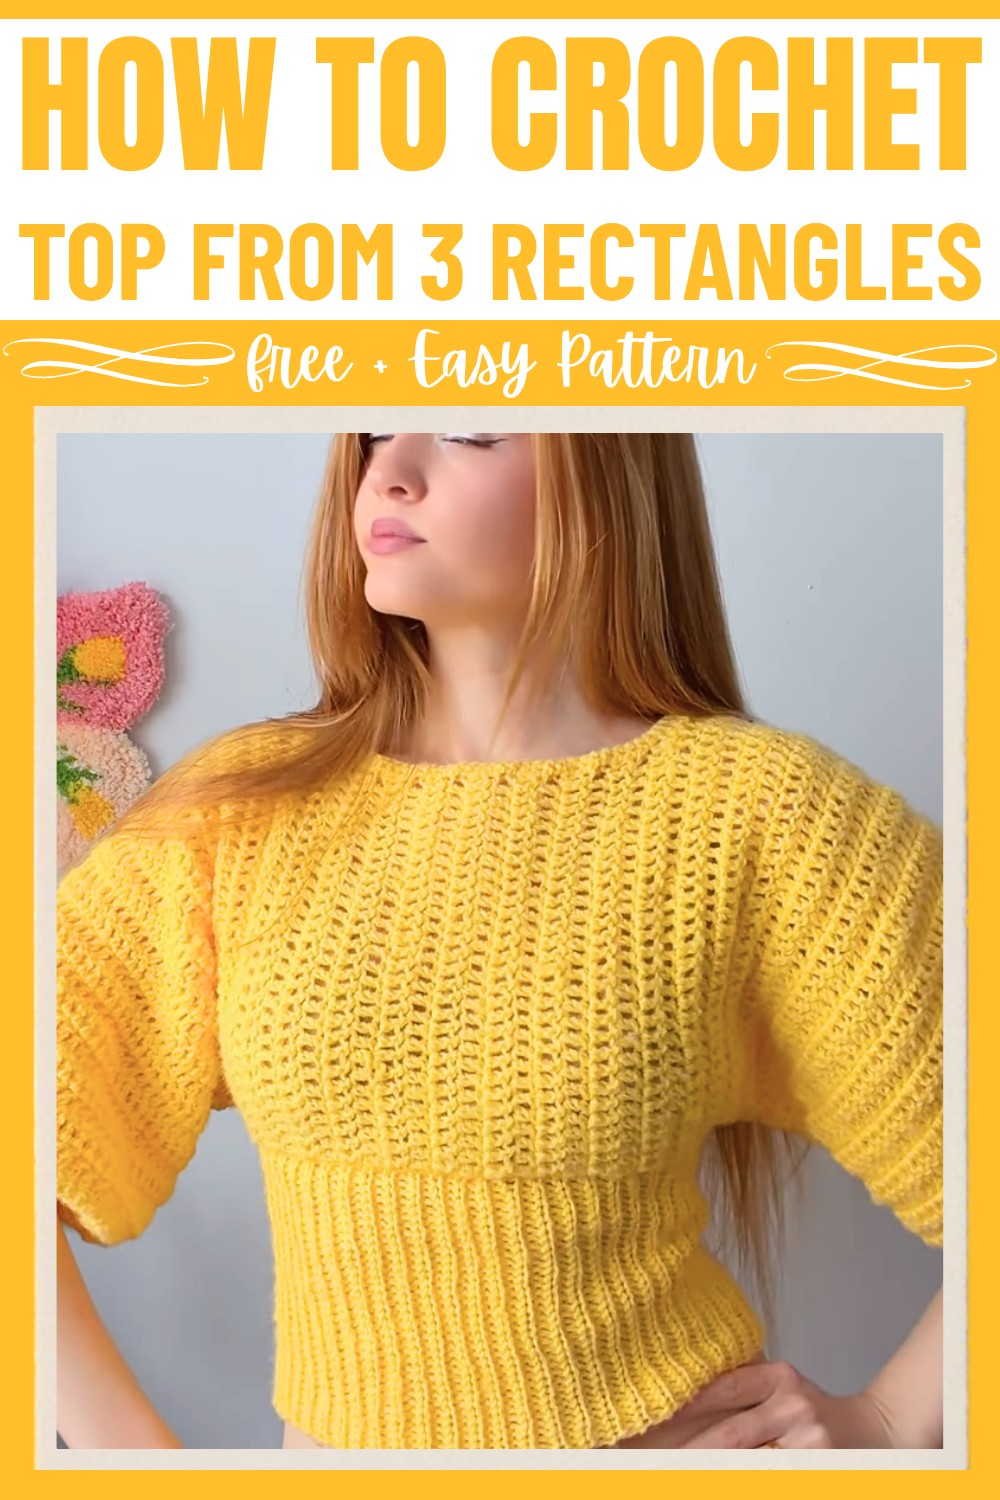
The beauty of this crochet top is in its simplicity. You don’t need to know advanced techniques—just basic crocheting skills! The process involves stitching together the three rectangles to create a wearable, functional, and eye-catching design. Lightweight and breathable, this top can be worn on sunny days or paired with accessories for a more polished look. It’s proof that even the simplest shapes can create something fashionable.
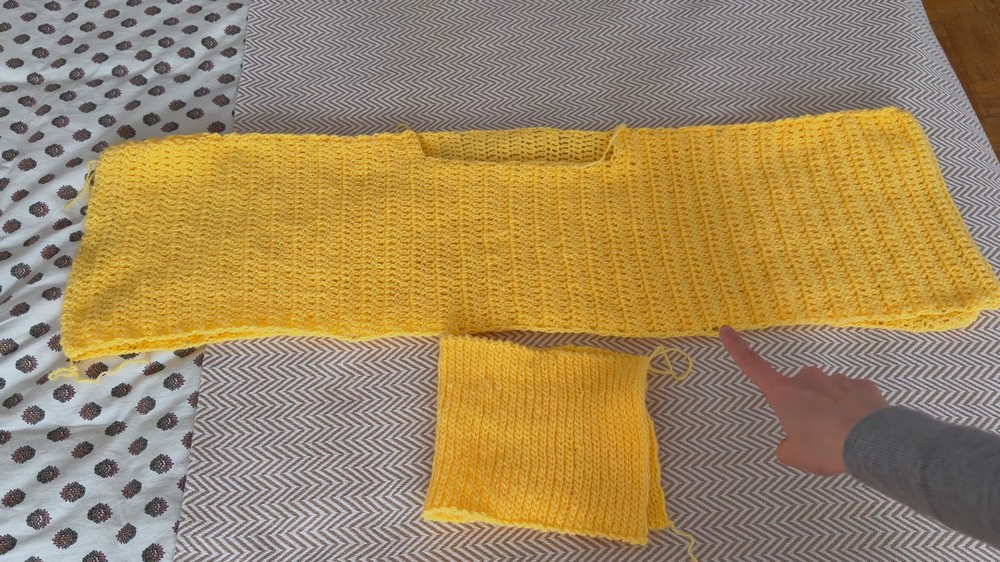
Credit WONDER NETTING
Materials & Tools Needed
- Yarn: Fluffy Day yarn by Hobby - Color #21 (yellow), 100% acrylic, 285m per 100g skein.
- The link for this yarn is available in the YouTube video description.
- Hook: 6mm crochet hook.
- Additional Tools:
- Stitch markers (optional, for marking stitches).
- Scissors.
- Needle for weaving in ends.
Finished Size & Customization Ideas
Reference Sizes:
- Front/Back Panel Dimensions:
- Length: 88 cm (includes 76 rows of double crochets).
- Height: 26 cm.
- Ribbing Dimensions:
- Width: 45 cm.
- Height: 18 cm (35 slip-stitch rows).
Customization Ideas:
- Length Modifications:
Adjust the height of the main rectangle by adding or reducing rows of double crochets. - Sleeve Style:
- Add puff sleeves for elegant volume.
- Leave sleeves open for a casual, wide sleeve look.
- Ribbing Stretch:
Ensure the ribbing fits snugly by adjusting stitches to make it slightly stretched when attached. - Embroidery or Detailing:
Add lacy stitches, embroidery, or decorative elements for a personalized touch. - Seamless Version:
Advanced crocheters can modify the pattern to work in the round to avoid seams.

Pattern Abbreviations & Terminology
This pattern uses US crochet terminology:
- ch: Chain
- dc: Double crochet
- sc: Single crochet
- sl st: Slip stitch
- yo: Yarn over
- st(s): Stitch(es)
- beg: Beginning
- sp: Space
- loop(s): Front/back loop(s)
Step-by-Step Crochet Instructions
Part 1: Front Rectangle
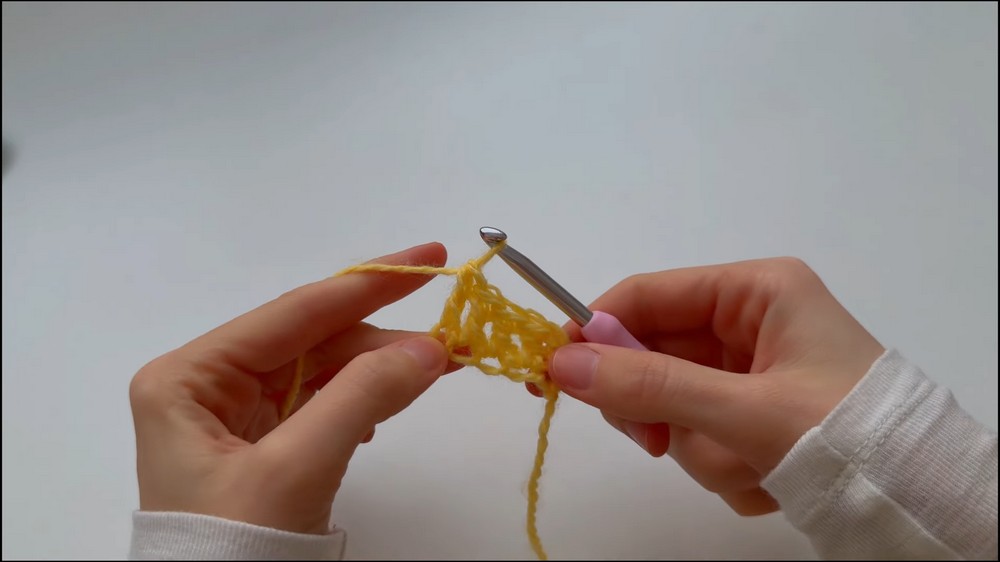
- Foundation Row:
- Use a foundation double crochet (fdc) method for a stretchy edge:
- Chain 3.
- Yarn over (yo), insert the hook into the first chain from the hook, pull up a loop, and make one loop only.
- Yo and pull through two loops. Again, yo and pull through the last two loops to complete the double crochet.
- Repeat this process until you have 35 foundation double crochets. Alternatively, you can start with a regular chain and work double crochets into it.
- Use a foundation double crochet (fdc) method for a stretchy edge:
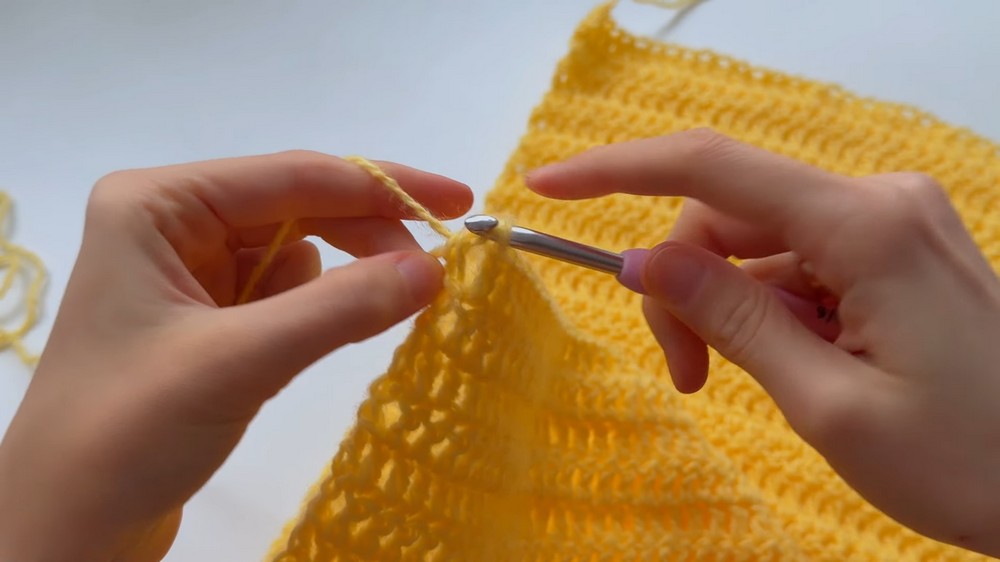
- Rows 1 to 76:
- Row 1: Chain 3, turn. Work 1 dc into the second stitch and all the way across (35 dc per row). Chain 3, turn.
- Row 2–76: Continue working dc rows. The chain-3 counts as a dc. Ensure you work into the turning chain at the row’s end to maintain stitch count.
- Shape the Neckline:
- Identify the neckline depth (e.g., stop 5–6 stitches before the row’s end at one side).
- Work shorter rows by turning work early, leaving a gap for the neckline.
- Continue shaping the neckline for 16 rows, leaving fewer stitches at one shoulder.
- After shaping the neckline, return to add dc stitches to the same shoulder to make it symmetrical (use foundation double crochet for these added stitches). Ensure that the total rows equal 76 rows.
Part 2: Back Rectangle
- Follow the same steps as the front rectangle, minus the neckline shaping.
- Work 35 dc stitches per row for 76 rows.
Part 3: Ribbing (Waist Section)
- Start the Ribbing:
- Chain 35 stitches (or adjust chain length for desired ribbing height).
- Slip stitch (sl st) across starting from the second chain from the hook. (35 sl sts per row).
- Chain 1, turn.
- Rows 1 to 35:
- Work 1 sl st into the back loop only (except for the last stitch where both loops are used for a straight edge).
- Repeat this process until you have enough rows to stretch snugly around your waist. For reference, a total of 56 ribbing rows were used.
Joining Pieces
- Shoulder Seams:
- Align the front and back rectangles’ tops from one shoulder edge.
- Slip stitch the shoulder edge together (use 2 sl sts for every row).
- Repeat for the other shoulder.
- Attach Ribbing:
- Align the ribbing piece to the bottom edge of the joined rectangles. Each ribbing "braid" represents two rows of slip stitches.
- Count evenly so the ribbing aligns across the width of the top piece. Attach using loose slip stitches from the wrong side, ensuring it stretches slightly.
Sleeves
- Adjust Sleeve Width:
- Single crochet (sc) around the sleeve openings, skipping every other stitch for the puff sleeve effect.
- Repeat a second round if further narrowing is desired.
- After narrowing, work 2 additional rounds of single crochet for a clean edge.
- Finishing Seams:
- Sew sleeve edges closed using slip stitches or a needle.
Finishing the Neckline
- Work 2 sc stitches into each row along the back neckline section.
- Along the front neckline, work 1 sc per stitch or row to create even edging.
- Finish with a single row of sc, chain 1, fasten off.