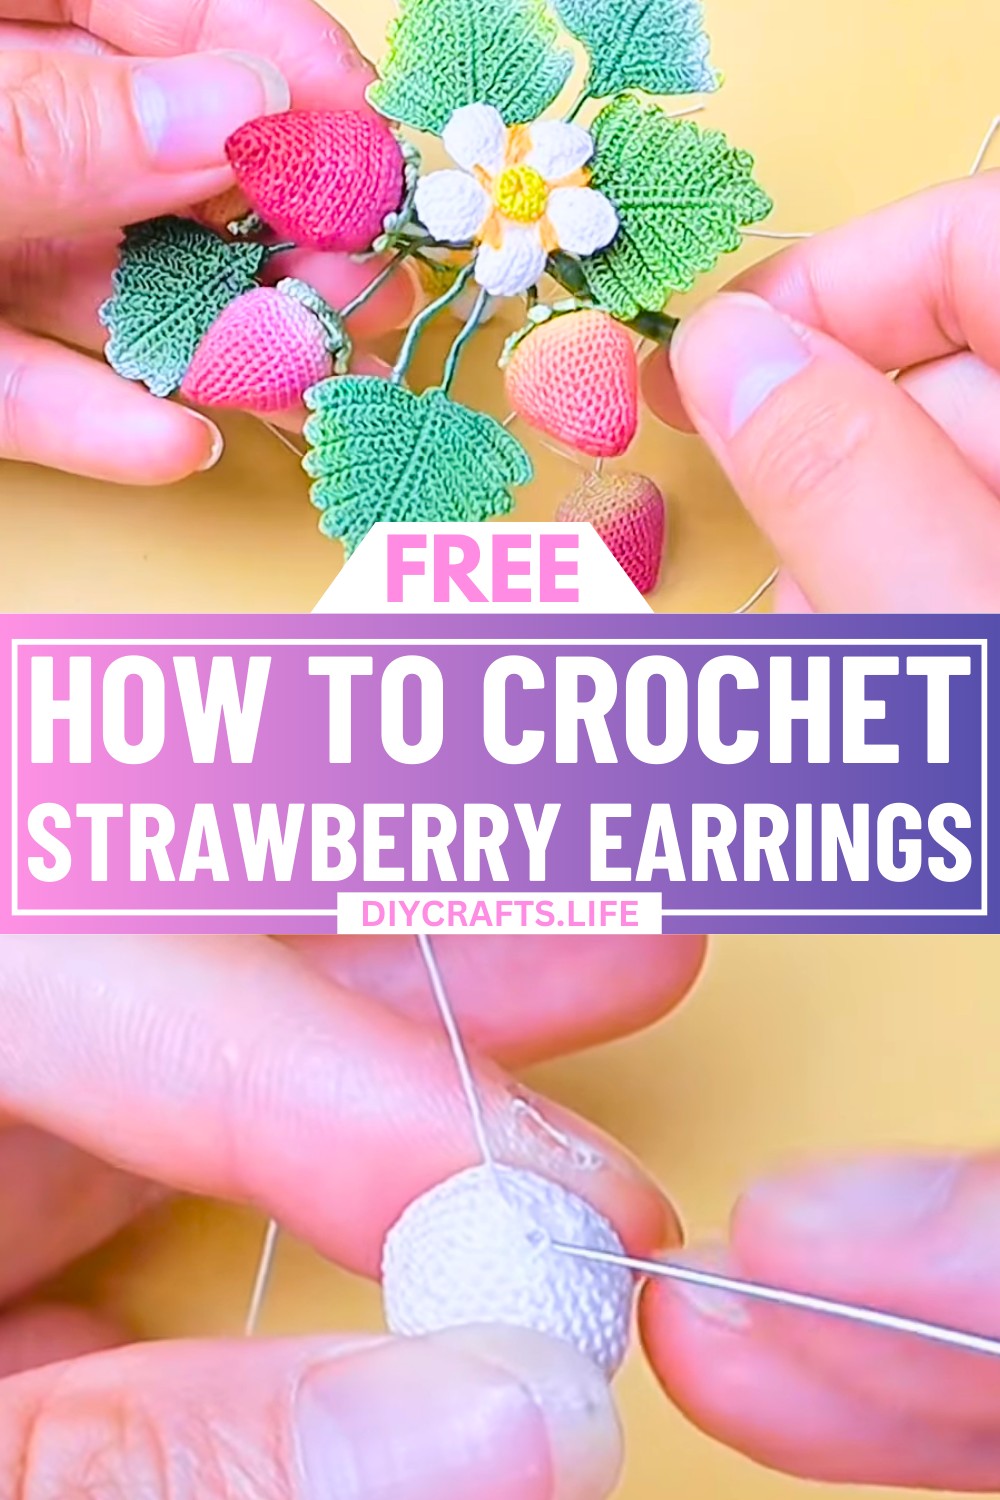
Add the perfect touch of charm to your accessory collection with these delicate crochet strawberry earrings! Tiny, vibrant, and full of personality, these earrings bring a refreshing twist to handmade fashion. Whether you're a fan of bold statement pieces or prefer subtle accents, this design effortlessly bridges the gap, making it a must-try for crochet lovers.
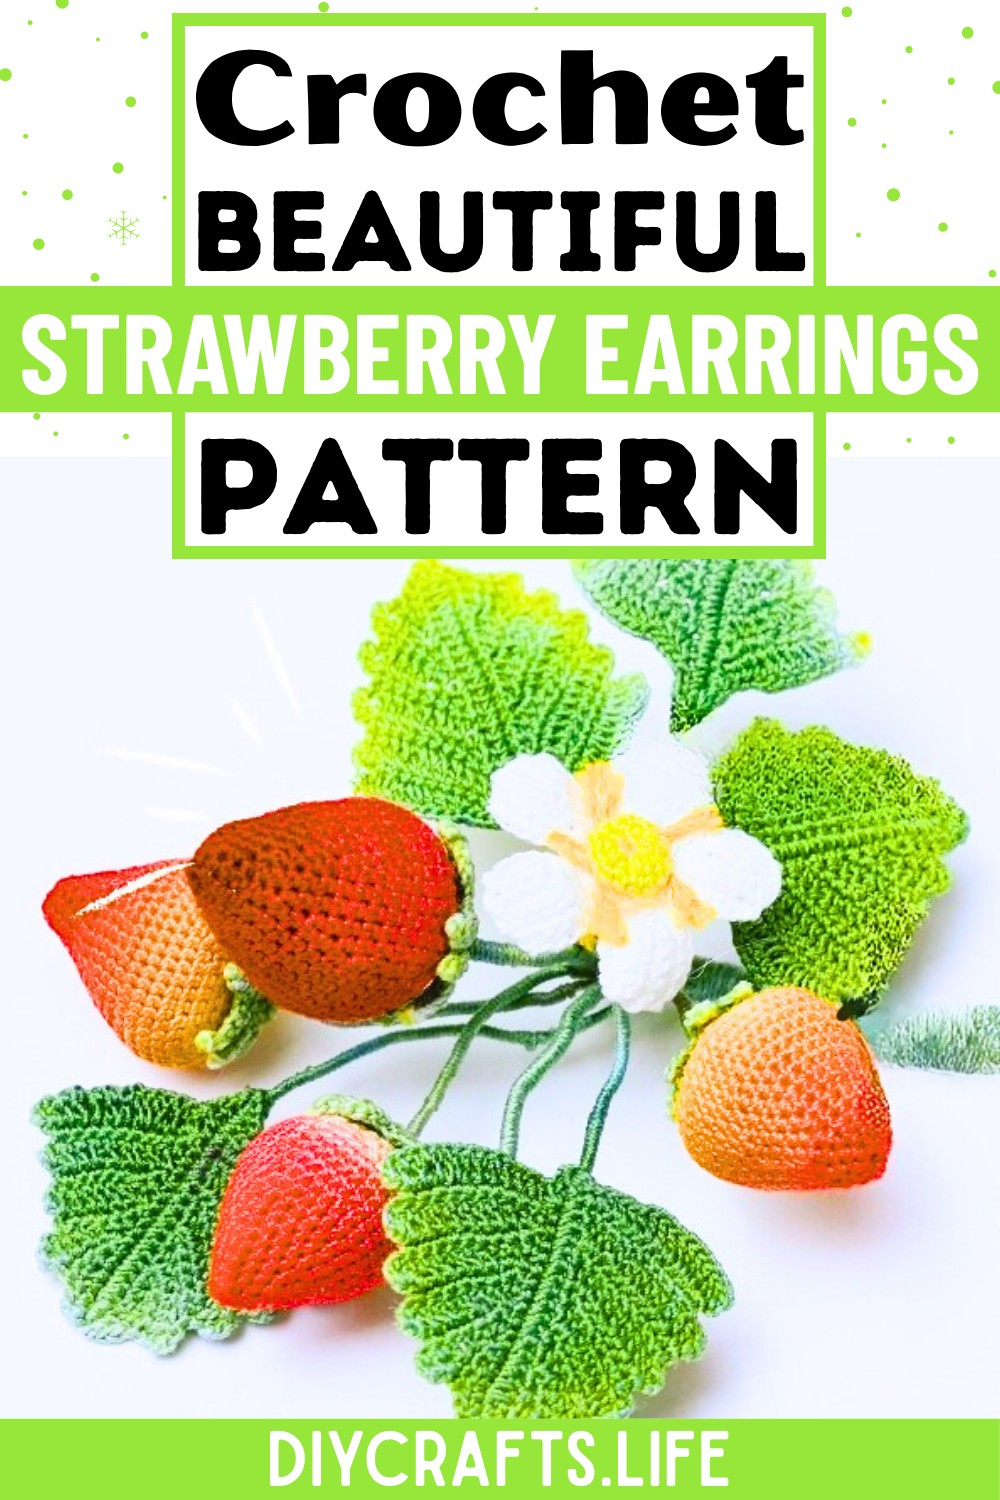
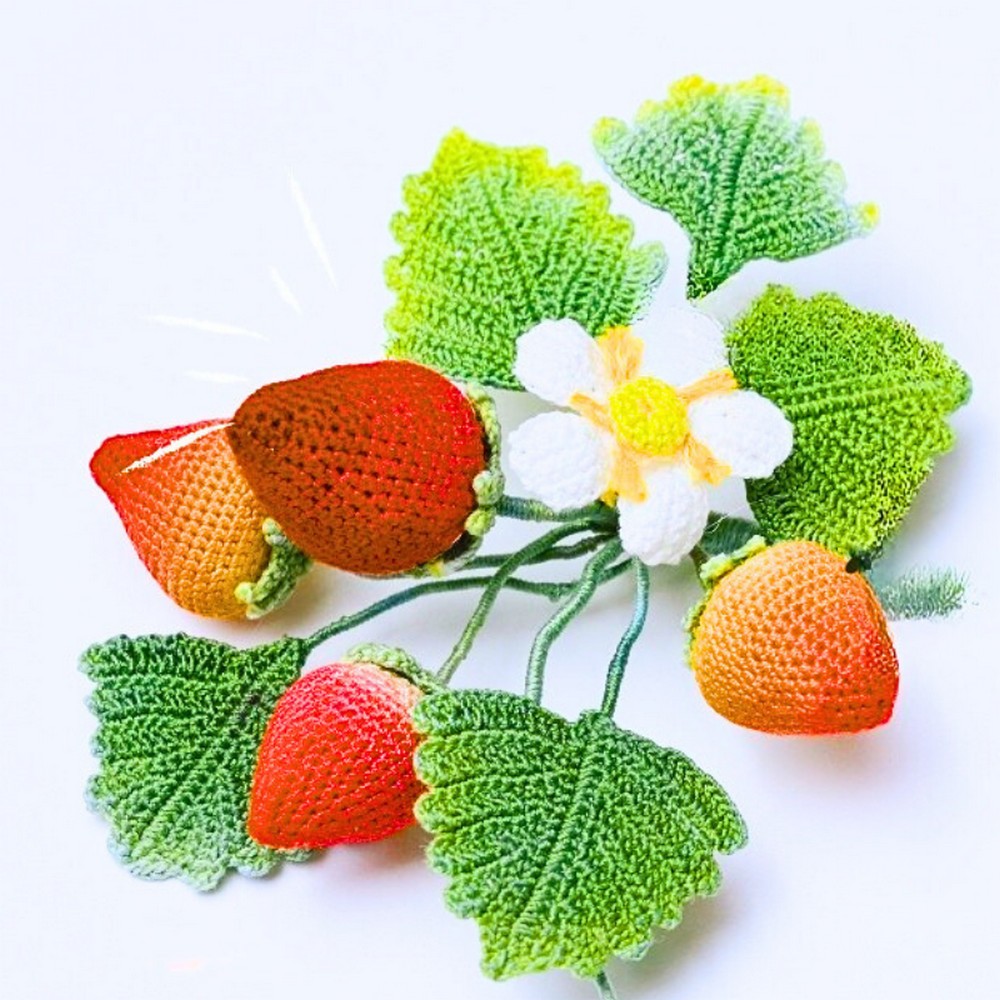
This pattern combines intricate detailing with a playful design to create miniature strawberries that are both lightweight and stylish. The fusion of bright reds and greens gives these earrings a delightful pop of color, making them a standout choice for everyday wear or special occasions. Perfect for adding a hint of fun to your outfits, these earrings showcase the beauty of handmade craftsmanship in a wearable art form.
Credit MIMO The Craft Room
Materials & Tools Needed
Here’s what you’ll need to create your adorable mini crochet strawberry earrings:
- Yarn:
- size 80 lace thread
- Crochet Hook:
- 0.2 mm
- Stuffing:
- Fiberfill or any stuffing material to fill the strawberries.
- Jewelry Findings:
- Earring hooks and small jump rings for assembling the earrings.
- Jewelry pliers for attaching findings.
- Tapestry Needle:
- For weaving ends and sewing any components.
- Stitch Markers:
- Optional but helpful to keep track of rounds in small projects.
- Scissors:
- For cutting yarn.
Finished Size & Customization Ideas
- Approximate Size:
With lightweight yarn and a 2.0mm crochet hook, each strawberry will measure approximately 2 cm (just under 1 inch) in height. - Customization Ideas:
- Yarn Weight Adjustments: Use thicker yarn and larger hooks for bigger strawberries or embroidery floss for smaller, daintier ones.
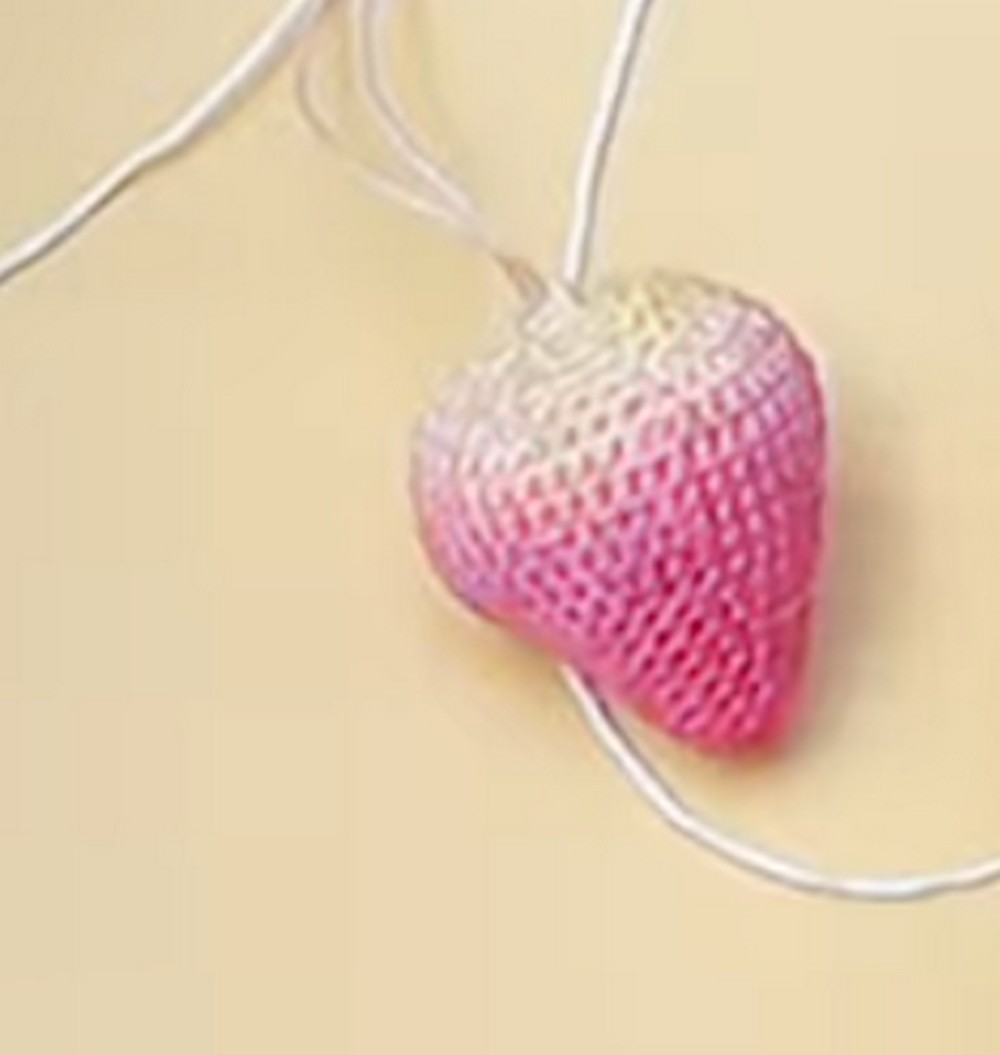
- Colors: Experiment with different strawberry shades (like pink, yellow, or even pastel versions for a unique style).
- Strap Lengths: Add longer straps or chains to convert these into keychains, bag charms, or pendants.
- Texture & Details: Embroider seeds with white or black thread for a realistic effect.
Pattern Abbreviations & Terminology
The pattern uses standard US terminology:
- MR: Magic Ring
- st: Stitch
- sc: Single Crochet
- inc: Increase (2 sc in the same stitch)
- dec: Decrease (sc two stitches together)
- sl st: Slip Stitch
Step-by-Step Crochet Instructions
Strawberry Body
- Round 1:
- Start with a Magic Ring (MR), crochet 6 sc into the ring.
- Pull tightly to close the ring.
- Sl st into the first stitch to join.
- Round 2:
- Work 1 sc followed by 1 inc. (Repeat this combination 3 times).
- You’ll have 9 stitches at the end of this round.
- Round 3:
- Work 1 sc, 1 inc, 1 sc. (Repeat 3 times).
- Total: 12 stitches.
- Round 4:
- Work 3 sc, 1 inc. (Repeat 3 times).
- Total: 15 stitches.
- Round 5:
- Work 2 sc, 1 inc, 2 sc. (Repeat 3 times).
- Total: 18 stitches.
- Round 6:
- Work 5 sc, 1 inc. (Repeat 3 times).
- Total: 21 stitches.
- Round 7:
- Work 3 sc, 1 inc, 3 sc. (Repeat 3 times).
- Total: 24 stitches.
- Round 8:
- Work 7 sc, 1 inc. (Repeat 3 times).
- Total: 27 stitches.
- Round 9:
- Work 4 sc, 1 inc, 4 sc. (Repeat 3 times).
- Total: 30 stitches.
- Rounds 12–14:
- Work 40 sc evenly for each round (no increases or decreases).
Decreasing & Shaping the Strawberry
- Round 15:
- Work 6 sc, 1 dec. (Repeat 5 times).
- Round 16:
- Work 3 sc, 1 dec, 2 sc. (Repeat 5 times).
- Round 17:
- Work 2 sc, 1 dec, 2 sc. (Repeat 5 times).
- Round 18:
- Work 3 sc, 1 dec. (Repeat 5 times).
- Round 19:
- Work 2 sc, 1 dec. (Repeat 5 times).
- Add stuffing now (adjust the amount for a fuller or flatter strawberry).
- Round 20:
- Work 1 sc, 1 dec. (Repeat 5 times).
- Round 21:
- Work 5 decreases to close.
- Fasten off and tuck the remaining tail under the bottom of the strawberry.
Strawberry Leaves
- Round 1:
- Work 5 sc into a magic ring (MR).
- Round 2:
- Work 2 sc in each stitch (increases in every stitch). Total: 10 stitches.
- Leaf Petals:
- (Turn your work as needed for shaping individual petals).
- Work small rows or additional loops on top of Rounds 1 and 2 to form the distinct strawberry leaf shapes. This may involve chaining short loops and crocheting back into the base.
- If creating larger leaves, crochet additional rows, increasing as needed.
- Fasten off and sew the leaf cap to the top of your strawberry.
Assembly
- Attach the finished strawberry and leaf to the earring hooks using a jump ring.
- Use jewelry pliers to secure the findings tightly.
- Weave in any loose yarn ends to give a clean look.
- If desired, embroider seeds using white or black thread.
Additional Notes:
- For smaller strawberries, simply reduce the number of rounds or start with fewer sc in the magic ring.
- Be mindful of your tension; tight stitches create a firmer strawberry structure.
- Optional: Add wiring for stems or a flower bead at the top for extra charm.
Enjoy crafting your custom mini crochet strawberry earrings! 🍓