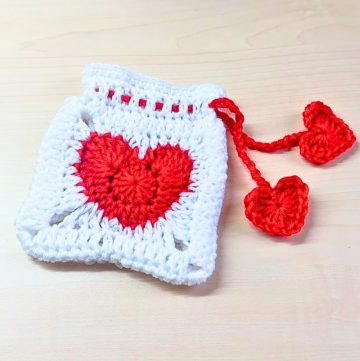
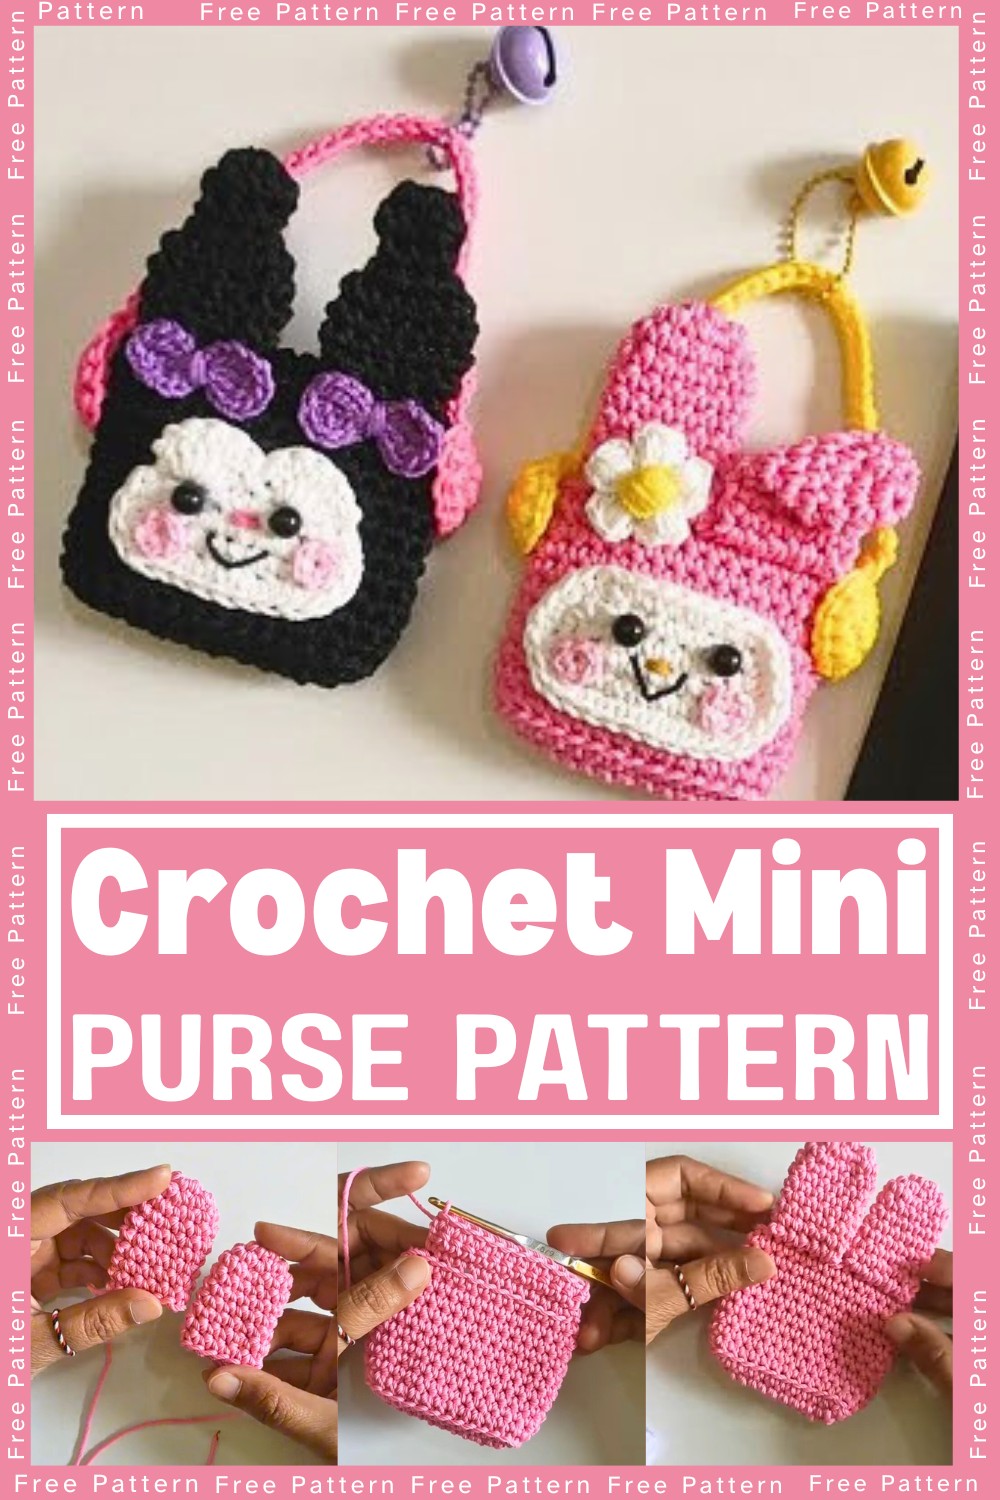
Looking for a delightful and functional crochet project? This mini purse combines charm and versatility, making it perfect as a bag chain or keychain accessory. With its compact design and customization potential, it's ideal for both beginners and experienced crocheters.
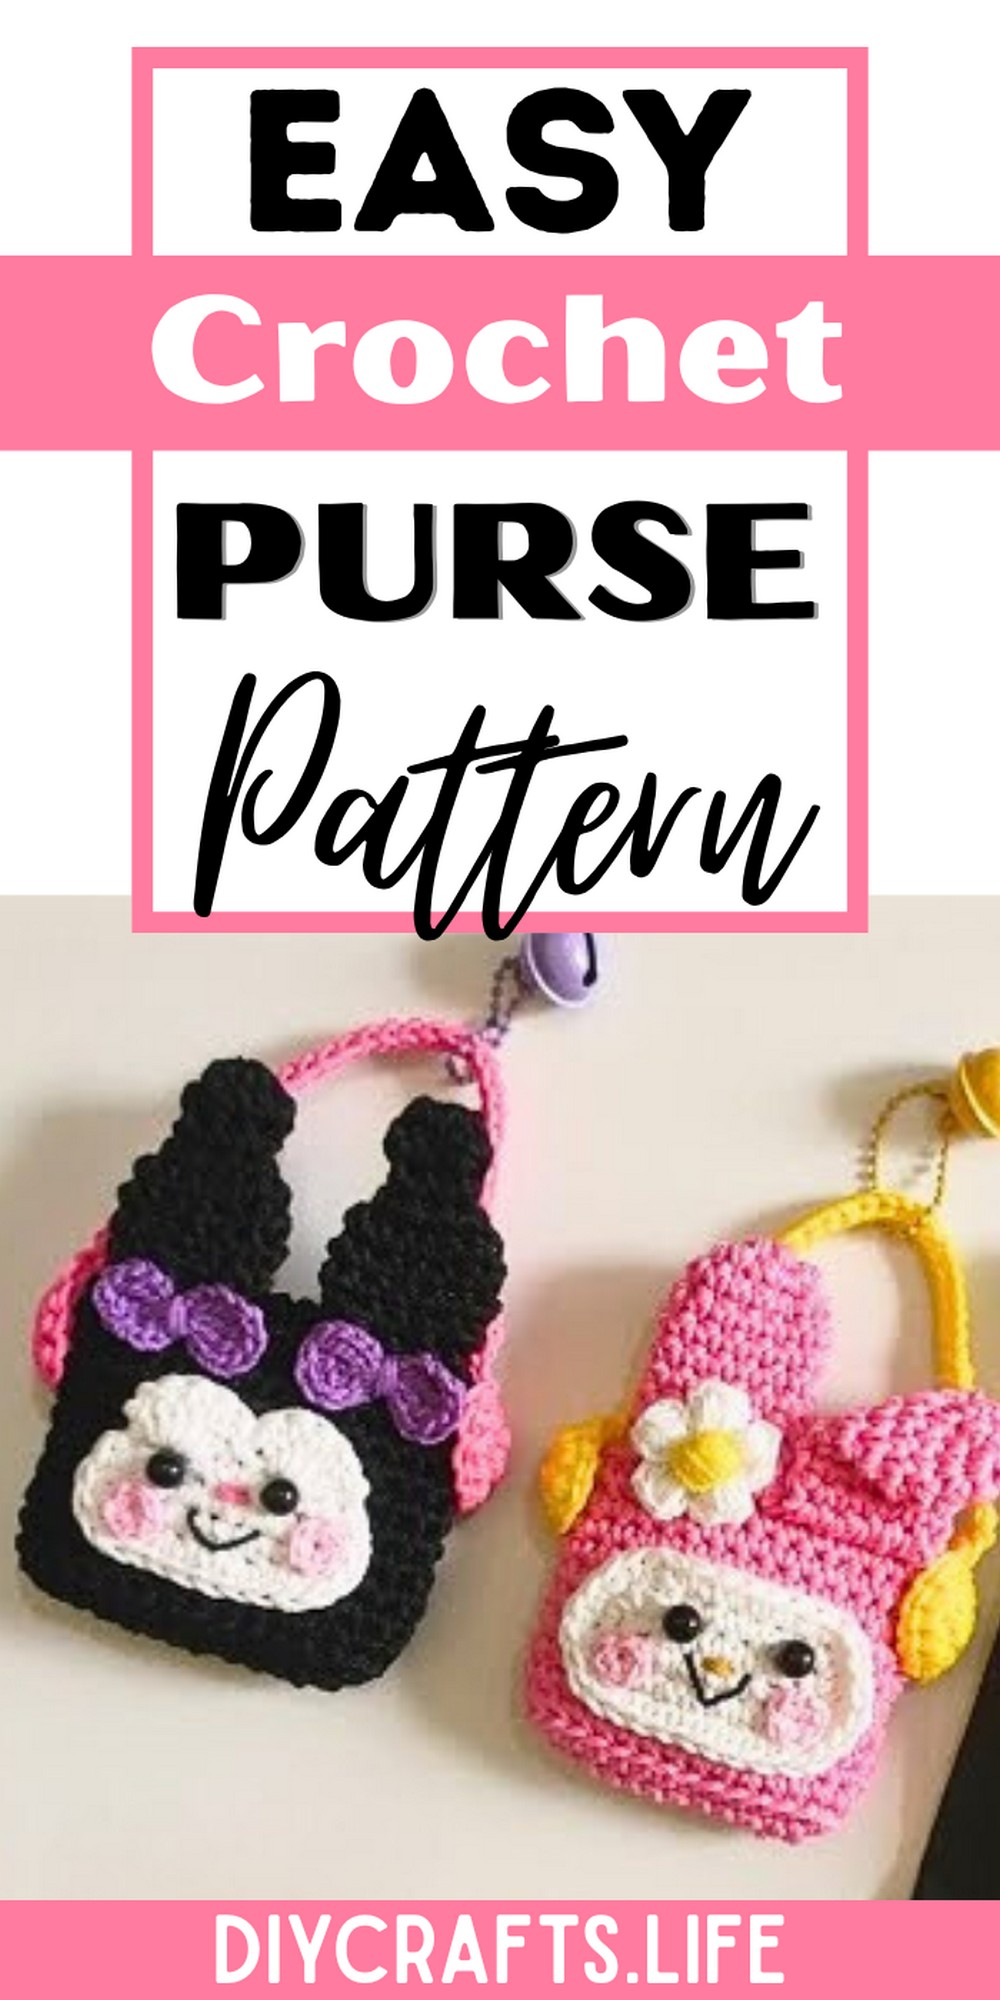
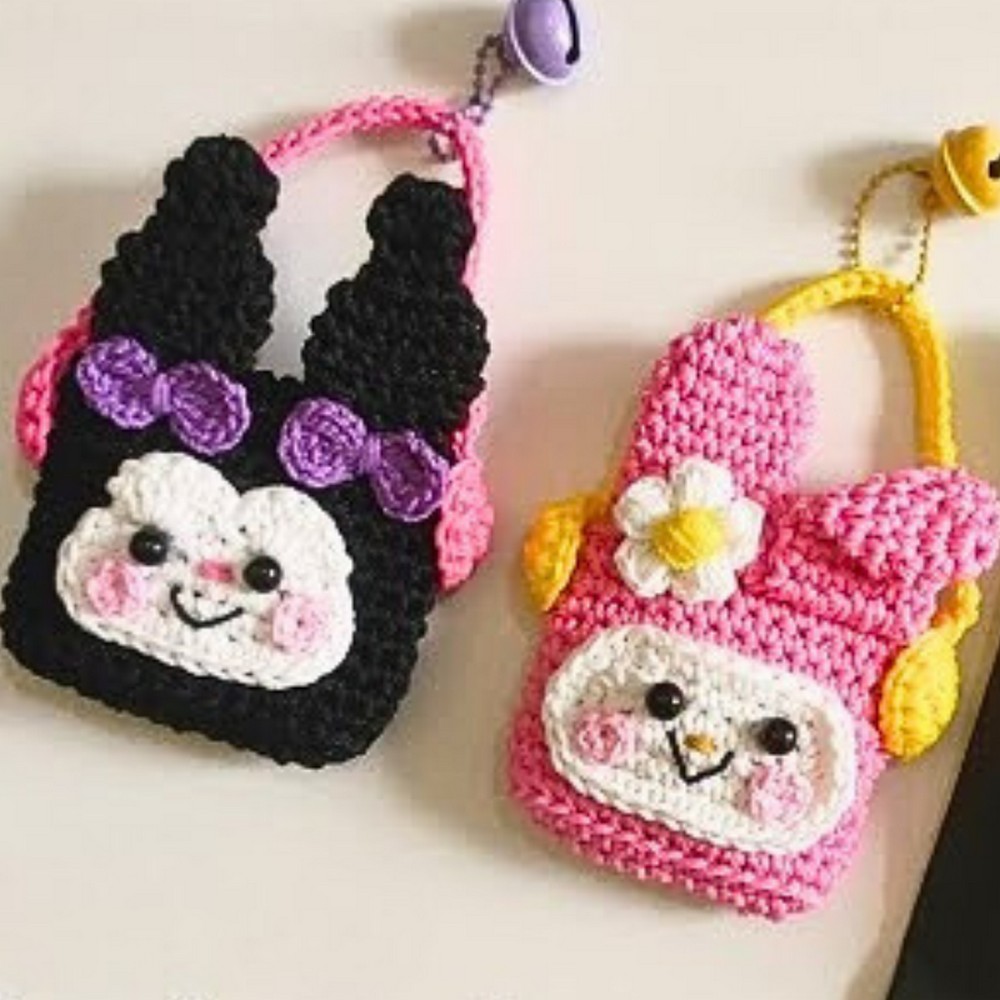
This mini crochet purse is not just adorable—it’s incredibly practical! Use it to store small essentials or as a decorative keychain. Made from durable polythick yarn, it’s sturdy yet lightweight, ensuring longevity and usability. Its eye-catching design adds flair to your everyday accessories.
Mini Purse Crochet Pattern
Crafting this mini purse is a rewarding experience for every skill level. With simple stitches and techniques, it’s beginner-friendly yet creatively inspiring for advanced crocheters. Customize colors and patterns to make truly unique pieces while exploring your crochet creativity!
Materials and Preparation
To crochet this adorable mini purse, you’ll need the following:
Materials:
- Yarn: Onitsuga Polythick yarn (polyester-based yarn recommended)
- Hook: 6/0 crochet hook (approx. 3.5–4mm) – Tulip brand suggested
- Additional Tools:
- Stitch marker
- Tapestry needle (for sewing and weaving in ends)
- Scissors
- Lighter or match (to seal the ends of the synthetic yarn)
Yarn Weight Requirements: Medium-weight yarn (approximately category 4) is recommended for this project.
Abbreviations and Notes
Common Abbreviations:
- SC: Single Crochet
- INC: Increase (2 SC in the same stitch)
- DEC: Decrease (combine 2 SC into 1 by not completing the first SC and then pulling through all loops)
- CH: Chain
- SL ST: Slip Stitch
- BLO: Back Loop Only
Notes and Tips:
- This tutorial uses American crochet terms.
- Pay attention to the use of back loops only (BLO) in certain rows to create texture.
- A stitch marker is highly recommended for keeping track of your rounds.
- You will be working with both the base of the purse and small accessories like ears, a face pattern, and a strap. Assemble each piece carefully for a cohesive result.
Gauge, Approximate Size, and Pattern Notes
Gauge:
- For this project, gauge is not strictly required, but it’s essential to use consistent tension throughout to ensure proper shaping.
Finished Dimensions:
- Approximate dimensions of the mini purse: 3.5” x 4” (9 x 10 cm)
Special Techniques:
- Back Loop Only (BLO): Only work into the back loop of the stitch to create ribbing or texture.
- Magic Ring: Essential for creating tight circles when forming small parts like the ears.
- No additional gauge swatch is needed as this is a small, quick project.
Step-by-Step Pattern
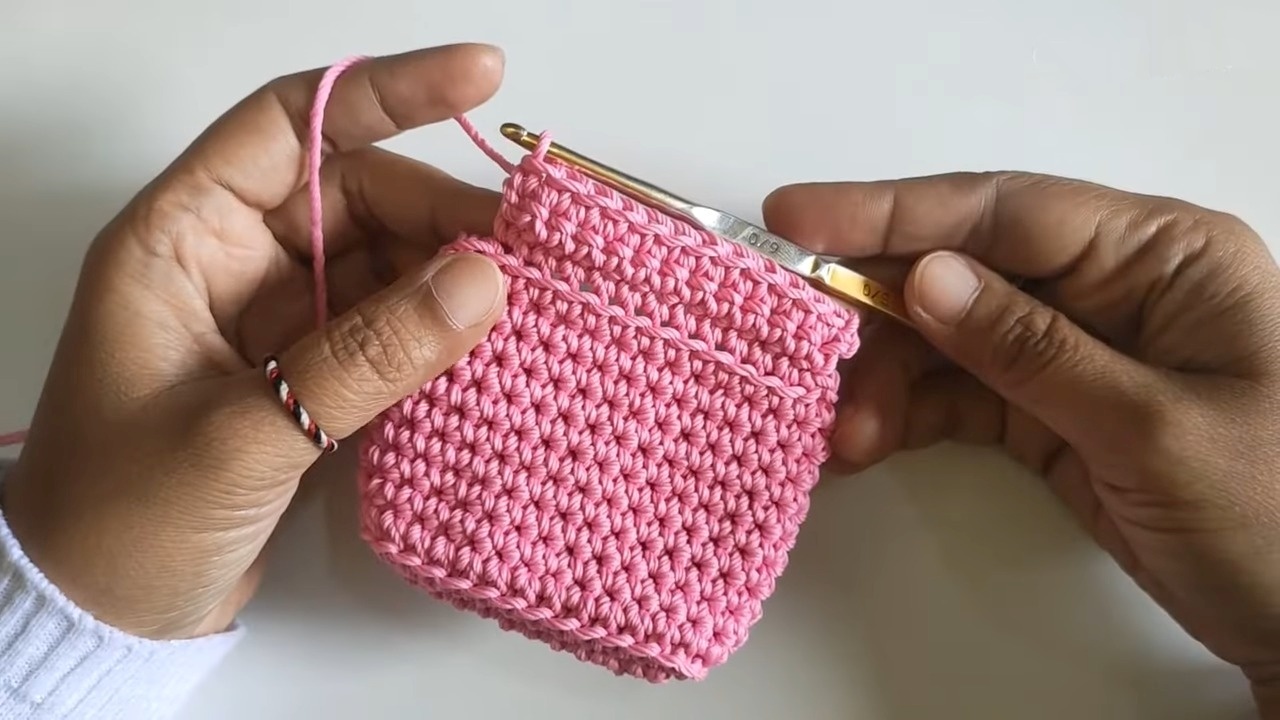
Base and Body of the Purse
Foundation:
- Start with a slip knot, then make 12 chains (CH).
- Go back to the previous chain and work the following:
- In the first chain, make 3 SC in the same hole. (Mark the beginning of the round.)
- Make 9 SC in the next 9 chains.
- In the last chain, make 3 SC in the same hole to create a rounded end.
- Continue along the opposite side of the chain and make 9 SC to complete the round.
- Join with a SL ST to create a total of 24 SC in the first row.
Row 2:
- Start with 1 CH, and in the same hole, make an SC INC (2 SC in one stitch).
- Work another SC INC in the next 2 stitches.
- Make 9 SC across the base.
- On the rounded end, make SC INC in the next 3 stitches.
- Finish with 9 SC and join with a SL ST to complete a total of 30 SC for this row.
Row 3 (Back Loop Texture):
- Start with 1 CH and work SC BLO (back loop only) in each stitch across.
- Complete a total of 30 SC BLO, then join with a SL ST.
Rows 4–12:
- Repeat 1 CH, SC in each stitch, SL ST to join for these rows.
- Maintain a consistent stitch count of 30 SC throughout. This will form the body of the purse.
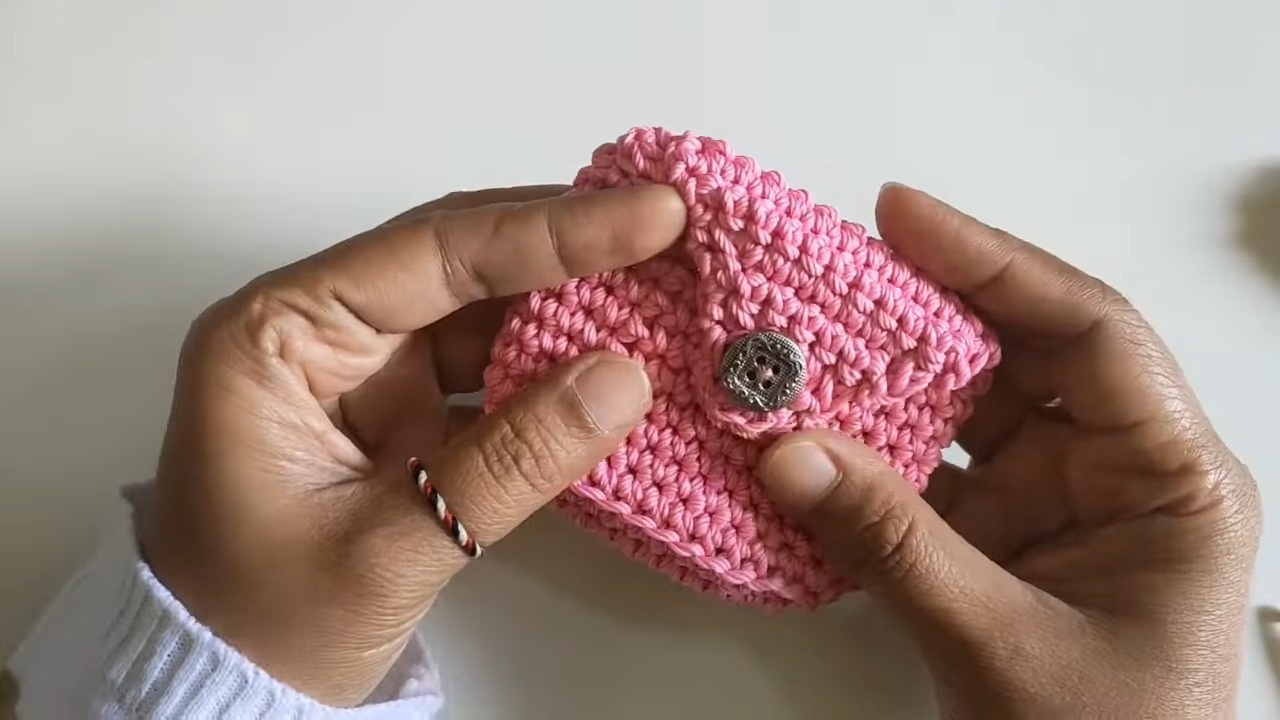
Forming the Lid
Foundation of Lid:
- From the edge of the body, make 6 SL ST, then make 1 CH.
- Work 12 SC BLO in the next 12 stitches.

Lid Rows:
- Row 1: 12 SC BLO. Turn at the end.
- Rows 2–3: Work 12 SC across.
- Row 4: Begin decreasing by working 1 CH, SC DEC, 8 SC, SC DEC for a total of 10 stitches.
- Row 5: SC DEC, 8 SC, SC DEC for a total of 8 stitches.
- Row 6: SC DEC, 4 SC, SC DEC for a total of 6 stitches.
- Row 7: SC DEC, 2 SC, SC DEC for a total of 4 stitches.
- Row 8: Form the button loop by:
- Making 1 CH, working 1 SC, then 3 CH, skipping 2 stitches, and ending with 1 SC.
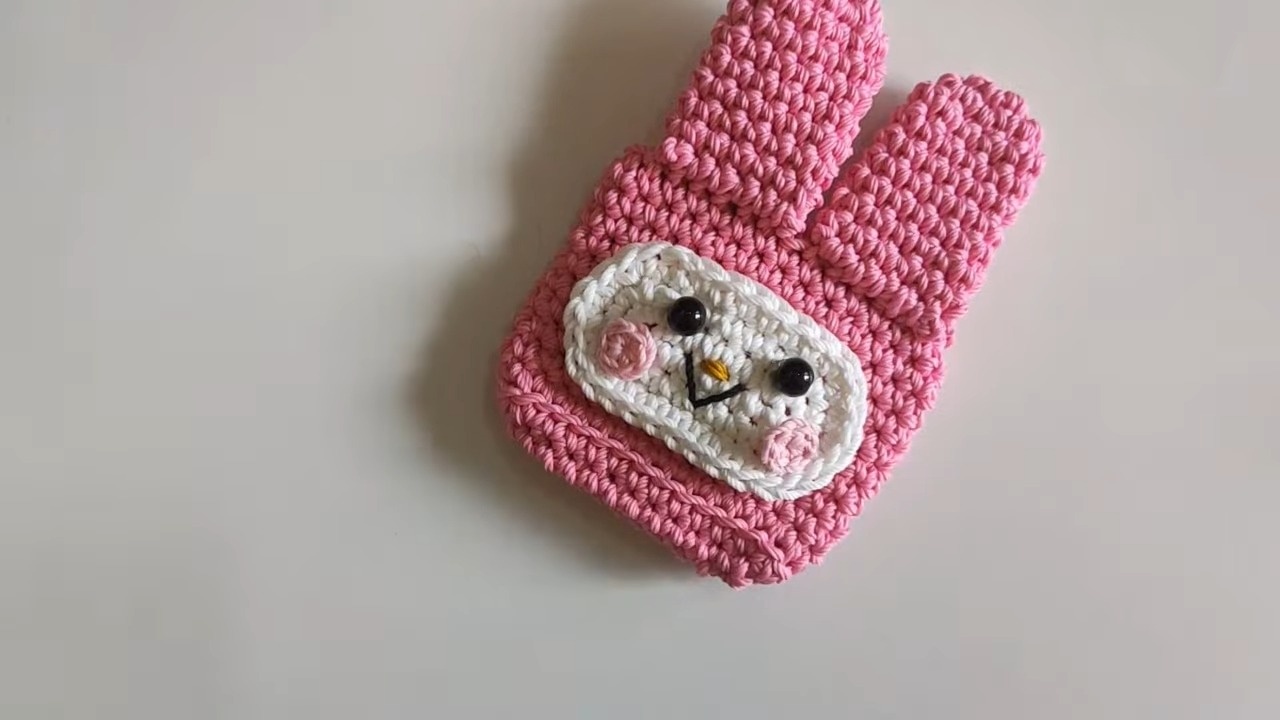
Ears (Make 2)
- Create a Magic Ring, then work 6 SC inside the ring. Pull tight.
- Row 2: Work 6 INC (2 SC per stitch) for a total of 12 SC.
- Rows 3–9: Work 12 SC in each row.
- Finish off and leave a long thread for sewing.

Decorative Face Pattern
- Create a Magic Ring, then make 9 chains for the foundation.
- Add features like small patterns (Kuromi ears, bow, or face) as desired.
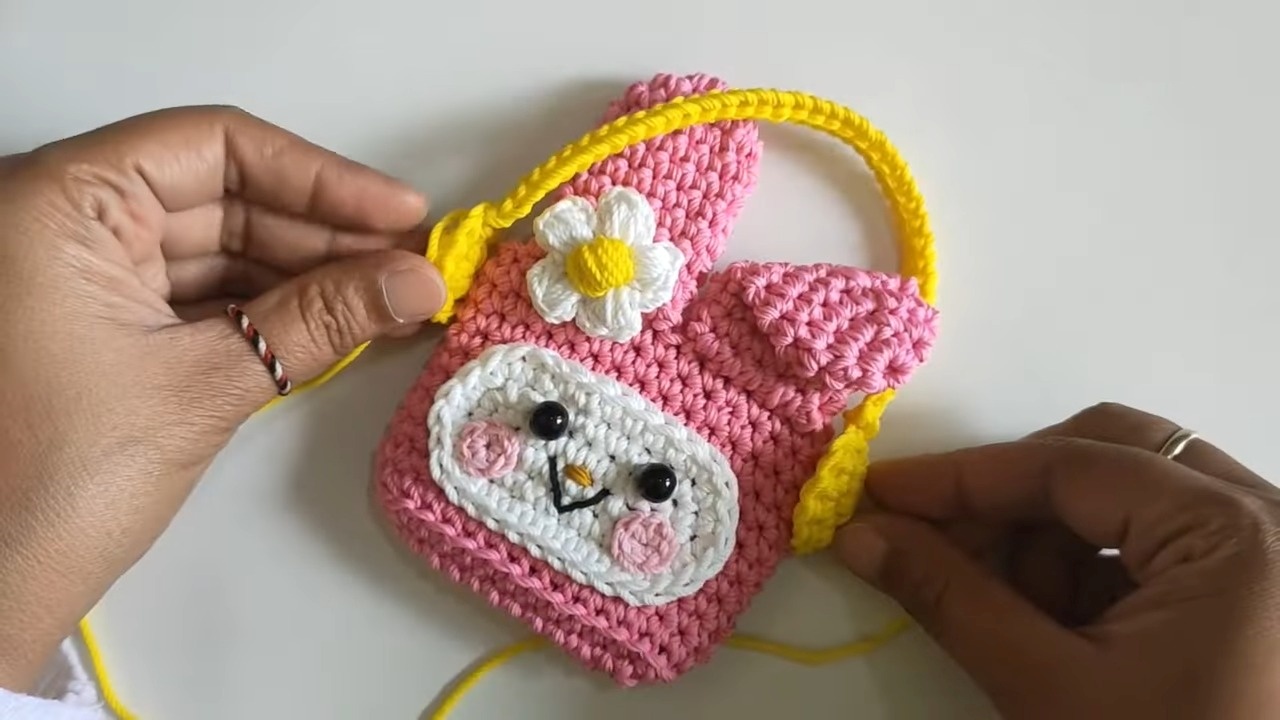
Strap
- Make 40 CH.
- Attach the chain on both sides of the purse with SL ST.
Finishing
- Sew the ears and any other decorative accessories onto the body of the purse using a tapestry needle.
- Use a lighter to carefully seal the yarn ends for a clean finish.
Pattern Question
Question: How can I ensure the lid fits securely on the mini purse?
Answer: Pay attention to the stitch counts and decreases when creating the lid. Properly sewing the lid’s edges using a tapestry needle ensures a snug fit, preventing loosening over time.
Conclusion
Crocheting this mini purse is the perfect way to combine creativity and functionality. Whether crafted as a keychain, a wallet, or a gift, this project is fun, practical, and endlessly customizable. It’s a simple yet rewarding crochet adventure you’ll love working on!