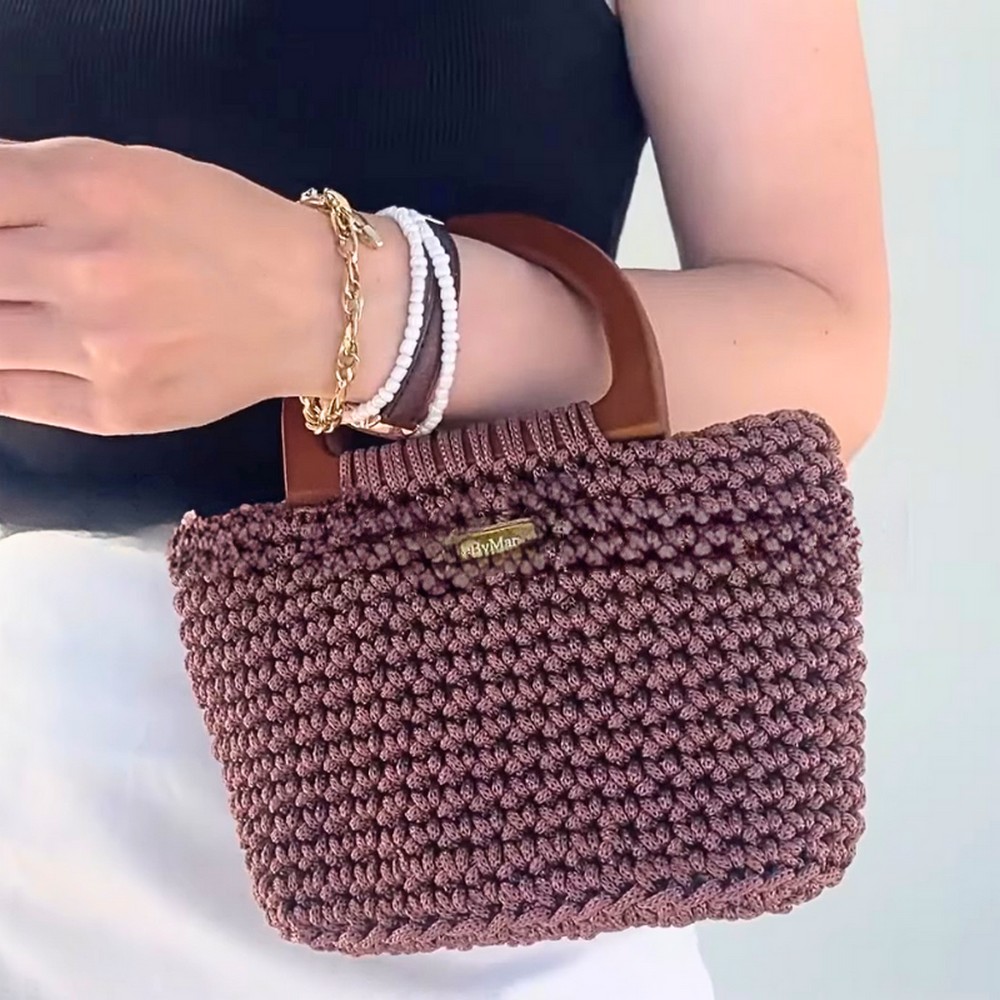
Step into the world of modern crochet with this stunning handmade bag design. Effortlessly blending elegance and practicality, this project will not only add style to your wardrobe but also showcase the beauty of your craft skills. Perfect for anyone looking to create something both functional and fashionable, this bag is the ultimate accessory for any occasion.

This crochet bag pattern is the perfect combination of simplicity and bold design. Its unique structure offers plenty of customizable options, from strap variations to playful patterns with your favorite yarn colors. Designed with both style and durability in mind, this bag is great for daily use while allowing you to add your own creative touch. Make a piece that feels functional, personal, and entirely yours!
Credit madebymara
Required Materials
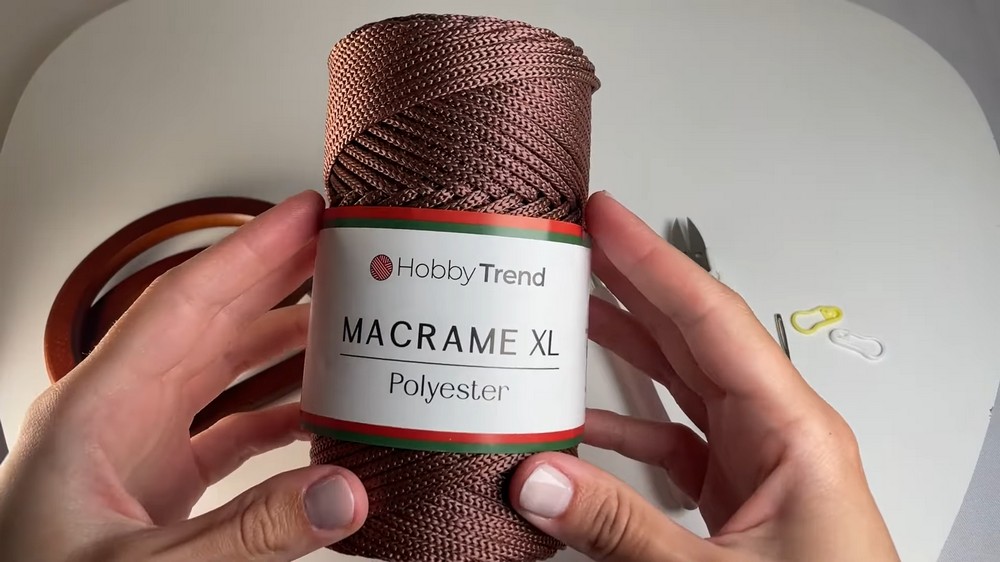
- Yarn: Any type of yarn is suitable. In the tutorial, macra yarn was used for its sturdiness.
- Crochet Hook: Use a size 5.5mm crochet hook. You can adjust this based on the type of yarn used.
- Scissors: To cut the yarn when needed.
- Yarn Needle: Necessary for weaving in the ends and finishing the bag.
- Stitch Markers: To keep track of rows, stitches, and handle placement.
- Optional – Handles: Pre-made bag handles were attached as an extra detail in the tutorial.
Important Notes
- Customization: The width, length, and height of the bag are adjustable. The tutorial chains, rows, and stitches can be scaled to fit your desired bag dimensions.
- Consistency: Count your stitches after every row to ensure they remain consistent and avoid unevenness as the bag builds.
- Stitch Markers: Use markers throughout the process to keep track of your starting points and critical placements (handles, corners, etc.).
- Seamless Edging: The tutorial includes methods like the invisible join for cleaner edges and finishes.
- Optional Design Choices:
- Turn your work before attaching the handles for a cleaner outside appearance.
- Add a lining or burn yarn edges for a polished and secure finish.
Detailed Step-by-Step Instructions
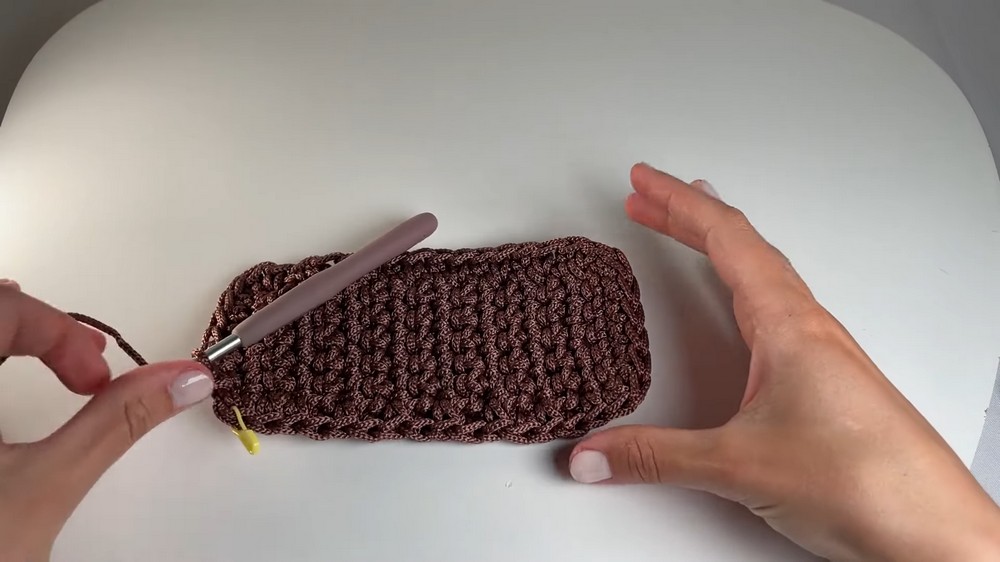
Step 1: Create the Base
- Begin with the Slip Knot:
- Make a slip knot on your hook.
- Adjust and secure it around the hook.
- Chain the Base Width:
- Chain the width you want for your bag. In the tutorial, 7 chains were made. You can chain a shorter or longer length based on your preference.
- First Row:
- Skip the last chain (used as a turning chain).
- Insert the hook into the second chain from the hook.
- Work single crochets (SC) into each chain across. You should have one less stitch than your original chain (e.g., 7 chains result in 6 SC).
- Subsequent Rows:
- At the end of the row, chain 1, turn your work, and continue single crochets into each stitch.
- Repeat this method (chain 1, turn, SC) for as many rows as needed. For example, the tutorial creates 16 rows, resulting in approximately 15cm x 7cm dimensions.
Step 2: Add a Border Around the Base
- Crochet Around All Sides:
- Once the base is complete, add a border by placing single crochets around the entire base rectangle.
- For the longer sides (the rows), place one SC for every row (e.g., 16 rows = 16 SC).
- For the shorter sides, place SC for each stitch (e.g., 6 SC for 6 stitches).
- Total stitches = sum of stitches from all four sides (e.g., 16 + 6 + 16 + 6 = 44 stitches).
- Place stitch markers at each corner for easier tracking.
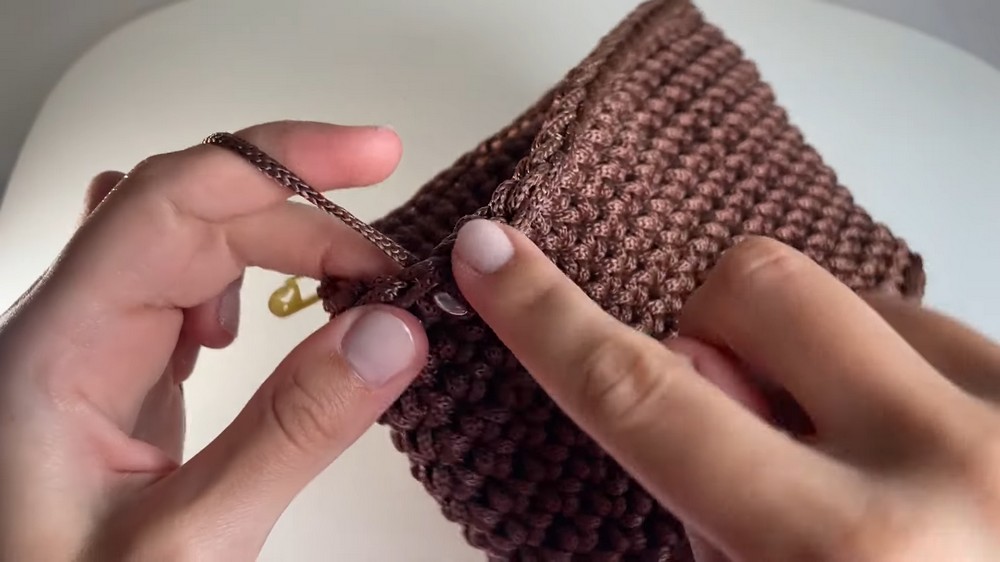
- Invisible Join:
- After completing the row around the base, use the invisible join method:
- Pull the loop loose, remove the hook, and insert the hook where the first stitch marker is. Pull the loose loop through the marked stitch.
- After completing the row around the base, use the invisible join method:
- Back Loop Only Row:
- On the next row, work single crochets into the back loops only. This row will create a defined edge and naturally curve the base upward.
- Complete the row and repeat the invisible join to finish.
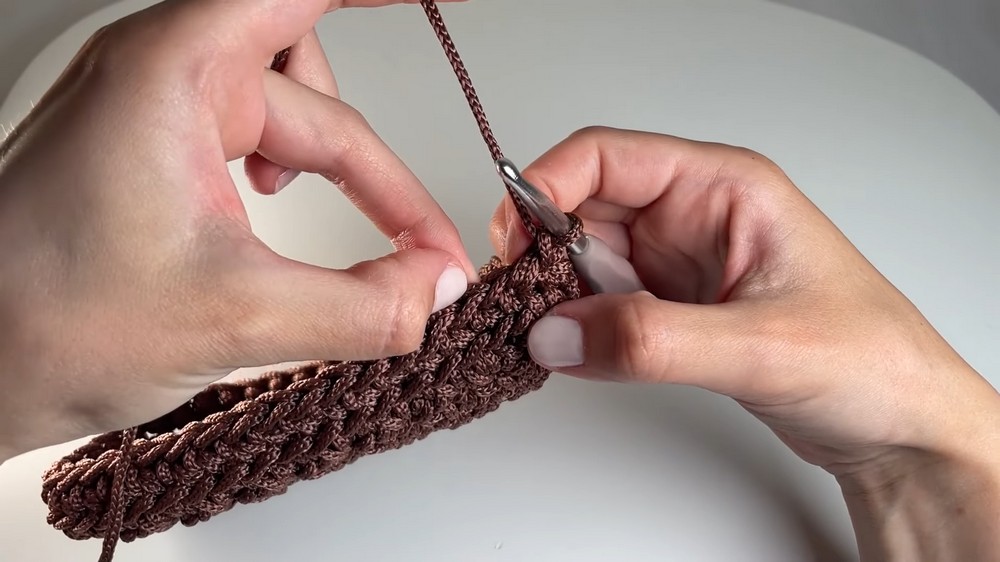
Step 3: Build the Bag's Height
- Crochet Rows:
- From this point forward, crochet into the full stitches, not just the back loops.
- Work one SC into each stitch around.
- Repeat the process for as many rows as needed to achieve your desired bag height.
- Count Stitches:
- Count your stitches after each row to ensure consistency. For example, if your base had 44 stitches, every row of the bag should maintain 44 stitches.
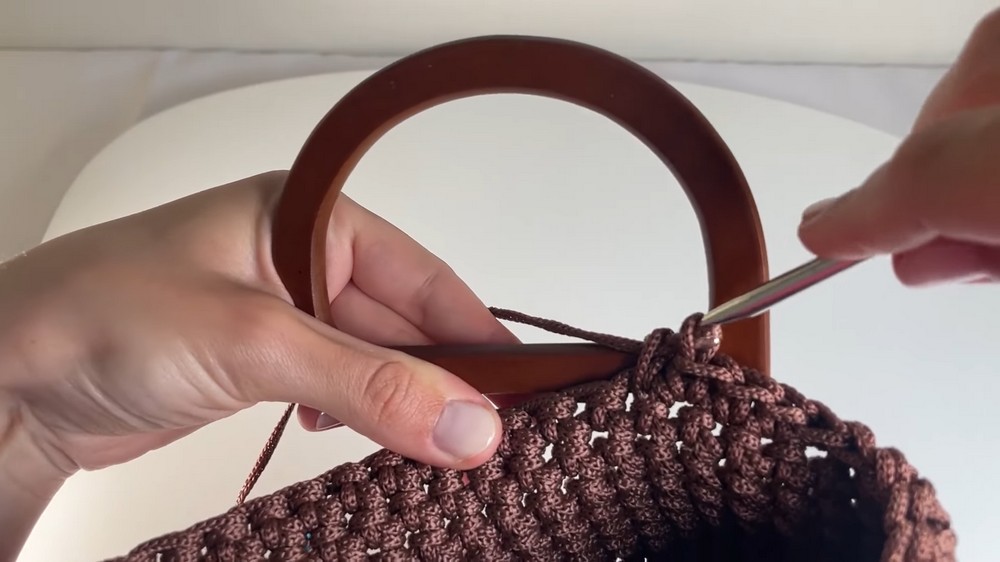
Step 4: Attach the Handles
- Mark Handle Placement:
- Measure the length of your handle (e.g., 9 stitches) and mark 9 stitches where the handle will be attached on both sides of the bag.
- Make sure the placement is even.
- Attach Handles:
- For each marked stitch:
- Remove the stitch marker.
- Insert your hook, pull up a loop, and place the handle between the stitch before completing the SC.
- Yarn over and pull through both loops, securing the handle in place.
- For each marked stitch:
- Continue Crocheting:
- After attaching the handle, continue single crochets to the next stitch marker where you will attach the second handle.
- Attach the second handle following the same process.
Step 5: Finish the BagFinal Rows:
-
- Close the row using the invisible join method.
- Cut the yarn, leaving a tail.
- Secure the Edges:
- Use a yarn needle to weave the tail into the inside of the bag for a clean look. Optionally, use a lighter to carefully burn the end to prevent unraveling (only for certain yarn types).
- Optional Lining:
- Add an inner fabric lining if desired for extra durability and style.
Bag Dimensions from Tutorial
- Finished size: 21cm x 12cm
- Customize the height, width, or base size accordingly by increasing/decreasing chains, rows, or handle positioning.